
 Sanding is one of those things that can often be the “make or break” part of a wood working project. Sanding can mean the difference between an “Oh, cool.” or a “Wow! You built that?!” project. That doesn’t mean it is the most fun or exciting part of a project. Some people enjoy sanding. Some people also enjoy flogging themselves.
If you couldn’t tell—I am not one of those people that enjoy sanding. Unfortunately, it is a necessary evil to truly get that “It” factor in a woodworking project or finish work. I’ve laid out some tips for you—us really—since I could use a refresher since sanding isn’t something I’ve come to love.
I think part of my problem with sanding is that a good job of it never gets noticed. It’s not like a tight joint, or a great in-lay. It’s just…sanded. Boring ol’ sanding. The other part of my problem with it, is that since I suck at it—I often notice it only when I do a poor job of it: thus increasing my hatred of sanding even more.
Some sanding basics: The lower the number—the coarser the grit. Higher is finer grit. So far so good. Where a lot of us go wrong is when confronted with a situation like this: We’re sanding with 100 grit paper and find a big scratch or nick in our work piece. So…we stand over the orbital sander and hit that area with our 100 until we are in a sanding induced coma.
The proper move here is to go to a more coarse grit sandpaper. In our example: an 80 grit and sand until the blemish is gone, then go back to our 100 grit. This way, we avoid over sanding the one area, and making a depression where we lapsed into our coma.
Mystical Wood Ninja Wayne taught me that you can’t ever fool your eye. If it looks bad—it probably is. This same principle applies to your hands. Run your hands over what you are sanding. It is amazing what you can feel that you cannot necessarily see. So many times working with wood is about as much feel as it is sight. Channel your inner Wayne and give your wood the once over. (I’m not really sure how I feel about that sentence).
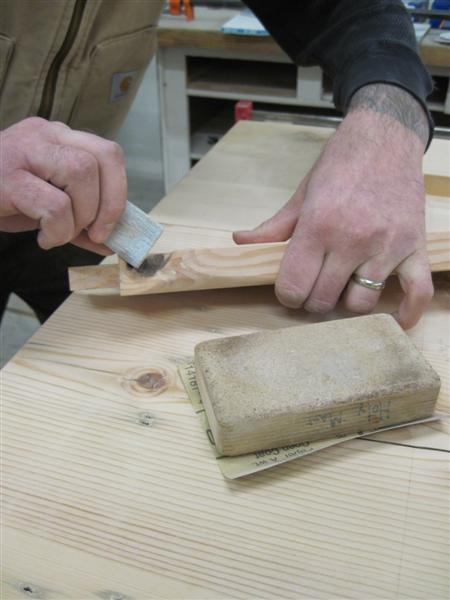
Sanding with the grain of the wood is generally preferable to sanding against it. There are exceptions to every rule—but for the most part you’ll want to sand with the grain. You can definitely take more off if you are sanding with power tools by going cross-grain—but if you are hand sanding—with the grain is the way to go.
Change your paper often. When your saw blade begins to smoke and burn the wood—you know it’s way too dull. It is the same deal with sandpaper. It is contrary to what you would think—as you’re just going to be sanding out blemishes, nicks, and what-not with a finer sand paper later—but really what you are doing is a kind of polish on the wood. Not cool.
This tip is especially hard for me because I want to be done now—not in the few hours it will take me to do a good job. It’s the framer in me. Frame it, plumb it, nail it and go. You can’t really do that with a fine woodworking project. Try and think ahead. If after glue-up you’ll have a hard time sanding certain areas—go ahead and sand it now. It will save you having to get a specialized tool, (lame) or having to reach all the #@^!ing way in there and having to sand it. (Lamer).
In the end—sanding is a lot of attitude. Having the patience to painstakingly craft something you can be proud of should include the patience to sand it correctly as well. That’s the theory anyway…hopefully these sanding tips have helped you out…I’m still working on adjusting my attitude.


