

If you’re looking for a way to add some affordable pizzazz to your garden, why not put together hanging basket? These contraptions not only add some color to your yard, they come together in less time than it takes to bake a pizza. Hanging baskets also make inexpensive but thoughtful Christmas (or holiday) presents for just about any gardener, cook, or flower enthusiast on your gift list this year. So read on for more information on how to create one. Of course, whether or not you present it or keep it for yourself is entirely up to you!
Hanging Basket Supplies
You will need the following:
• Potting soil. It can be new stuff or it can be recycled from an earlier project. Just don’t reuse the virus infected stuff that killed the last two plant you put into it. (Use your common sense, people.) I got a fresh bag of potting soil for $3 at my local Ace Hardware. However, I’d advise other gardeners to go for a mid-range variety. The mix I got seemed like it would be too dense to work for plants that weren’t moisture-loving.
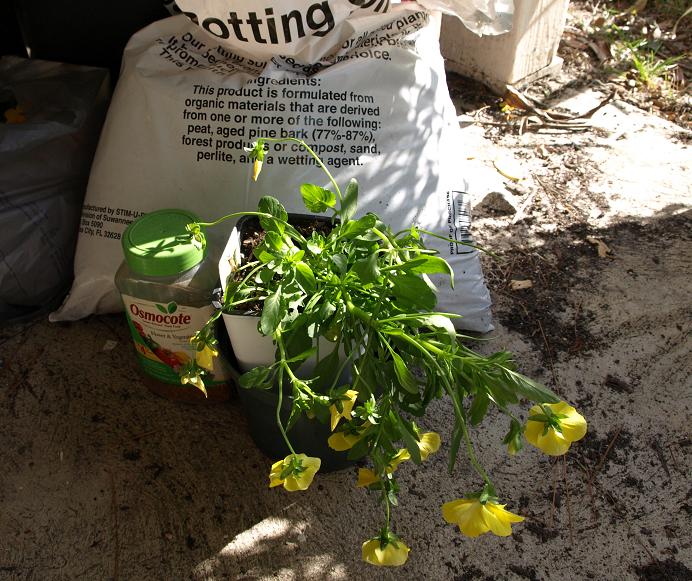
• A hanging basket. I have a lot of hanging baskets floating around my yard. They are all dark green models with hangers that on their last legs of life. They also have huge holes in the bottom that will shed potting soil like nobody’s business. Fortunately, my mother and sister enjoy yard sales. (I don’t.) They found the model seen in the pictures for about $5, give or take. Granted, the print may not be to your taste but it sure beats having to resort to using coir liners (an additional expense) to keep the potting soil in place. Just be sure that your container has a drainage hole so that the water can escape.
• Plants. For this project, I choose durable annuals that will last through the winter and distract people from the mess in my garage. I used pansies ($2 for a set of 6) and snapdragons (same price). Just select what will work for your region. Make sure the species that you select have similar light and water requirements. Otherwise, they might not play nice with each other. If you want edible perennials in your basket, a good option would be a small rosemary or sage plant (about $5) and a couple of thyme plants (about $4 each). However, that wouldn’t accomplish what I’m after since thyme dies back in the winter. Besides, the rosemary or sage in that instance will eventually have to be transplanted into the ground or a bigger container.
• Top Dressing Materials (optional). I like to use small pebbles or triple-washed playground sand for this purpose when I’m not dealing with moisture-loving plants. If I was doing an herb basket, I would definitely go for it. Since I’m not, I skipped this step.
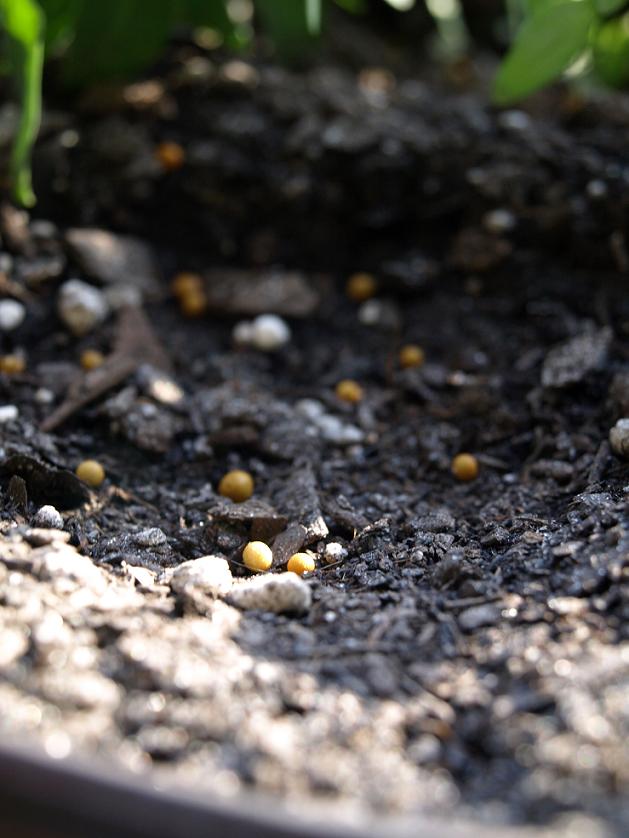
• Fertilizer (optional). Although it’s not organic, I’ve been using granular fertilizer that releases on its own whenever I water the plant. A bit sprinkled around the plants certainly won’t do them any harm if you have some handy. Of course, other types of fertilizer work just as well. Just be careful not to overdo it and fry your plants. *Cue evil, maniacal laughter*
Estimated Cost of The Hanging Basket Project
$15-18, depending on how many plants it takes to fill up the container and what types you’re using. The price goes up even more if you decide to use a top dressing material that you don’t already have. Likewise, you can subtract cost of supplies that you have on hand.
Hanging Basket Instructions

1. Fill the basket full of potting soil. Leave enough space to add the plants so that they will sit just below the rim of the container when you’re done. Planting them so that they sit level with the container edge makes it really hard to water them.
2. Carefully take the plants out of their packages, squeezing the bottoms first to get them out. I speak from sad experience when I say don’t pull them out by the stems. I inadvertently did this, broke off some roots, and am now worried that I’ll have to replace dead plants later this week.
3. Arrange the plants how you want them, bearing in mind that they do need a little space between them so that they can spread out a bit. Tall specimens (in my case: snapdragons) should go in the center where they won’t be as likely to get in the way of the basket attachments. Draping plants (such as pansies) work best on the outside where they can flop around without getting in the way.
4. One at a time, dig small holes big enough to hold the root balls of each plant. Gently squeeze apart the roots. Then put them in the hole and cover up with soil. Repeat until all the plants are in place. Adjust any that seem to be toppling over or got planted too close to their neighbors. Add extra dirt to stabilize the plants where necessary.
5. Finally, water the whole hanging basket carefully so that you don’t cause the plants to tip over or move around. However, the soil should be completely saturated and liquid should run out the drainage hole. If you want, you can put other potted plants beneath the hanging baskets to catch the excess water. That’s what I did. Finally, sprinkle the basket with granular fertilizer and add top dressing, if you so desire.
As always, happy gardening!


