

Installing a pet door for your cat or dog isn’t really a tough job, unless you’ve got mean-mean kitty biting you the whole way. With the right tools, you don’t even have to remove your door for installation. Let your pets roam freely outdoors without having to have opposable thumbs to operate the door handle with a simple-to-install pet door. We’ll walk you through the steps in this basic how-to.
When it comes to pets, I’m a lot like a grandparent. I’ll play all day with your cat or dog, but when it starts to get dark, it’s time to take your pet back home with you. My parents on the other hand are quite different and have always had a cat/dog to greet them when they come home with a pile of fur and, occasionally, a mound of less than desirable partially digested food.
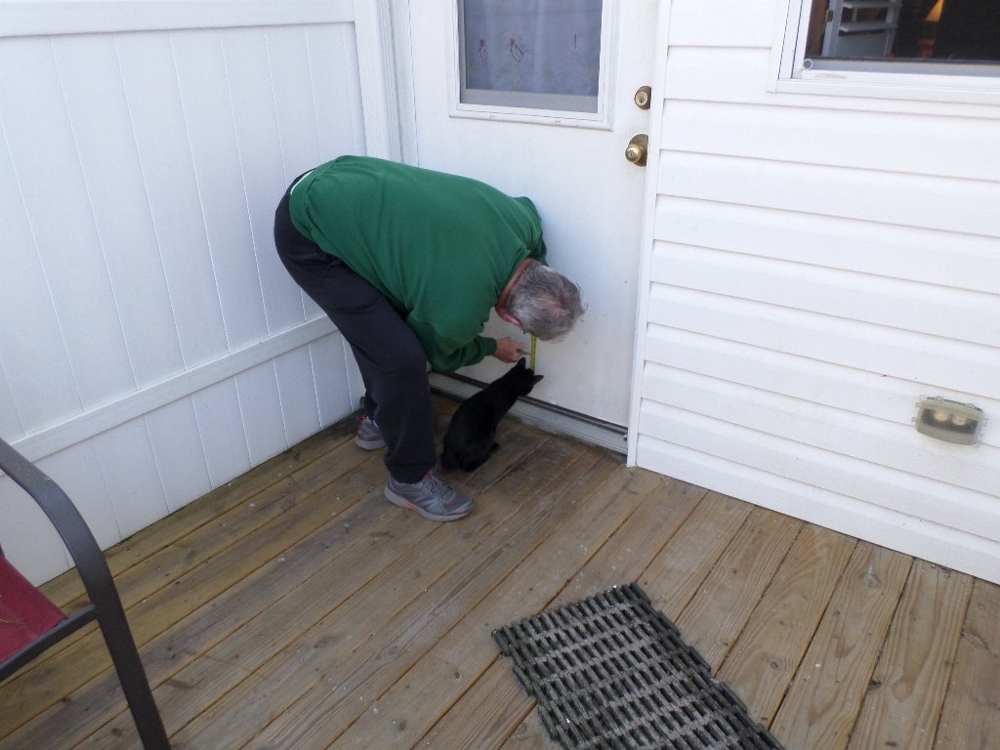
Recently, after nearly 12 years of fur-filled good times, their cat passed away. After a brief mourning period, they rescued a new kitten from the shelter. An all-black cat with no tail sounded like a bad omen to me, but once they brought the delightful little tramp home, it was hard not to fall in love with the little fellow, at least until he started to get mean.
After a few playful bites and scratches, he instantly became known as mean-mean kitty and has lived up to that name to his fullest potential. That’s when they decided it’s probably a good time to let him go outdoors and burn off some of his mean-spirited energy. A basic pet door was purchased so he could go in and out during the day. It also locks at night so he doesn’t get eaten alive by the other “wilder” creatures in the vicinity.
Chop Shop
My parents have a simple metal door with a foam core on their back entrance, so we decided to install the new pet door in this location. They purchased a smaller pet door so their dog wouldn’t get out with the cat since she’d probably be sniffing hind ends from here to the next county by the time they returned home from work. We decided on a 9×9-inch door, but of course, you really need to measure the height and width of your pet before you decide on a pet door opening size.
It’s also a good idea to measure the undercarriage of your pet. In other words, how long are its legs? That will give you a good height to make the bottom of the opening. After all, you don’t want them leaping up or crouching down to get in and out. We made our opening at 4-inches up from the bottom of the door.
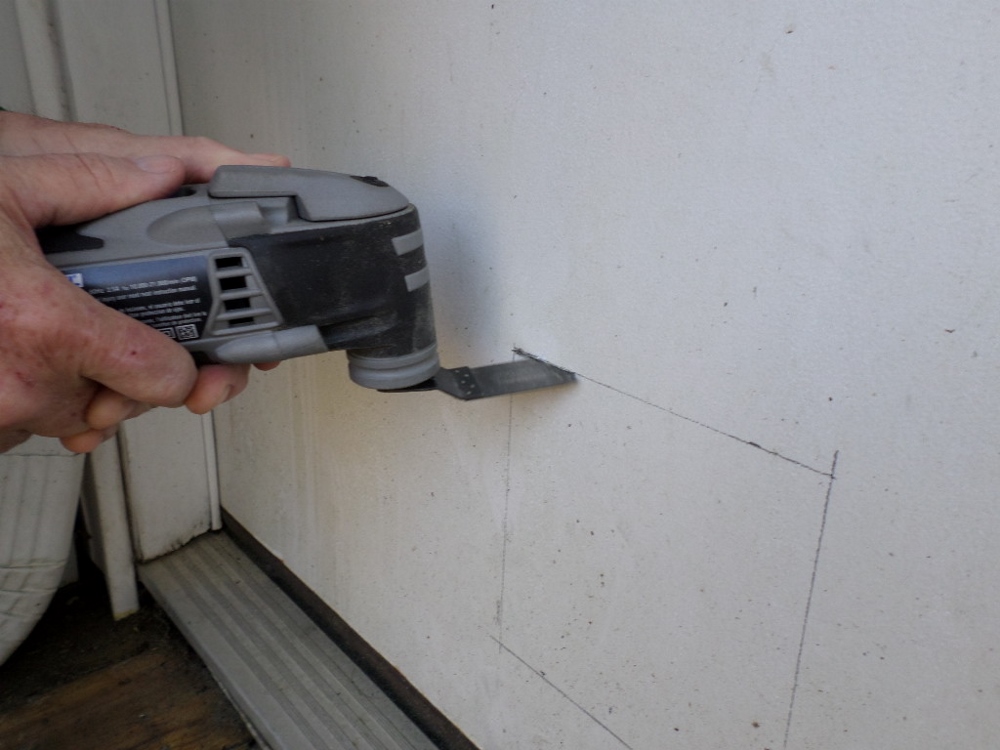
After reading the directions and laying out the soon-to-be-cut opening with a pencil, I broke out my Dremel Oscillating Tool (here’s the review) and started to gently cut through the metal skin of the door. You don’t really need an oscillating tool, a simple carbide or wood blade on a circular saw works just fine, but if you have an OMT handy, it does the trick exceptionally well.
Once I cut through the outside layer of metal and a bit into the foam, I had a nice square cut on the outside. No need to remove the panel yet. Use a drill to punch a small hole into each corner of the freshly cut square so that you have an aligned template on the inside to match the opposite opening.
Connect the Dots
With drill holes in each corner, all that was left was to connect the four dots with a straight edge and pencil line on the inside of the door. I repeated the cuts with the oscillating tool as I did on the outside and out popped the metal-foam-metal square from the door. I used a small knife to trim away the excess foam from the door for additional clearance.
Next, we installed the door according to the manufacturer’s specifications. I added a little bit of silicone to the door opening first before I screwed the two panels in place on each side of the opening. I don’t know if that helped, but it made me feel better about leaks as the pet door didn’t really have much of a flange to keep water from getting in around the edges. We drilled two small holes for the screws through the door as per the pet door’s instructions.

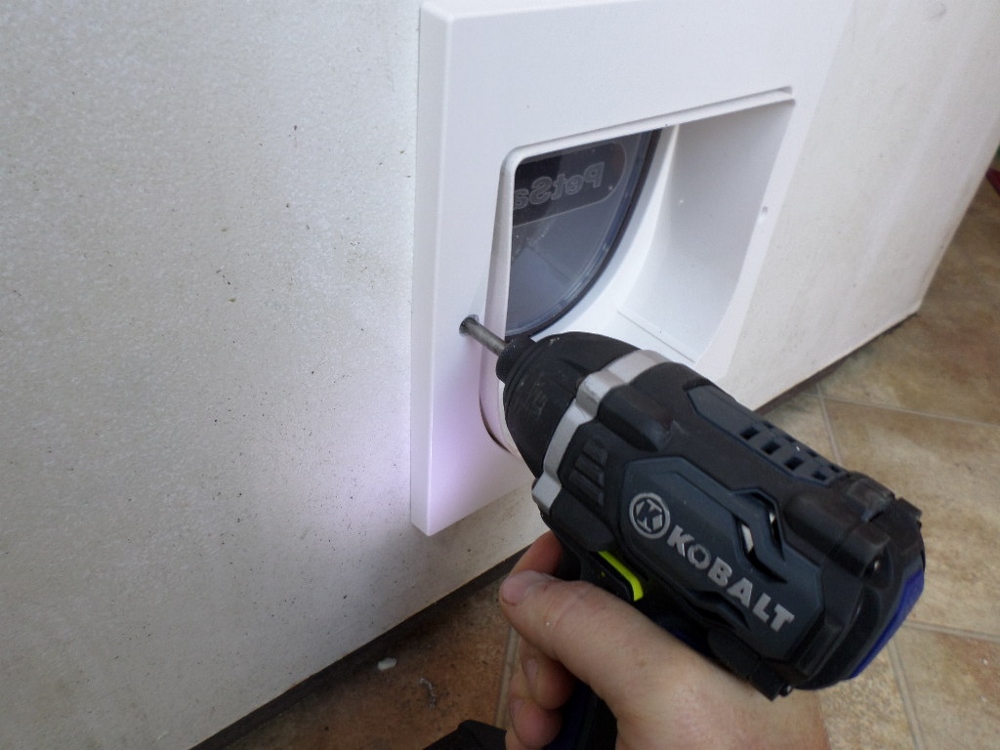
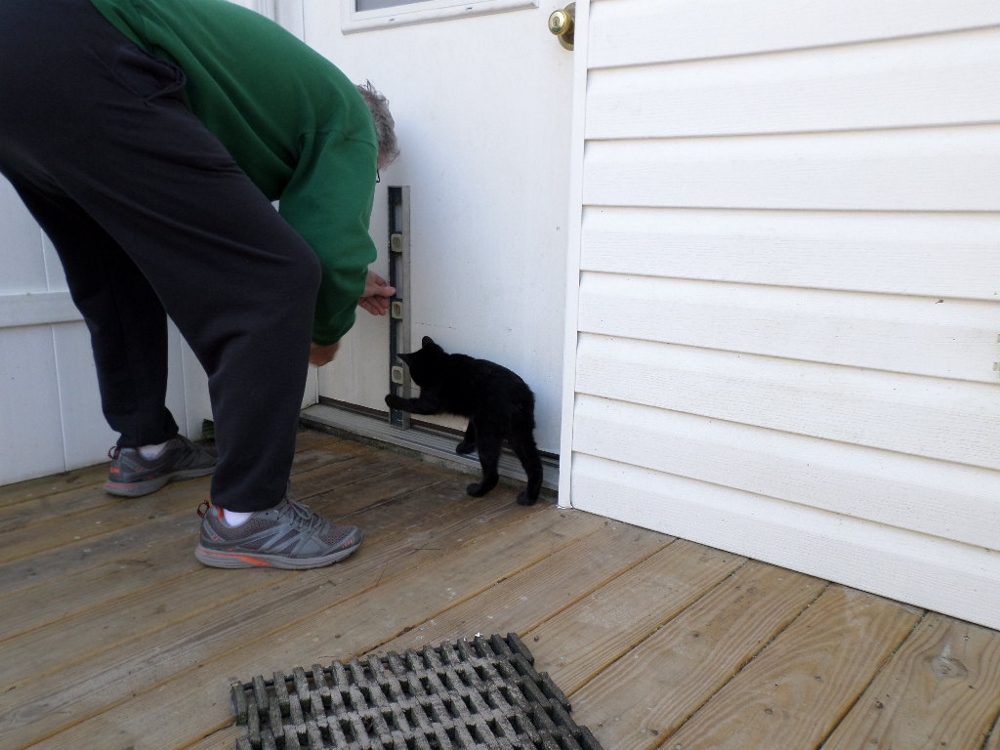
Once the screws were tight, we checked the pet door to be sure that it opened both ways and locked correctly. It only took a little persuasion with a bit cat food to get mean-mean kitty to use the door. Unfortunately, he’s still just as mean as before, but at least he can go outside during the day to wear off some of his aggression towards my family’s legs when they come home to his fur-fueled rage.


