

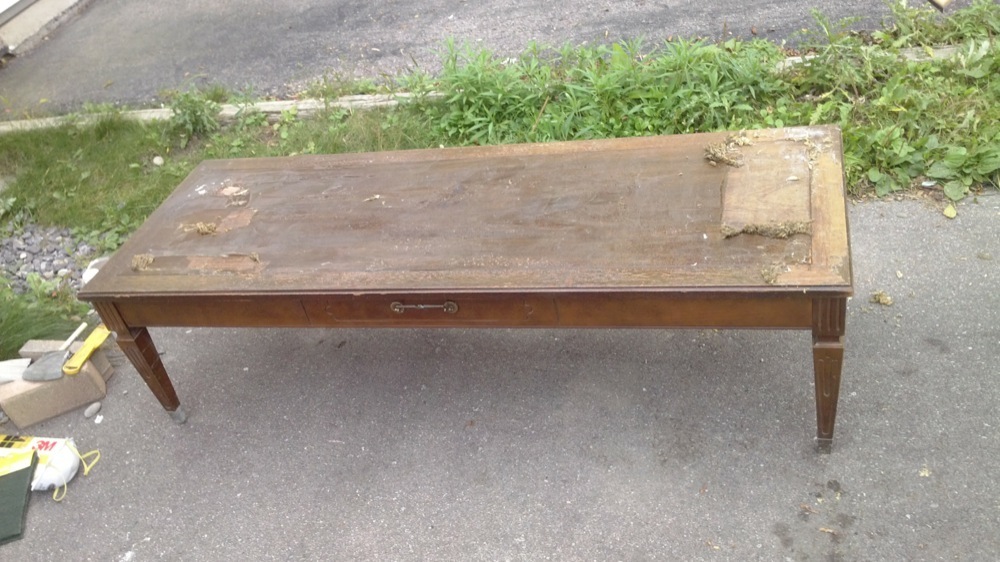
First, a little backstory. On garbage day, I was riding my bike around and spotted an old, solid walnut coffee table. It was in rough shape and ugly, which explains why someone put it curbside on trash day. However, I knew with a little work it could look great again! Since I have no car, I put the table on top of my bike and walked it home. This was the hardest part of this coffee table restoration process, especially since I was also carrying another chair I found. The looks I got from passing motorists were priceless.
When I got home I was so excited to fix it up, I forgot to take a picture before I started work on it. Luckily I didn’t get too far and I snapped a mostly “before” picture seen here.
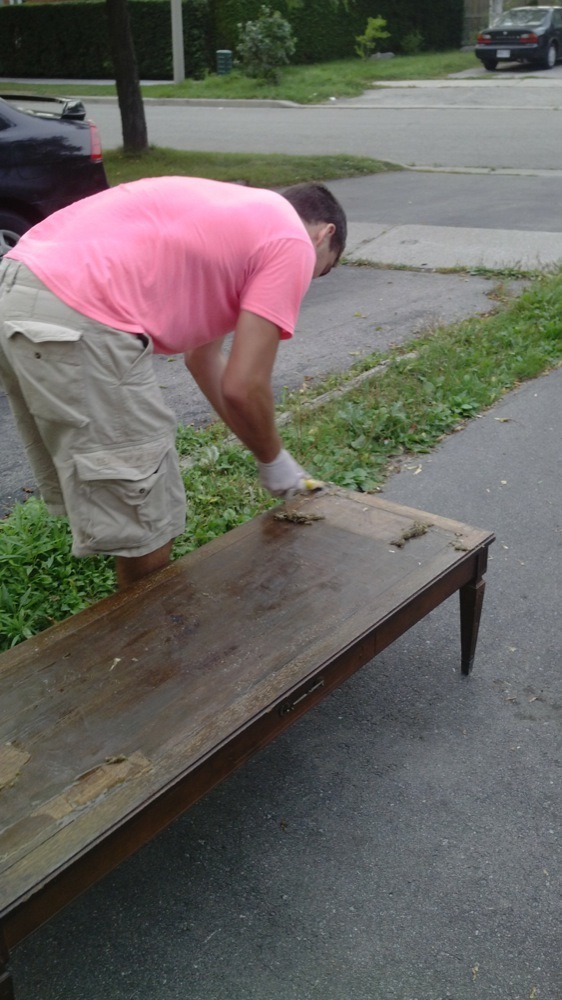
Removing old finish can be a brutal part of projects like this. To remove the old stain and finish I used Heirloom Furniture Stripper wearing safety gloves and a mask for proper protection. I’m in Canada, so if you’re not able to dig up this particular product, HomeFixated has previously used Franmar’s Soy Gel Stripper with great success. As a bonus, Soy Gel is unlikely to melt the flesh off your body like some other harsh chemical strippers out there.
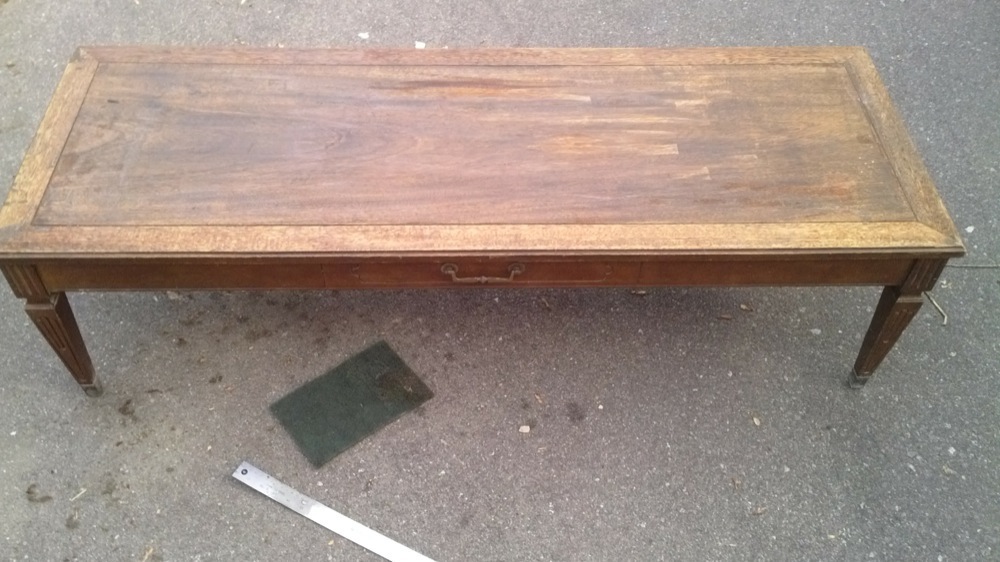
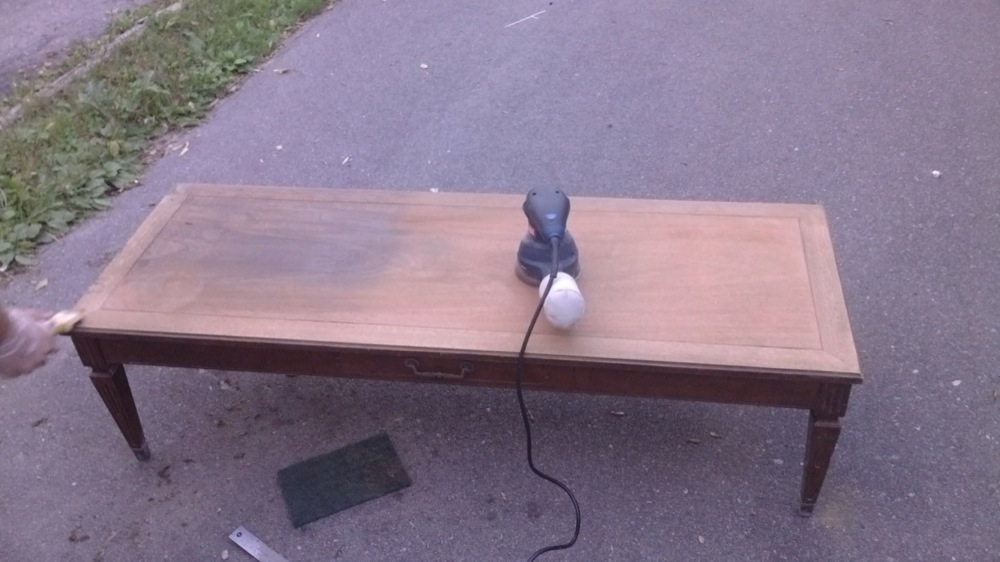 Using an orbital sander, I removed any remaining finish using an aggressive 60 grit sandpaper. To smooth out the top further and prepare it for the stain and finish I sanded it by hand 3 more times with 100, 180, and finally 300 grit sandpaper.
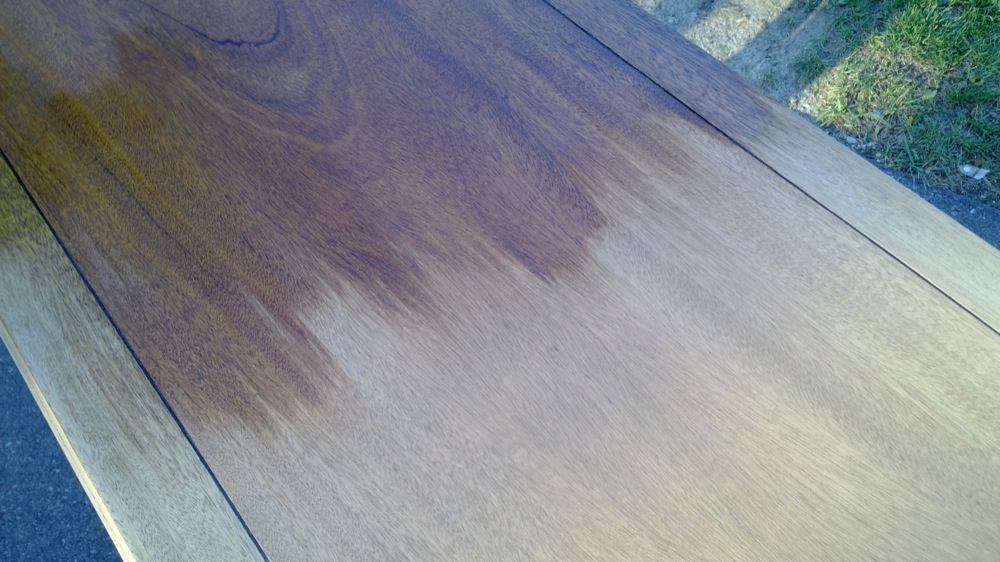
Once the top was all sanded it was ready for stain. I chose a medium stain which added character but wasn’t so dark that is masked the wood’s natural grain and beauty. To finish it, I used a brush to put on Shellac. I applied it in one continuous movement across the wood. I went with the grain and attempted to put the finish on as evenly as possible.
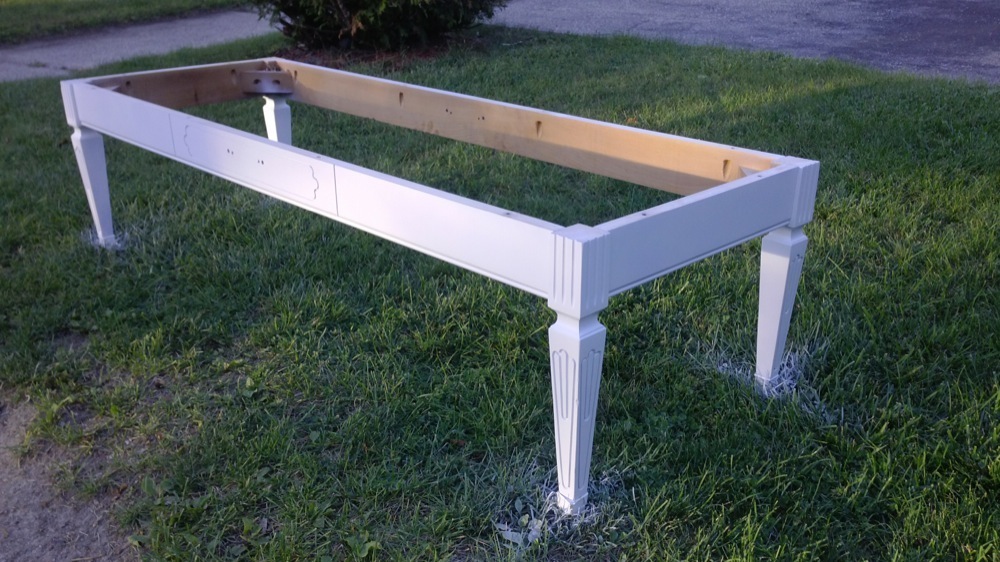
To be efficient with time, while the finish was drying, I spray painted the base white. Yes, spray painted. Purists might complain and question why I didn’t go with stain, or even brushed on paint. For me, it came down to convenience, speed of application and even aesthetics. While the spray paint was drying, I gently sanded the top of the table using 300 grit sandpaper and put another layer of shellac on.
Lastly, I changed the existing hardware with surplus old door handles I had from kitchen cabinets. I think these wound up working much better with the style of this particular coffee table restoration.
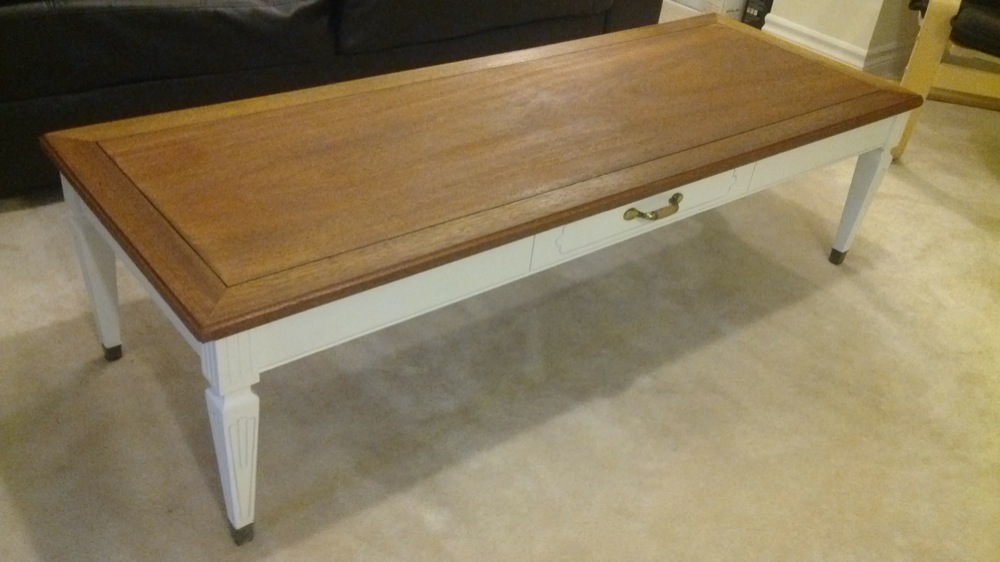
And finally, I was finished! It took about 4.5 hours with waiting time and cycle-top transportation to finish the table. Total budget was about 25 dollars for the spray paint, paint brush and shellac. I’m very happy with the results and find the two tone look of the table really draws attention to the beautiful grain of the wood. Also, the white paint does a nice job of highlighting the grooves/design of the legs that you might not notice if the piece had simply been stained.
The Offical Coffee Table Restoration – Before
The Offical Coffee Table Restoration – After
Guest Bio
 Elliot Wajchendler resides in Toronto, Canada and recently graduated from Ryerson University studying Architecture. His favorite day of the week is garbage day. Picture this, 100+ pounds of great potential on the curb, no car, just a wagon, a bike and the determination to get it home to work magic on it. He managed to furnish his entire apartment this way. Finding that diamond in the rough and restoring it to its true glory is a passion! Learn more about Elliot on his personal blog.


can I Have It
Very nice job. Certainly “re-purposed” that table. I wouldn’t have thought to stain the top & then paint the bottom. It looks very well.
Nice find and nice job on giving that old table a new lease on life! Nothing at all wrong with the spray painted base. It looks great and really sets off the top.
Thanks John and Umpire, glad you liked the project!