

Remember how clever some people thought they were; with that predictable howler, “Time to buy a watch!”, every time someone asked the time of day? Yes, I’ve been that guy and I’m not proud of it. Fast forward to cell phones, however, and that old passé zinger’s done gone slack in the mainspring. But there is a timepiece that will never fall out of favor: the wall clock. And with a few simple tools, wood, glue and a cheap clock movement you can make your own custom wall clock in just about any shape or theme you’d like. This weekend project will be ticking in style for many years. Who’s laughing now, funny guy? That’s right; still no one.
Two Hairs Past A Freckle
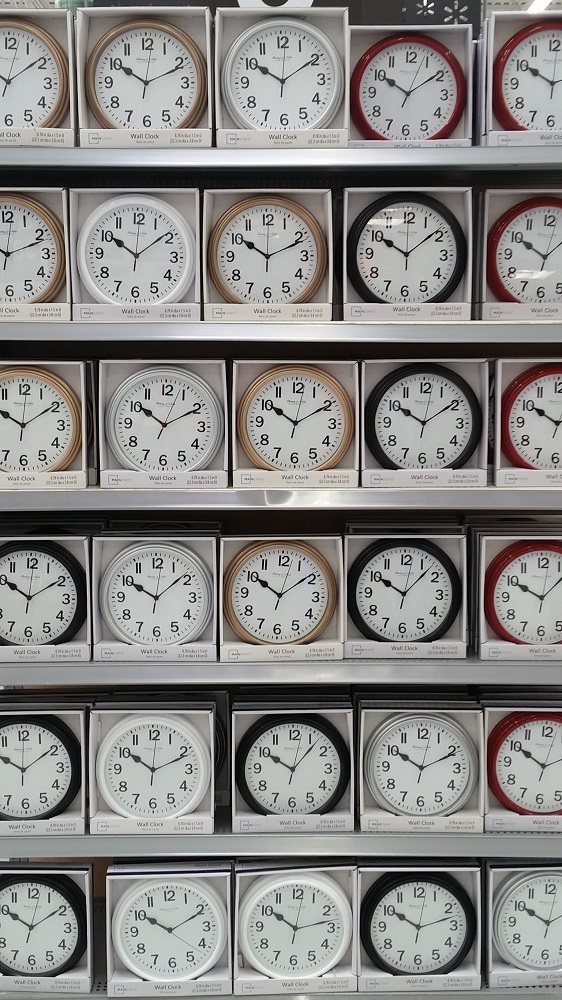
Sure, trends evolve over time. Grandfather clocks and cuckoos aren’t nearly as hot as they used to be. And the once ubiquitous wrist watch is now fewer and farther between. Pocket watches? Forget about it. But clocks themselves aren’t going anywhere anytime soon. Especially when it’s a super cool one you made yourself!
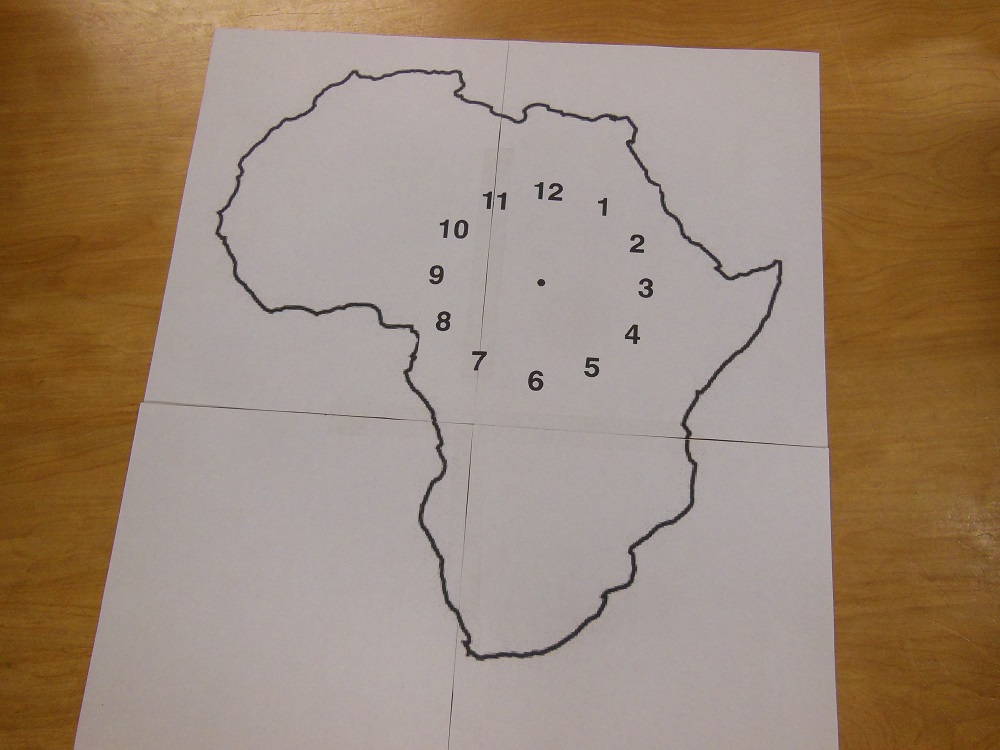
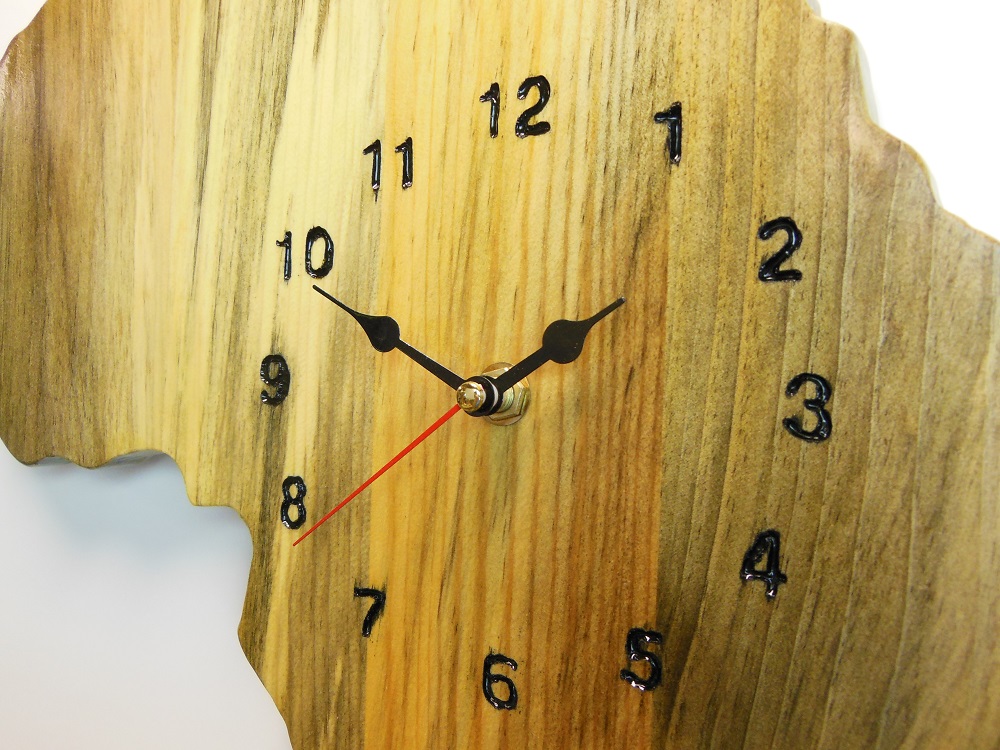
The process begins by overlaying a clock face template onto an outline of your choosing. In my case, both the clock face and the Africa line drawing were found online as clip art. I combined the two with image manipulation software, but you could just as easily print them separately and glue them together.
Prepare The Material For Your Clock

This clock was made from some of the pallet slats harvested in an earlier post. But there’s no reason why you couldn’t make yours from sheet goods (such as plywood, tempered hardboard or MDF) or even a single board if you really wanted to. But I was going for a particular look and these spalted pallet boards spoke to me.

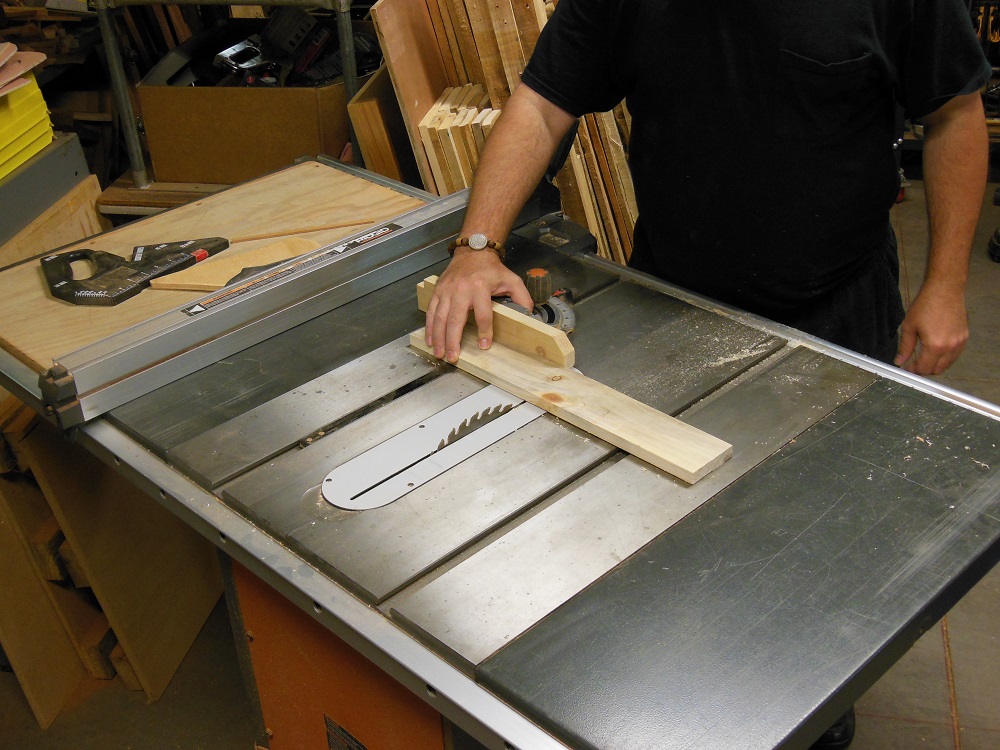
Make sure the long edges of your boards are glue-up ready. If you’re using pre-surfaced material from the home center, you’re probably good to go. Pallet slats, however, are pretty rough. I prepared the edges by jointing (planing, essentially) the first edge. Then I ran that fresh edge against my table saw fence and cut the opposite edge. Now the two long edges of my boards are straight, smooth, square-ish to the faces and parallel to each other. Ready for glue-up. Absent a jointer or hand plane, you may be able to cut both edges at the table saw.
How Long Should I Cut My Boards? – The Fabric Of Time
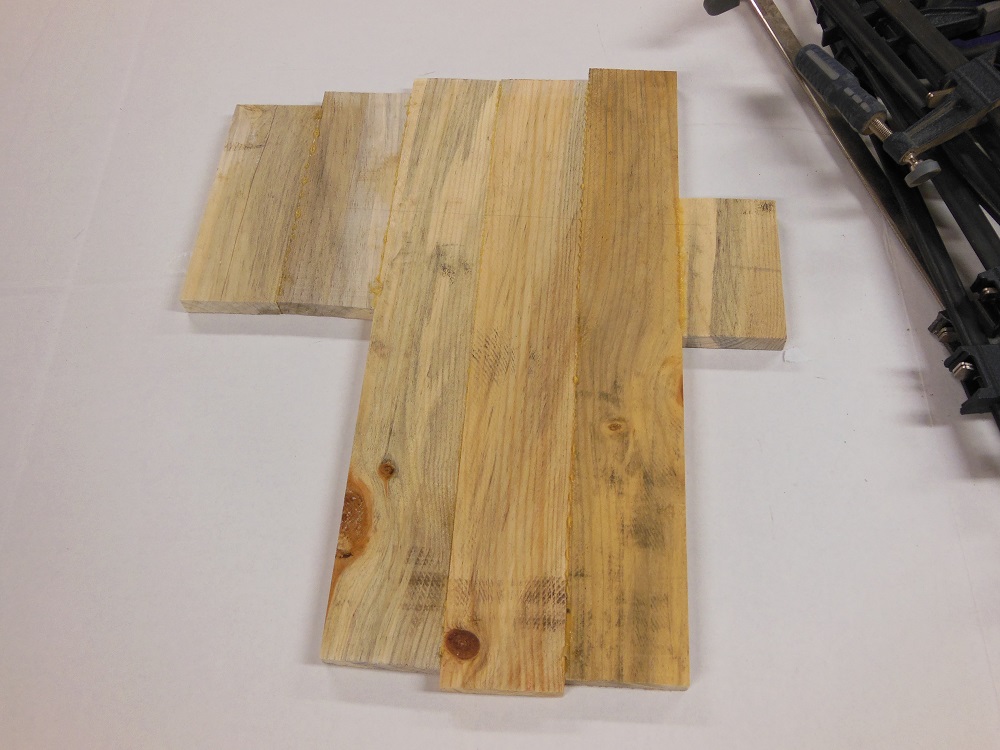
You should cut your boards long enough to get all the way through, of course! [insert rimshot here] But the real question is where you should cut. And that depends on the project. In woodworking, we’re used to starting with square or rectangular blanks and whittling away from there. But in cases like this, we can conserve material by only using what we need.
I used shorter pieces where I could, letting me work around cracks and other problem areas while having more of this cool wood left for future projects.
Got A Minute? – Time For A Glue-Up
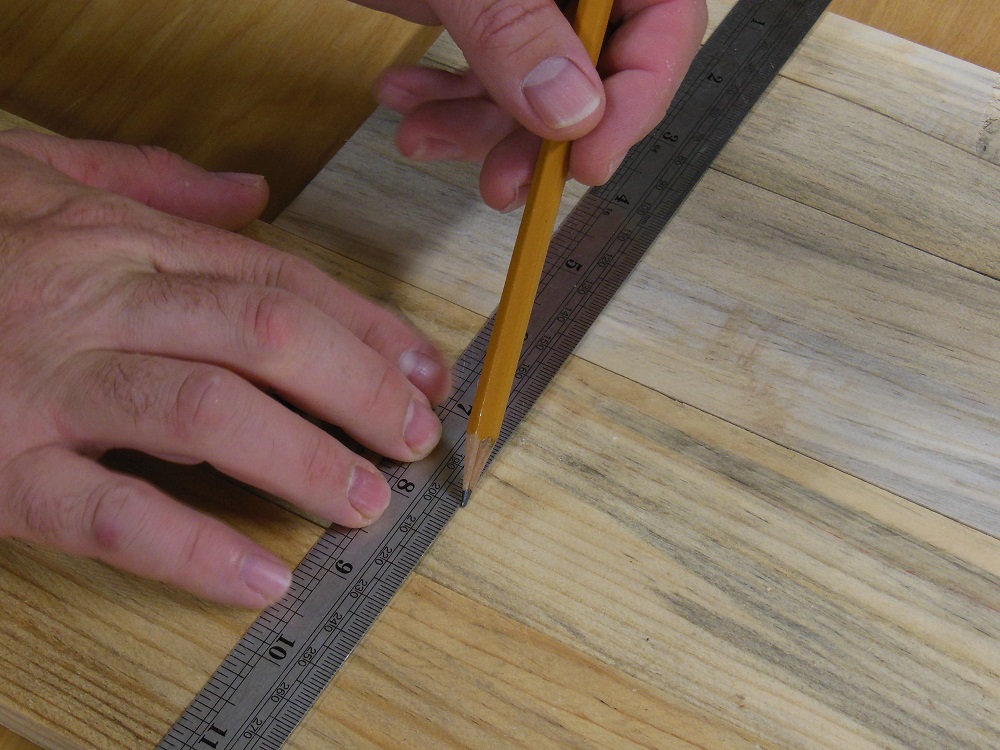
You may find it easiest to glue your boards in pairs, then join the pairs together into the larger assembly. Spread wood glue along the edge of whichever board has the shorter mating surface and align your index marks.

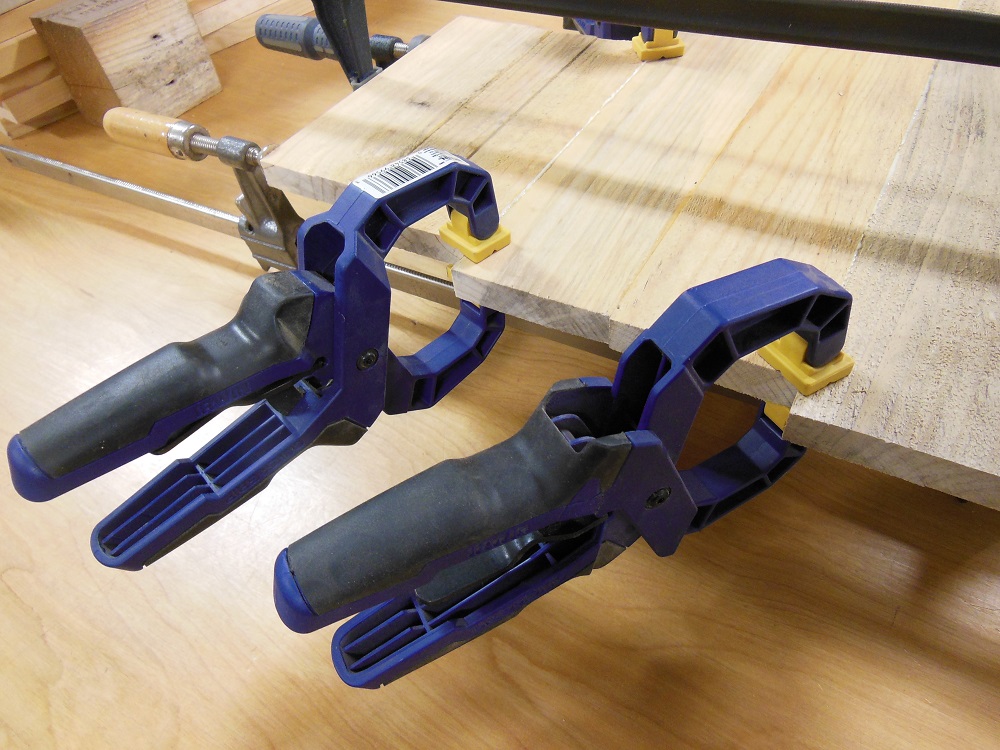
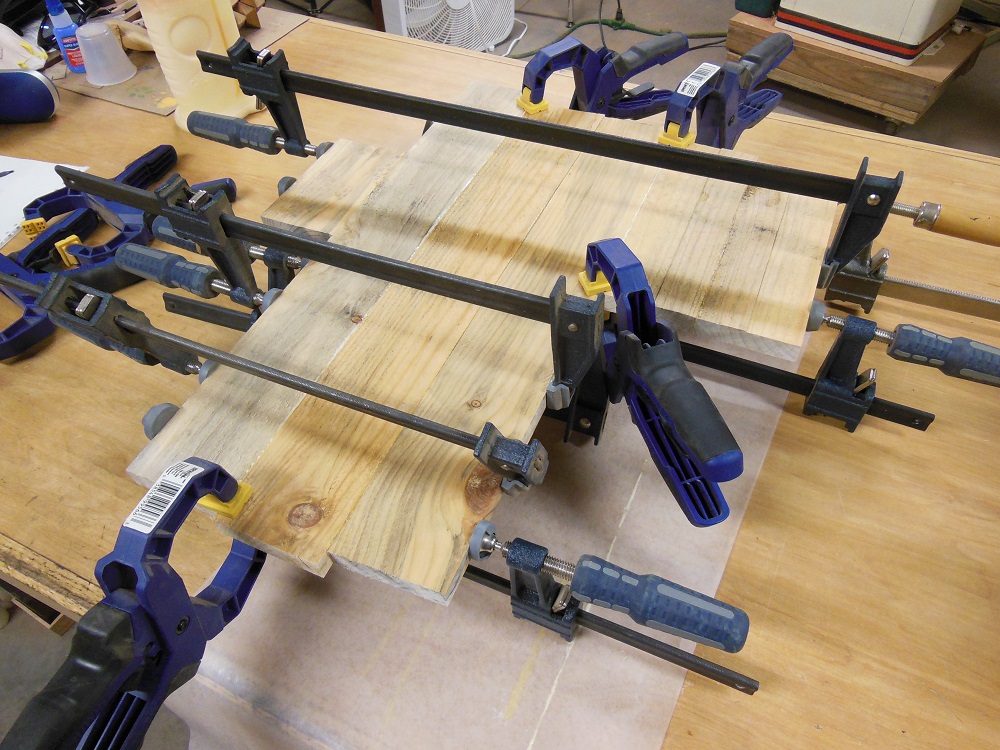
The Big Squeeze – Clamping Your Clock
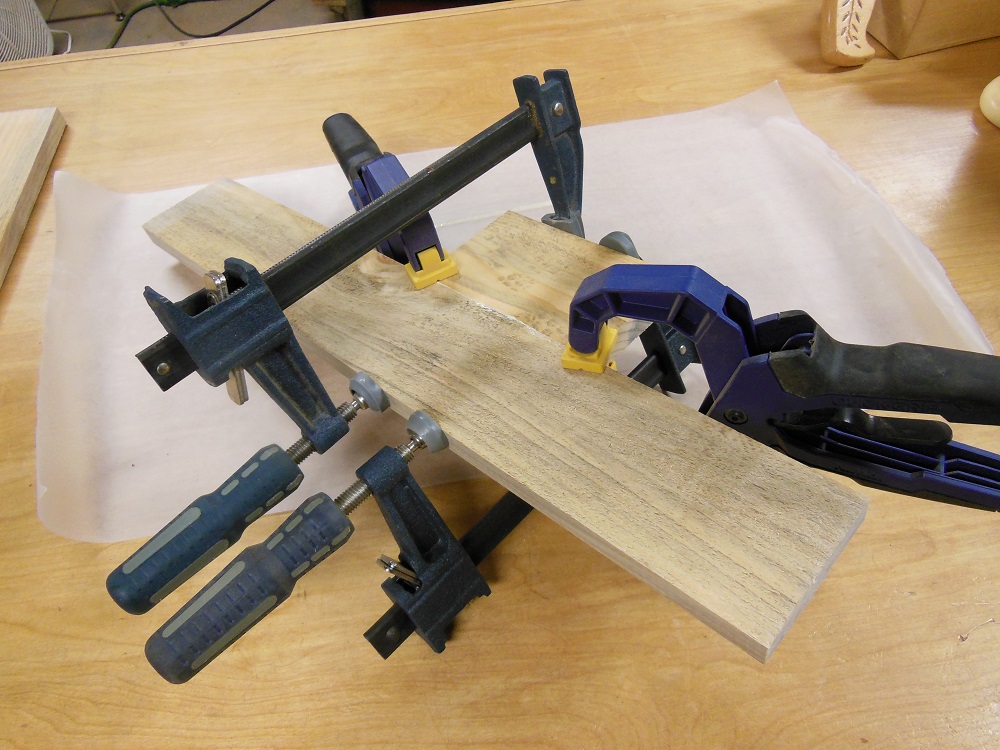
It doesn’t take a huge amount of clamping pressure. Just enough to bring the two surfaces together.
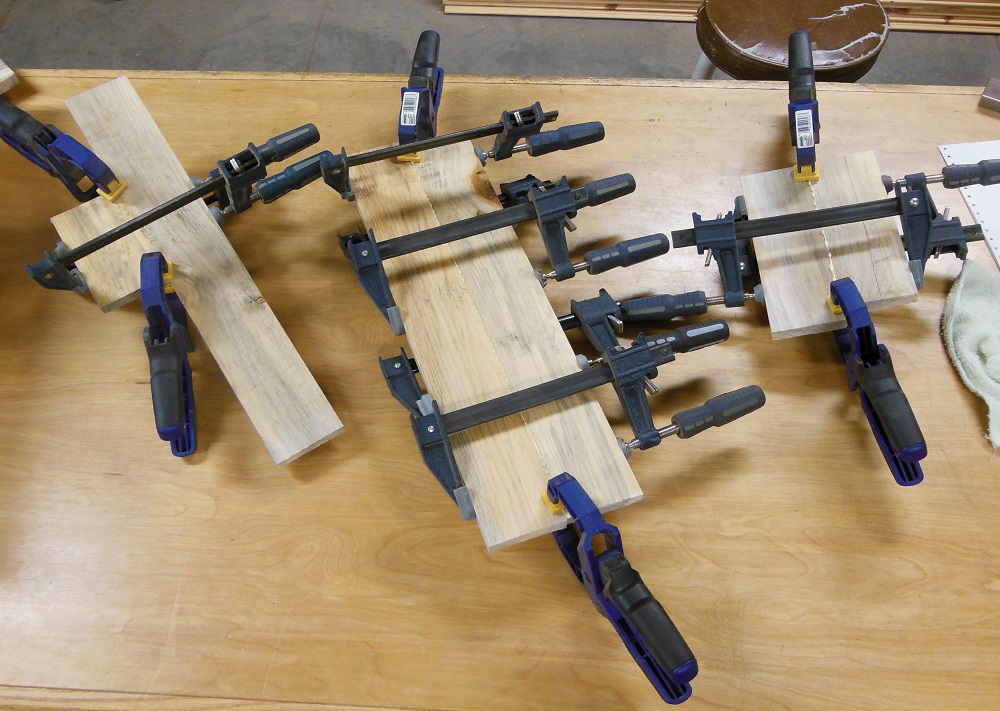
Use bar clamps to pull the boards together and set it aside to dry. Alternating the clamps between top and bottom equalizes lateral forces to minimize bowing.
Attach The Clock Pattern
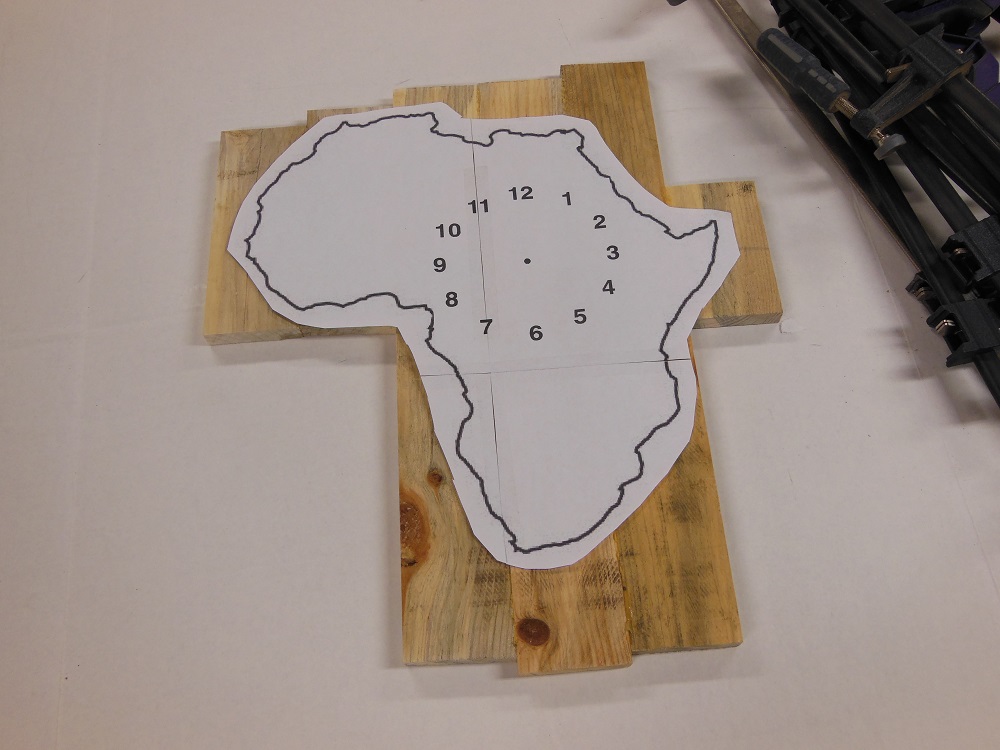
Sand or plane away any high spots that might cause voids underneath the pattern.
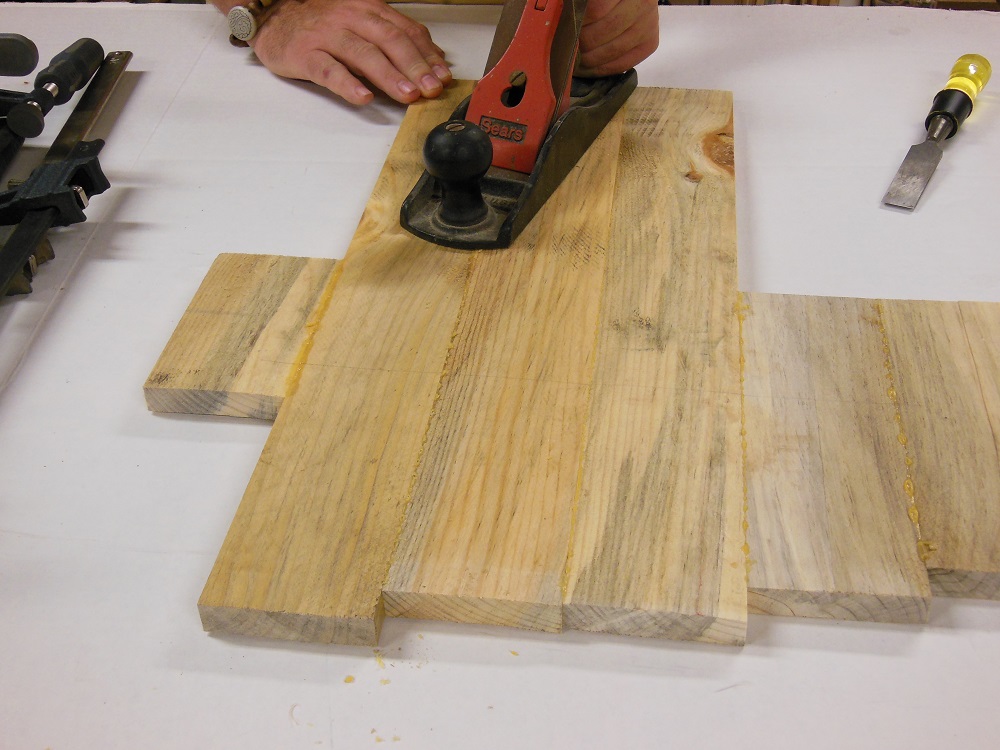
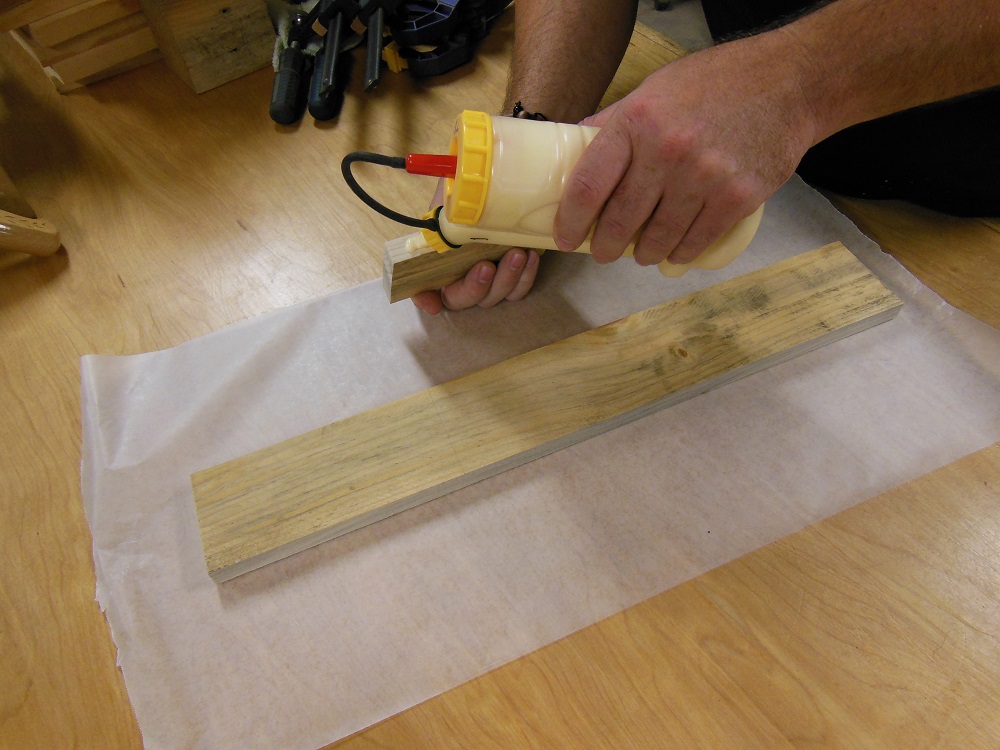
Coat the back of the pattern with spray glue then press it onto the front of the clock blank.

Let’s Face It – We Need To Carve Out A Little Time For Ourselves
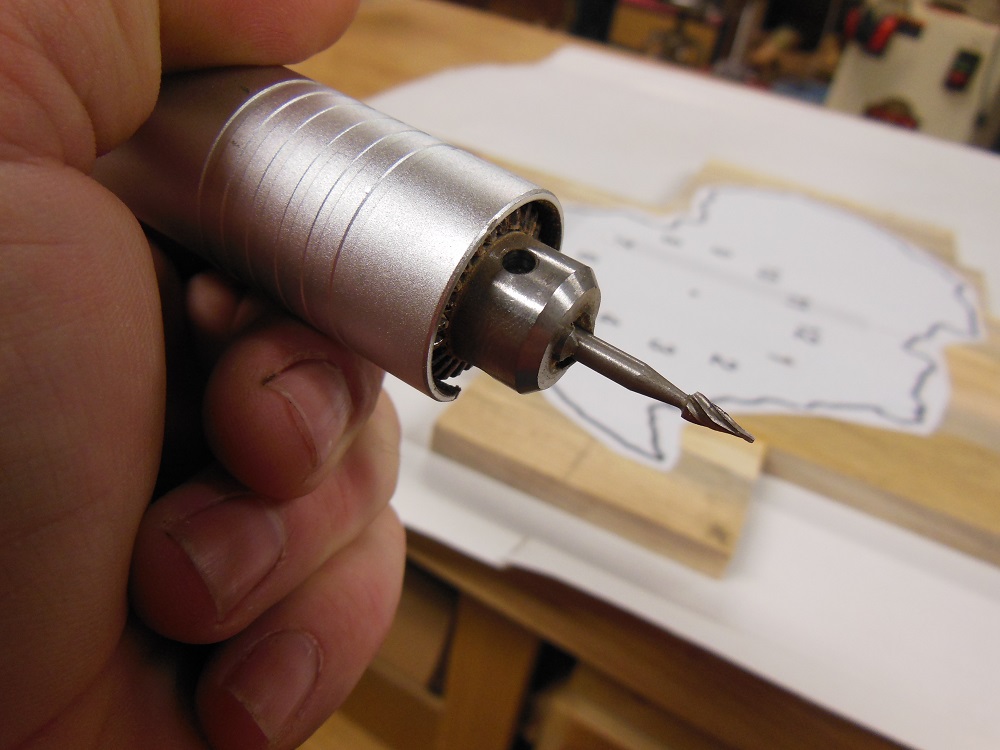
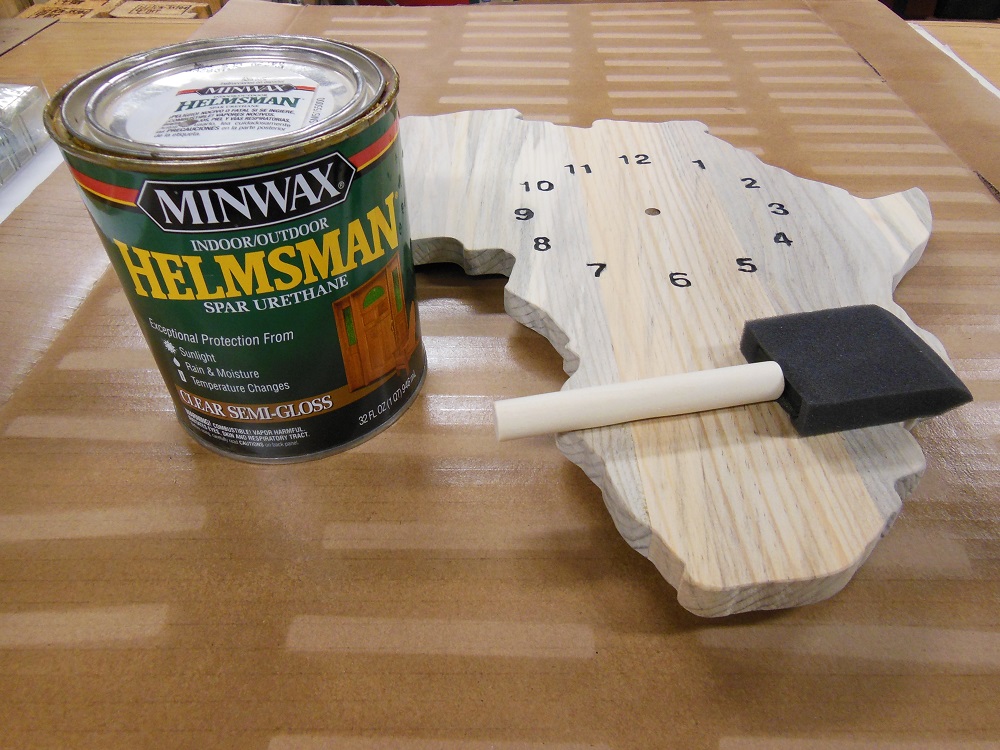
This step is easier than it sounds. All you need is a rotary tool – such as those made by Dremel or Foredom – and a tiny carving bit (not a diamond bit). Experienced carvers may opt for chisels or chip carving knives. And for the weary faces in the crowd, you can always go with a stick-on clock numbers or a pre-made dial.
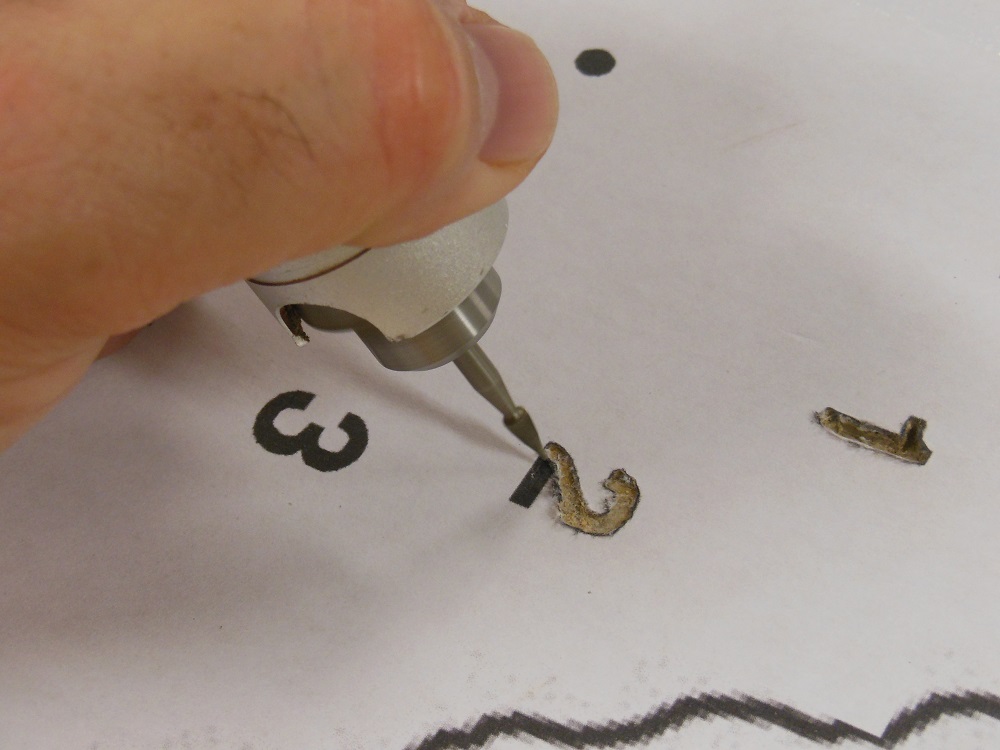
Whatever tool you choose, the objective is to remove wood within each number to a depth of around 1/16” – 1/8”. Take your time and stay within the lines the best you can.
Cut It Out – No Time Like The Present
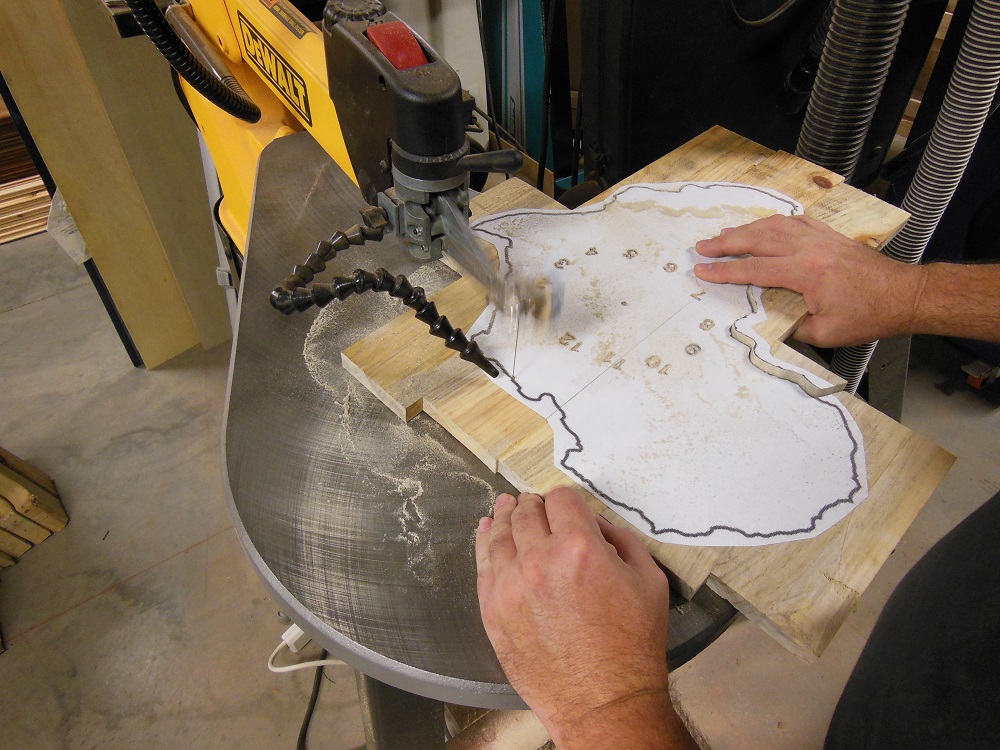
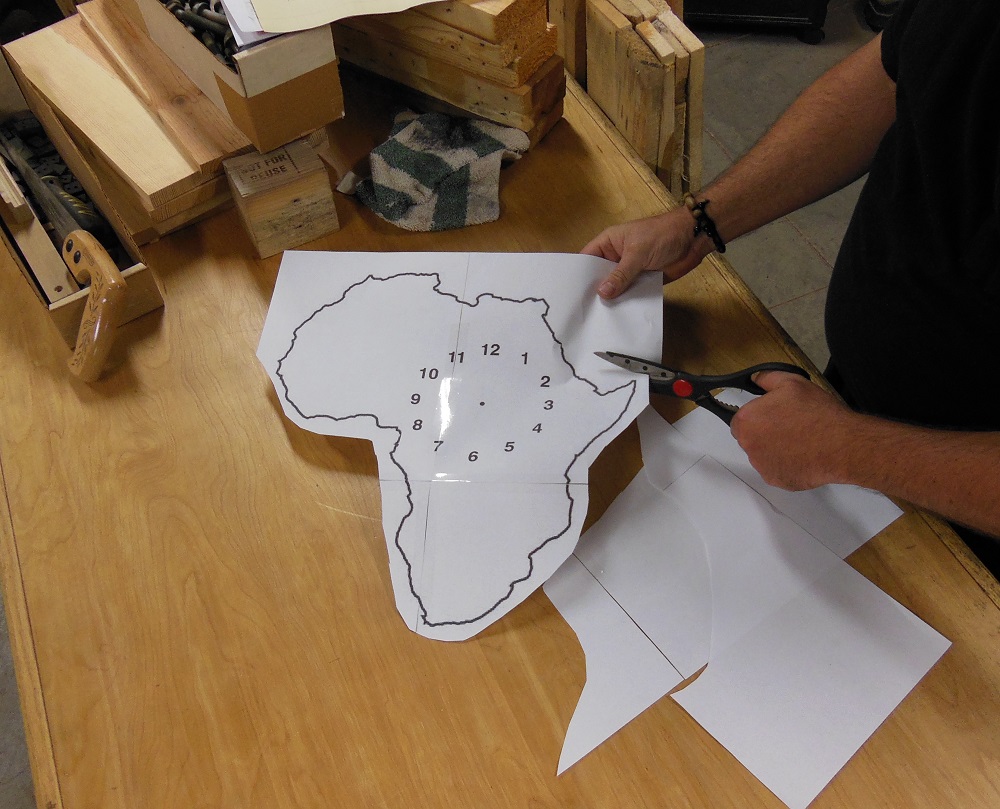
Define the shape of your clock with a scroll saw or whatever works best for you. The lines may be overly thick – since you’ve probably enlarged smaller artwork – but just try to stay centered. No one will have a clue your cuts were a tiny bit off once the pattern is removed.
Or, if you’re fortunate enough to own a CNC machine, you can do this step (and carve the dial) with that instead. This is a no shame zone.
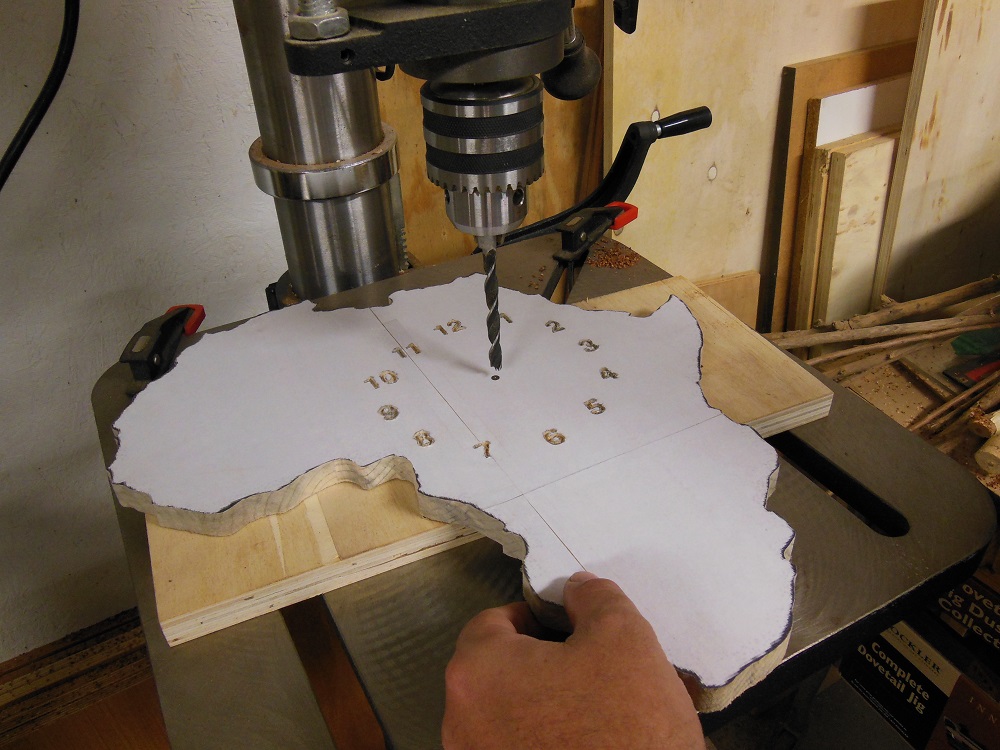
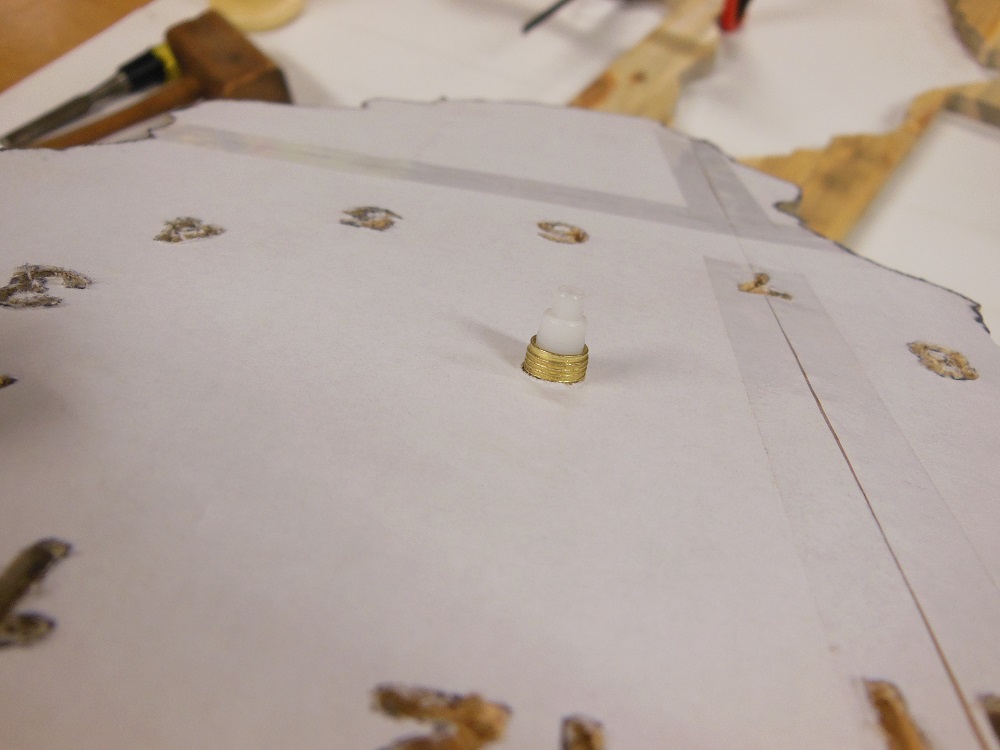
Drill A Hole For The Clock Movement Shaft
You will, of course, need a clock movement and hands for this project. They can be purchased from many woodworking and specialty dealers, including our sponsor, Rockler Woodworking & Hardware.
Drill the center hole for your clock movement. I prefer to use a drill press and brad point bit. It’s easier to keep the hole centered and straight. A standard twist bit in a hand drill will work, but take it slow so it doesn’t wander.
Accommodating The Clockworks
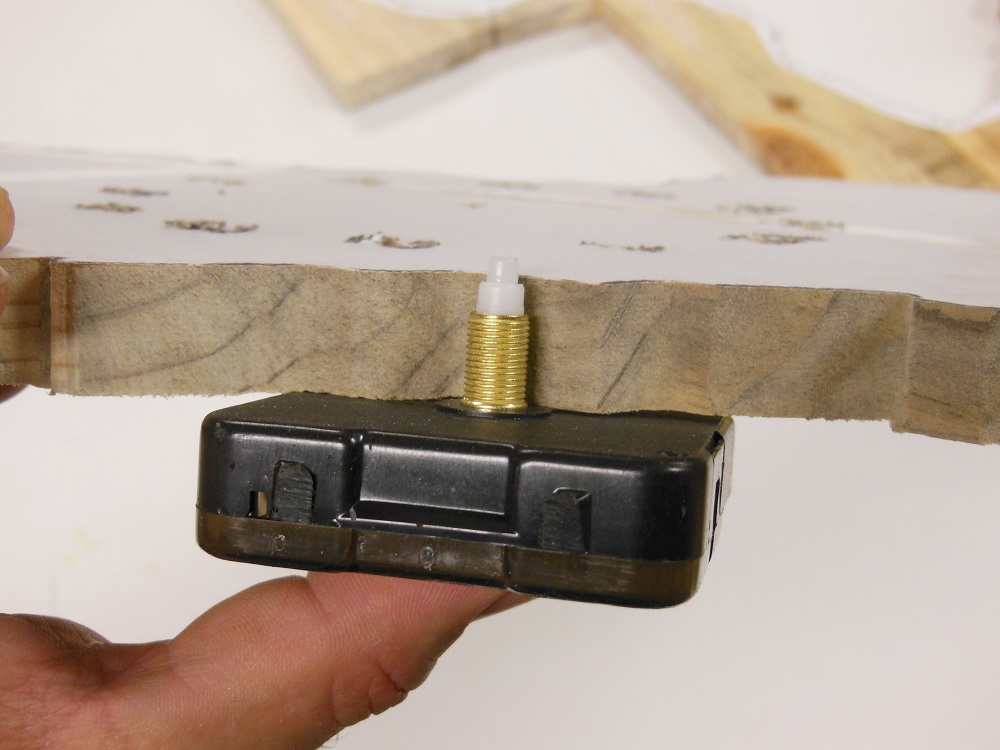
In many cases, the base material is going to be thicker than the length of the threaded shaft. No worries though; this is easy to fix.

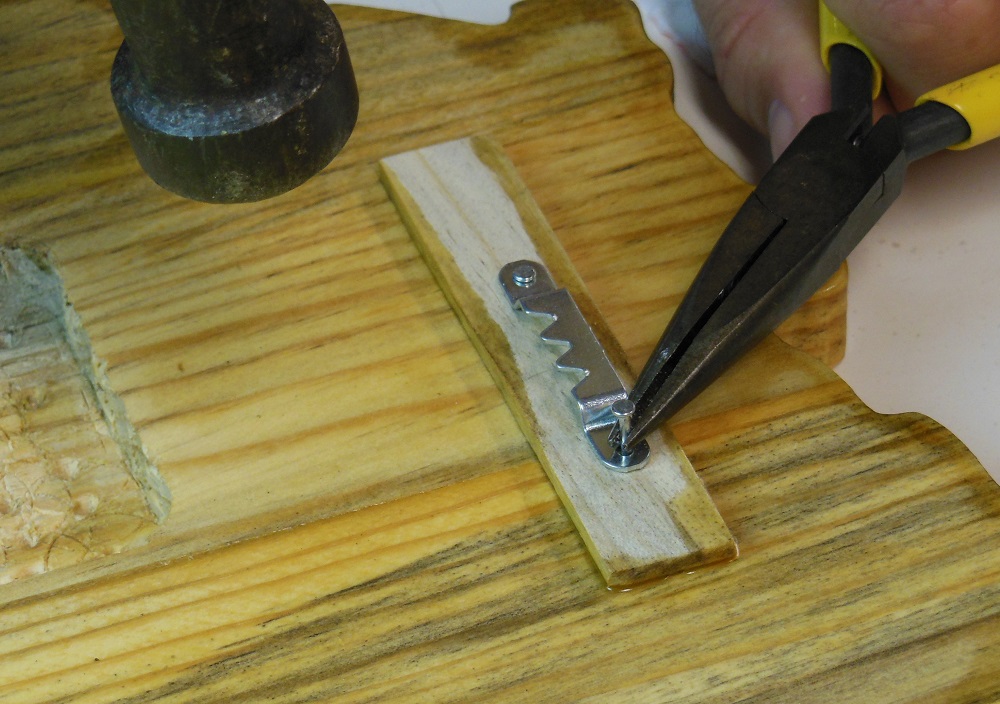
My clock movement had a plastic tab for hanging. I cut it off because the asymmetric shape of the clock shifts the center of gravity over to one side. And it’s top heavy. So if you hang it from there it’s likely off of the wall. I’m using a sawtooth hanger instead.

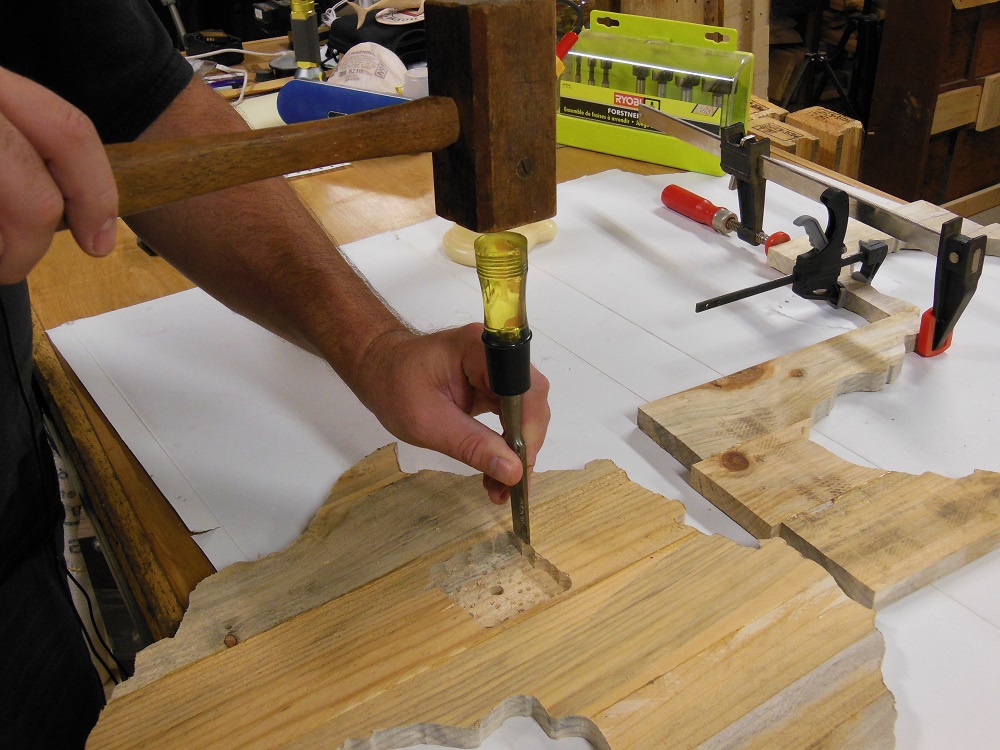
Hour You Bore(d) At A Time Like This?

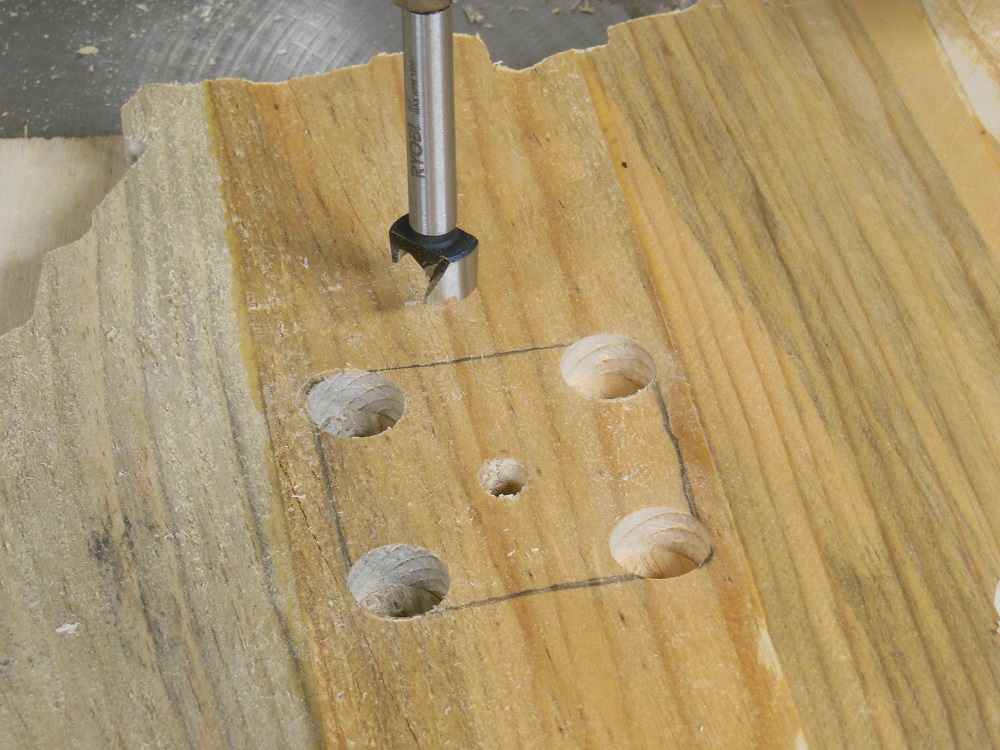
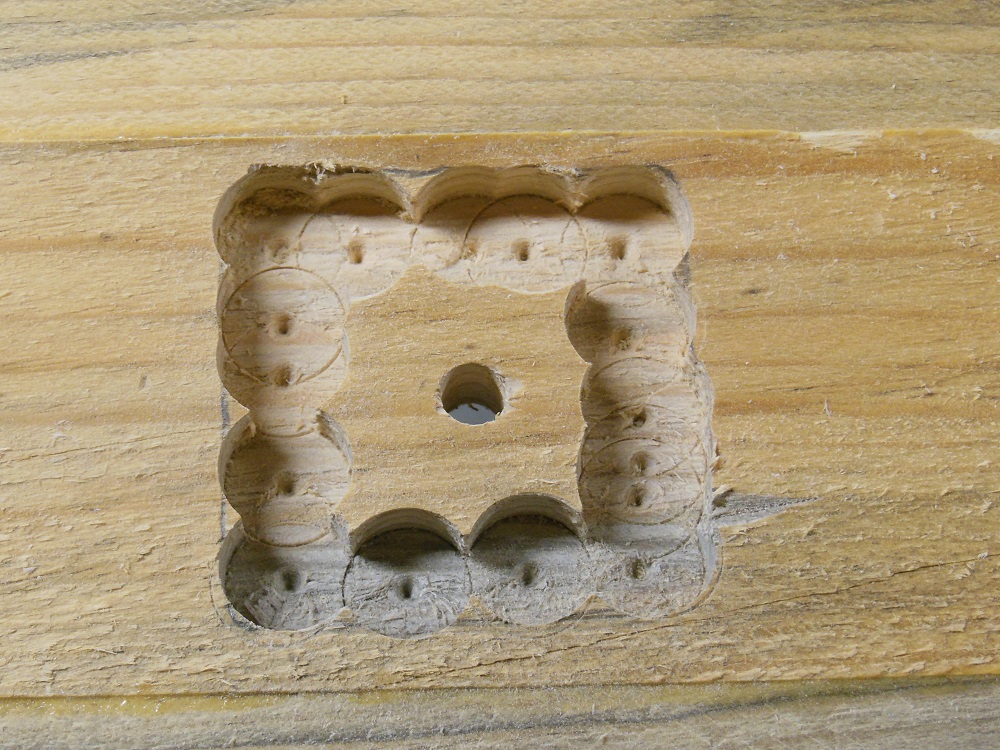
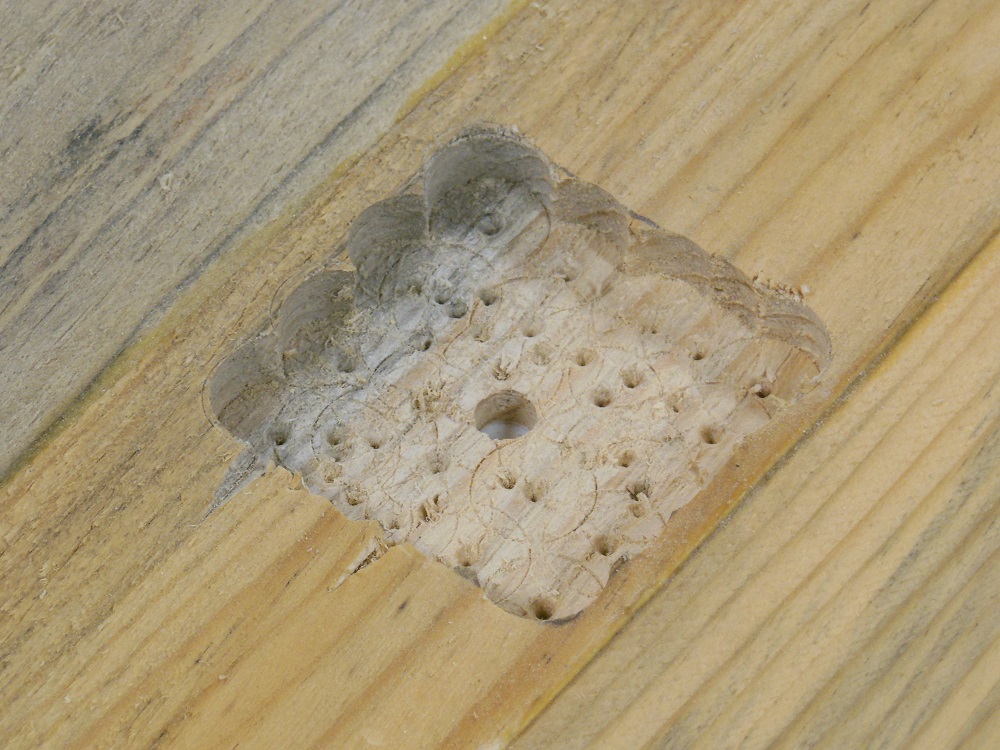
Select a Forstner bit that approximates the radius of the clockwork’s corners. Determine how deep you need to go for the threaded shaft to protrude sufficiently then set your depth stop (or mark the bit) accordingly. Alternatively, use a plunge router and an upcut spiral bit to clear the material.
Face Paint For Your Wall Clock

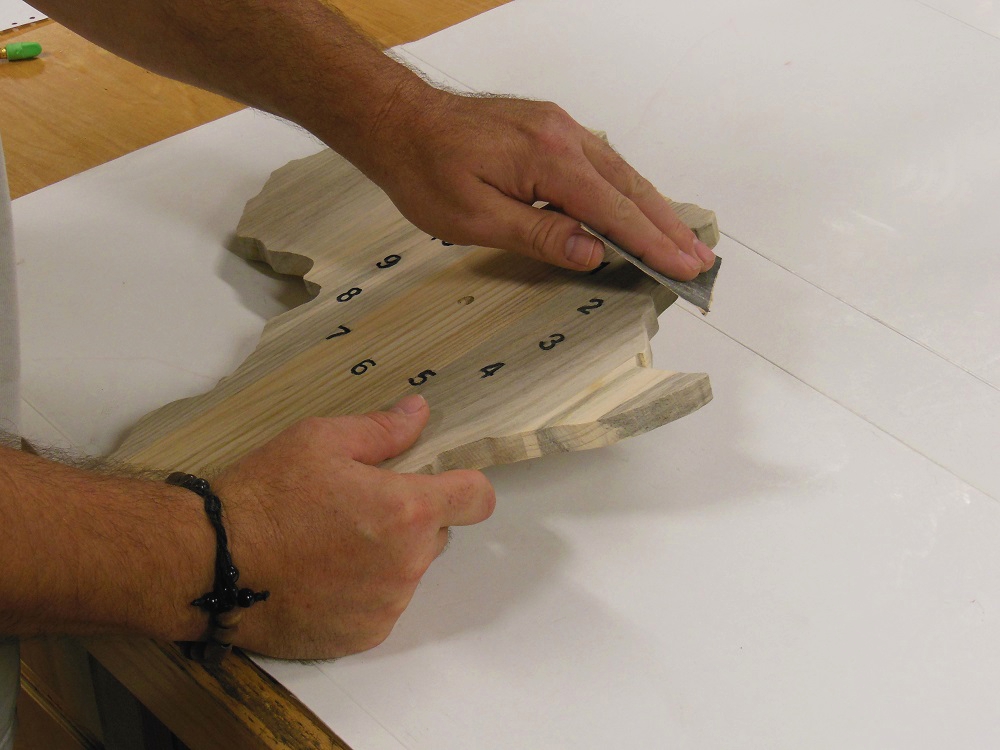
Back to the front of the clock, paint the numbers as you see fit. I used black spray paint. If needed, shield the outer edges of the clock from overspray. Wait until the paint has dried to remove the paper pattern.
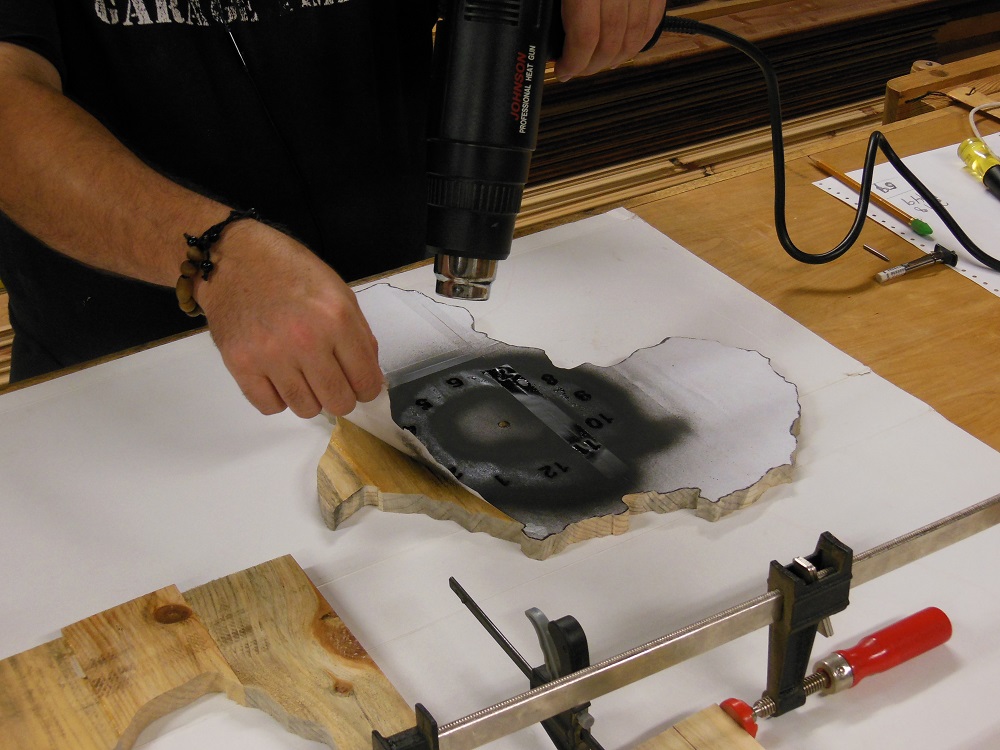
Sand the face of the clock to smooth the surface and remove any paint that may have gotten under the paper.

Space-Time – Spacers For The Back Of The Clock

Depending on your situation, this step may or may not apply. In my case, the clock movement protrudes a bit from the back of the clock body, so I decided to add two scrapwood spacers.
The top one is where I’ll attach the sawtooth hanger. It’s not as tall as the bottom spacer, which sticks out slightly beyond the movement. I determined approximately where the hanger should be located and made the top spacer long enough that I have a little side to side wiggle room for final placement.

A Finish In Time Saves Nine – Or Something Like That
Use compressed air or a tack cloth to remove any remaining dust. I applied two coats of polyurethane for a beautiful, protective finish. The base coat of polyurethane always comes out a little rough to the touch. Between coats, use a 320 grit sanding sponge until it feels silky smooth (it doesn’t take much) and the next coat will be just right.
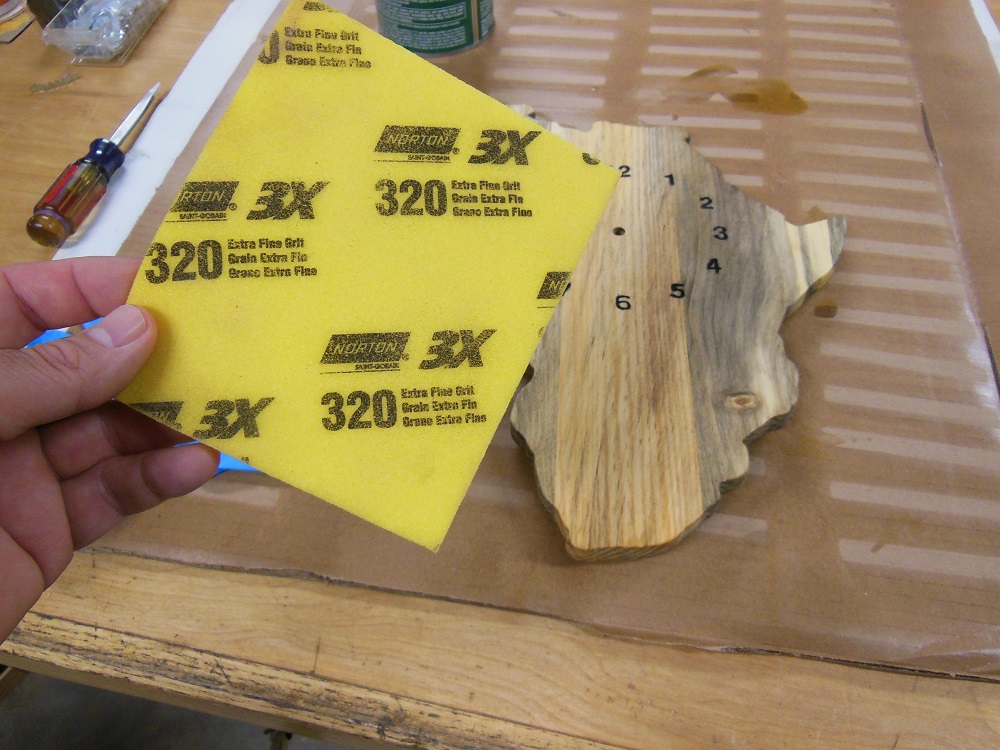
To prevent streaks, use a fresh, clean brush for each coat.

Finding Balance
There are more precise ways of locating the balancing point, but this simple “Goldilocks” method gets me there every time. Grasp the clock near the top edge, hard enough not to drop it, but loose enough to let it lean to one side or the other.

I purposely start too far to one side – then the other – and zero in on the balancing point.
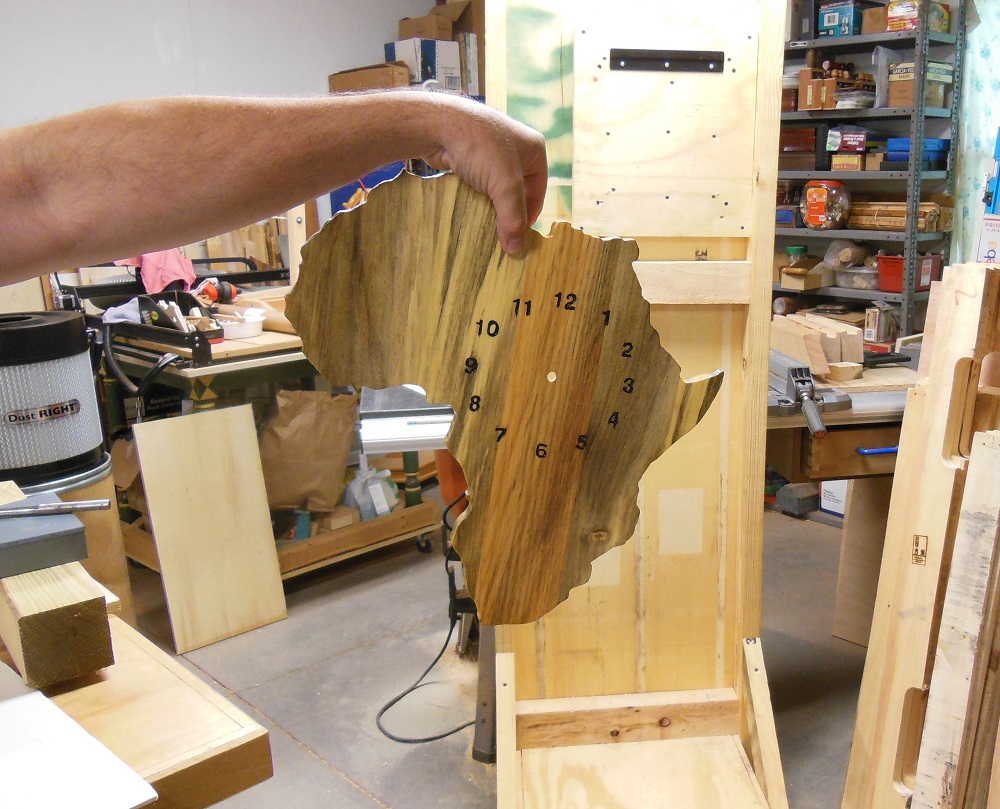
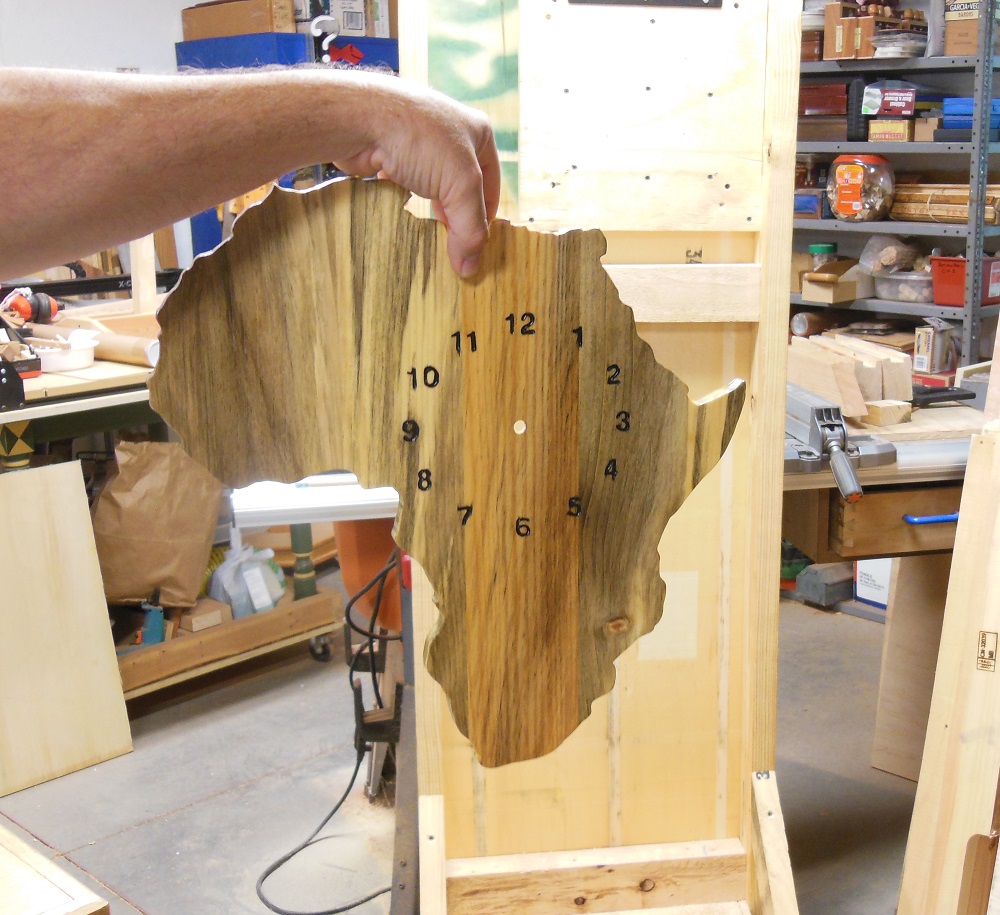
When I find the point at which the clock hangs straight, I know where to center the sawtooth hanger.
Final Assembly Of Your Clock
You probably don’t need much guidance here. But a few things are worth noting.
1) If the threaded post protrudes too far, put a nut and/or washer(s) on the shaft before feeding it through the hole. Adjust that nut to get the depth you want, then install the face washer and nut to fasten the gear box in place.
2) Don’t put a battery in until after you install the hands.
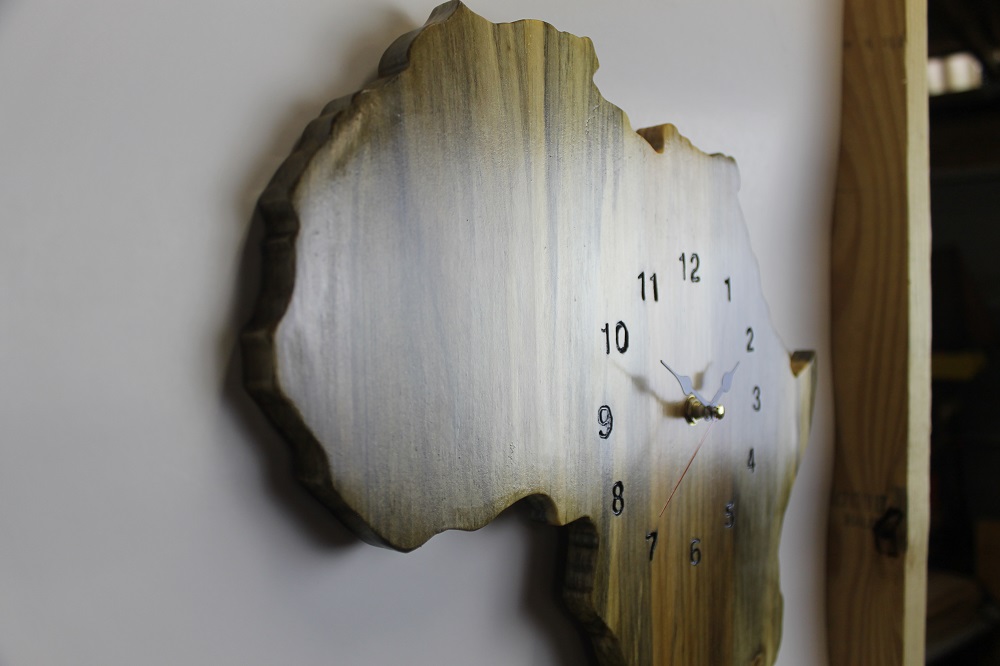
3) When putting on the hands, point them all straight up, towards “12”. That way you know they’re in proper alignment. Then use the adjustment wheel to set the time.
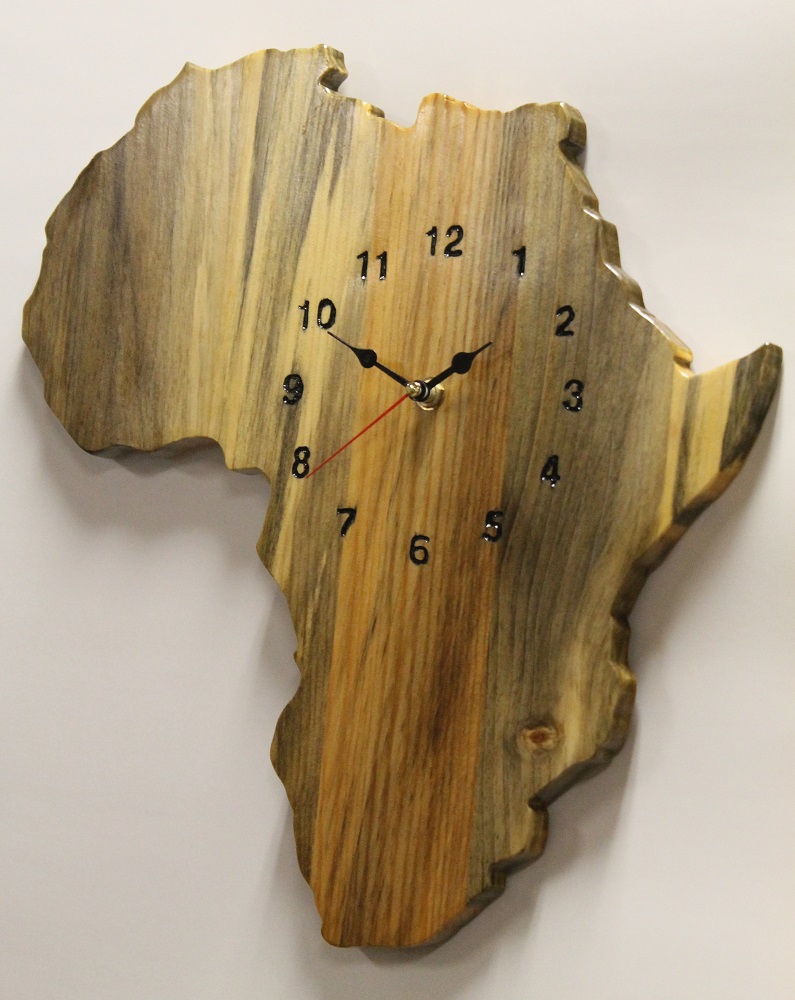
Hickory Dickory Dock – You’re Sure To Love Your Clock
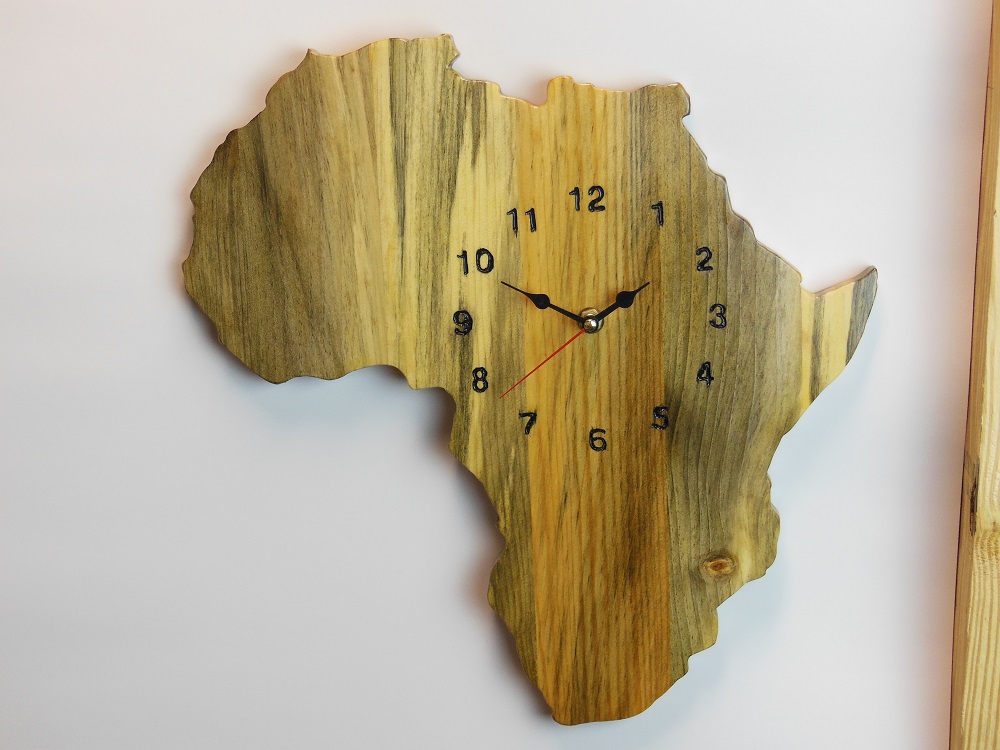
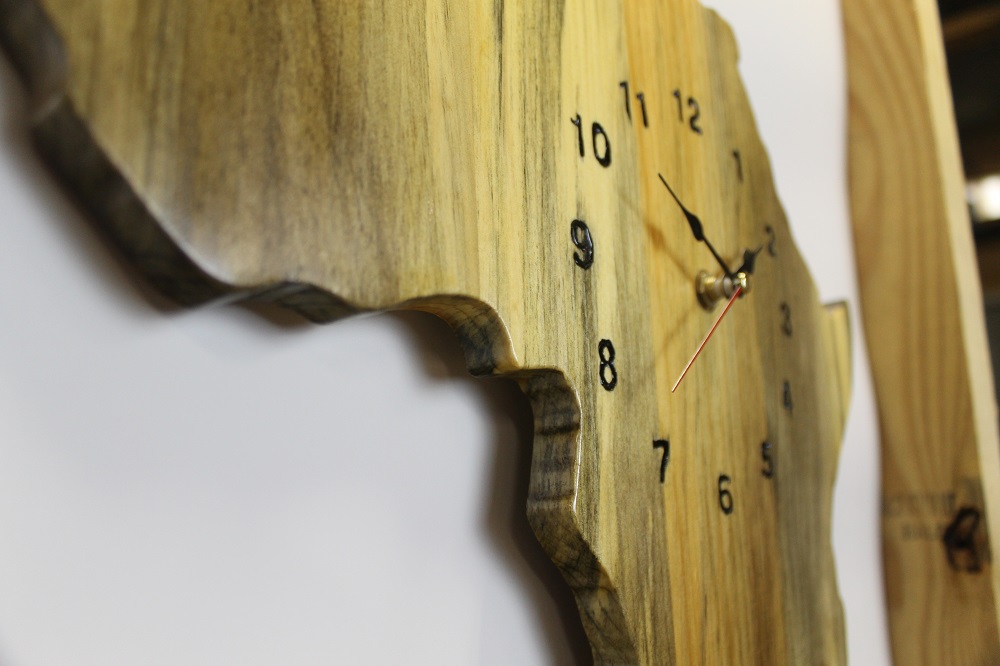
So you’ve seen my continental clock, but what yours will be? Your home state? A muscle car? Your kid’s favorite cartoon character? Whatever you decide, it’ll become a timeless way for you or that special someone to appreciate the fourth dimension.
As a bonus, twice a day you’ll get to explain to those around you that 6:30 is the best time ever: hands down! Because you’re funny like that. Oh yeah.
Clock movements starting around $6:
Hands for above movements starting around $4:


