

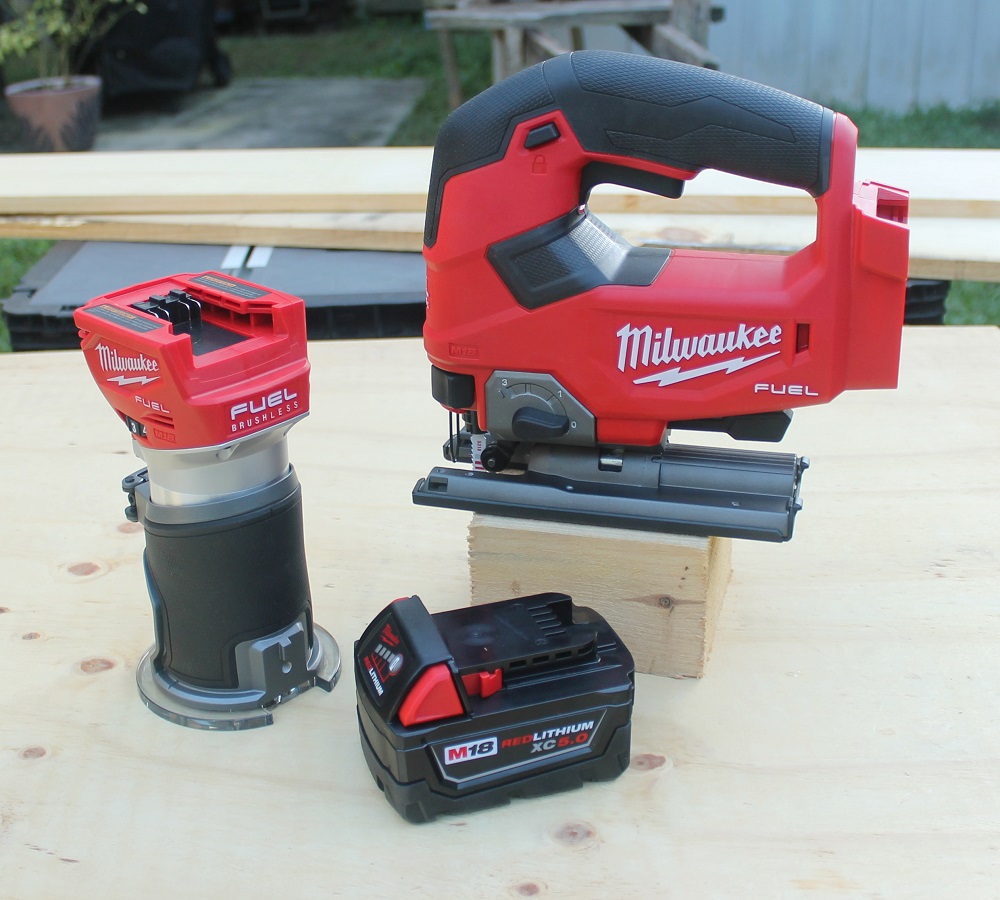
![]() This post is sponsored by The Home Depot. Shelves come in all shapes, sizes and styles. They’re a great way to display and organize books, collections, knick-knacks, paddywhacks and other things in your home or office; or just to add interest to an otherwise boring space. Since we recently received some new Milwaukee M18 FUEL tools to review, this seemed like the perfect chance to build a cool wooden bookshelf I’ve been planning and put the Milwaukee 2737-20 M18 FUEL jigsaw and 2723-20 M18 FUEL compact router to the test. We shall shelve this project no longer!
This post is sponsored by The Home Depot. Shelves come in all shapes, sizes and styles. They’re a great way to display and organize books, collections, knick-knacks, paddywhacks and other things in your home or office; or just to add interest to an otherwise boring space. Since we recently received some new Milwaukee M18 FUEL tools to review, this seemed like the perfect chance to build a cool wooden bookshelf I’ve been planning and put the Milwaukee 2737-20 M18 FUEL jigsaw and 2723-20 M18 FUEL compact router to the test. We shall shelve this project no longer!
Stylish Bookshelf Building With Some Top Shelf Tools
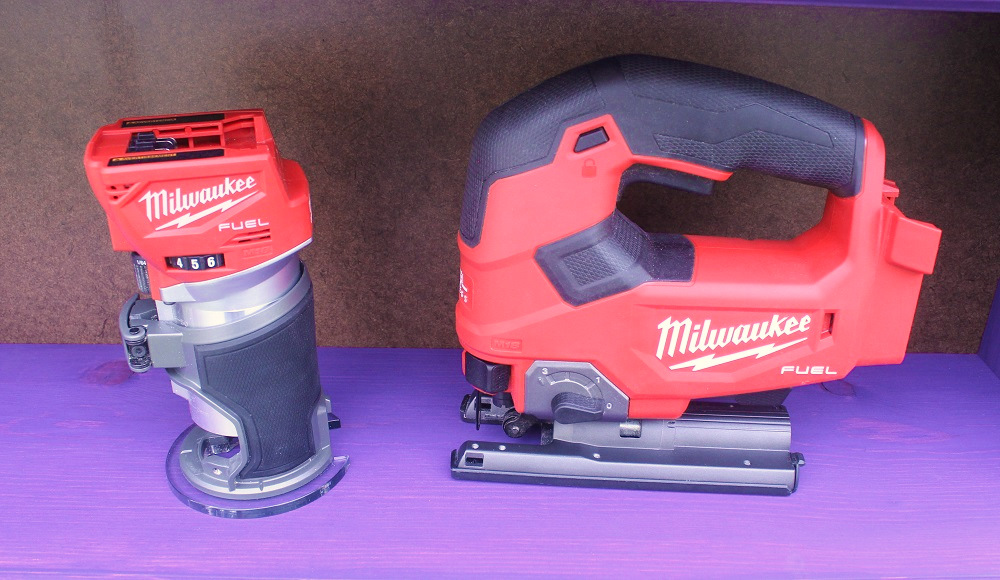
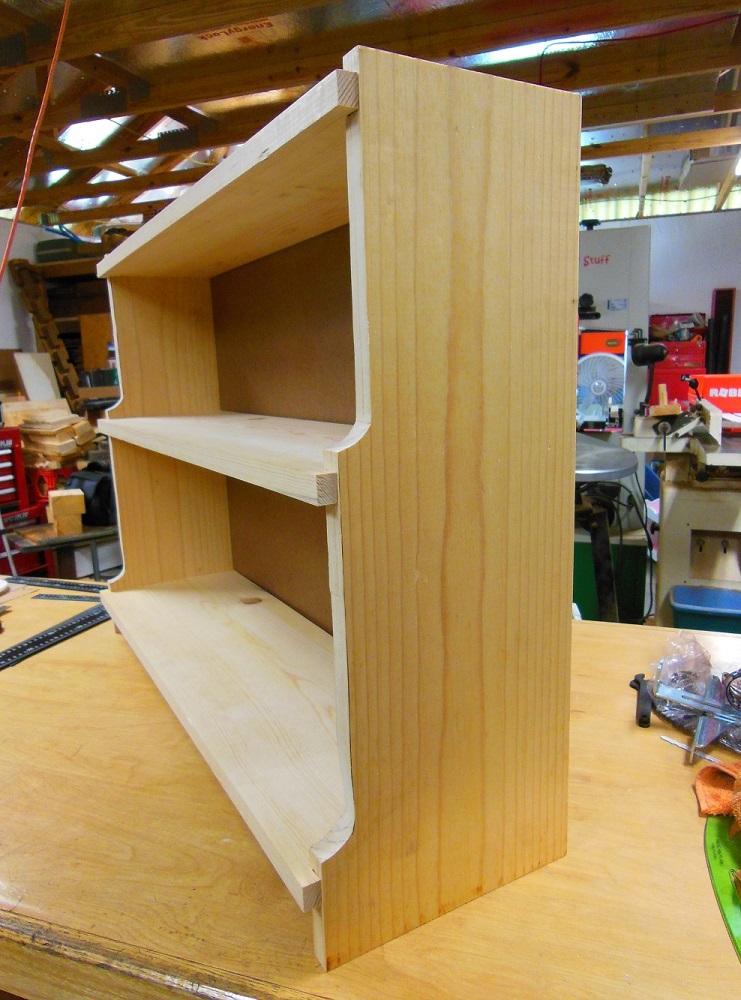
This three-tiered bookshelf is a beginner to intermediate level project you can build with only a few tools. Most of the work was done using the Milwaukee M18 FUEL jigsaw and compact router.
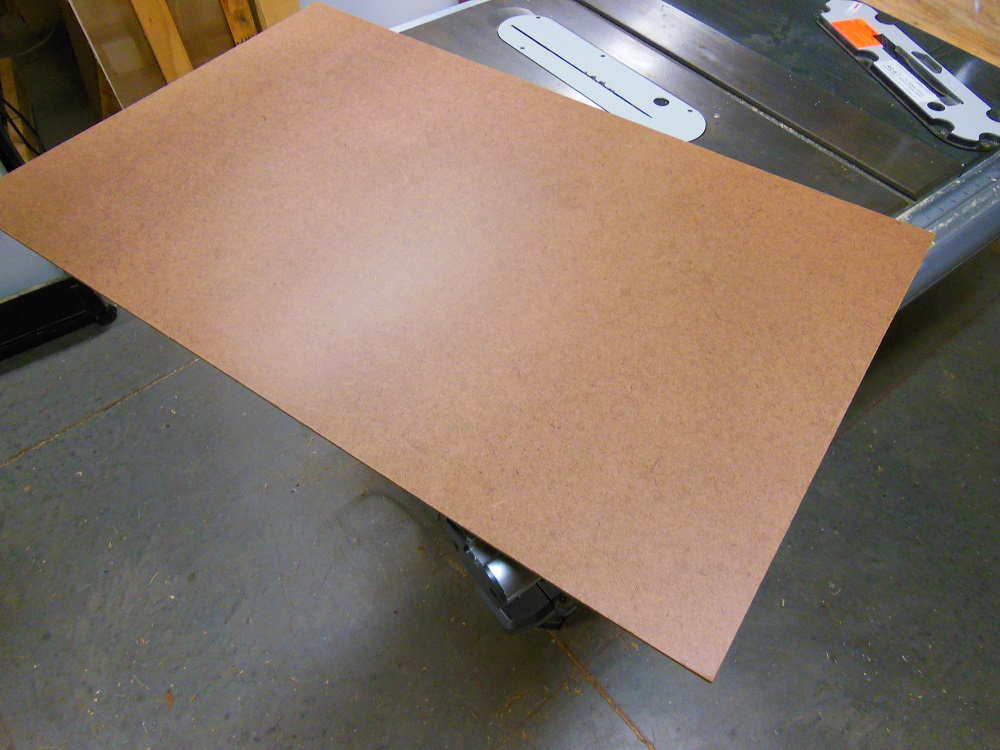
All of the solid wood parts were cut from two 1x10x8 pine boards (actually 3/4” x 9-1/4” x 8′) that I cherry-picked for the fewest knots and blemishes. The rear panel is less than 1/3 sheet of tempered hardboard. Total materials cost was around $40, plus a few bucks for paint and polyurethane. Feel free to modify dimensions to better suit your needs and taste; or use a different species of wood. In either case, your actual cost may vary.
Side Hustle – Getting Your Shelf On
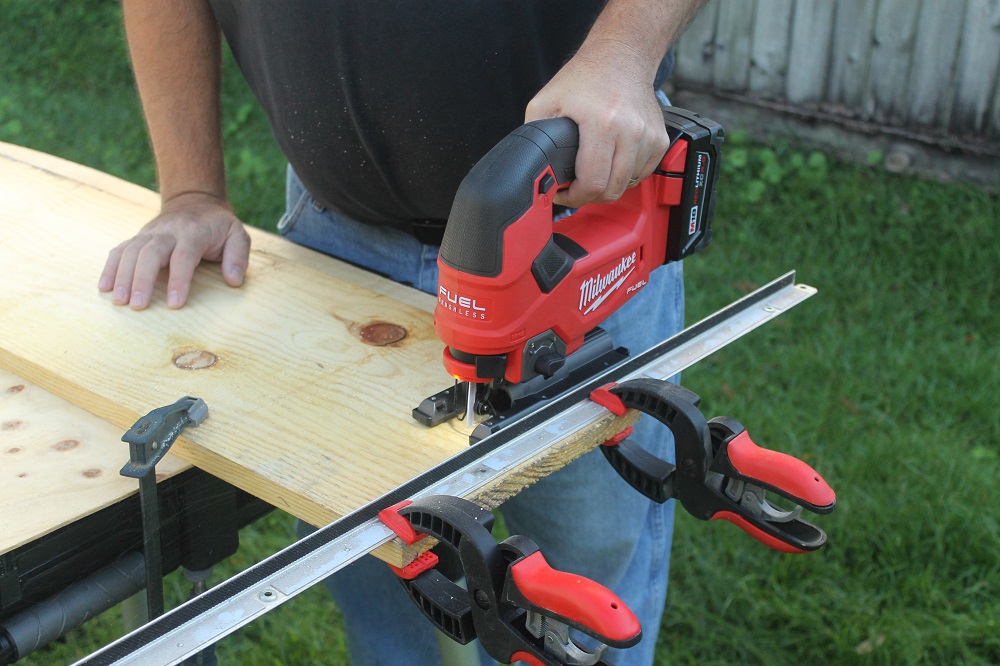
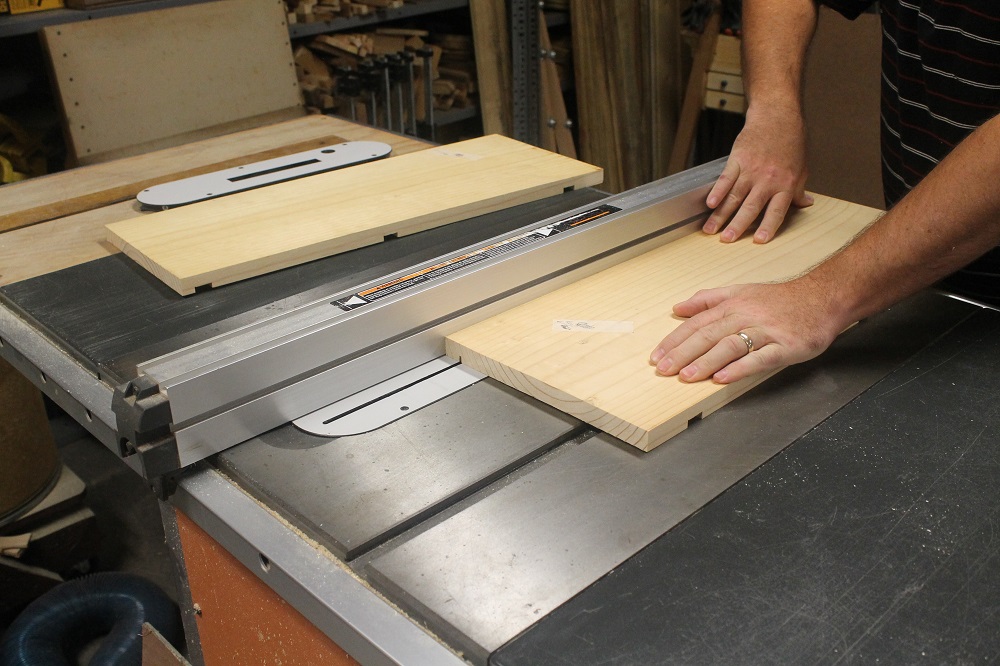
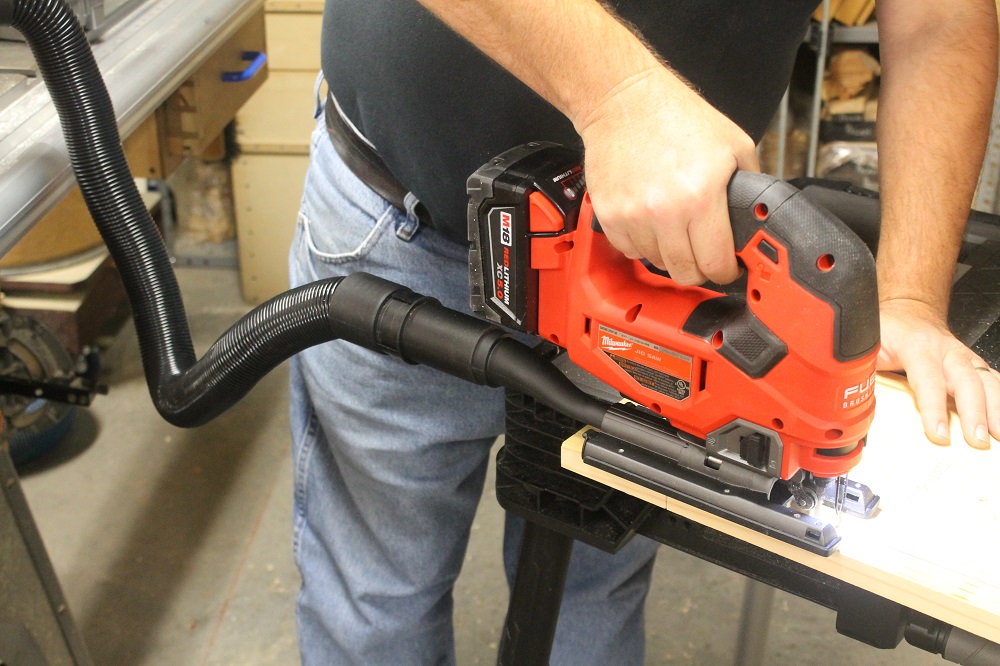
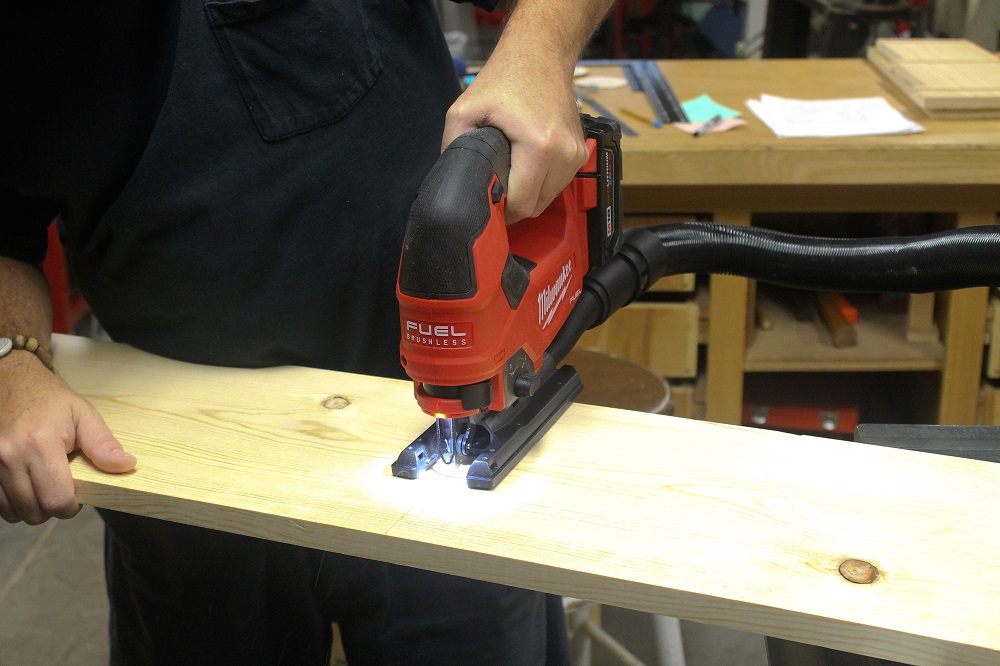
Start by cutting the sides to a length of 23-1/4”. I made some test cuts with the Milwaukee M18 FUEL jig saw model 2737-20, using a straight edge as a guide. But I quickly found that the variable speed trigger, built-in LED light and the blade support roller all made it really easy to follow a line, even free-handed. So I ditched the guide altogether.
https://www.instagram.com/p/B71cCvXFg5b/
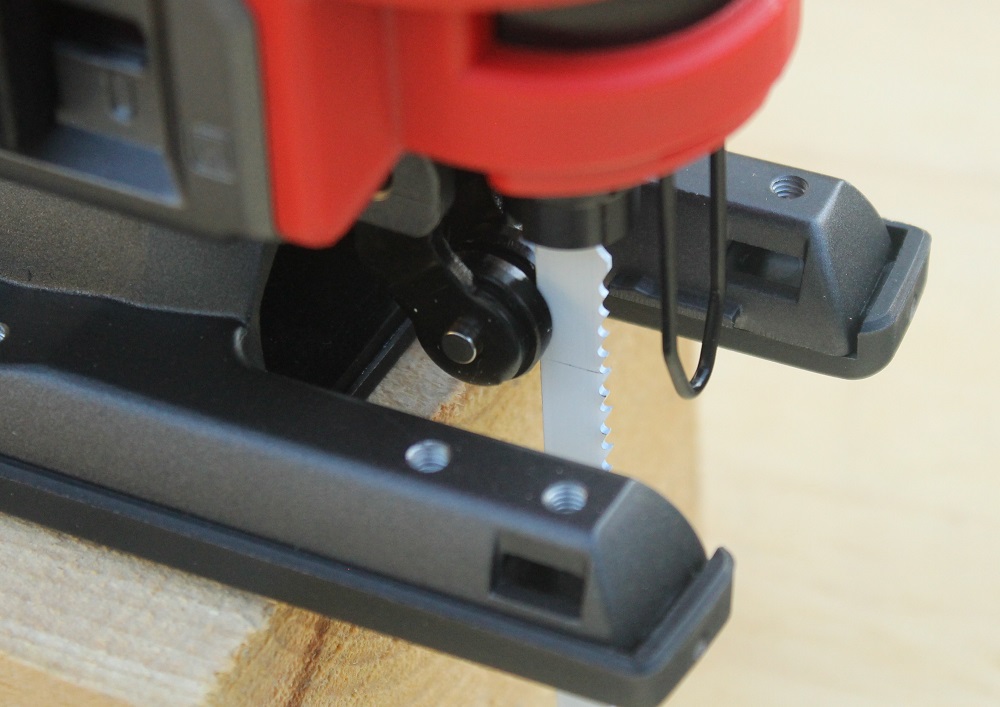
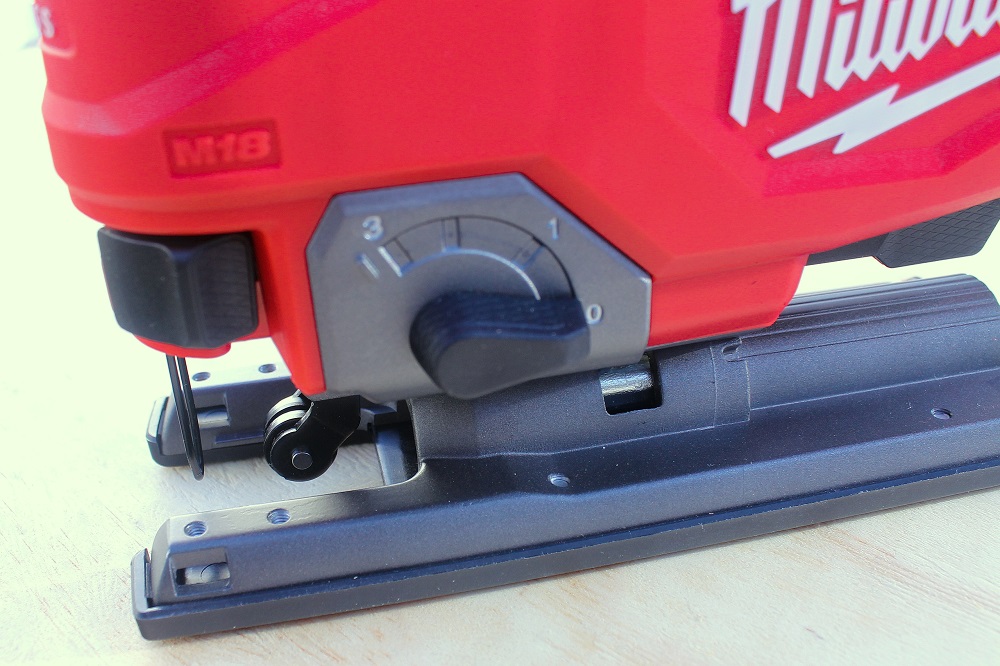
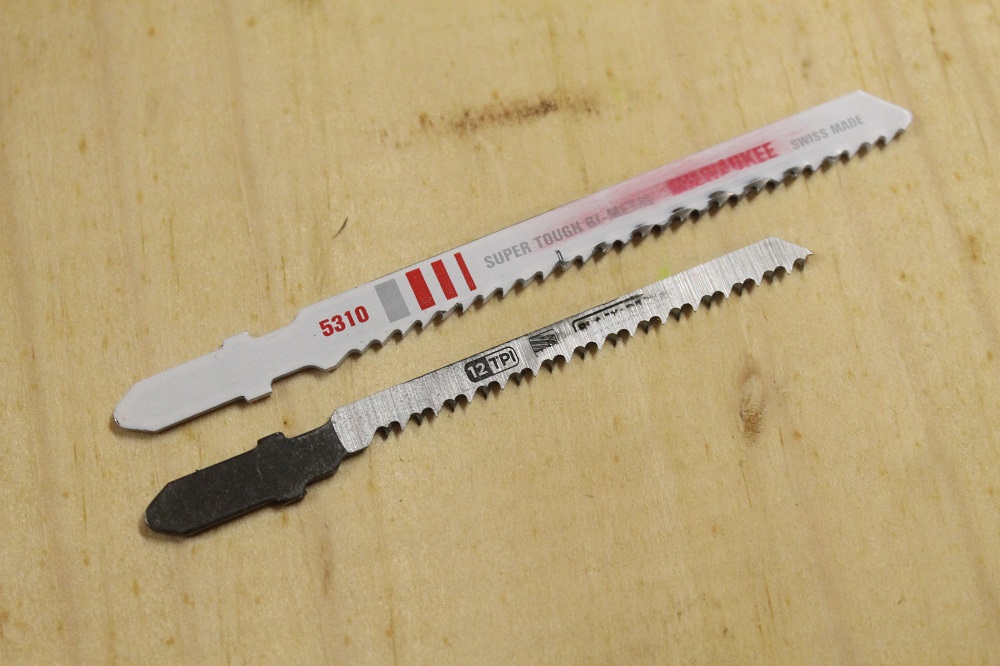
The jig saw comes with a pretty aggressive blade, which is great for rough work. But we need something a lot tamer for this project. Instead, use something like the scrolling blade pictured below (or one like it) for the entirety of this project. Speaking of blades, the jigsaw’s tool-less blade holder makes installing and removing said blade a simple, one-second process; two if you’re slow. And speaking of tool-less, the shoe plate adjustment is just as easy.
The jig saw will see a lot more action in this project. But our next step is to cut shelf support dadoes. And for that, we turned to Milwaukee’s 2723-20 M18 FUEL compact router.
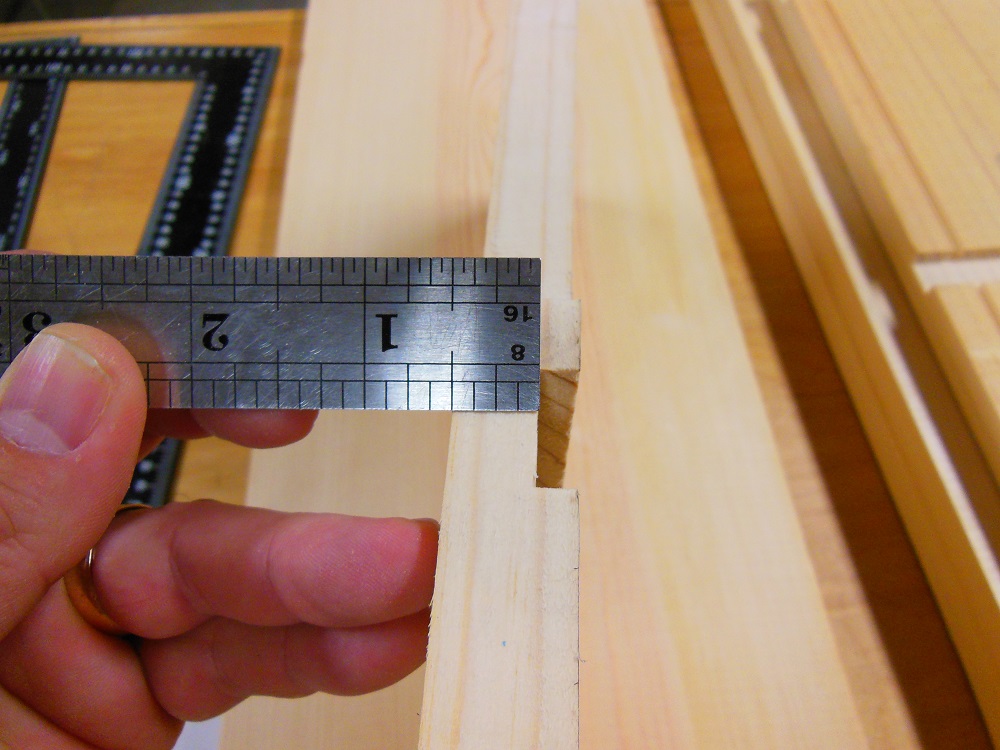
Shelf Layout – Sufficiently Spacing Your Stuff

Lay out the two sides as shown above. The width of the dadoes (3/4”, in this case) should match the thickness of your shelves.
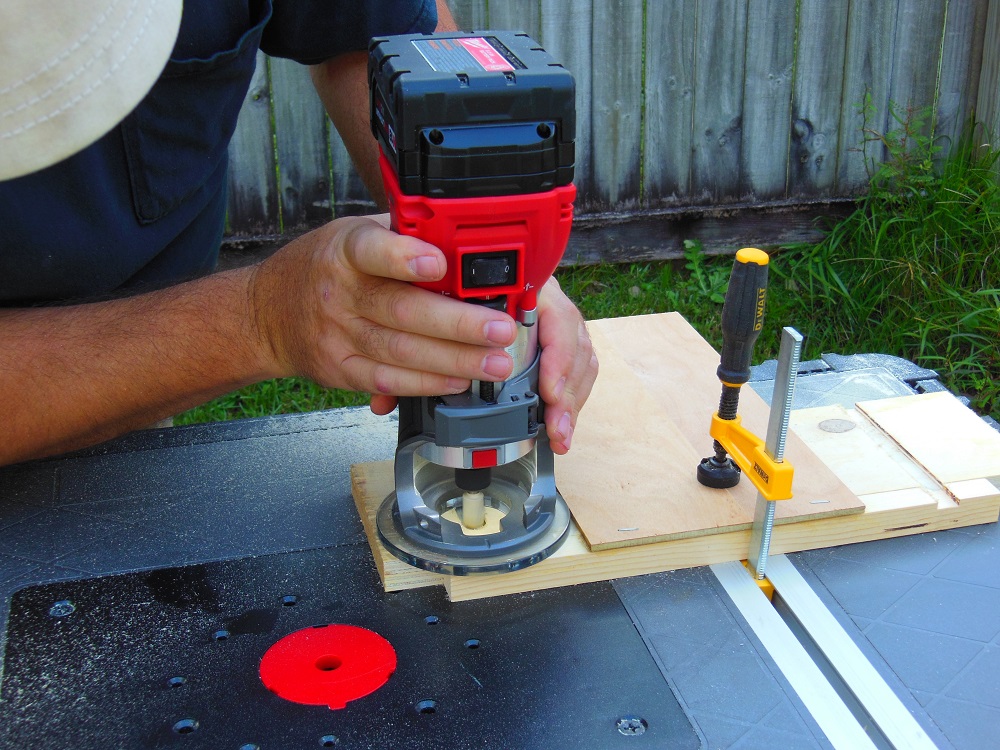
Cutting Dadoes – Milwaukee M18 FUEL Compact Router

Like the jigsaw above, Milwaukee’s M18 FUEL 18V compact router feels exceptionally well built. And it has two notable safety features your fingers will appreciate: 1) Super quick braking action stops bit rotation almost immediately upon power off, and 2) An electronic lockout prevents the tool from whirring into action if it happens to be switched on when you attach a battery pack; it must be switched off then on again to operate.
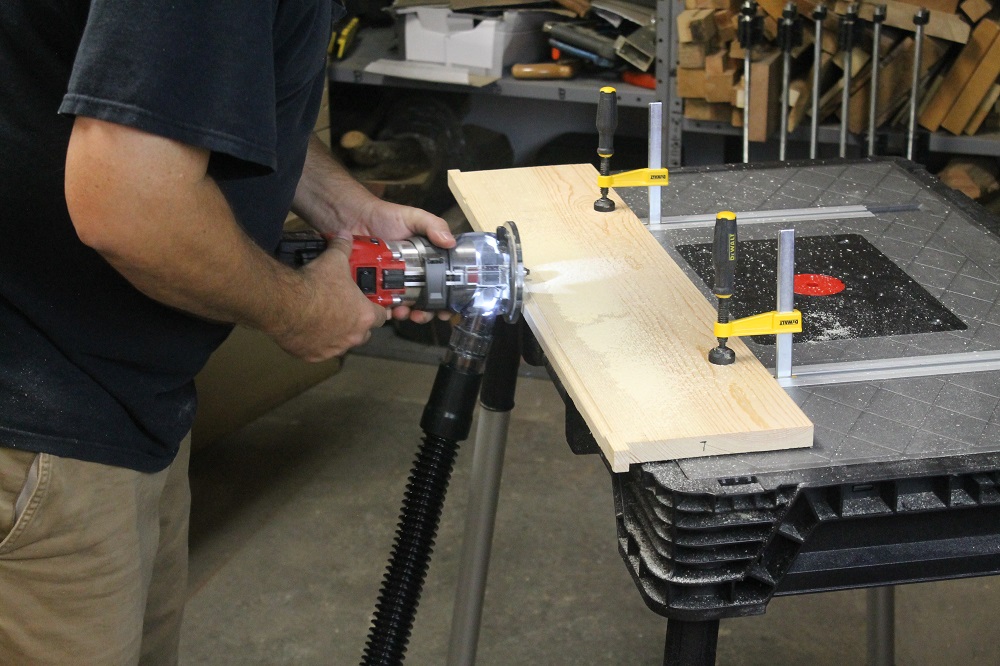
Now that you’ve made acquaintance, grab a straight bit and rout 1/4” deep dadoes to support the three shelves. Consider going slightly deeper for larger, longer shelf units. Start by making a simple T-square router guide. The router comes with a guide that you can use to run parallel to an edge; this is something different.
To A “T” – It’s Hip To Be Square
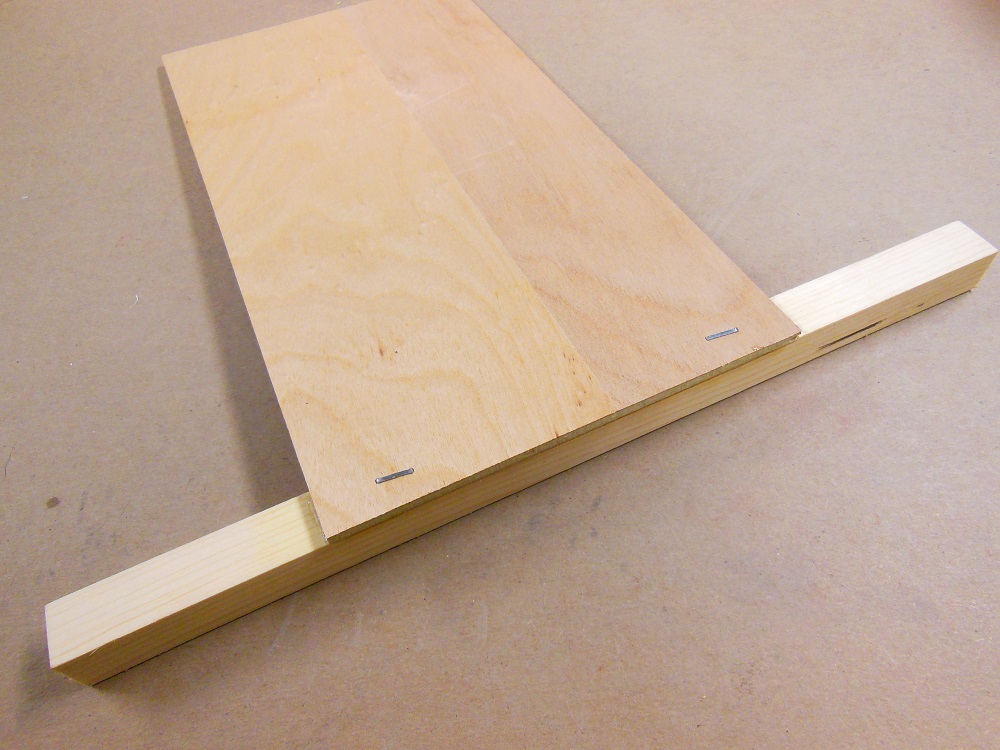
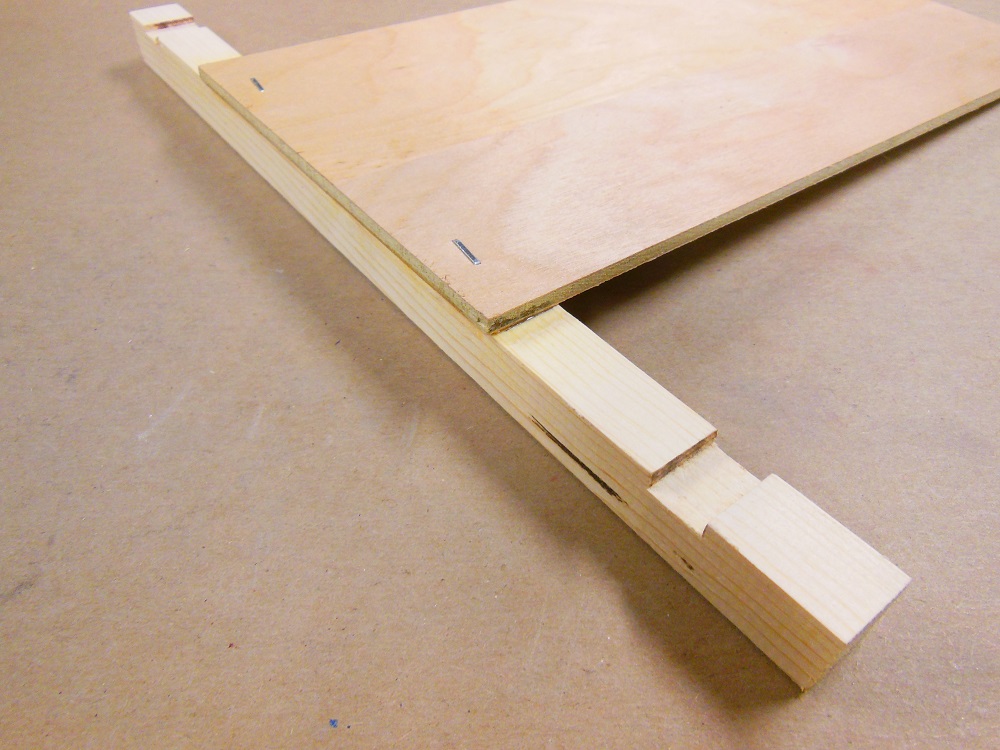
It’s important that all of the dadoes be parallel to each other. Otherwise, you may end up with tilted or twisted shelves, neither of which is very hip. This simple T-square router dado guide is an easy way to get it right every time.

The dado guide is just two pieces of wood glued together. The flat part is wide enough that it can be clamped to the workpiece without interfering with the router base, and long enough to overhang both edges. The T-bar extends past the router bit on both sides and is thicker (taller) than the dadoes will be deep.
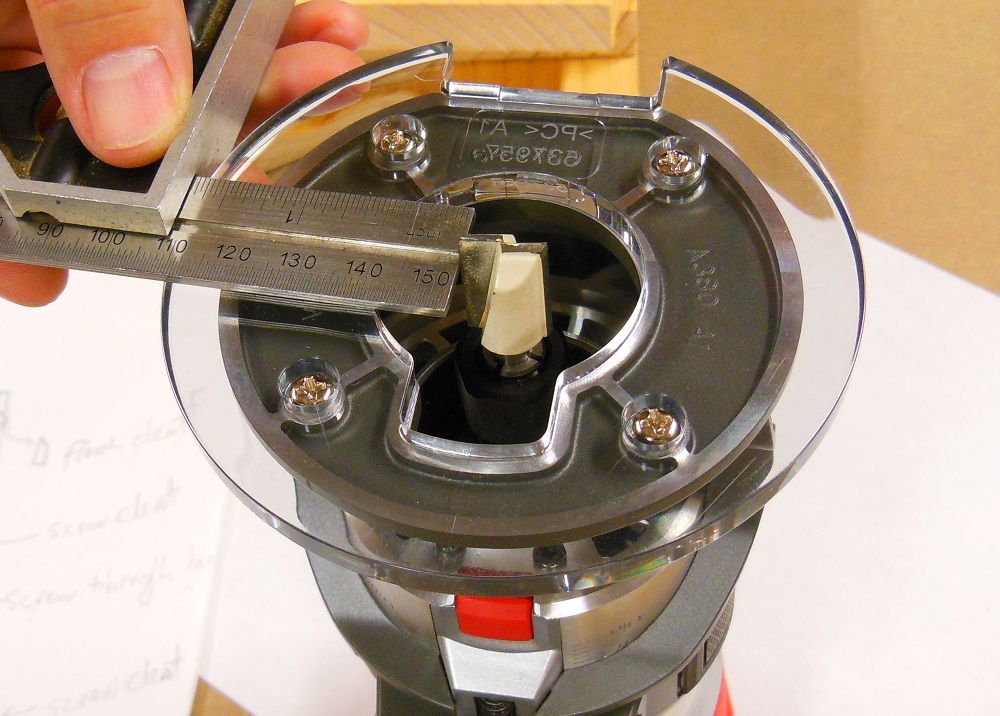
The straight bit you use should be equal to or narrower than the width of your dadoes. A full 3/4” straight bit may be a little much for a compact router, unless you make shallower passes. Mine is 1/2” in diameter (with 1/4” shaft).
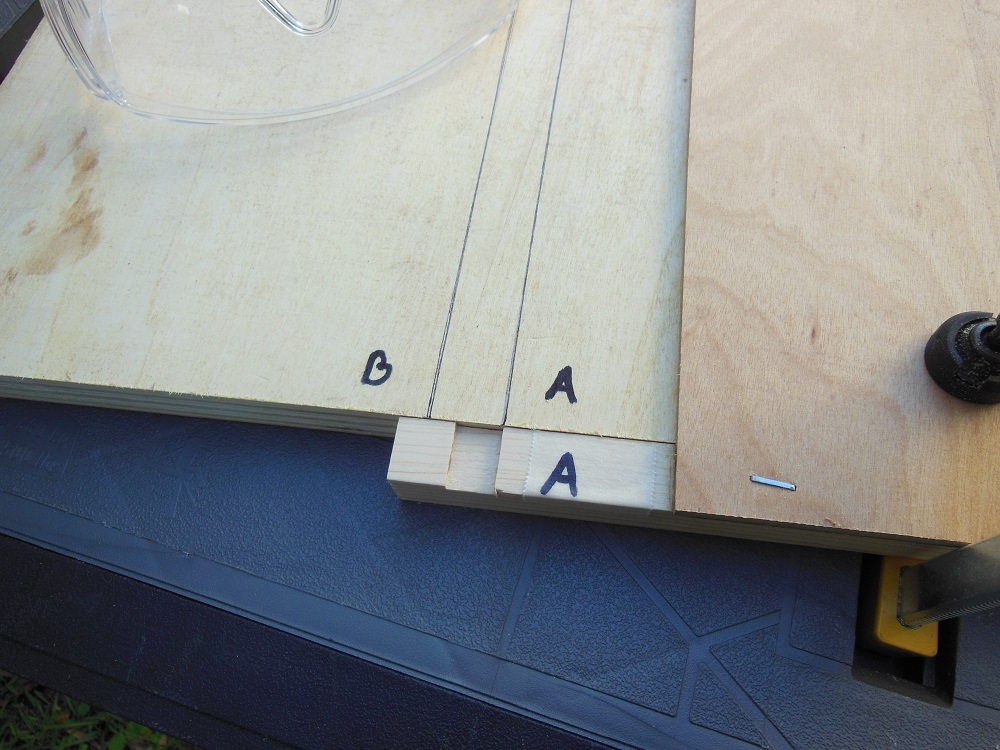
Calibrating And Using The T-Square Dado Guide

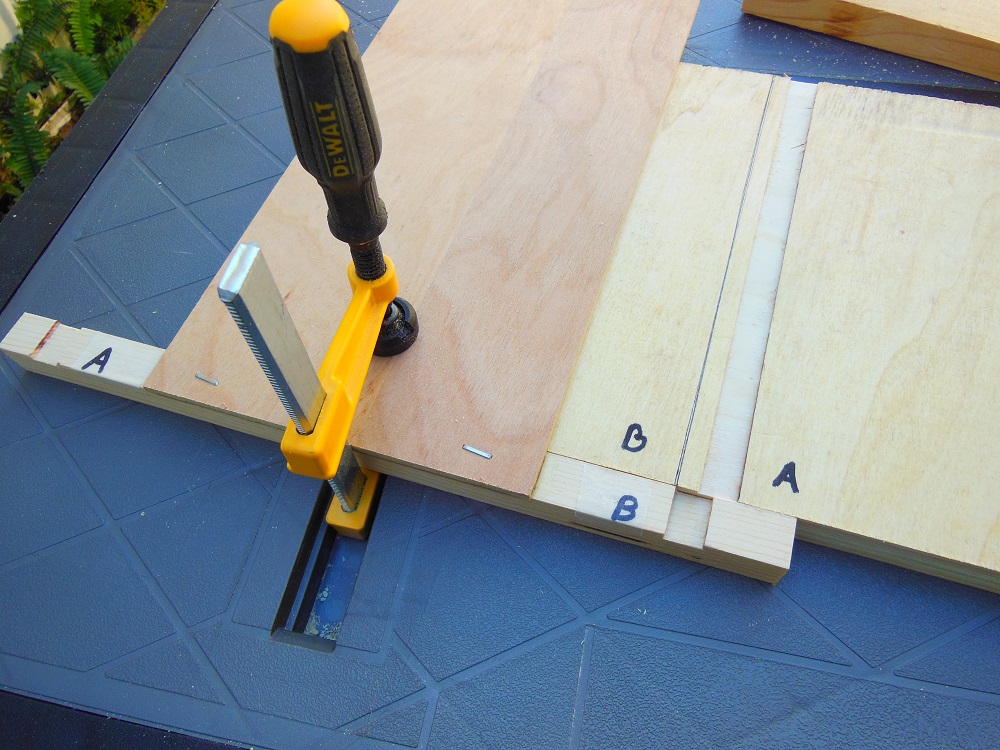
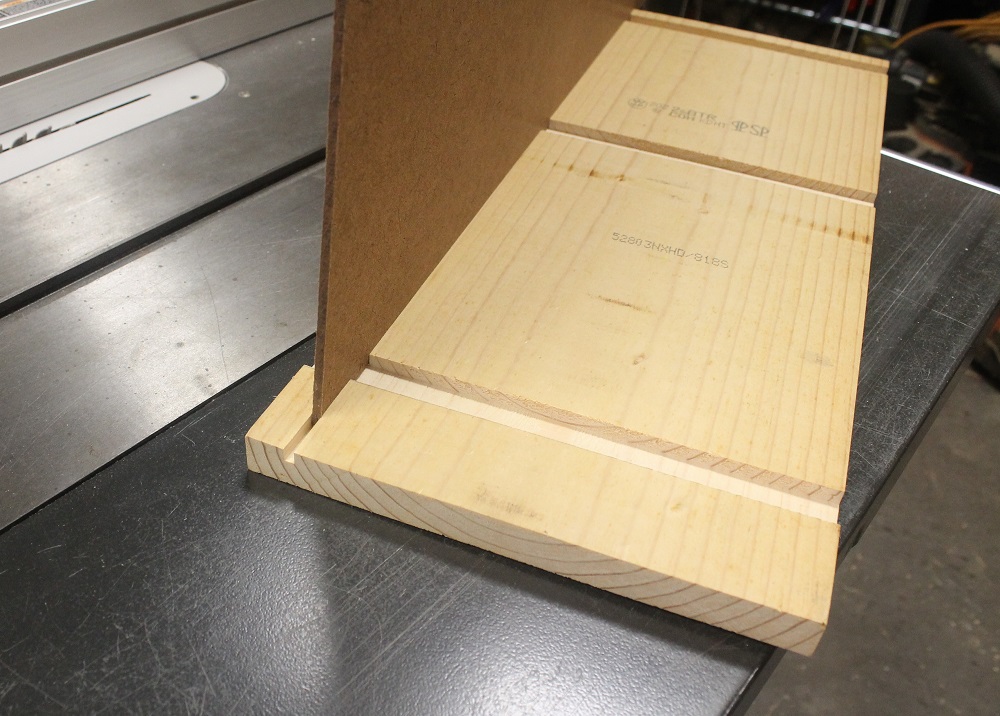
This T-square guide has built-in positioning indicators, which we will create now. Clamp it to scrap material. Rout a dado with the router base riding along the edge of the guide. Then repeat on the other side, with the same side of the router facing the T-bar. For consistency, I kept the opening on the base facing the T-bar.
To use, align the dadoes you just cut with the layout marks on your workpieces.


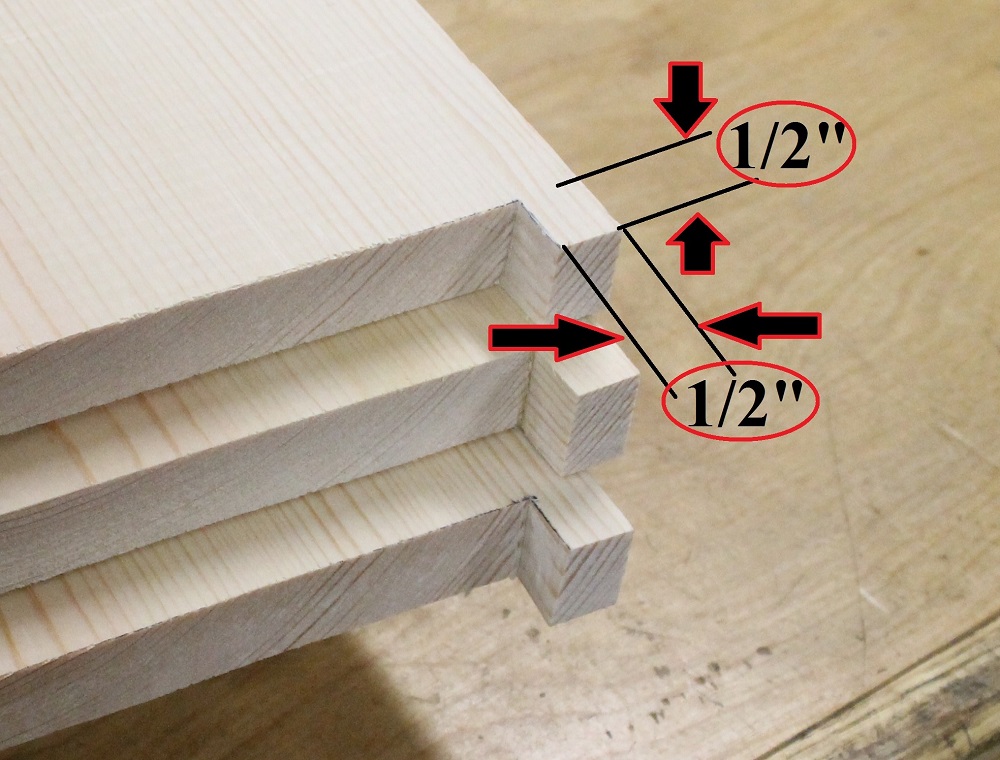
How Stella Got Her Back Grooved
The next step is to prepare a seat for the back panel. Depending on how you plan to use the shelf unit, you have two options: groove or rabbet.
If your bookshelf is going to sit on a table, dresser or floor, you can use a bearing guided rabbeting bit to create a lip in the back edge of both side pieces, into which you’ll inset the back. This technique will give you the deepest shelves.
However, the one I’m building will be mounted to a wall using French Cleats, a secure method for hanging cabinetry (That will be a separate how-to article). But, to make room for the French cleat system, I need to offset the back panel 3/4” from the rear of the bookshelf.
If you have the right combination of material thickness and bit diameter, you can groove with the router and included edge guide. I don’t have a straight bit narrow enough – and don’t want a 1/4″ (the thinnest straight bit I own) thick back – so I got groovy with the table saw instead.
Shapely Sides – Laying Out And Cutting That Sexy Profile
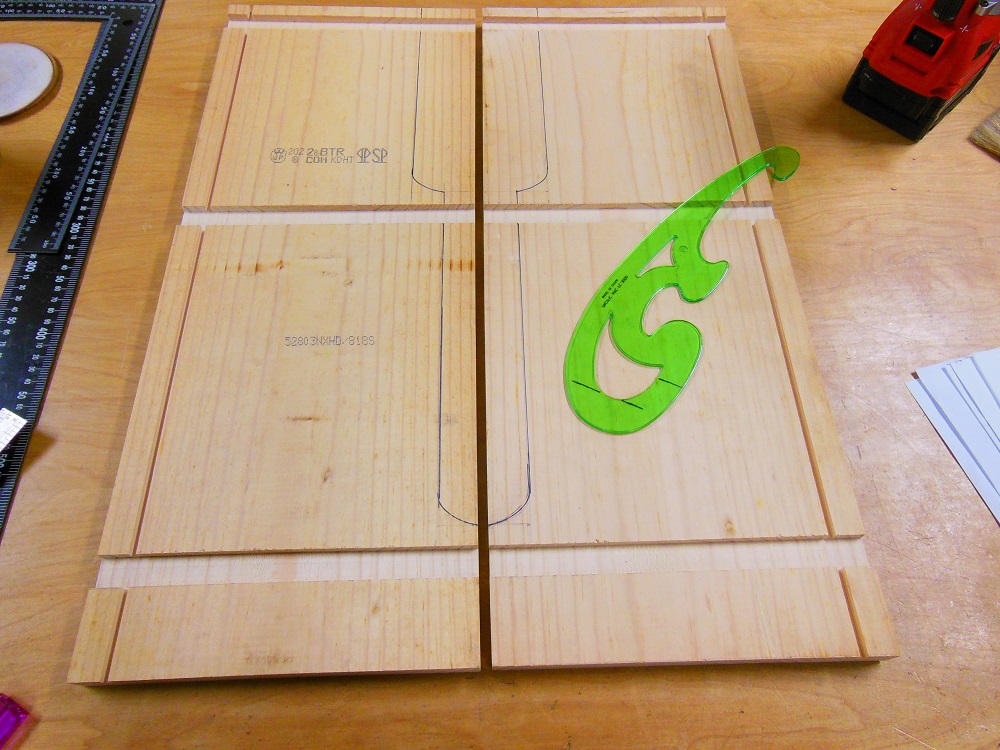
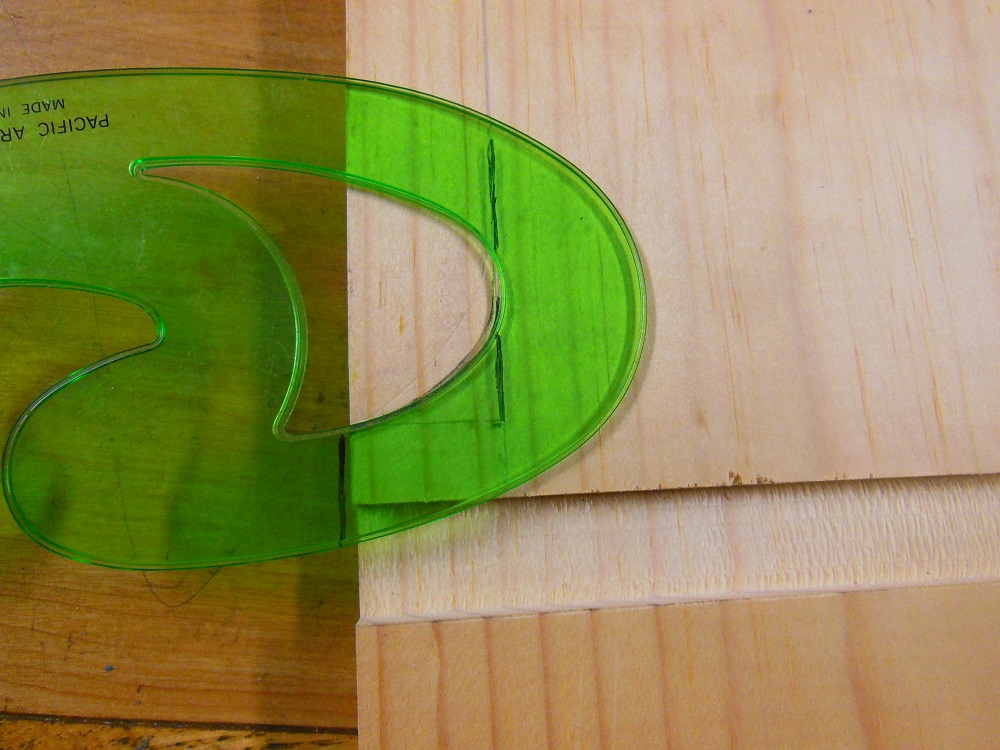
The design of this wooden shelf unit was inspired by one I saw online. Its most striking feature is that the sides become narrower above the bottom and middle shelves. I used a French curve to draw arcs that begin 1/2” above the shelf dadoes.
French cleats… French curve… My last name is “French”… Kissing… Coincidence? Oui, it’s just a coincidence. Except for the kissing; that’s always intentional.

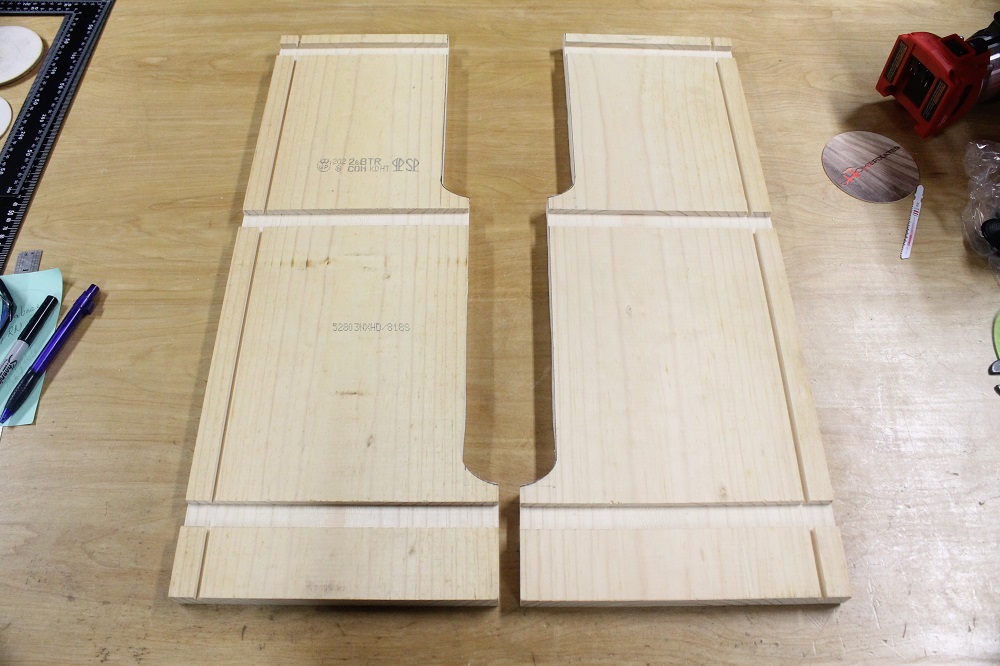
Cutting The Three Shelves – Being Shelf-ish
Now to cut the three shelves. For this project, their length is equal to the overall width of the assembled bookshelf. That normally wouldn’t be so, but in this case the front edge of the shelves extend all the way to the outer face of each side. The actual usable shelf space, however, is that length minus the thickness of both sides.

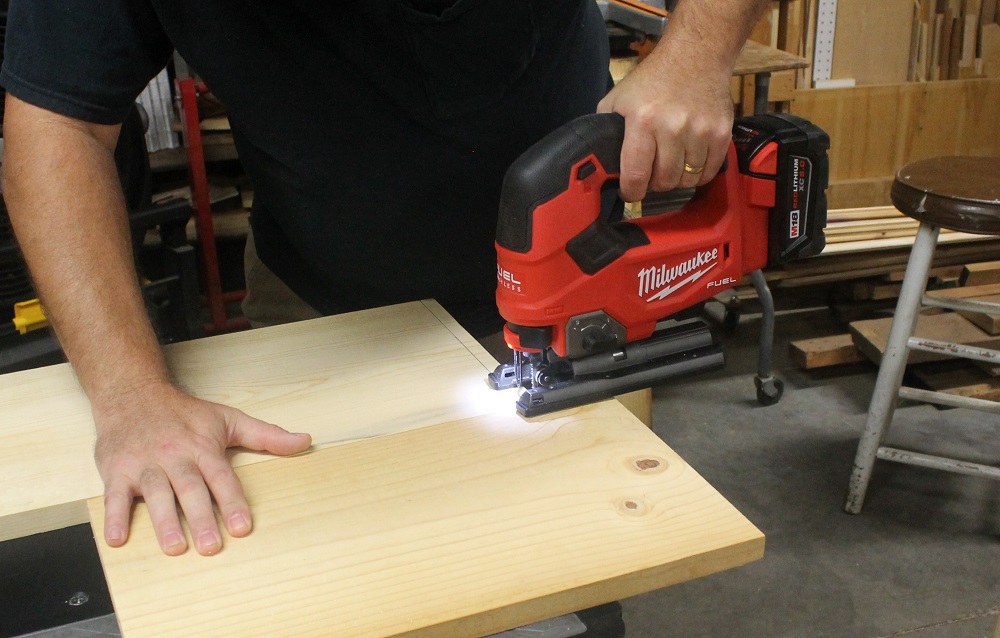
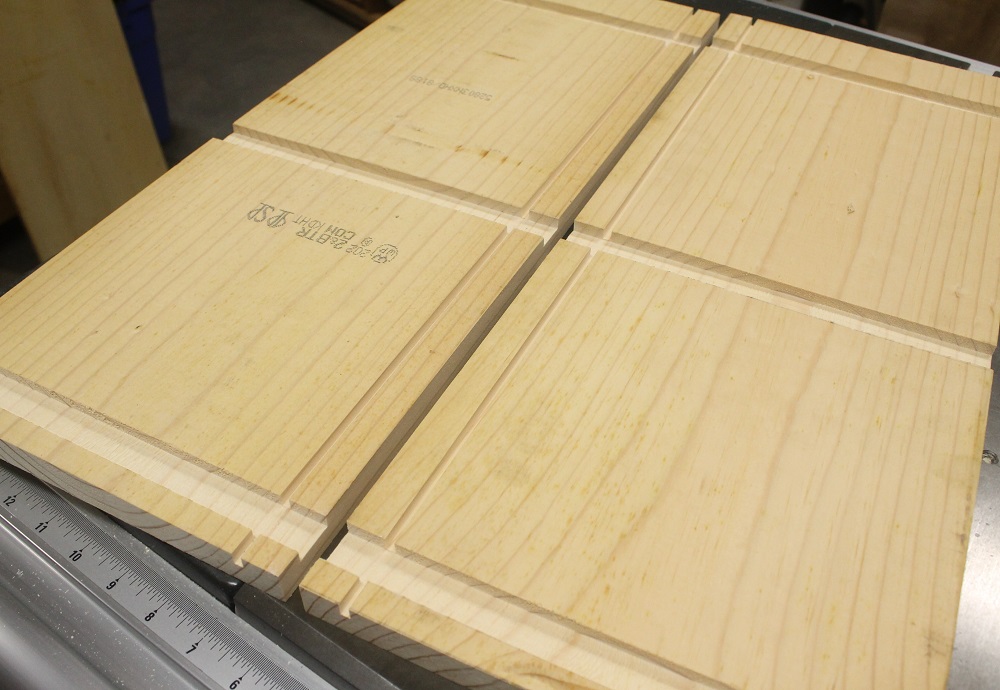
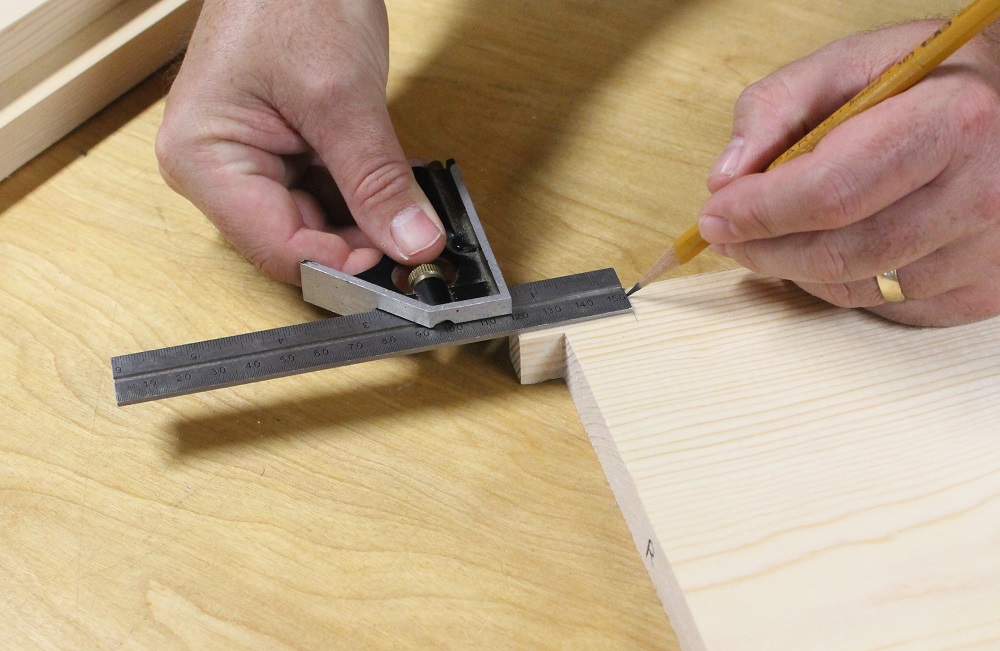
Trim Your Shelves To The Proper Depth

Seat the shelves into one of the sides and mark where to trim the back of each. Cut them to their final depth.


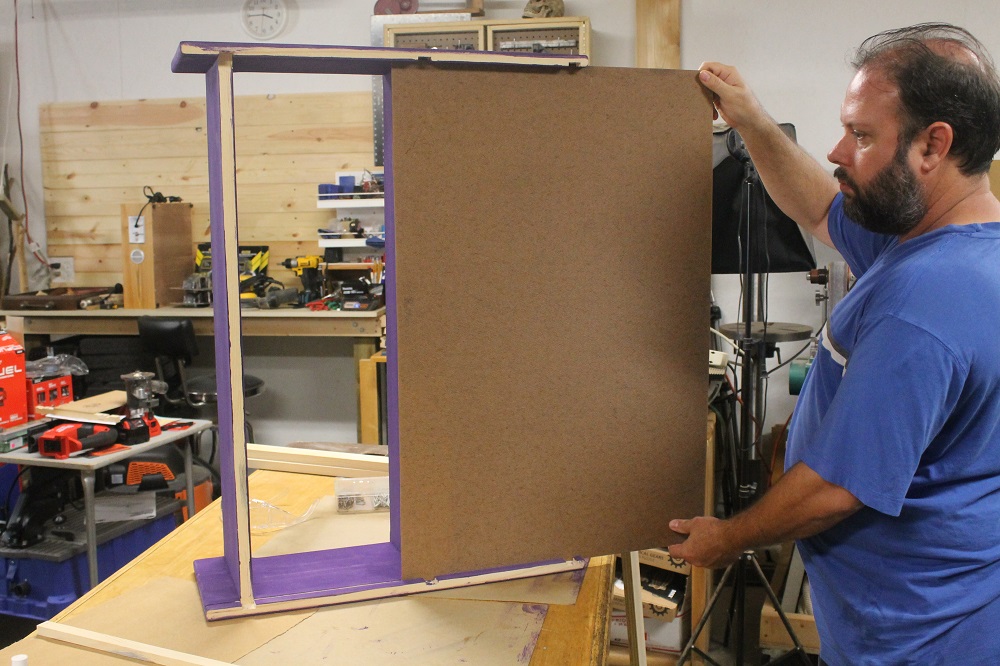
Test Fit The Shelves And Cut The Back Panel
A test fit now can spare you from throwing a testy fit later. It’s also a good time to cut the back panel to size. Make the panel as wide as the back edge of the individual shelves and as tall as the distance from the bottom of the bottom shelf to the top of the top shelf.
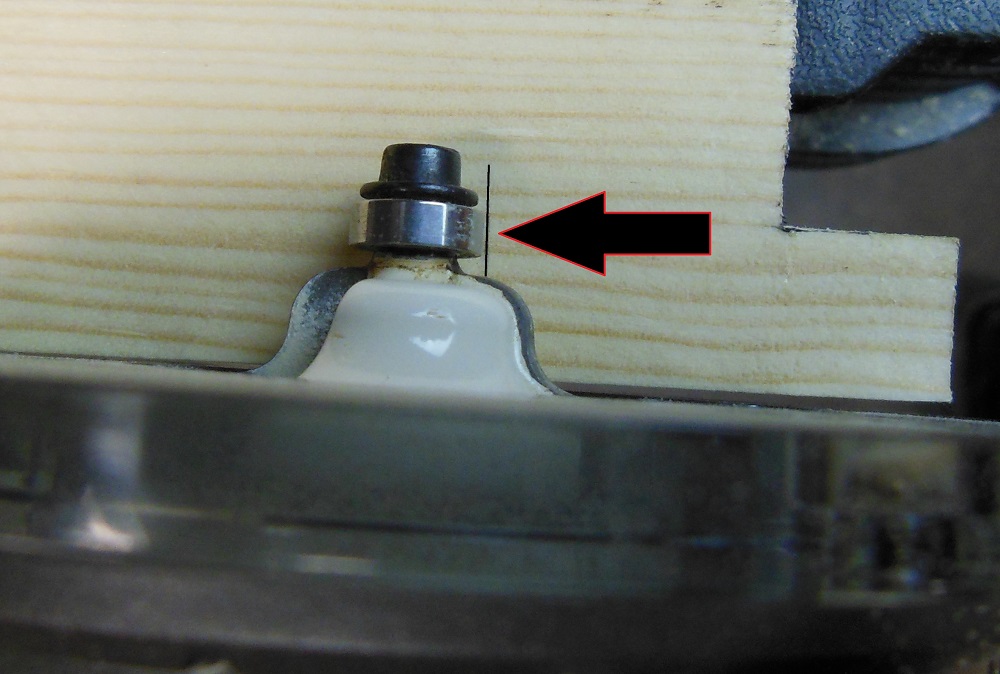
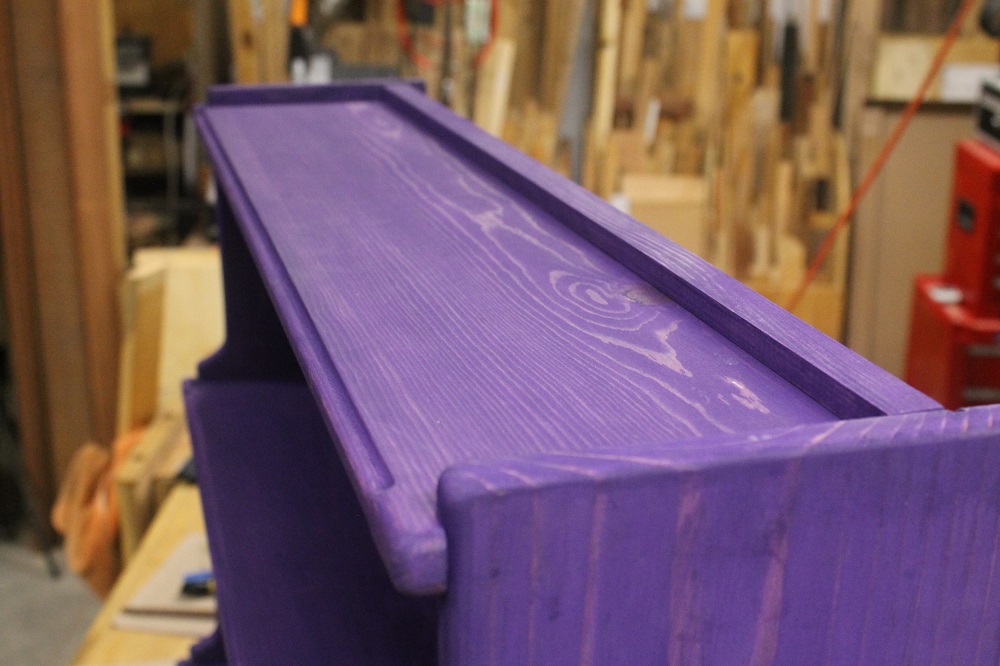
Pretty Up The Fronts Of The Shelves
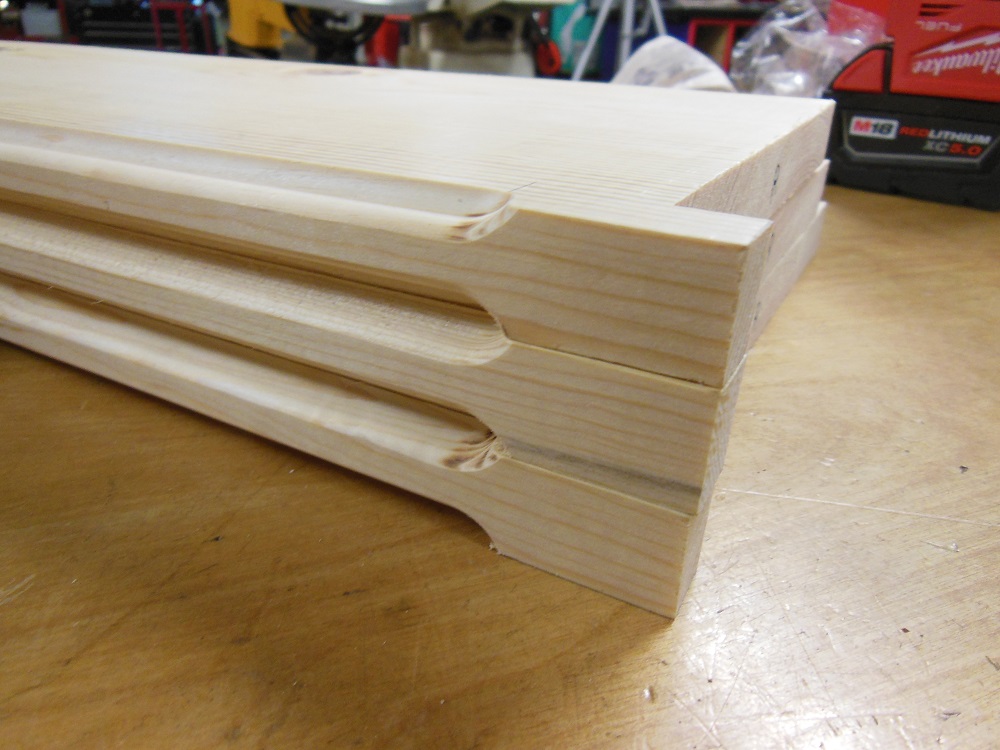
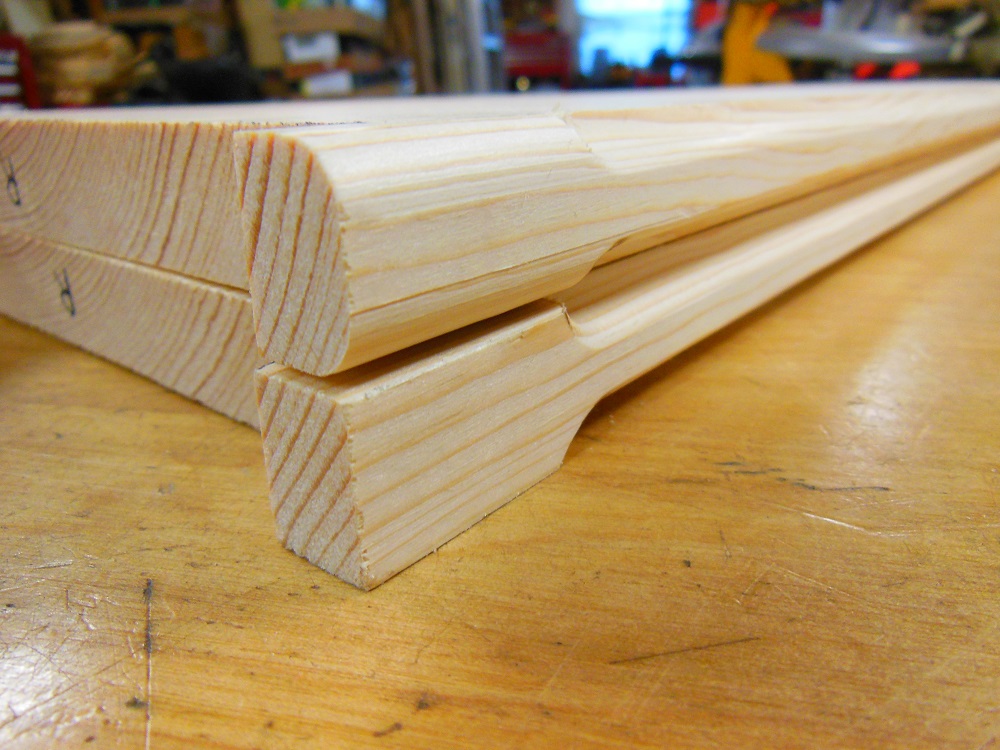
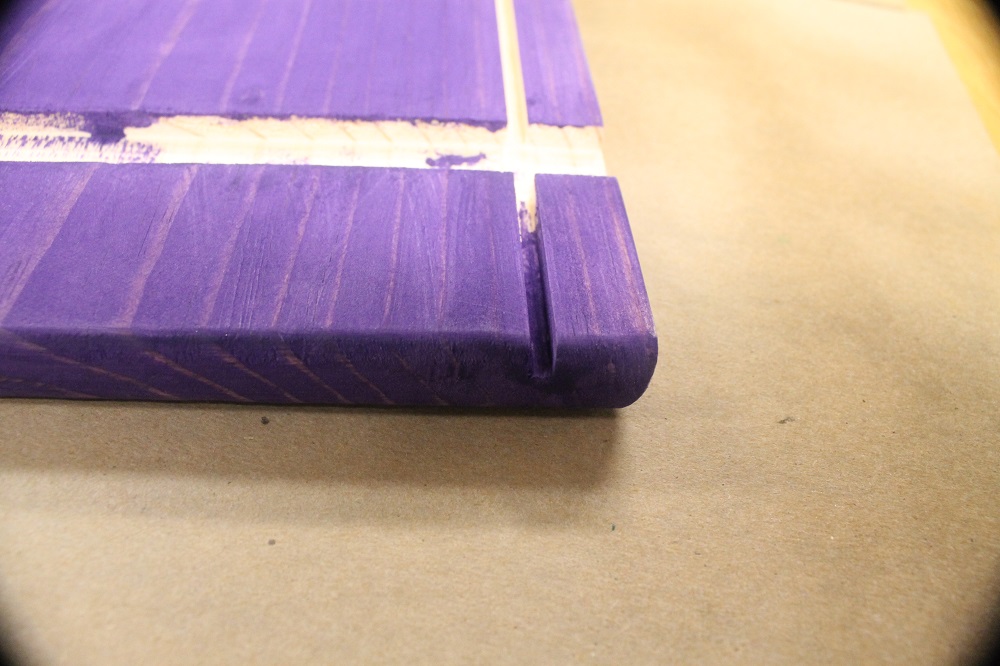
The sides of the bookshelf have a cool, curvy contour. So it’s only right that we should adorn the shelves as well. Make marks as shown above to indicate your start and stop points. Then use a 5/32” Roman ogee bit with a 3/8” guide bearing to add a simple, yet visually striking, touch of interest.
Work your way from right to left (because of the direction of bit rotation) then flip the shelf over and repeat. The Milwaukee 2723-20 M18 FUEL compact router has a great dust collector attachment, but the nature of working on an edge like this is particularly prone to throwing material in your face. Eye and respiratory protection is a must.
Round Over The Rest Of The Front Shelf Edges
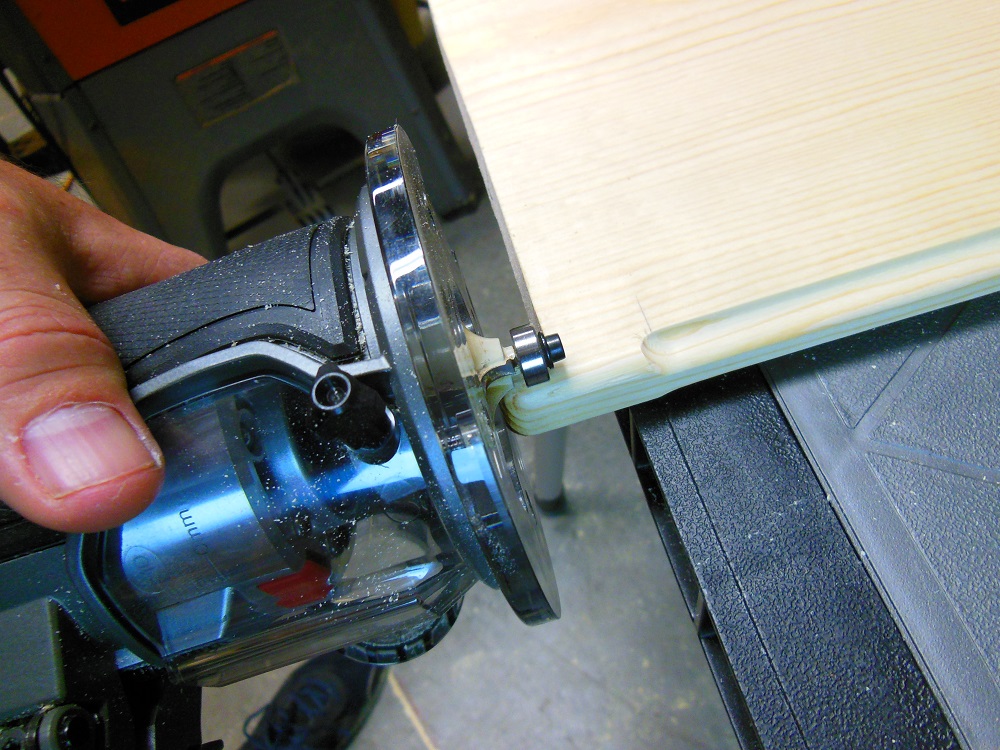
Next, install a 1/8” round-over bit and shape the ends of the shelf fronts.
Finally, rout the ends of the protrusions.
Don’t round over the bookshelf sides until after they are sanded.
Smooth Operator – Everyone’s “Favorite” Part
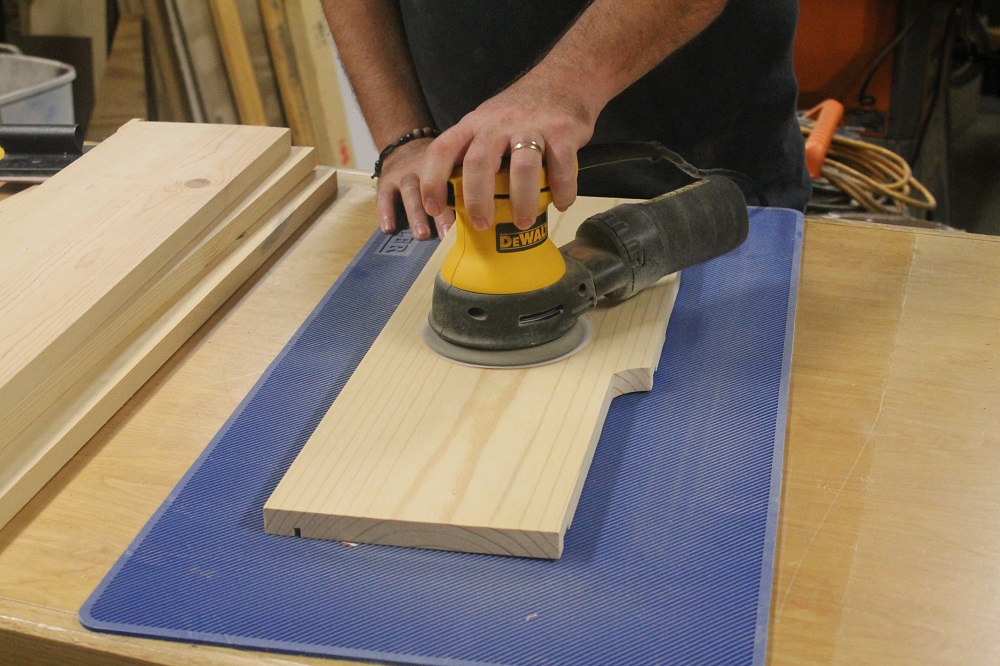
It’s standard woodworker parlance to complain about sanding. But it’s one part of a project that often has the greatest impact, and the difference in appearance and feel can bring a lot of satisfaction. While some might have you feel that you’re supposed to despise this part, a random orbital sander actually makes it a breeze.
Sand the sides and shelves. Just don’t over-sand the shelves or they might fit loosely into the dadoes. You’ll have to sand the ogees and rounded edges by hand, but it’s really not a big deal. Use some fresh 220 grit and you’ll be done in no time.
Getting A-Round To It – Routing Round-Overs On The Side Panels
Finally, after sanding the two side pieces, you can round over all of their outside edges. But don’t round over the rear inside edge or the dadoes; leave them square.
Next Stop: Coloring Or Assembly? – It Depends
Your next move depends on how you decide to finish your bookshelf. If you’re going to paint it, you can go ahead and assemble what you have so far, add the trim pieces we get to later on (skip ahead to “A Couple Extras – The Trim Package“ for more one that), then paint. If you plan to stain or dye the wood, you may opt to do so before assembly (as I did).
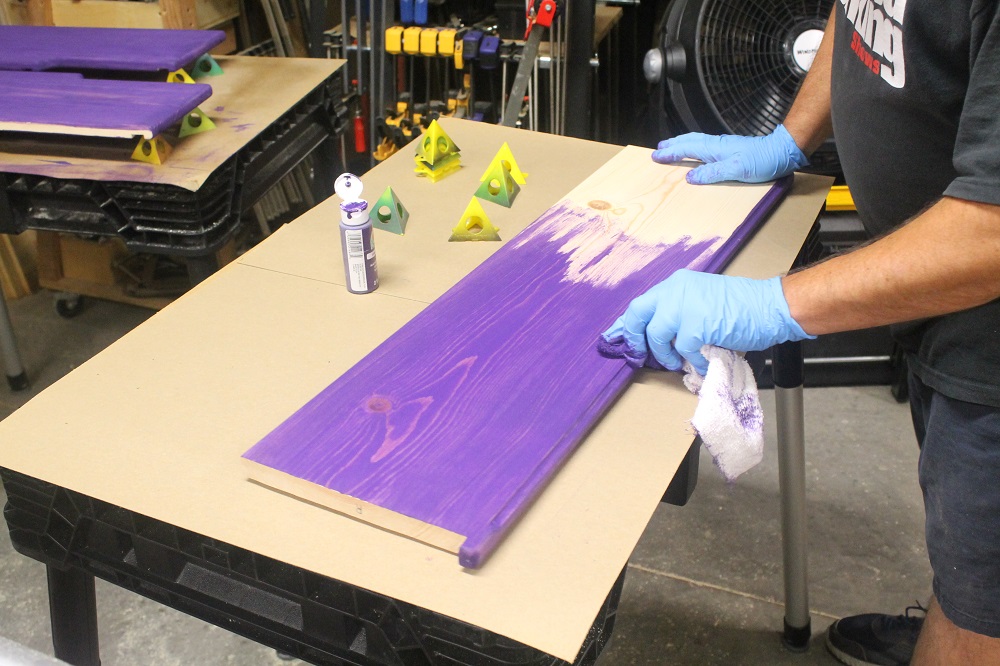
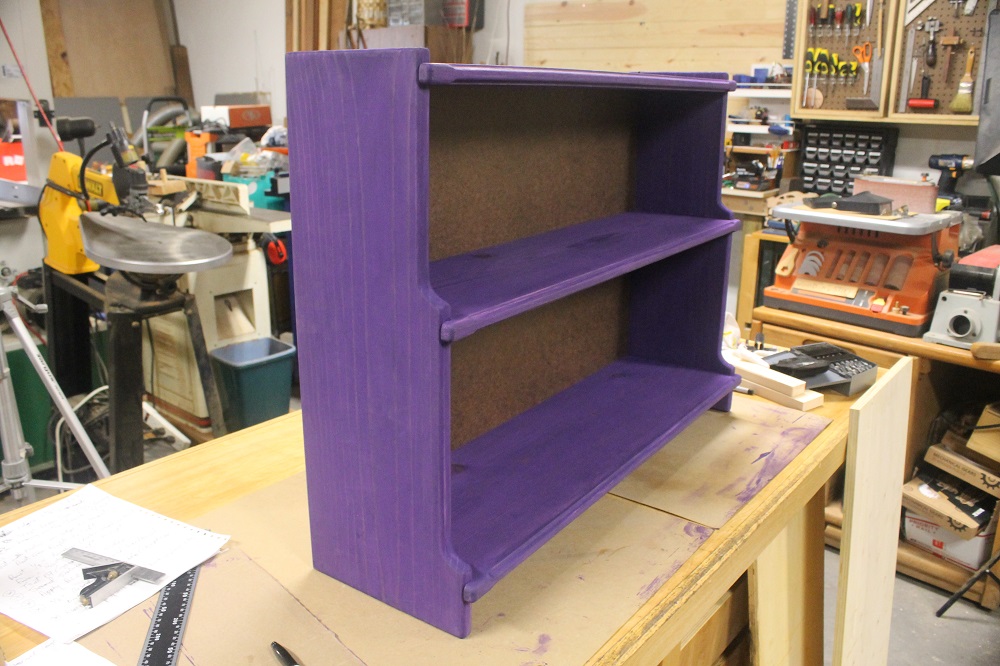
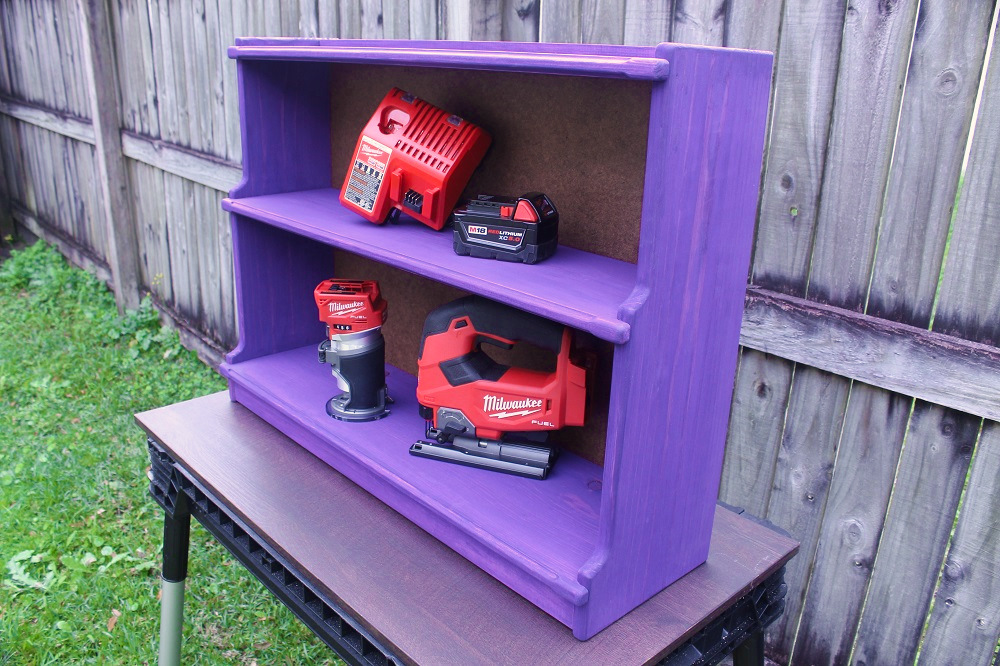
Dyed In The Wood – Pansy Purple Planks
My reason for coloring first is that glue squeeze-out can drastically hinder wood’s ability to absorb stain or dye. So any glue that might get on the surface will leave a noticeable uncolored spot. And since stain and dye soak into wood, you can almost always glue after they’ve been applied and given time to dry.
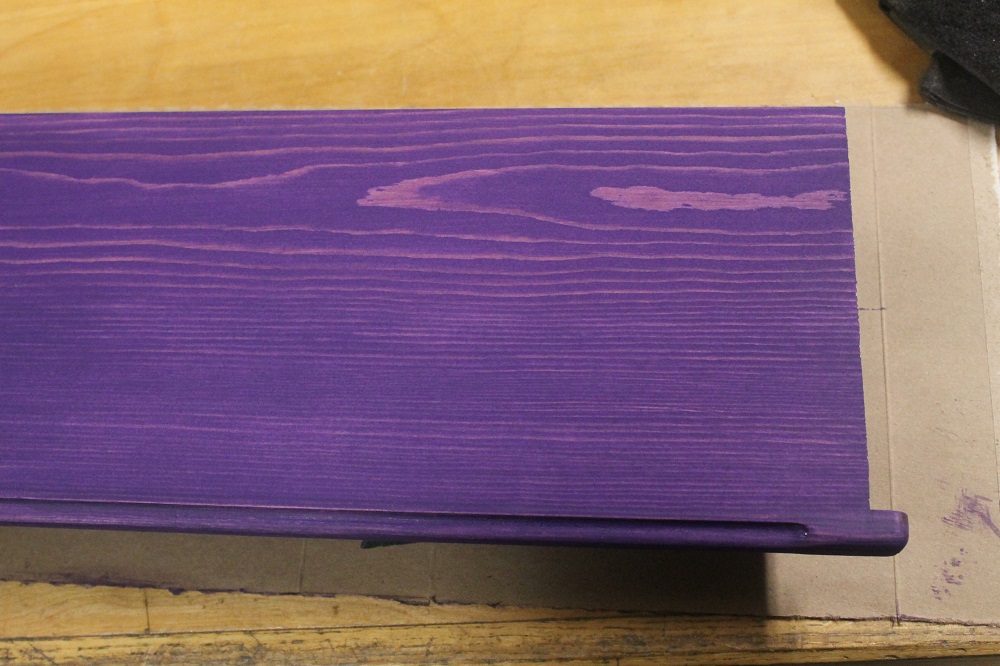
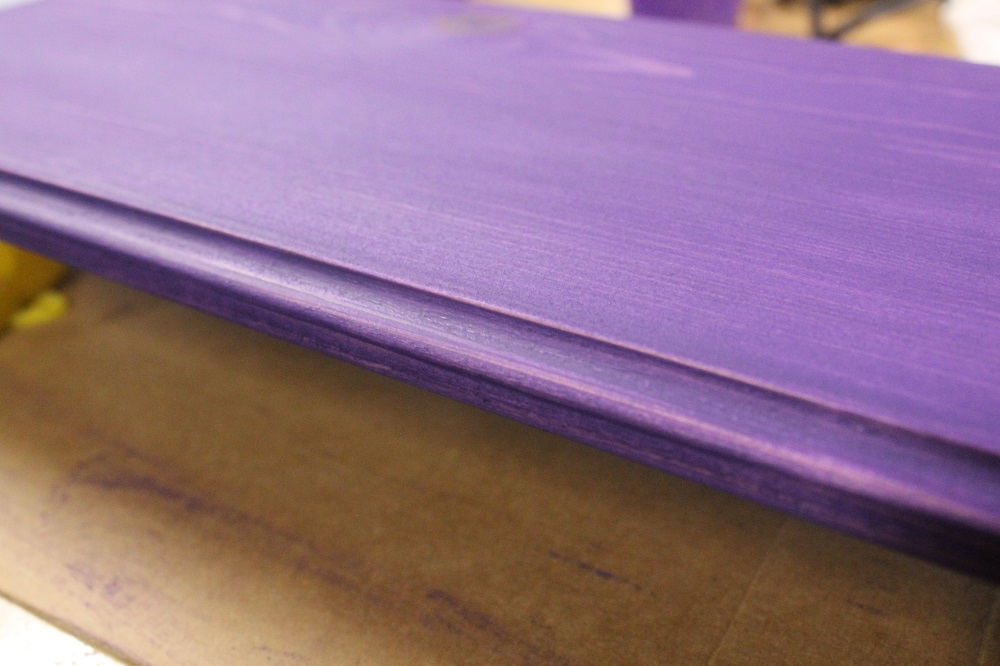
This bookshelf is for my wife. She loves purple. But she also likes the wood grain look. You can achieve that look with wood dye. But actual dyes can be expensive, a pain to mix and work with and are available in a very limited color palette. The perfect solution? Use matte (not gloss) acrylic paint! Granted, paint doesn’t penetrate the way dye would, but it’s a great alternative.
Pro Tip: Acrylic paint is water based. You can apply either a water-based or oil-based clear coat. But if you use oil-based paints/stains, you’ll only be able to use an oil-based top coat. To determine what you have, look at the product’s clean-up instructions. Water-based products clean up with water. Oil-based products will say to use a solvent, such as mineral spirits.
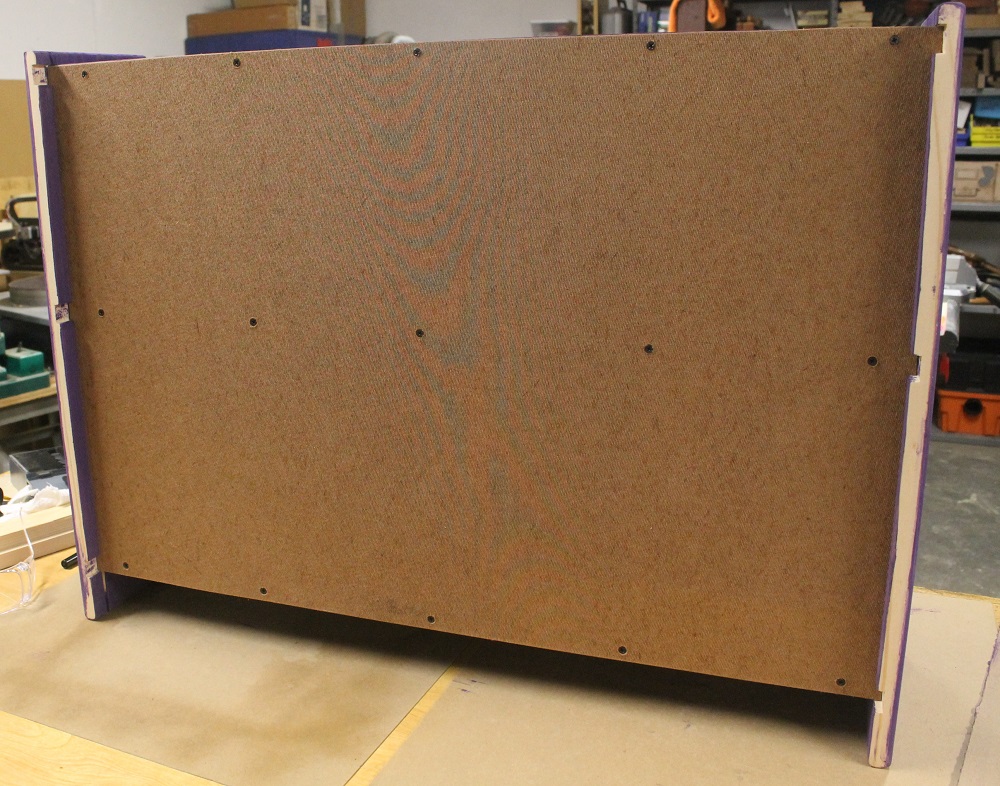
Bookshelf Got Back – Give It A Rub
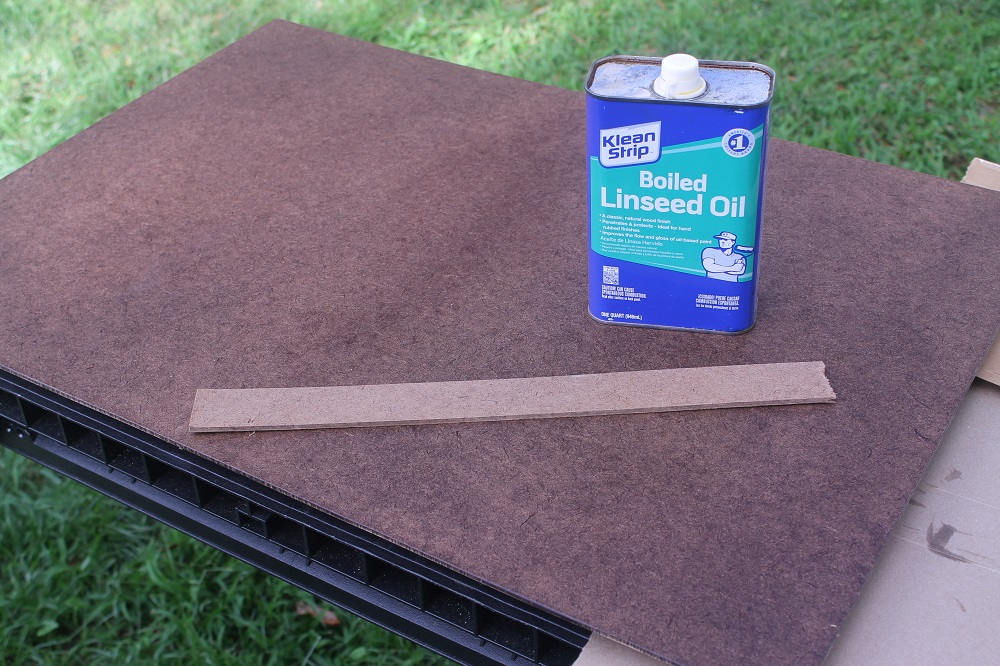
Not to neglect the back panel, I always like to darken my hardboard when used as a bookshelf backer. It just looks nicer. The hardboard I used is tempered on one side, that’s the side you’re going to see.
Use a rag to coat the tempered face with linseed oil. It’s going to soak in almost immediately, so keep applying until you get a nice even tone. When it stops absorbing, wipe off the excess until no more oily residue comes off. Allow it to dry thoroughly before installing. Note: Do not sand the face of the hardboard; it will scuff and look bad.
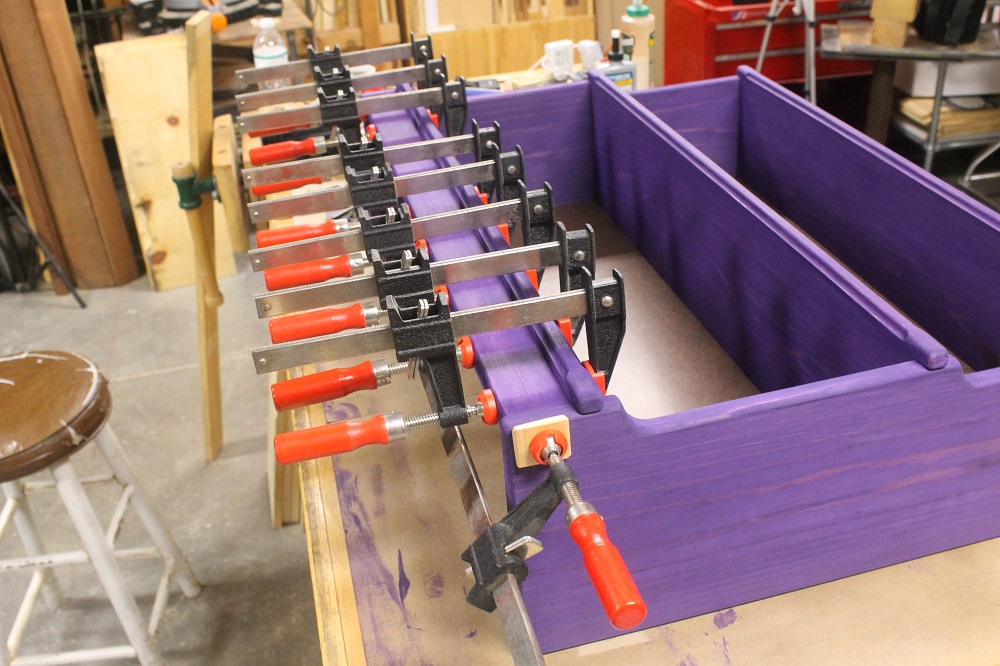
Assembly – Where All Your Hard Work Comes Together
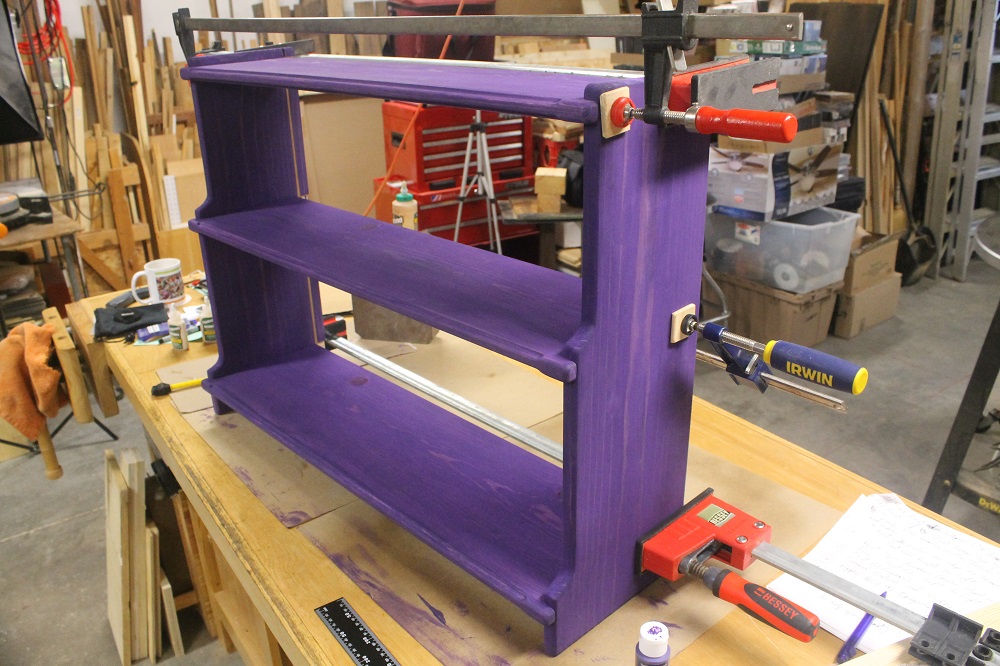
After gluing the main assembly, verify that it’s square then clamp everything together. Check for square once again and let it sit until the glue dries.
Once the entire unit is built, I’ll pull the back and give the main unit a couple coats of clear satin polyurethane (or maybe lacquer). But, unfortunately, that will have to wait a little longer because it’s too cold in my shop for a film finish to cure properly.
A Couple Extras – The Trim Package
OK, so here is where you’d skip to if you were going to give the bookshelf a standard paint job (then you’d backtrack and pick up where you left off).
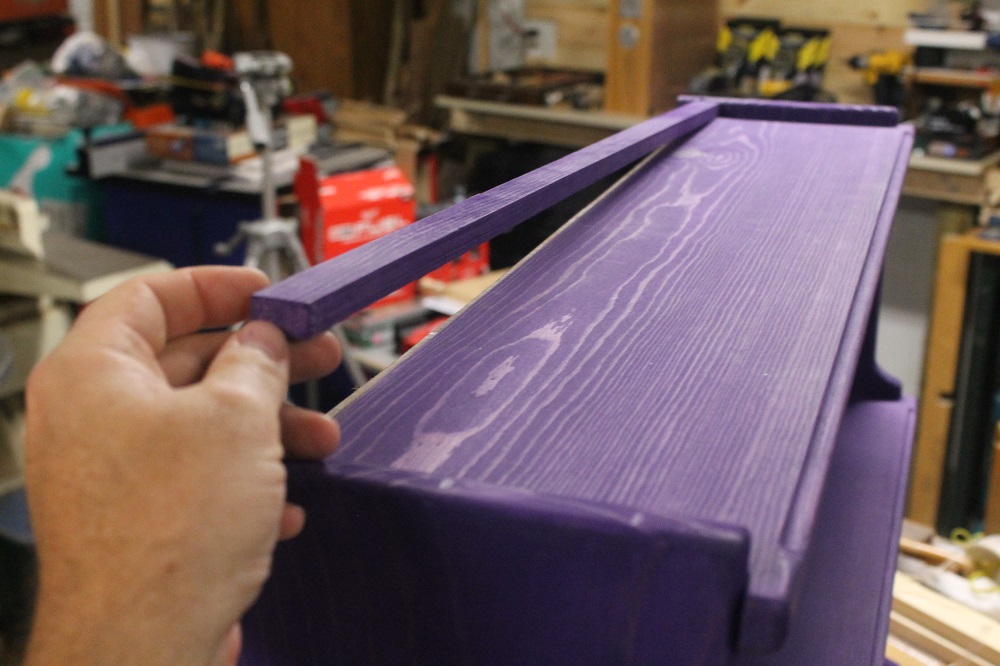
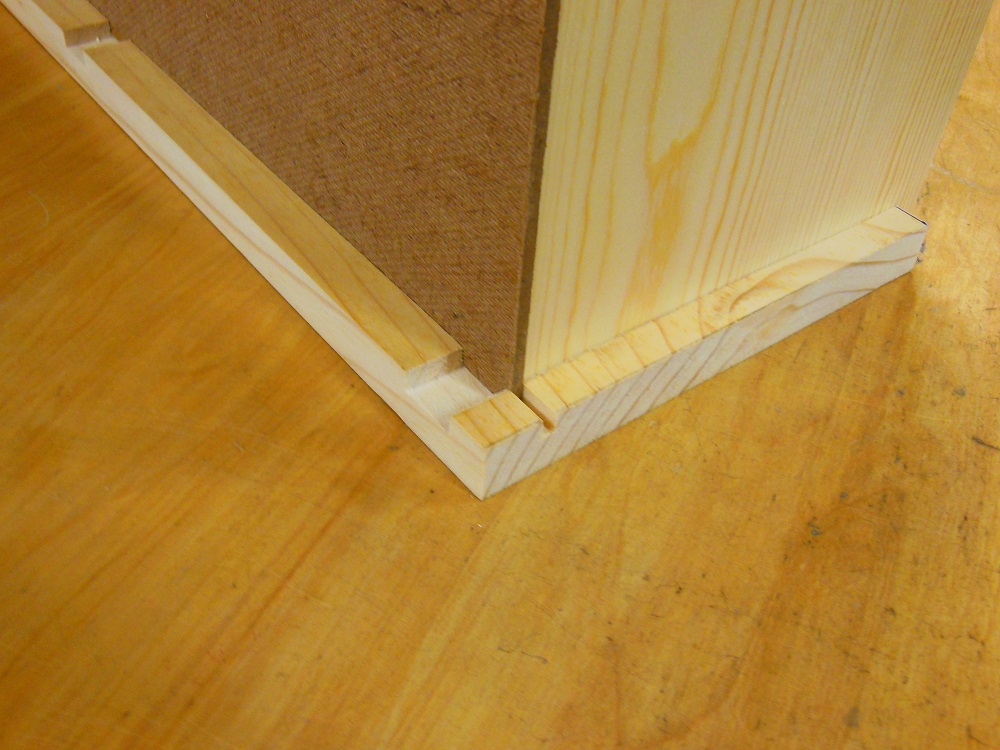
The last two parts are made with simple, straight cuts out of the scrap from when the shelves were trimmed to their different depths and help to tie everything together nicely. The first piece blocks the view of the back panel and keeps things from falling behind the bookshelf. The second piece finishes off the space underneath the bottom shelf.
The shelves were glued into the dadoes with regular Titebond wood glue. The same can be used on these two trim pieces. But instead, I went with Titebond & Thick to reduce the chance of runs or smears.

Final Word – Book ‘Em!
Both the 2737-20 jig saw and 2723-20 compact router are professional quality tools that truly deliver on all performance expectations you might have from the Milwaukee brand. They feel great in the hand, have extremely smooth (surprisingly smooth) controls and adjustments and 18V brushless motors packed with more than ample power.
Of the countless remodeling and woodworking projects these tools are capable of tackling, they were right at home building this wooden bookshelf. And if there was a book written about them, this is right where I’d keep it!
Get the Milwaukee M18 FUEL 18V brushless D-handle Jig Saw model 2737-20 (tool only) for just under $200:
Get the Milwaukee M18 FUEL 18V brushless compact router model 2723-20 (tool only) for just under $180:
I acknowledge that The Home Depot is partnering with Home Fixated in sponsored content. As a part of the sponsorship, Home Fixated is receiving compensation for the purpose of promoting The Home Depot. All expressed opinions and experiences are our own words. This post complies with the Word Of Mouth Marketing Association (WOMMA) Ethics Code and applicable Federal Trade Commission guidelines.


