

It happens. Your once-pristine bar top or kitchen wooden table top has begun to show signs of wear and tear from daily use. Or, apparently in our case, a troop of chimpanzees with markers, ball peen hammers, and a hot iron. In this article, we’re going to show you how to refinish a table like a pro.
If you’re like me, you have grown an affinity for all of the love marks left on your beautiful furniture. Or, at least, that’s what you tell yourself because you can’t bear the thought of refinishing it.
It really isn’t as bad as you would think. Sure, it’s not as simple as painting over an old surface. But with a little know-how and some elbow grease, you’ll have your wooden table top looking brand new again. Here are the basic steps that we will cover:
Strip the old finish
Sand the residual finish
Stain
Seal and finish coats
That is the simple overview. There are easy ways and hard ways to do each of the above steps. We’ll show you the easy way because we’re not dumb. Let’s get started.
How to Refinish a Table Top
Actually, before we get started, it’s important to go over some safety reminders. While we prefer to work with low VOC chemicals, the reality is that nothing is better than breathing fresh air. So always wear a respirator and have good ventilation.
Also, chemicals have a way of entering your skin and finding their way to some of your favorite organs. Wear gloves to keep them out.
And wear safety glasses or goggles to protect from overspray and splashes. Unless you’re a spider, you only have two eyes. So keep them safe.
Besides the safety measures, here are some of the materials you’ll need to complete the project:
What You Will Need for This Table Refinishing Adventure
Chemical-resistant gloves
Safety glasses
Respirator
Smart Strip paint remover, or similar
Paintbrush and/or roller
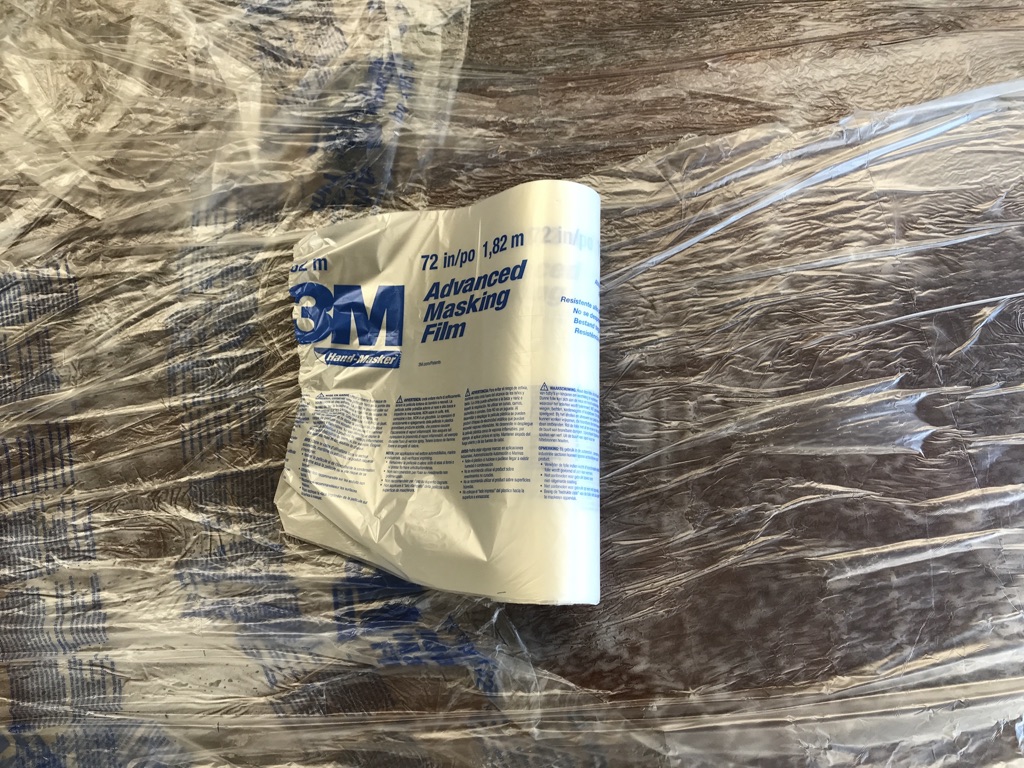
Painter’s plastic
4″, 6” drywall knife or cabinet scraper
Sanding block
Varying grits of sandpaper from 150-300
Microfiber cloth and/or tack cloth
Wood stain
Sanding sealer
Conversion varnish or polyurethane
(optional) Quality brush or cup gun
You could also set up a temporary spray booth to control the fumes and ventilate a smaller area. Paintline introduced a portable job site spray booth we wrote about last year.
1. The First Phase to Refinish a Table Top – Stripping the Old Finish
As I mentioned, there are some very difficult ways of removing the old finish. Like scraping and sanding. But the only reason to do them is for some cruel form of penance. And, unless you invented tight pants, you could probably get by with a much less barbaric form of suffering.
For the rest of us who are just looking for the quickest way to get the old finish off, using a chemical stripper is the only way to go.
Traditionally, you had two choices for strippers; You could either choose a chemical that would poison every organ in your body and make you radioactive, or try a natural product that you swear is just an emollient for the finish.
So I understand if you’re skeptical about a natural paint stripper to remove a finish. Marc wrote about his favorite Soy Gel Stripper a few years back. I haven’t read it yet and I’ve never had to remove soy gel. But I’m sure it’s a fine product.
I went with a different natural paint stripper. And when I tell you about it, you will think it is a figment of Marvel comics. But it’s all true.
Smart Strip is water-based, biodegradable, has no VOCs, it is pH neutral, non-caustic, and non-carcinogenic. All qualities that water “claims” to have.
Yet unlike water, Smart Strip smells like my wife’s deodorant and looks like a delicious meringue. I can’t prove it, but I suspect it is packaged and remarketed shampoo. But please don’t put it in your hair. Or eat it. Trust me, once you see it work its magic you will have a heathy respect for its destructive power. Much like a cute little velociraptor or Haribo’s sugar-free gummy bears, it comes off sweet and innocent. But then descends into a primordial fury upon its unsuspecting victim.
Suffice it to say that it’s truly one of the few products that live up to the name “smart”. You will feel more intelligent each time you open it up. Unlike Smart cars. But I digress.
Step 1: Apply the Smart Strip Paint Stripper
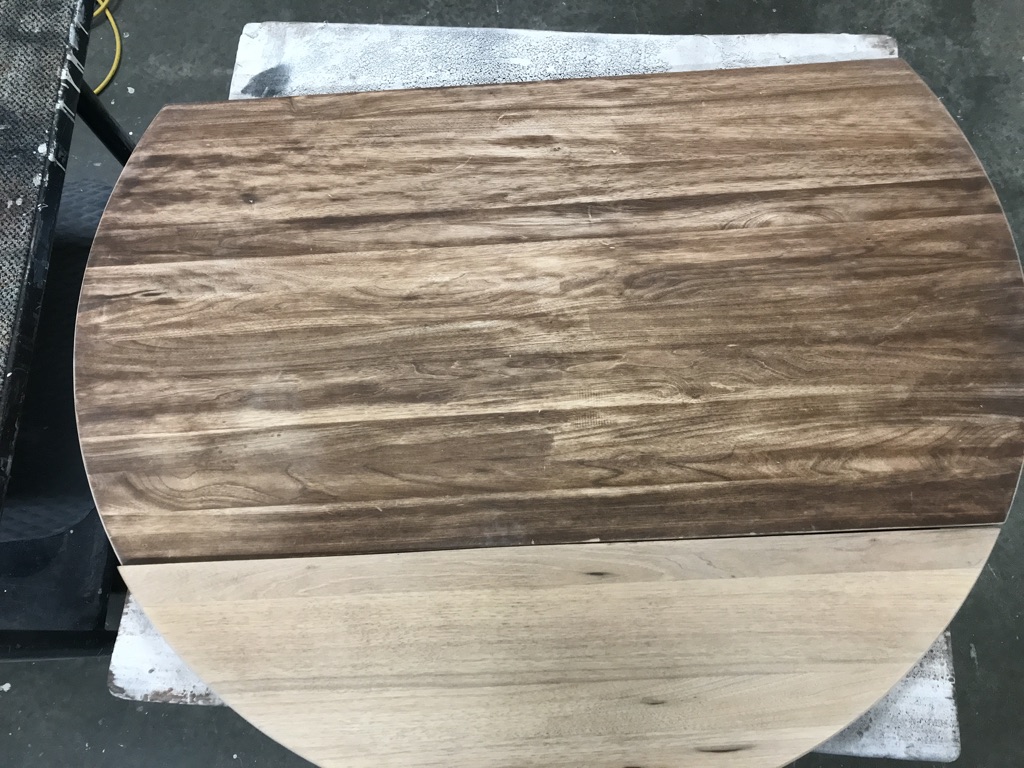
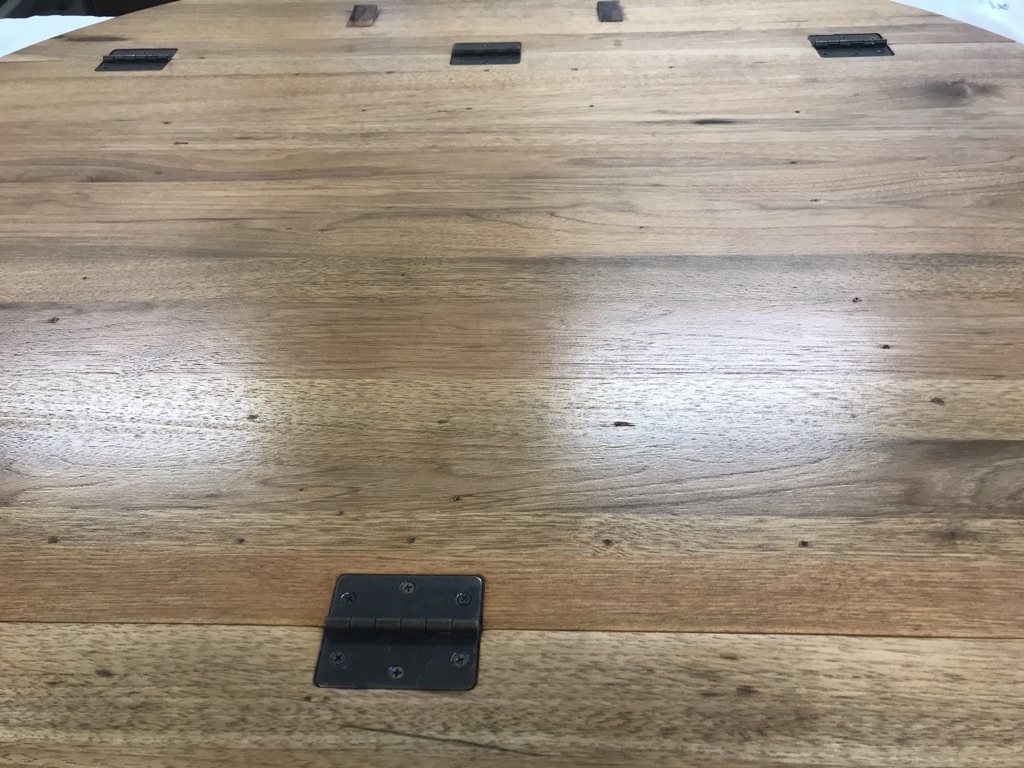
In this case, I removed the top from the table completely. I dismantled the side leaves and was left with 3 pieces of the tabletop to refinish. Before applying the stripper, make sure you’re wearing PPE including latex or nitrile gloves and safety glasses at the very least.
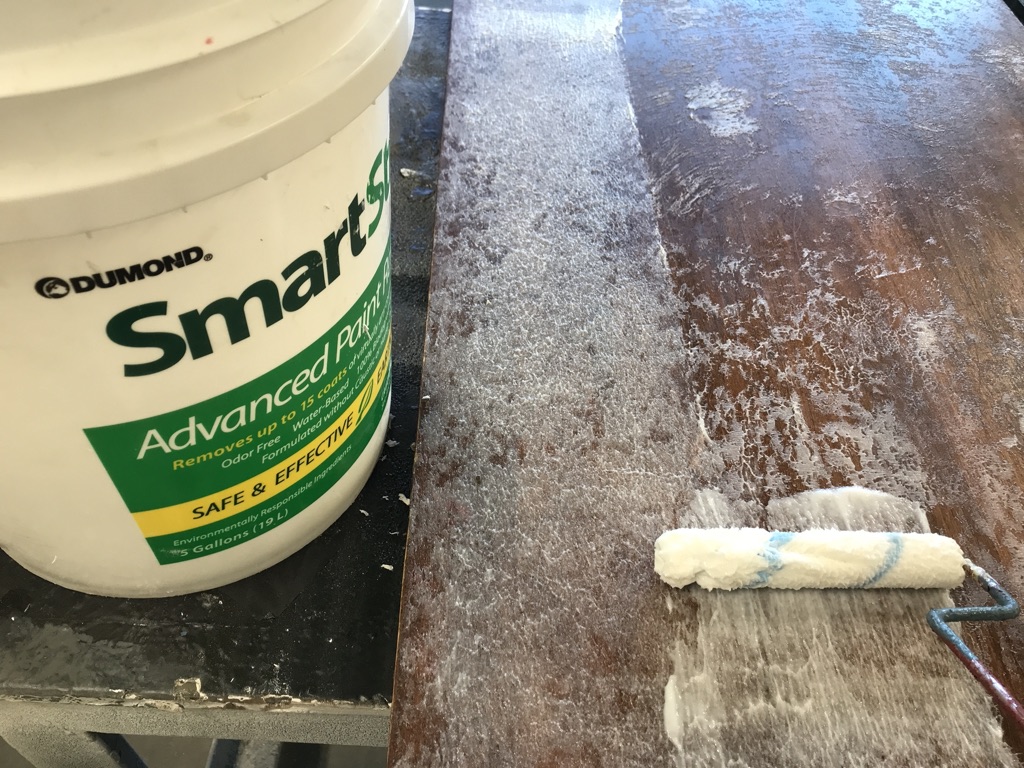
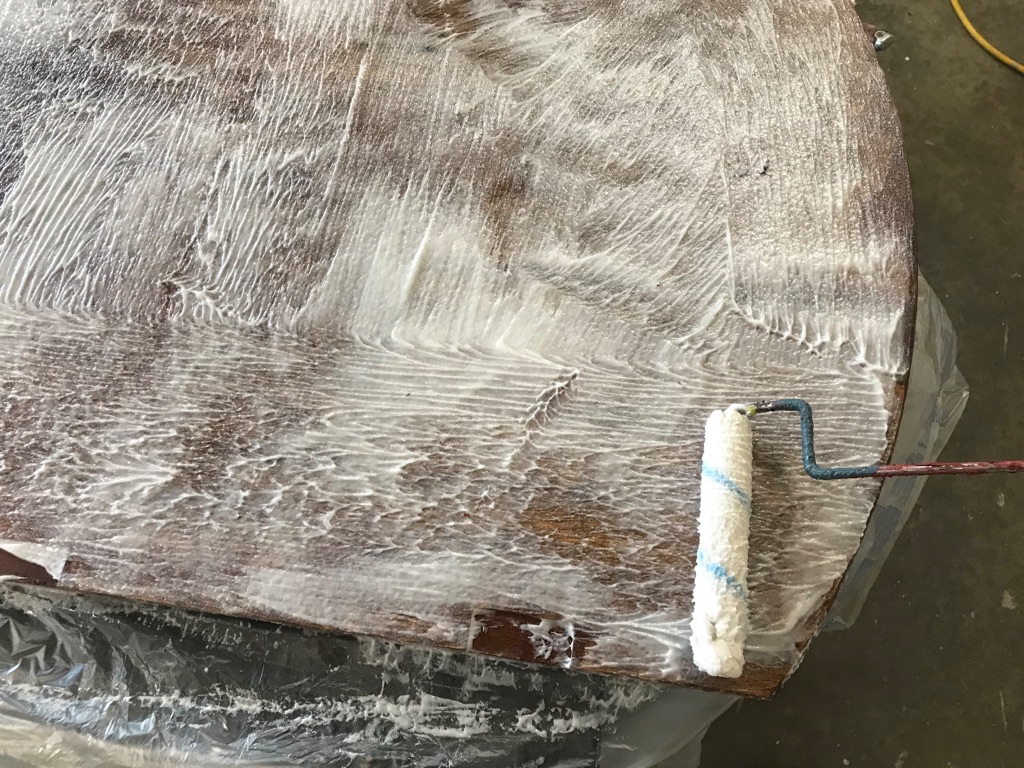
Start by applying a liberal coat of Smart Strip. Don’t be shy. Pretend it’s Cool Whip and this is the cheat day on your diet. I stress, pretend. And I repeat myself, don’t eat this. I have no idea the effects, but I suspect it would be more severe than even a full bag of Olestra chips on your digestive tract.
You can scoop out a liberal glob with your 6” drywall knife and roll it out evenly (I do that on the second coat). If you’re doing a small project you can use a brush, but a roller is much better for leaving a heavy layer.
After you finish your first coat of cake-topping with Smart Strip, cover it completely with painter’s plastic. Smooth it down as much as possible to keep air bubbles out.
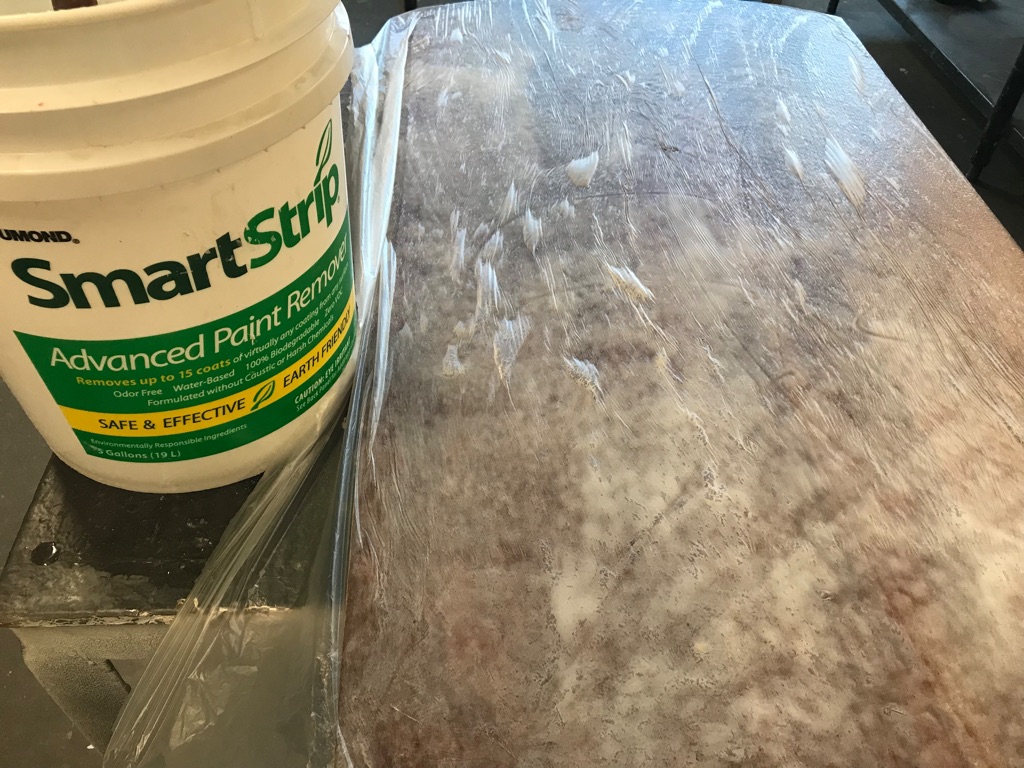
Now is the best part. Walk away. Smart Strip has temporarily freed you from at least 3 hours of excruciating scraping and sanding, the world is your oyster! Escape from the hustle and bustle of your daily life and take an existential walk in nature, absorbing the sounds and smells of the woods as if for the first time in your life. Or watch tv. Whatever. Just stay away for at least 6 hours.
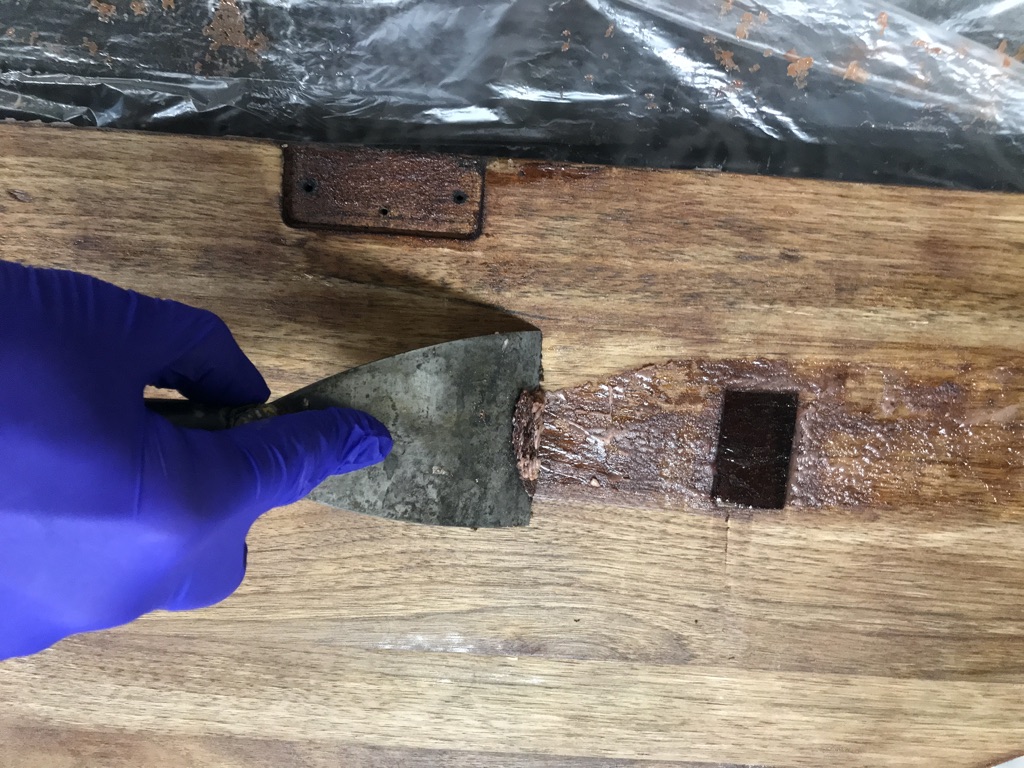
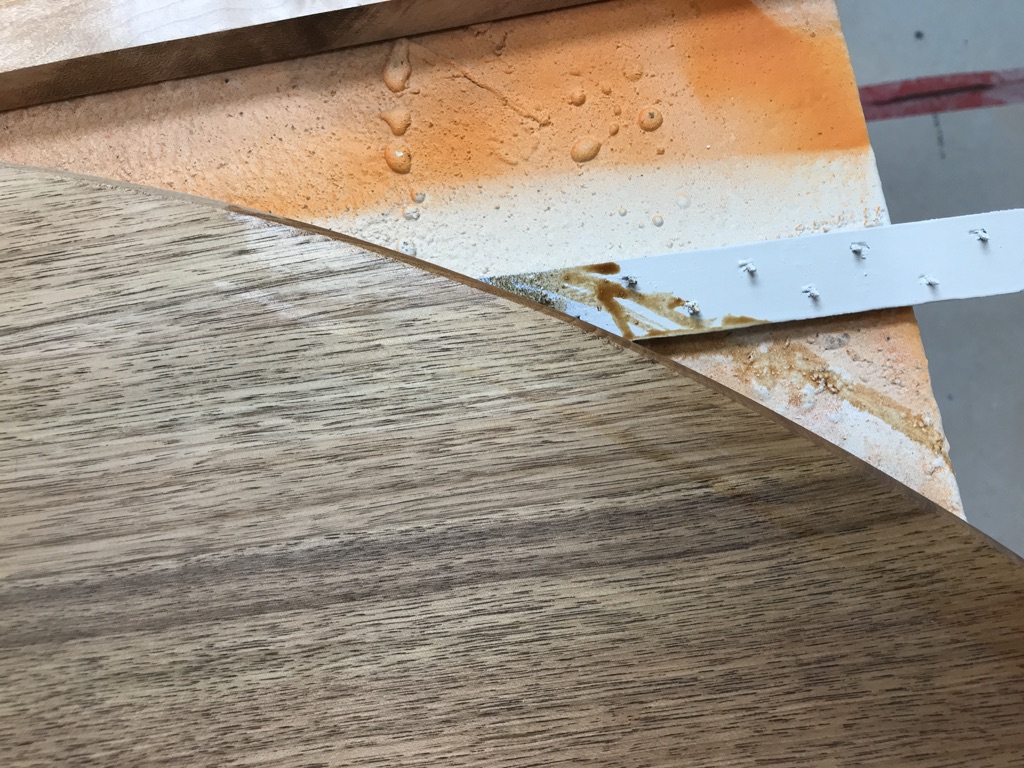
Step 2: Scrape the First Coat of Stripper
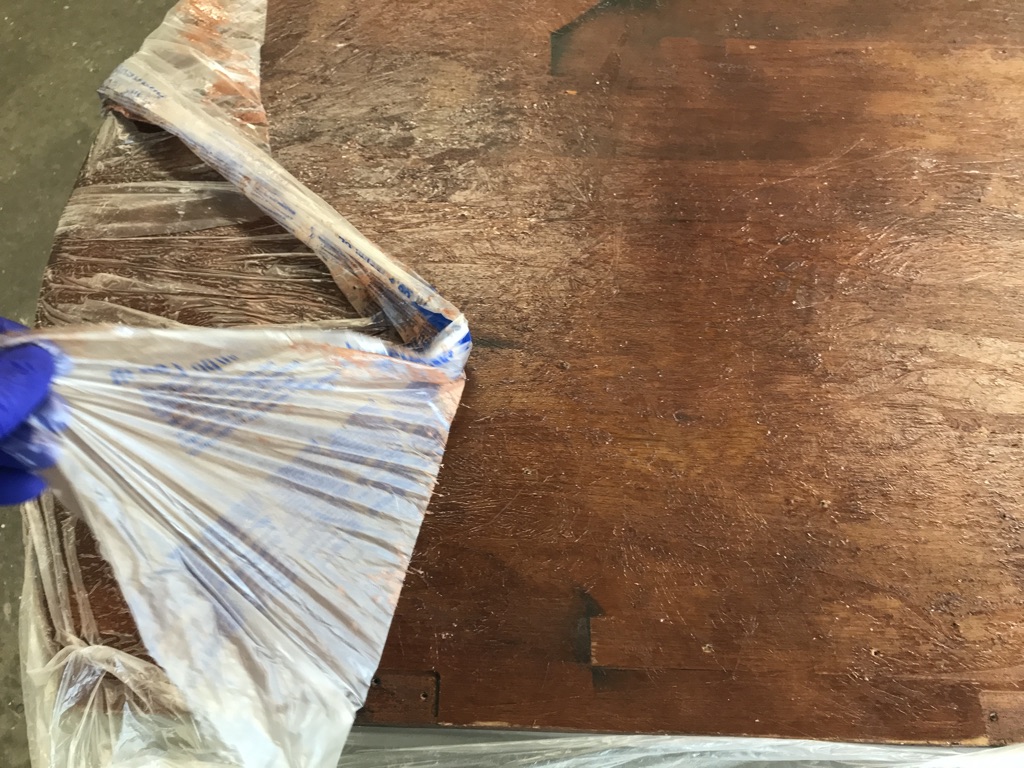
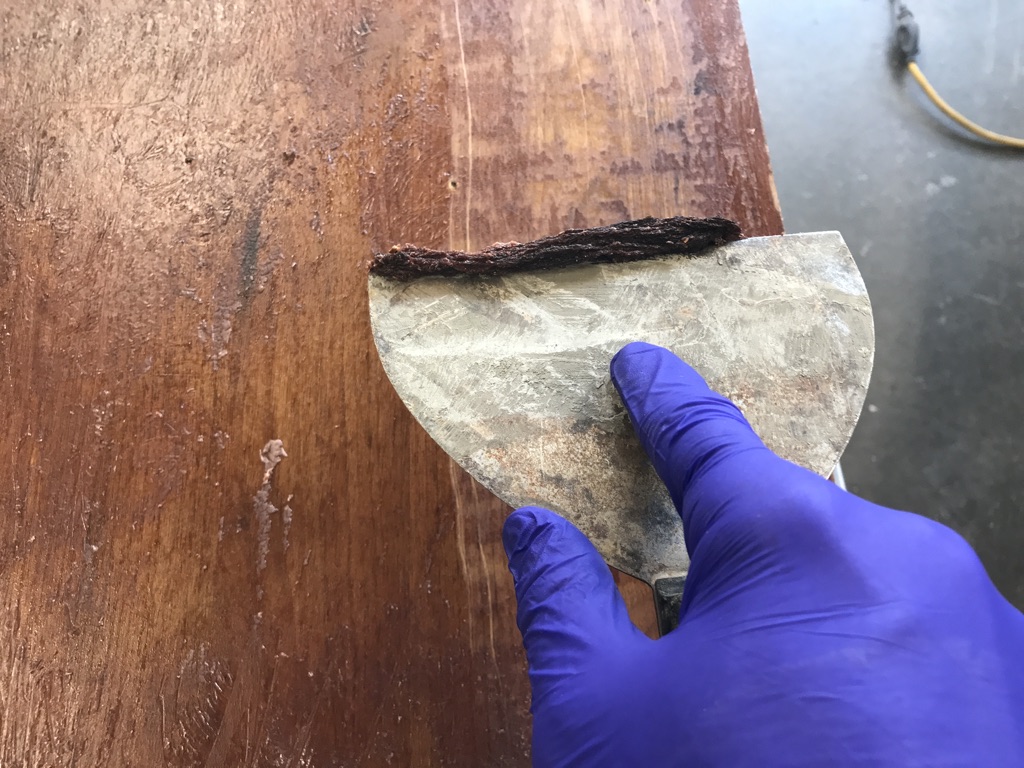
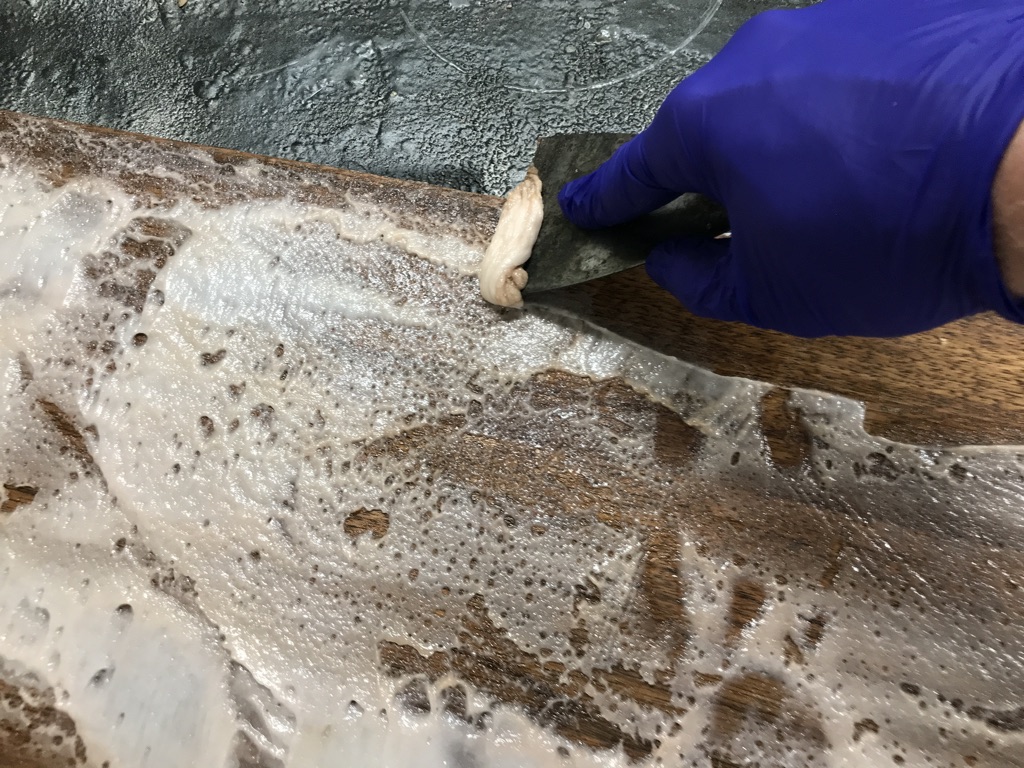
After about 6-12 hours of dwell time, remove the painter’s plastic and begin scraping. Using a 4″ or 6” drywall knife or flat cabinet scraper, gently scrape with the grain of the wood. Be careful not to gouge the wood.
This is very important: Never scrape or sand across the grain. Perpendicular scratches are some of the most difficult blemishes to remove.
The chimpanzees have already done enough damage to initiate the refinishing project in the first place. There’s no need to create more work for yourself.
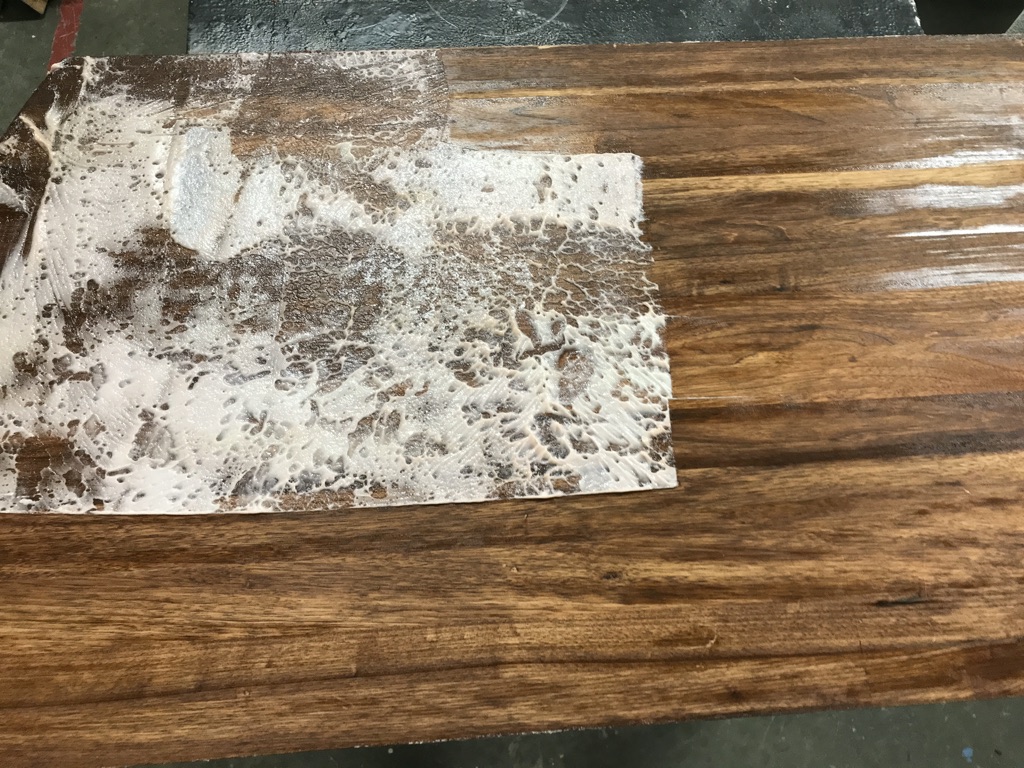
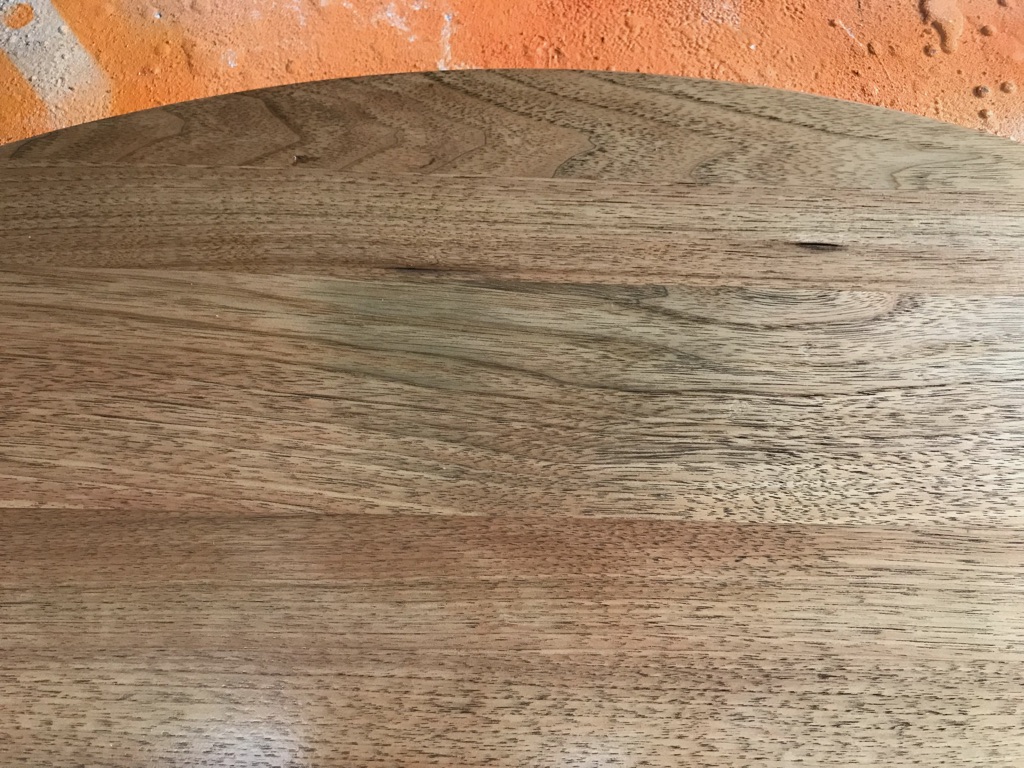
You will notice the color of the stripper is beginning to take on a pink or tan hue. That is the pigment from the stain. This means you have penetrated the protective finish coats and have begun to remove the colorant.
At this point, you’ll also notice where you didn’t listen and put the stripper on too light or didn’t completely cover the tabletop with plastic. You’re left with some islands of intact finish.
But that’s ok, you’re going to do a second coat of stripper anyway. And I’m sure you will pay more attention to the details this time around.
Step 3: Apply Second Coat of Paint Stripper

If you need any explanation, see step 1. This is the same process. Lay it on thick and heavy, cover it with painter’s plastic, and go away. Seriously, enjoy the time you are not scraping, sanding, or shopping for a new kitchen table. You have a new lease on life for the next few hours, don’t waste it. Spend some time with your family. Call an old friend. Read a book… Who am I kidding? Go back to Netflix.
Step 4: Scrape the Second Coat of Paint Stripper
Again, this is a repeated process. See step 2 if the subtitle isn’t clear enough. Just don’t scrape sideways. It’s usually better if you can pull the scraper. When you pull the scraper, you have less chance of gouging the wood. Pushing can cause gouges, splinters, and PG-13 language. Let’s keep this clean.
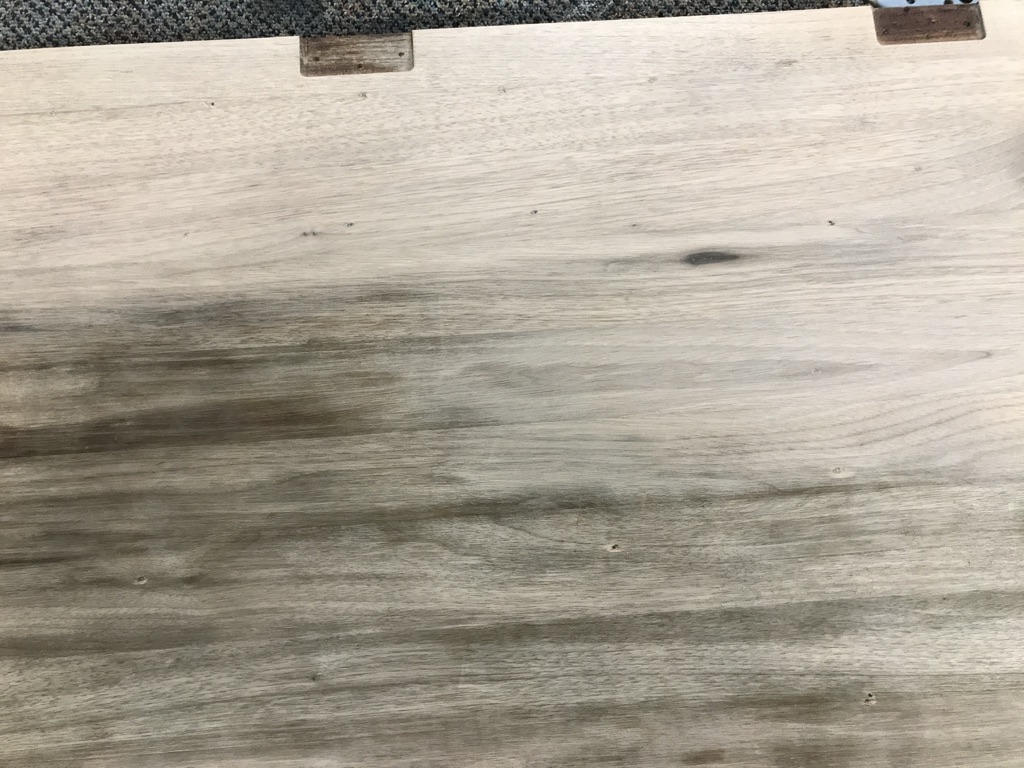
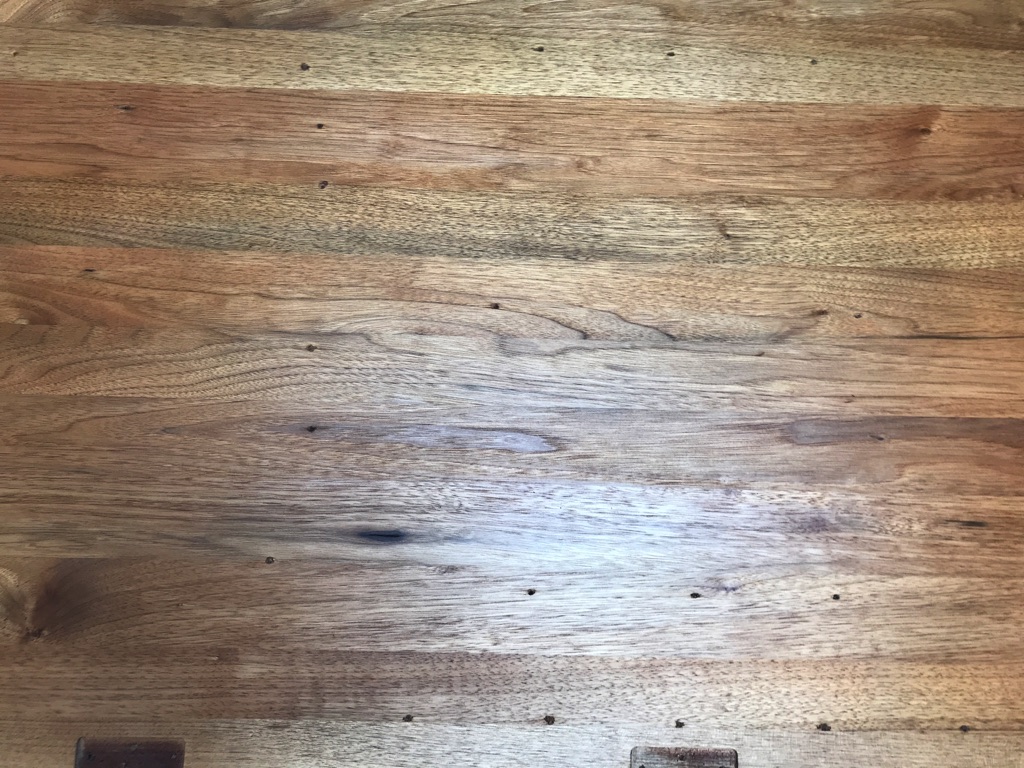
Begin Sanding the Table Top – the Second Phase to Refinishing a Table Top
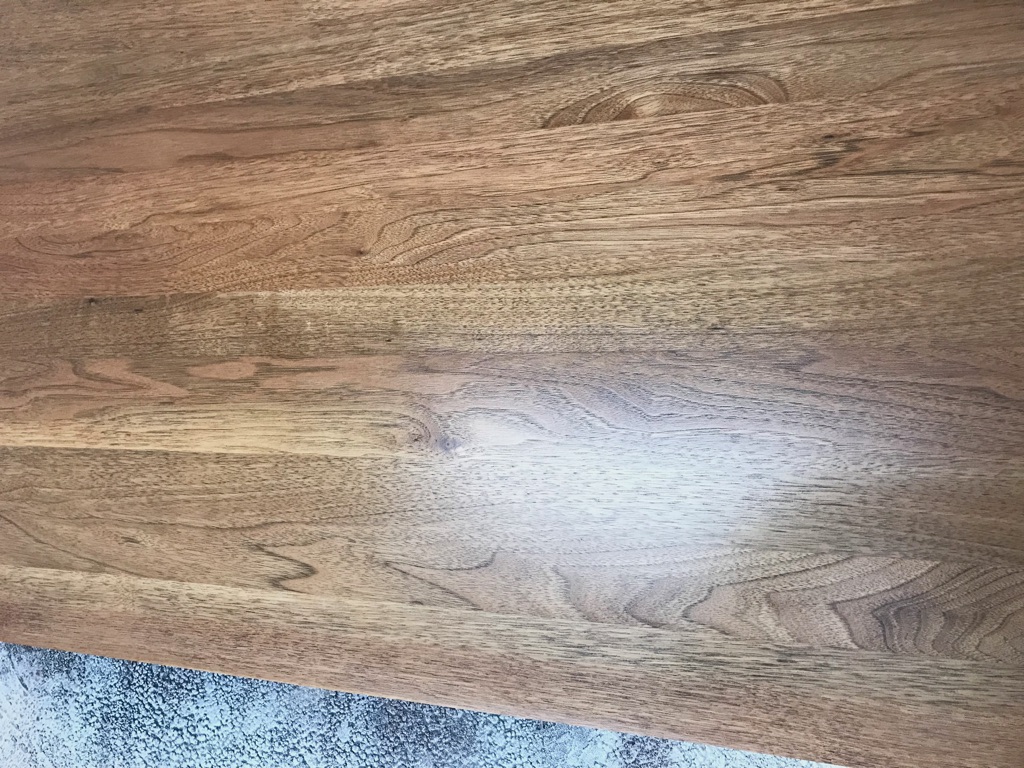
Now, I never said Smart Strip eliminates sanding. There is always a certain level of sanding when working with wood. Not surprisingly, it is an essential step when you refinish a table top. While you don’t have to sand through layers of varnish or polyurethane, you will have to do some finish sanding. At this point, you’ve removed the tough outer layer to allow you to sand the stain out.
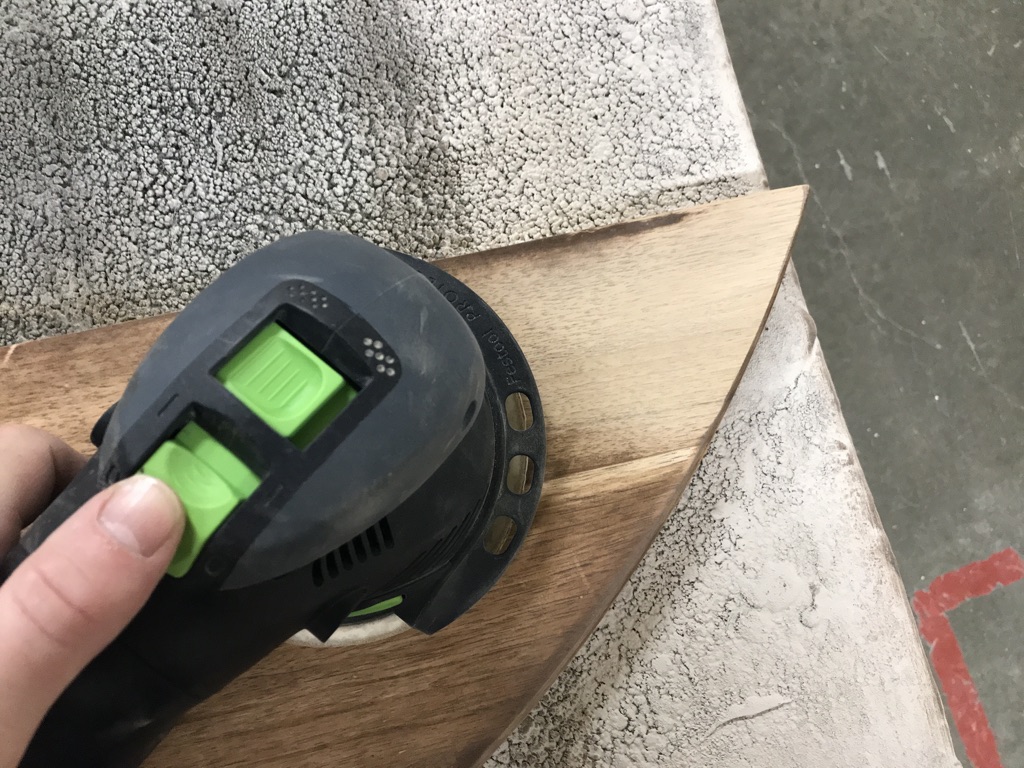
After the stripper has had a chance to dry, you’ll be ready for the next step. Just be sure to sand with the grain. As you can see, an orbital sander makes quick work of the sanding process. The only caveat is the possibility of scratching the wood with those circular marks. Residual pieces of the finish can stick to the sandpaper, heat up, and turn into small bits of hardened vandals we call corns. You’ll never see all of the scratches until you put on the last coat of finish. I like to follow up the orbital with a sanding block and sand with the grain with a finer grit of sandpaper to remove any of those scratches.
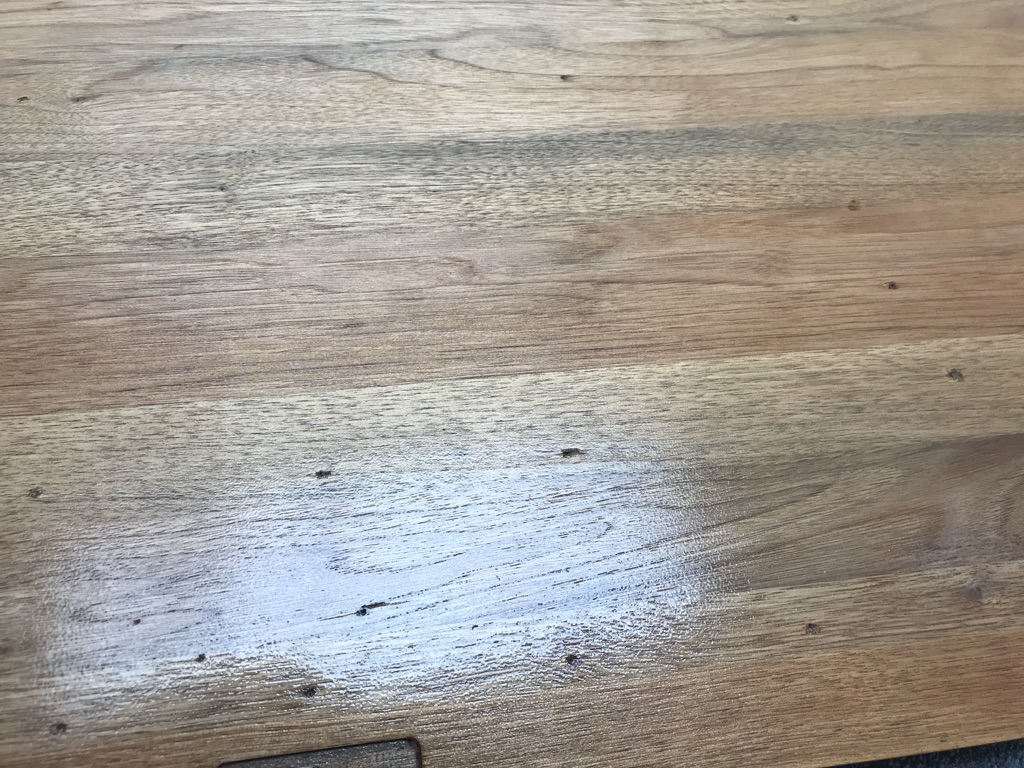
Step 5: Sanding
Start with 150 grit and go over the whole top. Take care not to round the edges. Keep the sander flat on the surface. For on this tabletop, there is a curved edge. I gently sanded this by hand with a piece of sandpaper after sanding the top.
Pro Tip: Repeat this with 200 and 250 grit. You can go as far as 300, but I find that the finer I sand, the less stain will penetrate (at least for some woods). But 250 is smooth enough to start staining.
Preparing and Staining the Table Top
Conditioning the wood before staining is usually an optional step that works well with difficult woods like maple to even out the openness of the wood grains. For refinishing, I find a wood conditioner works similarly. Especially when refinishing a table top. During the stripping and sanding process, any of the leftover chemicals and finishes may have been driven further into some areas more than others.

The wood conditioner fills in the more open grains to make a more consistent porosity throughout. Plus, after using what looks like shampoo on the first two steps, it only seems appropriate to follow up with a good conditioner.
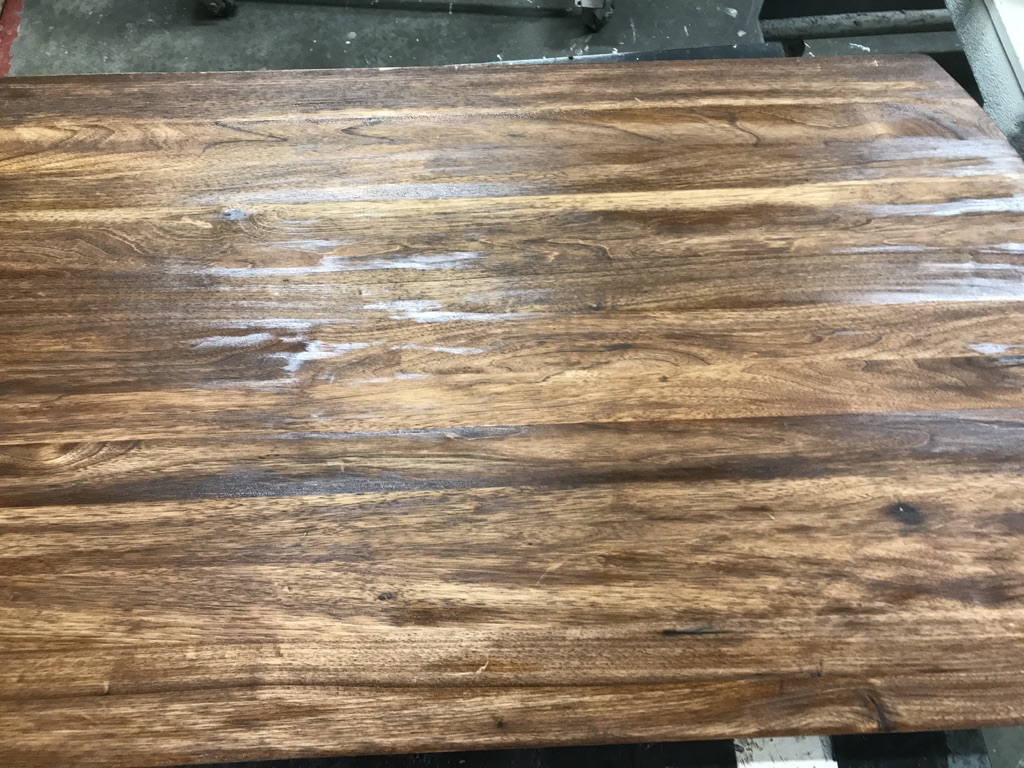
Step 6: Apply Wood Conditioner
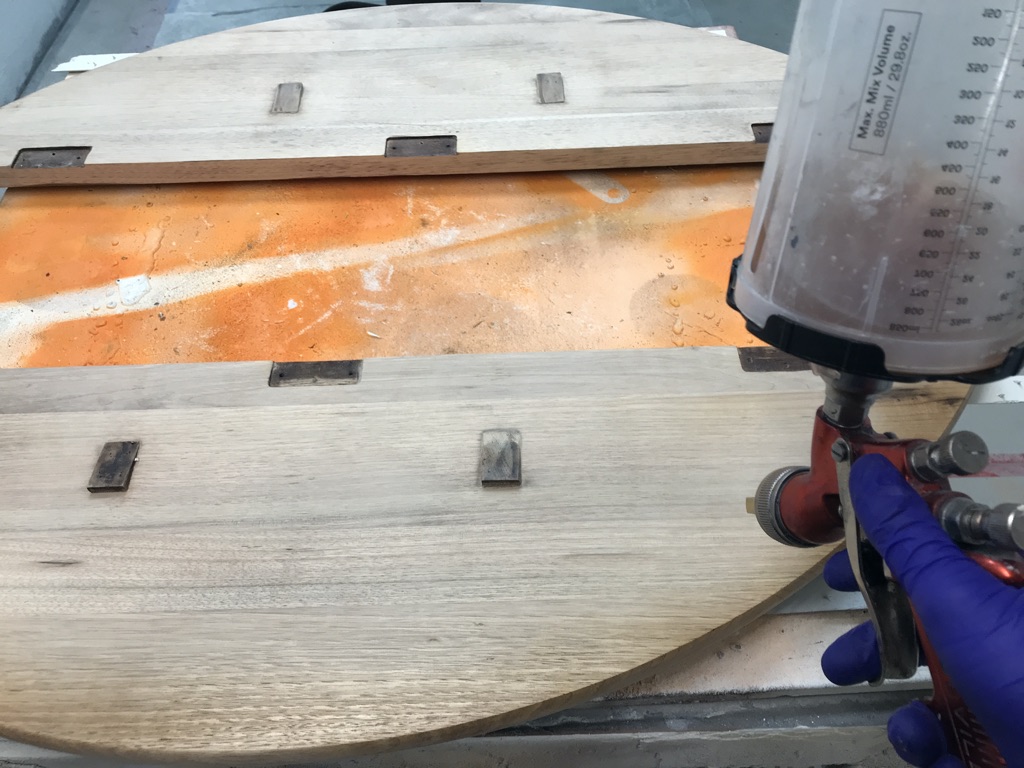
Applying the conditioner is pretty straightforward. Just brush or spray with the grain. You don’t have to worry as much about keeping a wet edge as you will for the next coats. Just try to have an even coat over the whole thing.
You’ll notice that it seems like a very thin clear coat. Which I suspect is about all that it is. Once the conditioner is dried, you should have an even and consistent surface to stain. And it will give your table top more shine and bounce, which is what you should expect from a conditioner. Next, we’ll set it up under a hairdryer and give it a manicure. Just kidding. We’re gonna stain it.
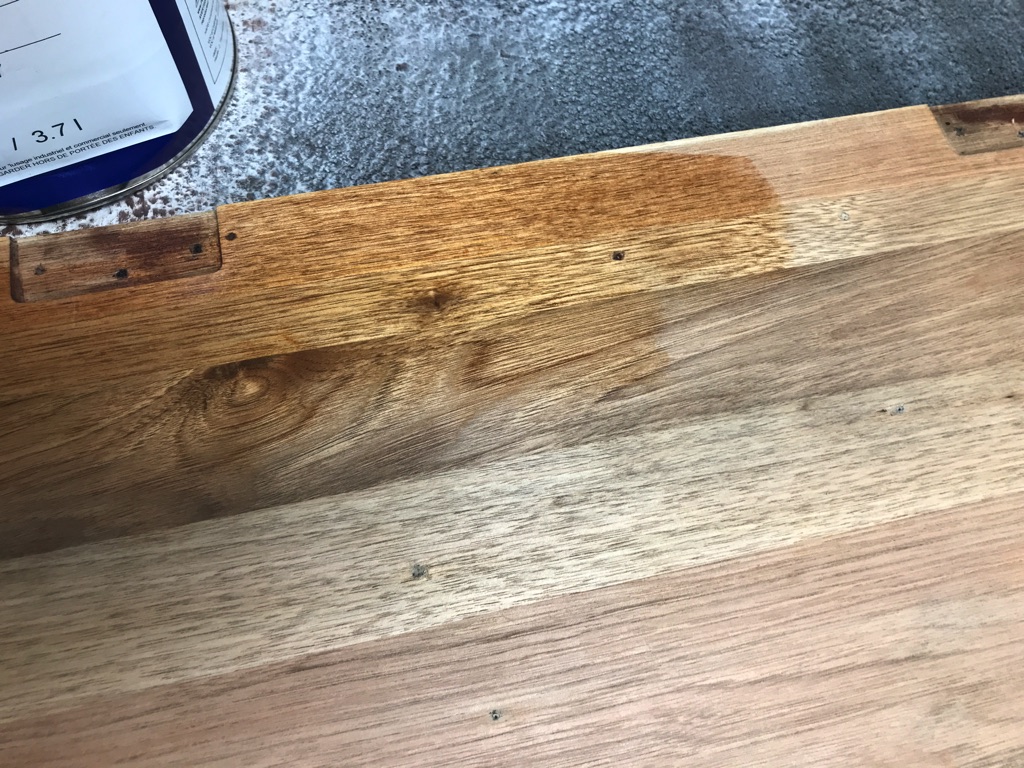
Step 7: Apply the Stain
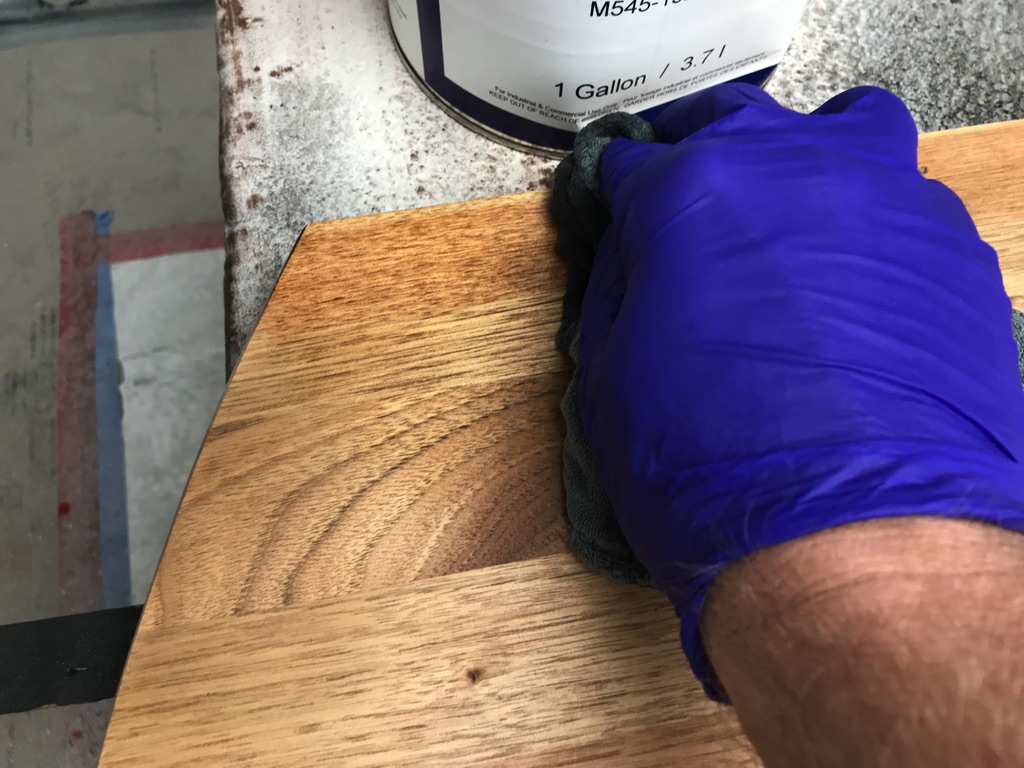
This is a simple process, just be sure to keep moving. You can brush a coat on, but I prefer to use one rag to apply and another to wipe off the excess. Just like any other part of the process, make sure that every swipe goes with the grain.
You can do this in sections if it’s drying too fast. Just try to keep a wet edge, and watch out for any rogue rag marks. Always wipe with the grain. Did I already say that? And be sure your final pass is with your dry rag.
Applying the Finish Coats – Phase 3 in How to Refinsh a Table Top
This is where you will want to choose the finish product. There are several factors to consider based on the equipment you have and the number of times you want to refinish your table in the future.
The best coating for refinishing a table top is going to be a catalyzed conversion varnish. But it will require spray equipment and adequate ventilation. A brushed on polyurethane is a good alternative if you don’t have the needed equipment for spraying. And you can always recoat with minimal prep in the future.
You can generally use the finish to self-seal. It creates the strongest bond that you can get between the coats. But for refinishing, I prefer to use SealCoat wax-free shellac. The main reasons are because shellac bonds well with most topcoats, it is better at sealing out any leftover finishes or oils that could cause problems later, and can be brushed, sprayed, or rolled on. It also dries faster and sands easier than any topcoat.
While you can find all kinds of opinions on seal coats, I find this to be the most reliable go-to for most finishes. Just be sure it is the wax-free version for the best topcoat adhesion. You only need one coat of sealer. Especially with SealCoat. A second coat is unnecessary and becomes ridiculously hard to sand. Yes, you will need to sand.
Step 8: Apply the Seal Coat

Things get a little more tricky as you begin to apply the finish coats. But since you’ll be sanding the seal coat, you can get away with a few mistakes. If you are in a well-ventilated area and have the equipment you can certainly spray the seal coat. The pattern for spraying is a half overlap with the last pass. I like to start with my edges and then fill in on the flat surface.
If I can reach across the whole surface without touching it I will start from the far point and work toward myself. This keeps me and my equipment away from the fresh finish. If it’s too wide, I’ll spray away from myself toward the middle. Keeping a wet edge I will reposition to work from there toward myself.
The same principle applies when brushing. Always start from one edge and work toward another. If you start in the middle, your first brush strokes will be dry and you will end up with a hard edge that is difficult to remove.
Work toward yourself as much as possible. But keeping a wet edge is the most important rule. Oh, and always brush with the grain. (I hope by now I have ingrained that everything is always with the grain.)
Step 9: More Sanding – a Caveat When You Refinish a Table Top
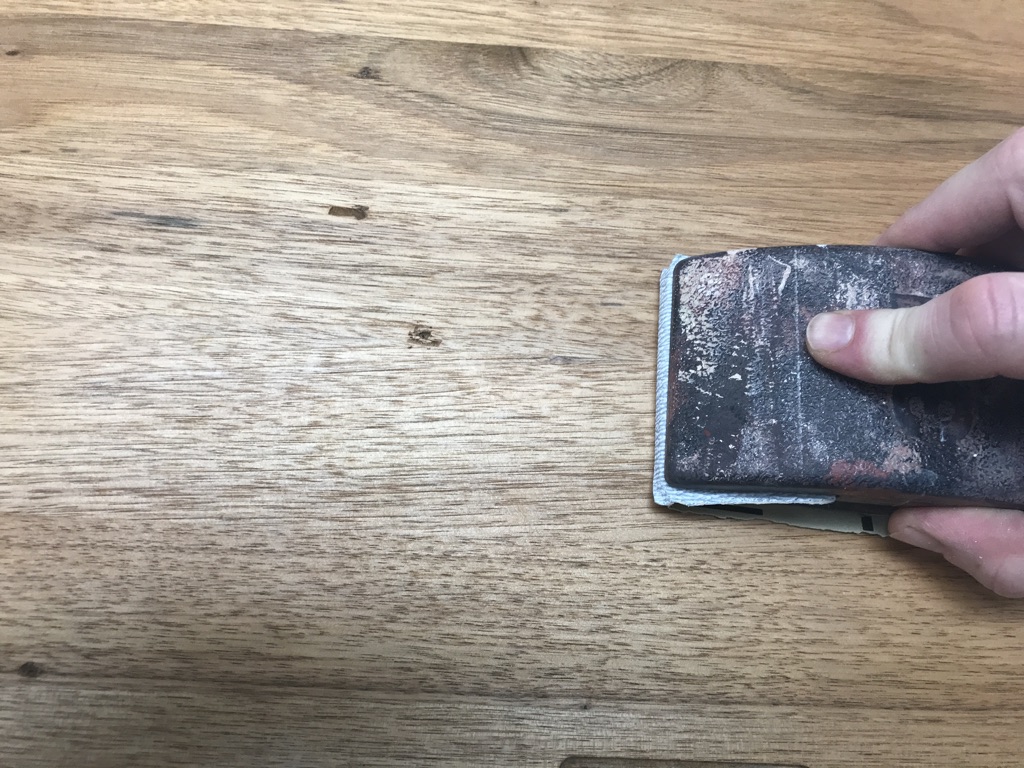
Any seal coat is going to need to be sanded. This is because liquids cause the wood grain to swell and stand up. You can see this when you just get a raw piece of wood wet. When you apply a sealer, those grains stand up and are then stiffened by the finish. This causes a very rough surface that needs a good pass of sandpaper.
After the sealer has dried, choose a fine grit of paper, somewhere around 300-400 grit. I prefer some sort of stearated sandpaper that prevents the corning, or gumming up, that makes those annoying scratches.
Using a sanding block and light pressure, sand with the grain to knock off any of the roughness. The harder you push, the more friction you create. Which heats the sealer and melts it into the sandpaper. Which changes the true grit rating from 400 to something like 4, roughly the equivalent of pea gravel. So no pressure, but keep it light.
That sounds confusing. What I mean is, I’m not trying to pressure you, but try not to push too hard. On the sanding block. When you’re sanding. Anyway, once you have a fairly smooth surface, clean it with a tack cloth or microfiber rag to eliminate as much dust as possible before the final coats.
This is the final push in refinishing the table top. You got this!
Step 10: The Final Finish Coats
Now you’re ready for the finish coats. As I mentioned before, your best choice is a catalyzed conversion varnish (cv). ML Campbell makes an excellent cv called Duravar. It is a two-part clear coat, which means you’ll mix a catalyst in to begin the chemical reaction for each batch of finish. You have around an 8-hour pot life, so mixing up enough for 3 good coats on a small project like this one shouldn’t be an issue.
However, it will need to be sprayed somewhere with good ventilation. I was able to use a friend’s shop for this, so I went with the spray option. If you can’t spray, you can use a good brushable polyurethane. There are many good-quality polys out there. Especially if you are looking for a good water-based, low VOC finish that can (nearly) compete with the catalyzed varnishes.
Whether spraying or brushing, take long sweeping strokes with the grain. Try to keep a wet edge, so you’ll have to keep moving once you start. I recommend at least 2 coats. A third is usually sufficient for most applications. Read the manufacturer’s recommendation for dry times between coats. You may need to sand in between, so make sure it dries sufficiently before tackling that. I try to be as gentle as possible between coats, even just using a microfiber cloth to knock off any rough spots rather than getting sandpaper or steel wool involved.
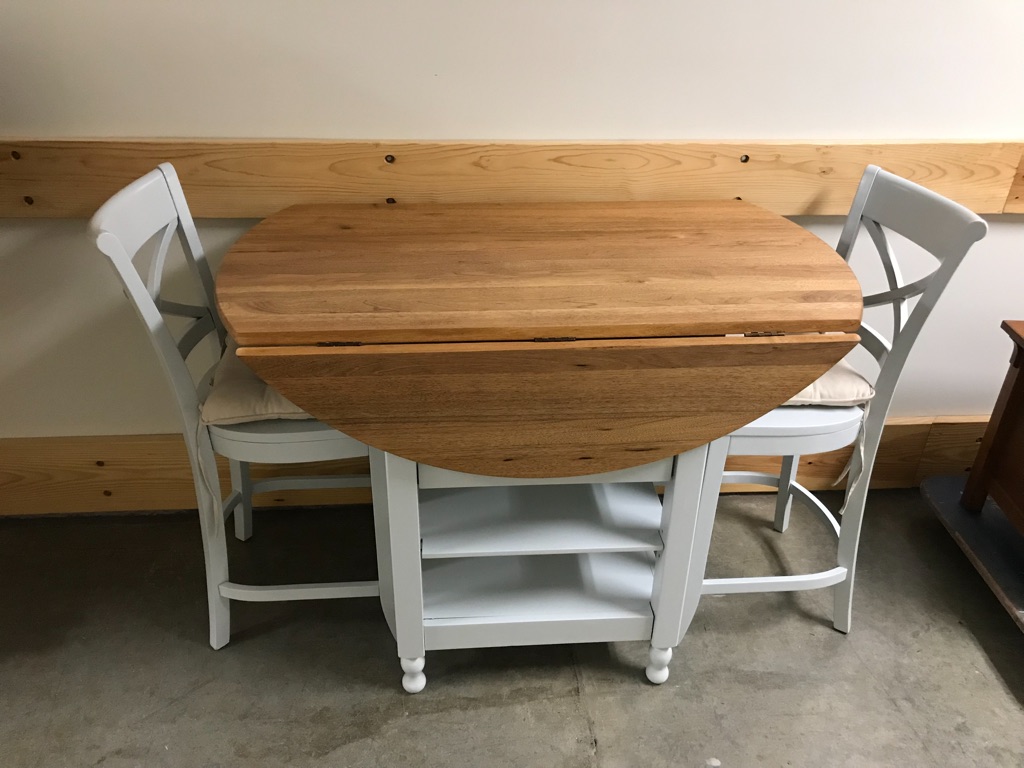
Step 11: Reassemble the Pieces – Final Step in How to Refinish a Table Top
Now you’re done refinishing a table top! Well, almost. After a sufficient amount of dry time, you’re ready to put the table back together. Just remember that even when a coating is dry to the touch, it can take days or even weeks for it to fully cure.
That means that it’s much more sensitive to scratches and scrapes, so be careful when putting this back together. After all of your hard work, you’ll find that you are more sensitive to any scratches in the finish at this point.
In fact, I like to wait at least a week before putting a newly finished piece back into use. Especially with a table that will hopefully endure years of abuse before you have to refinish it.
Conclusion: Now You Know How to Refinish a Table Top Like a Pro
After all of this, refinishing a table top isn’t that bad. And not just when compared with an appendectomy. Sure, you’ll continue to put it off for another year or so. But at some point, you’ll be faced with the ultimatum between this or an entire weekend of furniture shopping. When that happens, be sure to follow these details closely. And if you only remember one thing from this article, always go with the grain. And don’t eat Smart Strip.


Your guide on how to refinish a table is a game-changer! The step-by-step instructions, coupled with insightful tips, make the process seem manageable. The before-and-after photos showcase a remarkable transformation. Thanks for demystifying the refinishing process and inspiring readers to revive their furniture with confidence.
Nice. Thanks, for step by step guide