

Is your home’s façade looking like a prime contender for “Pimp My Hovel” lately? Never fear! If you have shutters, we’ll show you how a little paint, and a little work, can make a huge difference in your home’s curb appeal. Whether you just want to repaint shutters to banish a former owner’s questionable fashion choice (lilac and turquoise??), or refresh your shutters to pristine condition, it’s an easy project—and you WON’T have to tithe to the local home center!
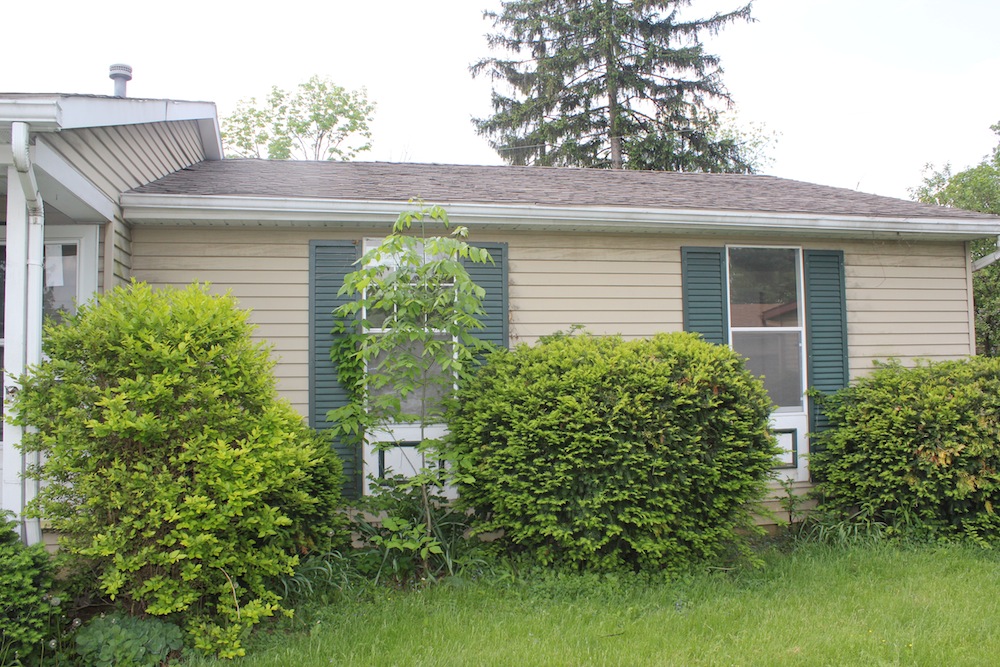
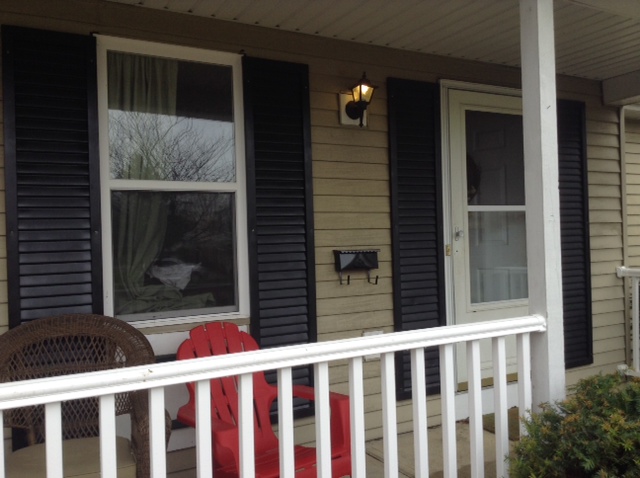
In a previous post, we took a look at how replacing some overgrown, not-very-attractive bushes with some new plants, doing a quick power-wash, and adding a new porch railing, totally transformed the look of my daughter’s house, for a total cost of about $350. As an example of how one thing leads to another, when we finished, we thought “Hey, while we’re at it…let’s rehab the shutters!” Normally, these are the most expensive words in the DIY vocabulary; not so in this case, fortunately. Total cost: about $40 and a day’s work.
Why Repaint Shutters?
Nice shutters on a house can really dress it up. They provide some visual interest to what might otherwise be just another plain McMansion, letting you give your dwelling a little slap of color. Like everything else, though, painted shutters need a bit of maintenance and TLC, or they end up looking like Lindsay Lohan after a week with Robert Downey Jr. Over time, the combined effects of sun, precipitation, bugs and dirt can turn even the most elegant dwelling into one that’ll get you booted from Martha Stewart’s mailing list. Give the shutters a blast from the hose or a careful application from the pressure washer once or twice a year, and they’ll stay looking spiffy a LOT longer. Still, after several years you’ll probably need to repaint shutters that look a bit worse for wear.
Ready – Set – Repaint Shutters!
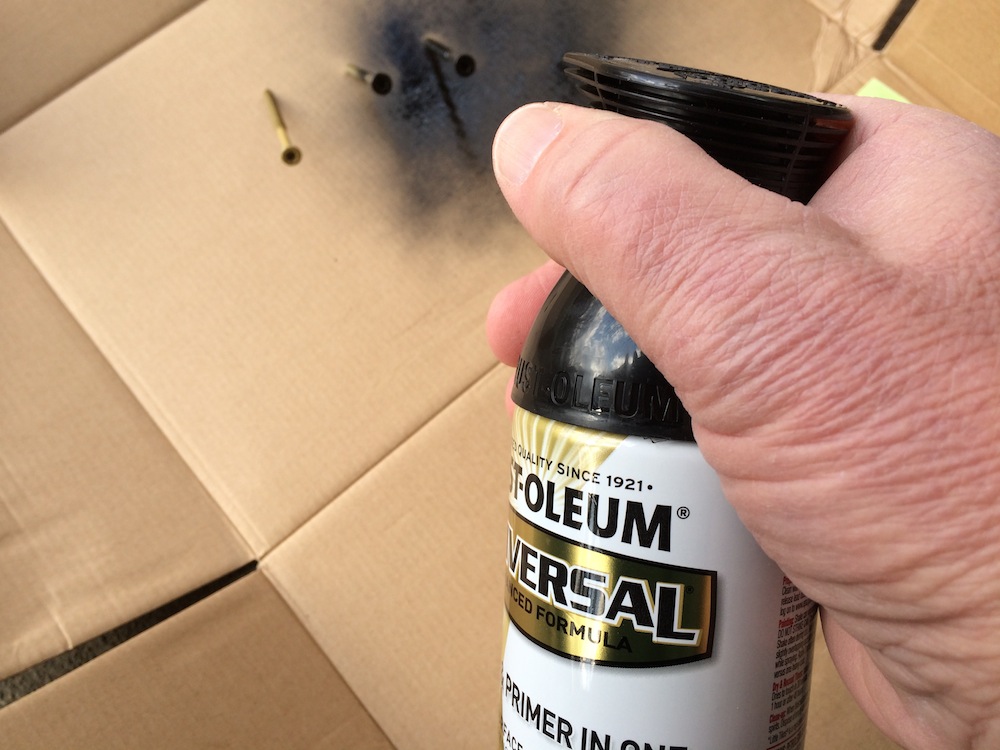
Here’s what you’ll need: a screwdriver or a flat pry bar to remove the shutters from the house, depending on how they’re attached; a hose, bucket of soapy water, and a scrub-brush (a pressure washer can work as well, just be careful – too much pressure can destroy wooden slats); steel wool or sandpaper to scuff up the surface of the existing paint; and some new paint. We used a combination of Rustoleum 2X Gloss Black and Rustoleum Universal Gloss Black. It’s also helpful to have sawhorses to set the shutters on while you work on them, and a tarp or plastic to keep your work area clean while you paint.
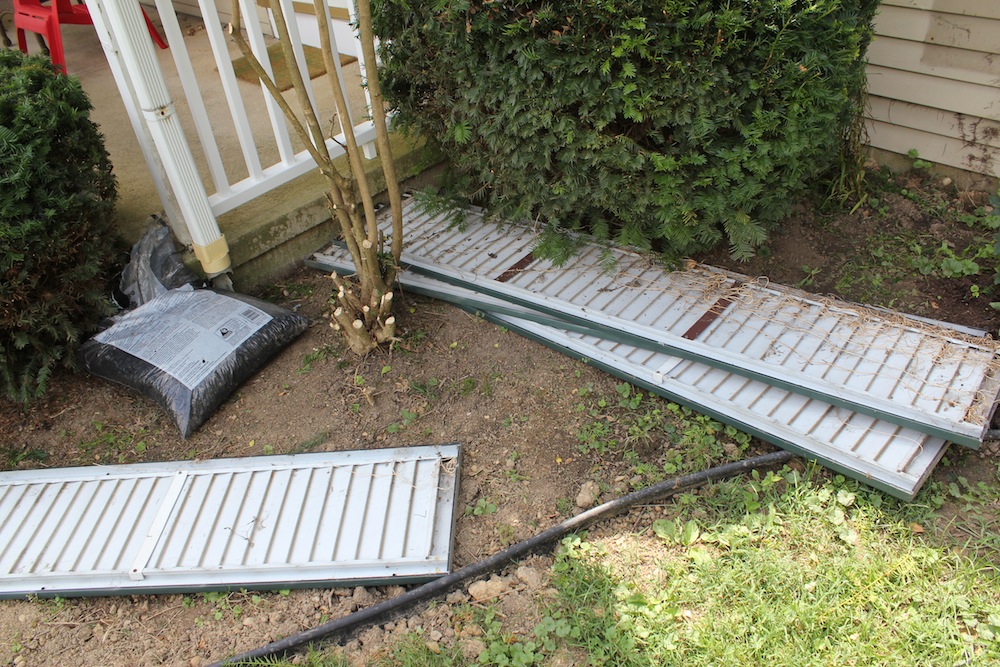
When my daughter and her husband bought their house, it had been vacant for over a year, and it obviously hadn’t seen much love for quite a while prior to that. The house has ten shutters, screwed to the front of the house with 3” screws. We took them down one at a time, being careful as we did so as to not get bitten by some of the many unfriendly-looking brown spiders living behind them. A couple of the shutters also had poison ivy vines clinging to the front and back of them. Like I said, they hadn’t had a lot of attention this century.
As we took them down, we numbered the back of each one, so the screw holes would line up when we re-installed them. If your shutters are attached with nails, locate them and gently pry the shutters free of the siding a little bit at a time with your pry bar, working your way around the shutter. Place a stiff piece of cardboard or other material behind the pry bar to keep it from damaging the siding.
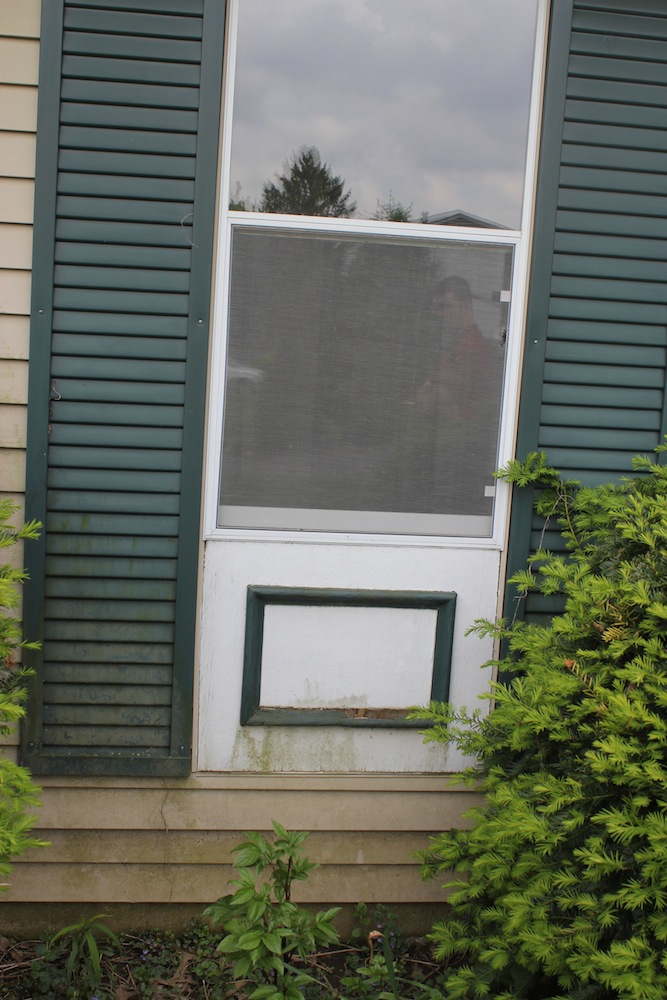
Once upon a time, the shutters were dark green. Now they were a mix of faded green, mildew, poison ivy, and mystery crud. First up: a quick power-wash (with safety glasses on!) and a swipe with the broom to get rid of the big chunks of dirt, leaves, and cobwebs (with stray spiders). Next, we laid them across a set of sawhorses and went over the surface to be painted with steel wool. Aside from knocking loose any remaining dirt and debris, it de-glossed the three square inches of gloss that may have been left, to help the paint adhere better. Finally, we hit the shutters, front and back, with the hose and a scrub brush, to rinse off any remaining dust and crud. Then we set them out to dry thoroughly.

Shutters Clean? Paint ‘Em, Danno
With the scut work finished, it was time to make those shutters purty again. This is your chance to give your place a low-budget change of appearance. Tired of the pink or turquoise shutters you inherited from the previous owner, or your ex? A can of spray paint will obliterate the offending color in a few short minutes. It’s possible to get a can of paint and brush it on, but with all the nooks and crannies on the typical shutter, you’ll save a lot of time, and get a smoother result, using spray paint. Our instructions were to make the greenish shutters black shutters.
If your mission to repaint shutters entails going from a dark color to a lighter one, you may have to spray on a coat of white primer first. Most quality paints, though, will do a pretty good job covering the old stuff, even without primer. Make sure the paint you get is recommended for the material your shutters are made of. Our shutters were aluminum, and the Rustoleum paint we got is good for metal, wood, and plastic. Plan on putting on at least two coats for good, even coverage; you’ll get better results applying two or three lighter coats than one heavy one. Pay attention to the manufacturer’s recommended time between coats; with the Rustoleum 2X, they say to either re-coat it within an hour, or wait until the next day. Since we’re all for instant gratification, we waited about half an hour, got the second coat on, and it came out looking great.
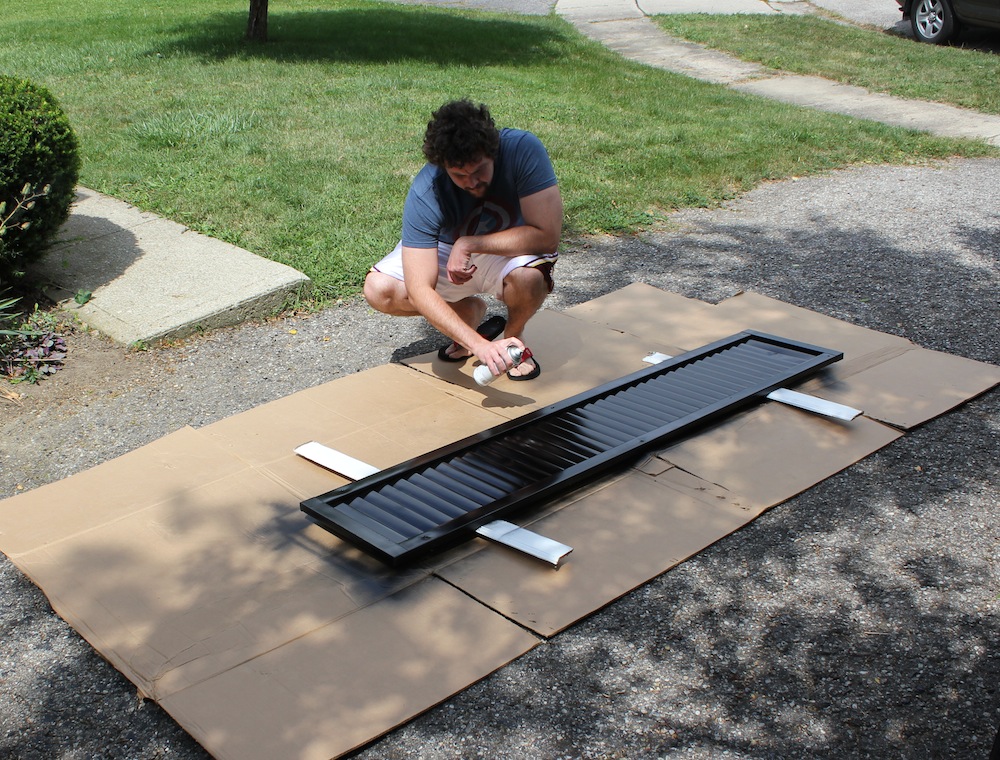
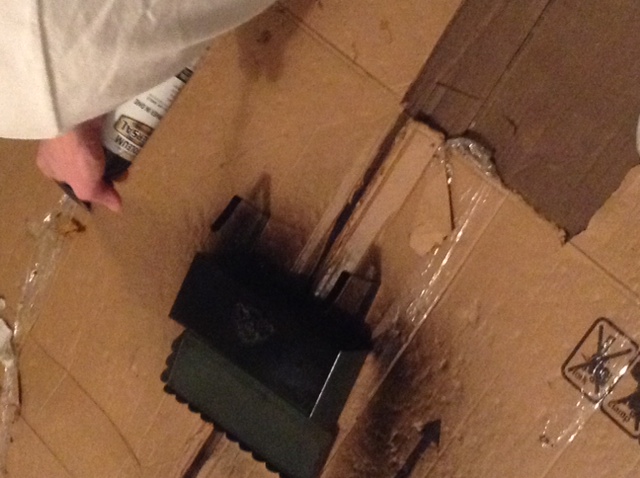
Hold the can about 8-12” from the shutter. Start on the outer edges, then work your way across the face, using short bursts while keeping the can moving smoothly. Don’t hold the nozzle down and keep it there, and don’t stop anywhere, or you’ll have runs. After you have a good, even coating, move right along, and make sure to get into all the little crevices where the slats meet the sides. If the screws or nails you’ll be using to hang the shutters will be visible, a good tip is to give the heads a couple of coats of paint. That’ll help them disappear when they go back up.
After the final coat is on, follow the paint manufacturer’s instructions for drying time. Pick them up too soon, and your thumb will be immortalized on the surface, which may cause foul language to be emitted by, or at, you. While you’re waiting, take advantage of the opportunity to grab your broom and knock down all the remaining cobwebs, dirt, and assorted crap that accumulated behind the shutters. Then get a hose or pressure washer and give the siding a nice rinse. When everything is cleaned up, and the shutters are dry, grab your drill driver or hammer and CAREFULLY (don’t want any scratches on that pristine new surface!) re-attach the shutters in their original position. All that’s left to do is to summon your friends and family (and Martha), and stand back and admire your sporty new spider-free façade!

Note: We did eight of the shutters last fall. The two shutters that had the poison ivy vines on them were set aside, because we didn’t want to deal with them at the time. Recently, however, there has been pressure from an unnamed source to FINISH THE LAST TWO SHUTTERS AND PUT THEM UP, PLEASE!! Sheesh!
So after donning rubber gloves and face masks, we used stiff putty knives and more steel wool to get off the remaining chunks of poison-ivy vines. A word of warning: even though we had severed the vines from the roots a year before, the urushiol oil contained on the plant can remain active on any surface, including dead plants, clothing, and tools, for up to five years; nasty stuff. We pitched the gloves when we finished, and cleaned the tools with Tecnu, a cleanser specially formulated to remove the urushiol oil.
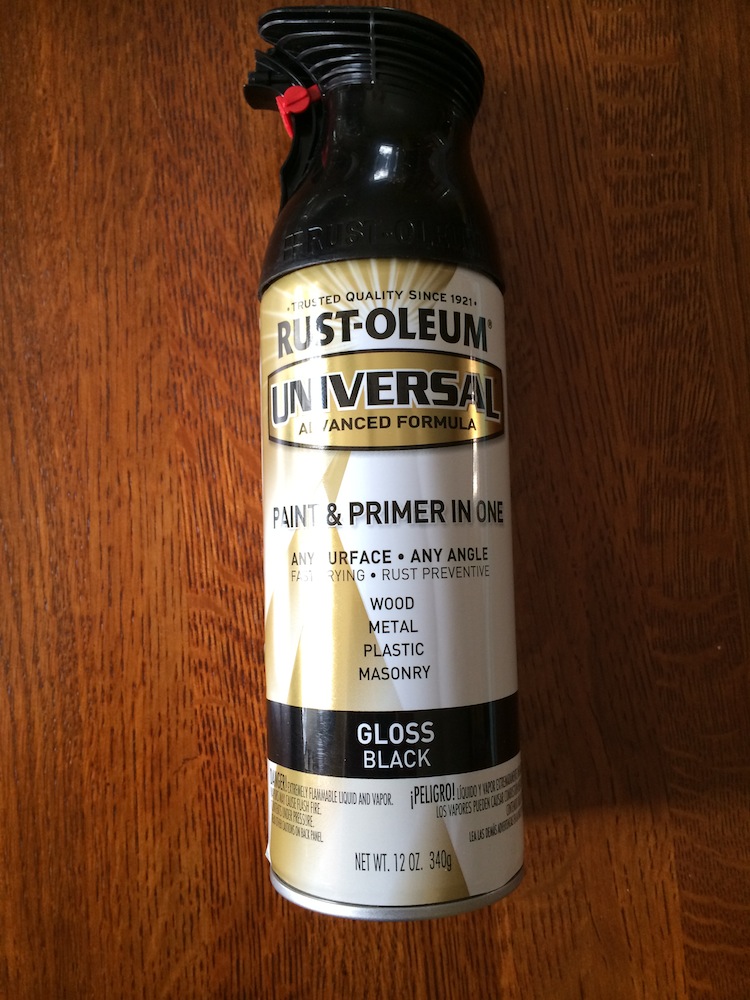
While we were procrastinating, the folks at Rustoleum had provided us with some of their new Universal Advanced Formula spray paint to evaluate on an upcoming sponsored project, and they sent along a few extra cans of the Gloss Black color. That’s what we used on the last two shutters, and while we were at it the mailbox got a fresh coat, as it was looking particularly shabby next to the refreshed shutters.
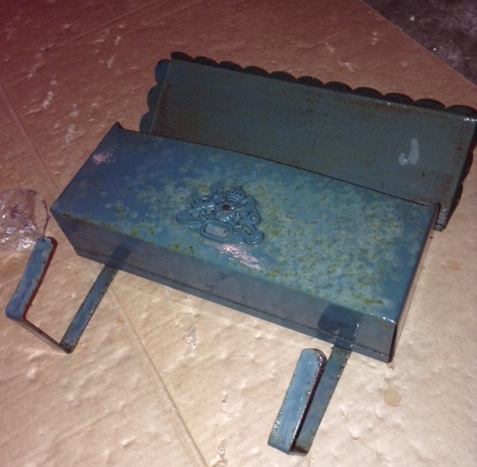
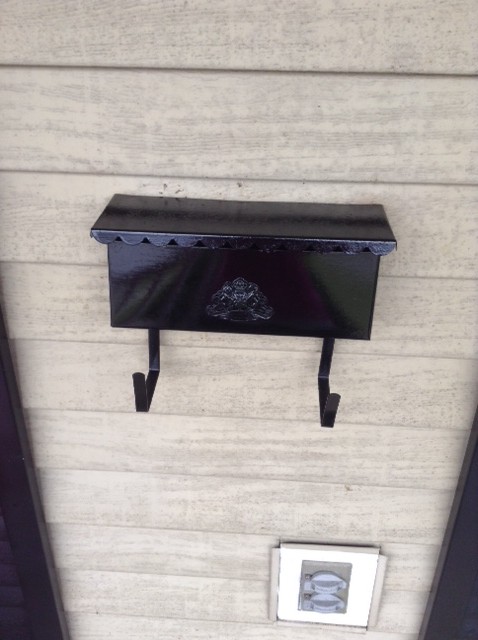
The Rustoleum Universal paint went on smoothly, did a great job of covering the shutters and mailbox, in in general looks a helluva lot better than the poison ivy did! We’ll have a more complete write-up on the paint soon, as we revitalize an old steel mesh metal patio table and chair set.


About how much paint do I need for 7 sets of shutters
Excellent work! The house looks 120% better. Now, I’ve got the motivation to paint my shutters black and get rid of the horrible faded brown! I can’t wait to see the transformation!
Thanks, Heather. For a relatively small investment in time and money, it makes a BIG difference when you’re trying to class up the joint. Good luck!
Your instructions are great! Easy to understand and I like the fact that you even explained how to spray the paint on…..I was going to try to brush it on, but you have given me the courage to try the spray! Wish me luck!!! Great article!!
You can do it, Jeanne – just remember, the key to good results is all in the prep. Good luck!
Looks awesome. but how many cans per shutter did you use?
Unfortunately, I’m relatively old and feeble-minded, so I don’t recall exactly how many cans we bought. My best recollection is that it took roughly one can per shutter to get each shutter done. Might have been a bit less, pretty sure it wasn’t more. If you’re trying to cover a dark color with a lighter one, it might take a bit more, but most newer spray paints do a pretty good job.