What’s louder and greasier than a Texas rib joint on a Friday night? How about a 20-year-old stove vent! Your first clue that it’s time to replace your vent hood might be when your culinary masterpieces start coming off the stove with a light sprinkling of rust and paint flakes. Mmmmm, just like Momma used to make! Combine that with assorted loud rattles, clanking and buzzing from the fan, and you know it’s time to head for the vent hood aisle in your local home center. Then sit back, pick the flakes out of your food, and follow along as we show you how to replace your vent hood; it’s easy!
If you use a stove, a vent hood is a handy item to have. Most of them have a built-in light, so you can see your creations coming to life – I like to know when the water is boiling just right for my mac ‘n’ cheese. Most important, though, is the vent function. Cooking can create a lot of steam, and in many cases, smoke (I know my meal is ready when the smoke alarm goes off). The vent can get these vapors out of your face, by either venting them outdoors (the best option) or running them through a charcoal filter.
So Why Replace Your Vent Hood?
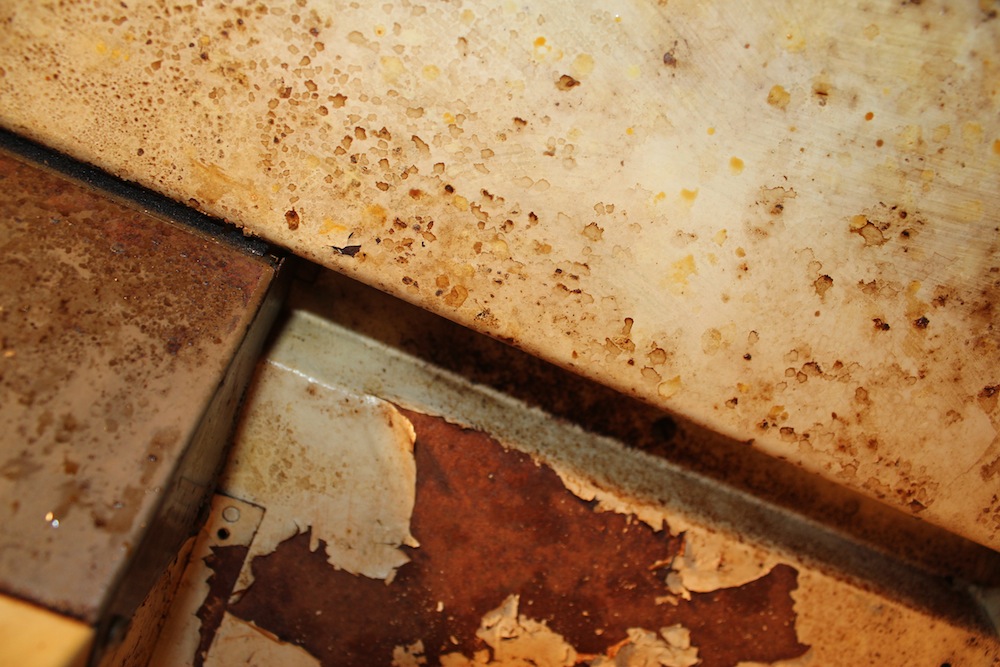
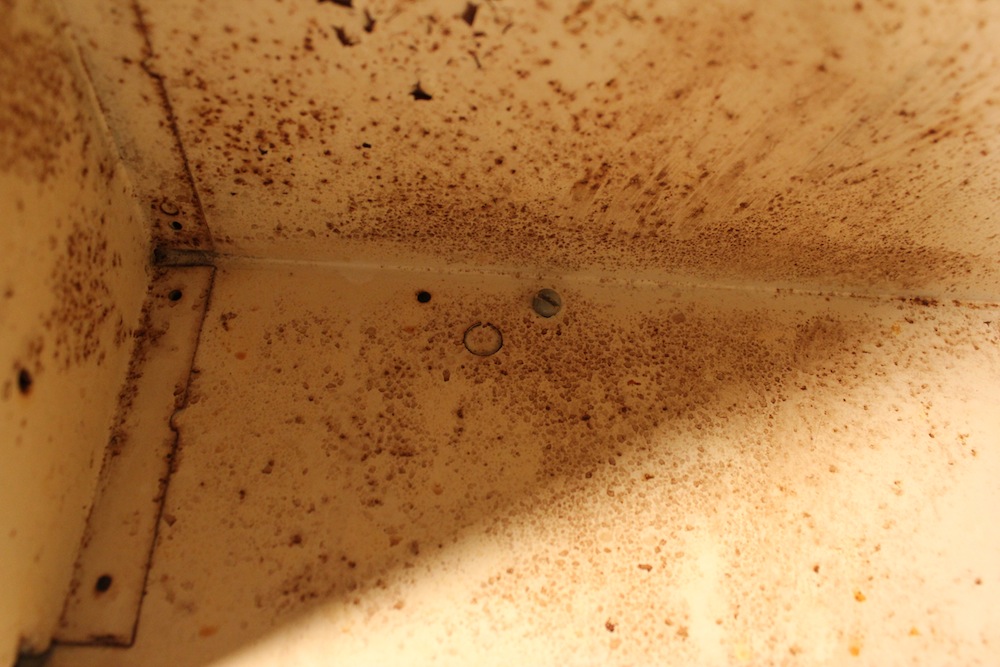
After many years of faithful duty and being spattered by grease and inundated with heat and steam, the underside of your vent hood is likely to be pretty nasty. If you have a high-end stainless steel or copper model, it can probably be cleaned up and fed a new filter, and it will be ready to light up your gourmet treats and suck out your greasy fumes again. If you have a regular painted steel unit, though, like most of us, it may be time for your vent hood to take a dirt nap. Once it starts peppering your pasta with flakes of crud, the best option is probably to replace your vent hood with a shiny, new, non-shedding model.
Checking under the Hood
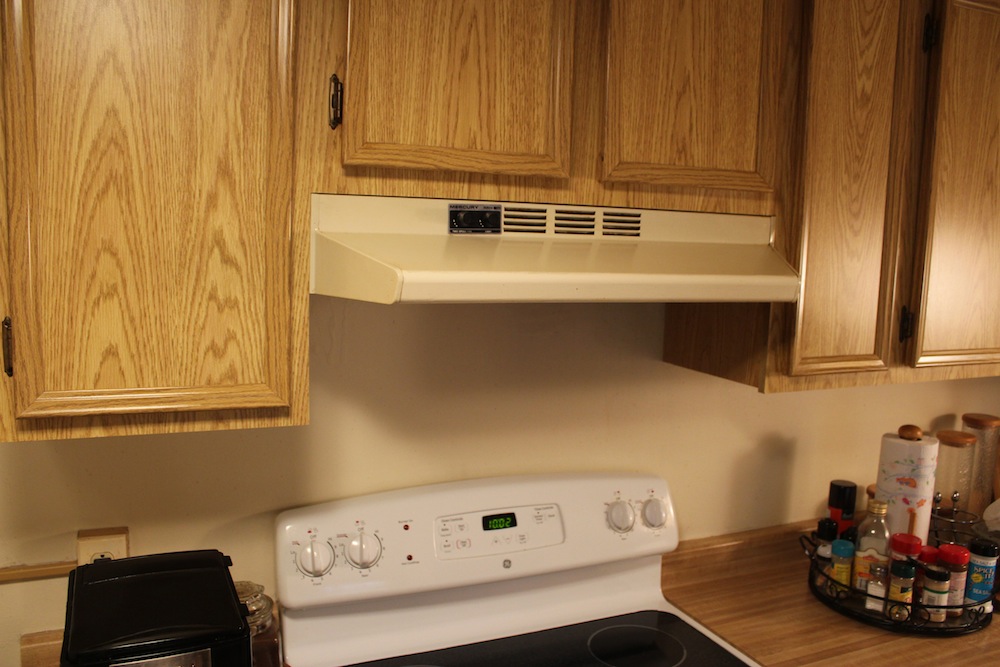
The most recent vent hood I replaced looked okay from the front, but the fan was loud and tired, and underneath it looked like a Yugo after 30 years of Buffalo winters. The fan was a standard 30” wide, and the homeowner had no trouble finding one she liked at the local Lowes. Her fan didn’t vent to the great outdoors, so the fan replacement was pretty straightforward, but even if it had, it would just have required the use of one of the included adaptors.

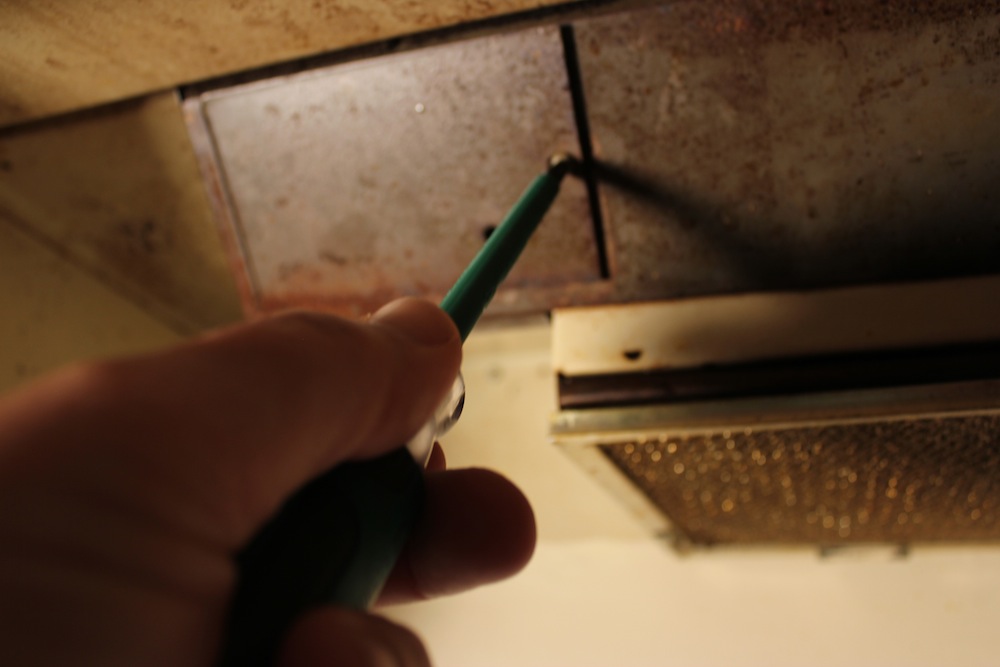
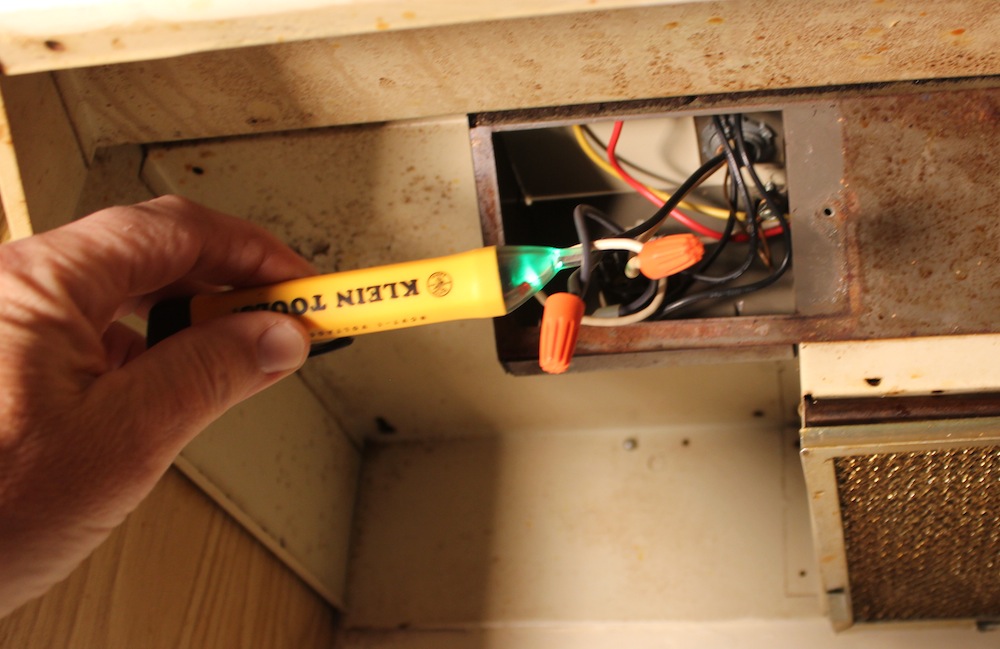
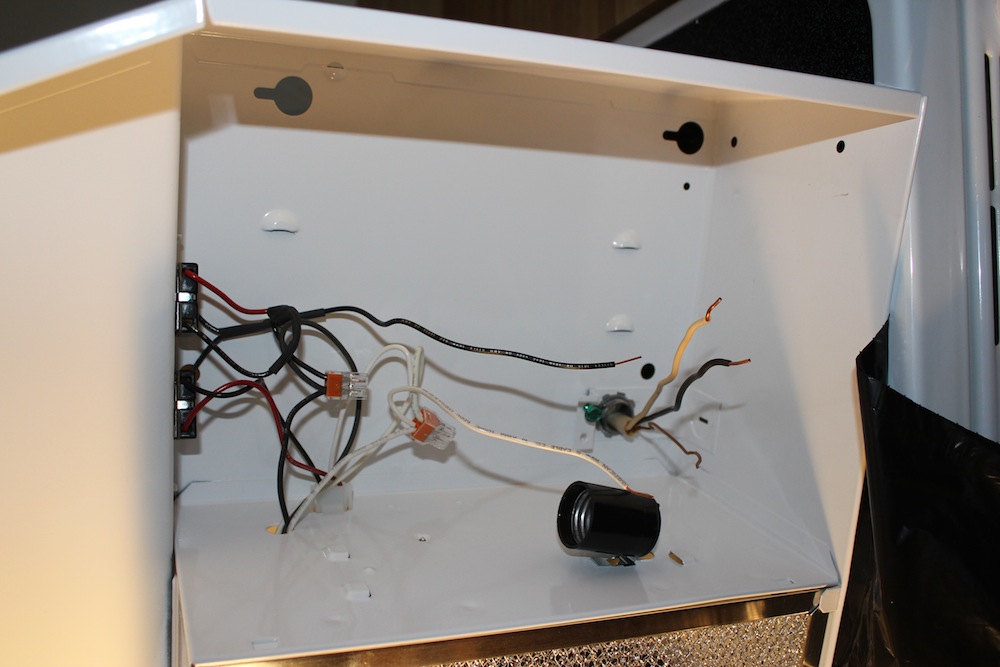
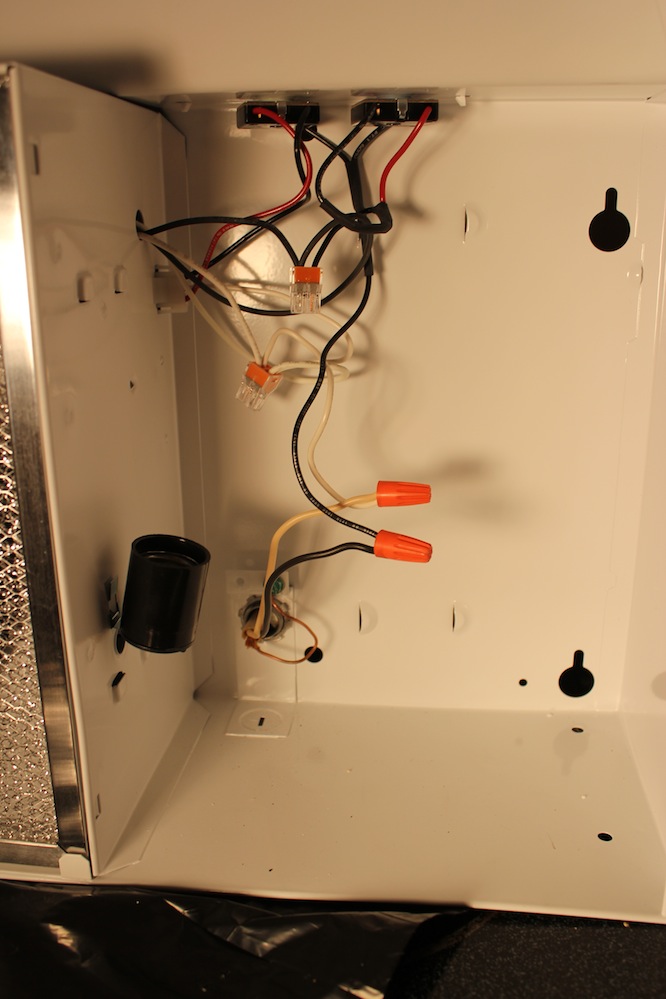
Most vent hoods are hardwired, and you definitely want to make sure the power is OFF before you begin. I used my circuit breaker finder to locate the breaker (which was unlabeled, naturally), cut the power, and off we went. Note: it’s gonna be greasy and nasty working under the old hood; if you have a pair of latex gloves handy, you can save yourself a bit of cleanup time. You may also want to lay a piece of cardboard or some old towels on top of the stove before you begin, to prevent scratching the surface (or dumping a shower of rust and paint flakes all over everything). Most vent hoods are pretty uncomplicated. Underneath, you’ll find a light or two, the fan itself (probably with some sort of filter over it to catch grease and debris), and a wiring compartment. The wiring compartment will have a cover over it, usually secured with one or two screws. Open it up, and inside there should be a power supply cable coming through from the top or back of the vent hood with a black, a white, and a bare copper or green wire. These wires will be connected to the fan wiring of the same color, usually with twist-on wire connectors. Disconnect these wires, and you’re ready to remove the vent hood.
The vent hood will be attached to the surrounding cabinet with screws. Four is normally plenty to support it, but there may be more. Check the rear and side walls of the vent hood, and underneath the top, and locate all the support screws. If your vent is connected to a duct, make sure to disconnect there too. The vent hood probably won’t be very heavy, but it’s a bit awkward to maneuver out of its cubbyhole. If you have a helper available, have them support it while you remove all the screws, then wiggle it out of its niche. Lower it a bit, and slide it toward you; it may be a little snug, but if all the screws are removed, it should come right out.
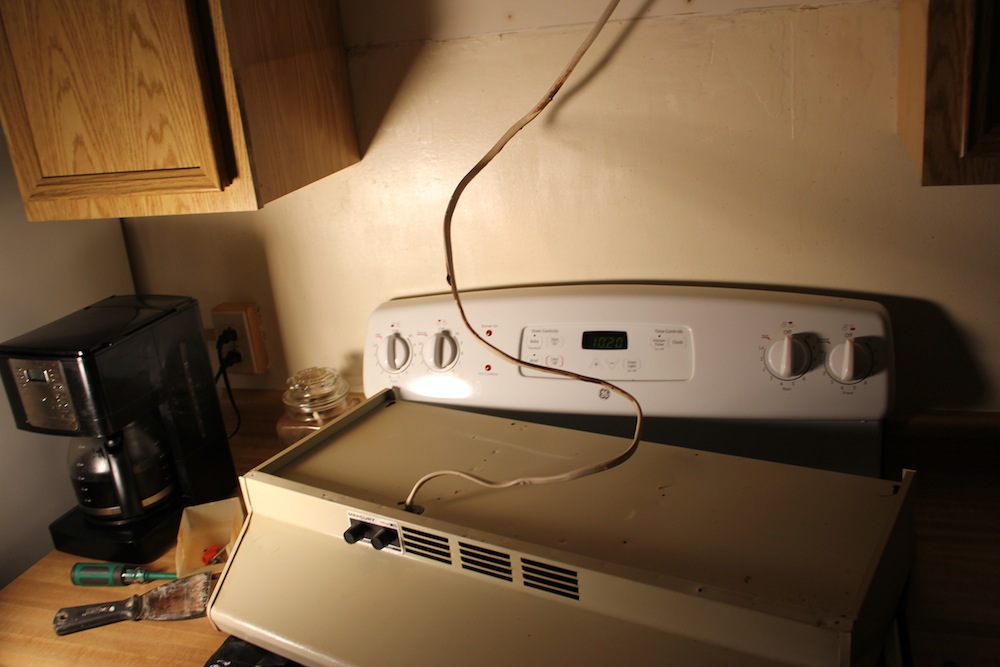
Don’t forget, the power wire is still in there, or it should be if the installer used a clamp where the wire enters the unit, like they should have. The length of the wire depends on the foresight of the electrician; I was lucky in that mine was about three feet long, so I was able to just set the vent hood right on top of the stove to undo the clamp and pull the power wire free.
Once the old vent hood is out, tiptoe carefully out of the house with it, to avoid leaving a trail of greasy rust flakes. The best way to get rid of it is to pitch it into your neighbor’s yard set it out early for trash day; in many neighborhoods, there are people that cruise around on trash-day eve looking for metal stuff to recycle. Support your local scrap dealer as you replace your vent hood!
In With The Good Hood
Once the old vent hood is out of your way, the more gratifying part of the project begins. The installation is basically the reverse of the removal. After unpacking your shiny new vent hood, follow the instructions to attach any necessary brackets or adaptors, if your unit vents outside. Next, locate the little wiring compartment door and open it up. Most units will have standard knockouts in a few locations on the back, side and top of the unit, to give you more flexibility in running your wiring. You’ll want to pick a location where the wiring clamp won’t interfere with the mounting process for the vent hood; it will protrude a bit once it’s installed. Remove the knockout by tapping it with a pair of pliers, insert the wire clamp, and tighten the locking ring.
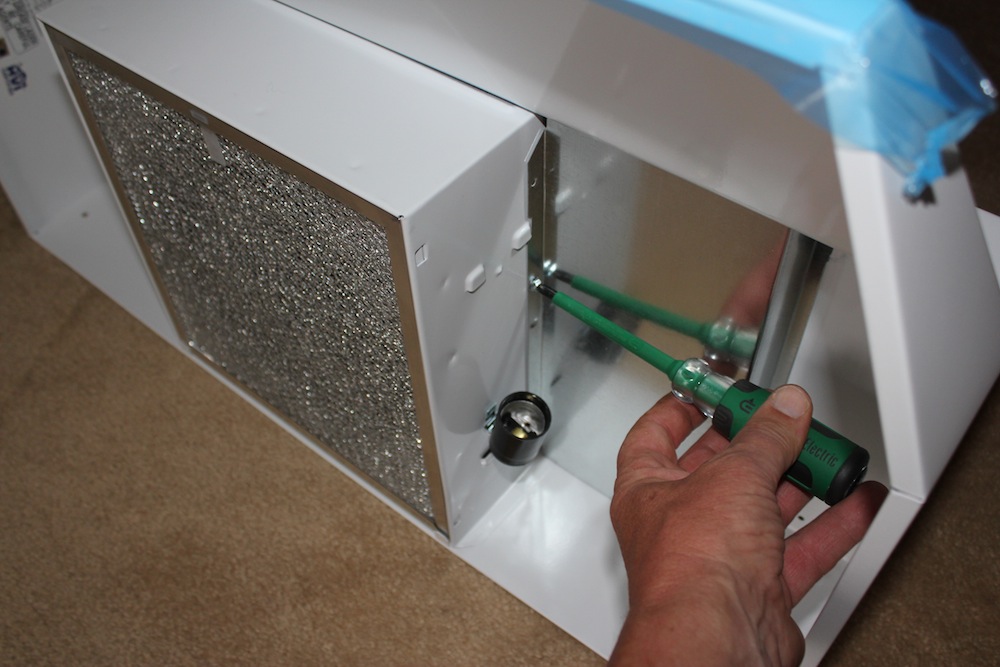
Bring your sporty new vent hood over to the stove, and set it on top of your cardboard or towels. Hopefully, your power cable is long enough to reach the unit; if not, wake your helper up, and have him or her hold the unit high enough for you to work on it. You’ll feed the power cable through the back of the clamp, then snug up the screws.
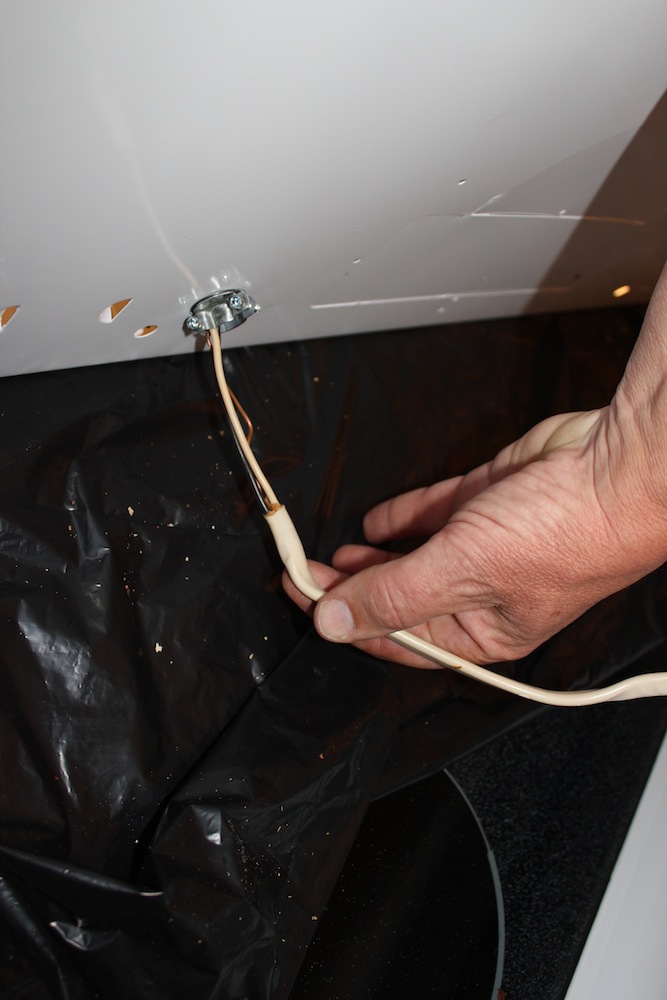
Make your electrical connections: black to black, white to white, ground to the green wire or grounding screw in the unit. Secure the connections with wire nuts, close and secure the little door, and you’re ready to bolt that sucker in!
Make note of where your old unit was screwed to the wall and/or cabinets. Check to make sure any wall attachments will go into a stud; if not, use your stud finder to locate one, and if it’s in a suitable location, make a pencil mark on the back of the vent hood to locate where you’ll drill. If you aren’t able to get two studs to screw into, you’ll need to use a toggle bolt wall anchor rated to handle the weight of your vent. The most accurate way to do this is to first mark the spot on the inside back of the unit where the hole needs to be, then drill a hole there big enough for the body of your anchor bolt. Next, hold the unit temporarily in place and mark the wall through your hole. Put the vent hood back down, and drill the correct size hole in the wall for the toggle. Run the bolt through the hole you drilled in the unit, start the toggle onto it, and lift the vent hood into position. Push the toggle through the wall, and run the bolt into it while holding light outward pressure on the unit, so it snugs it up to the wall. If neither support screw will be into a stud, use two toggle bolts, and snug them up intermittently until the back is tight to the wall.
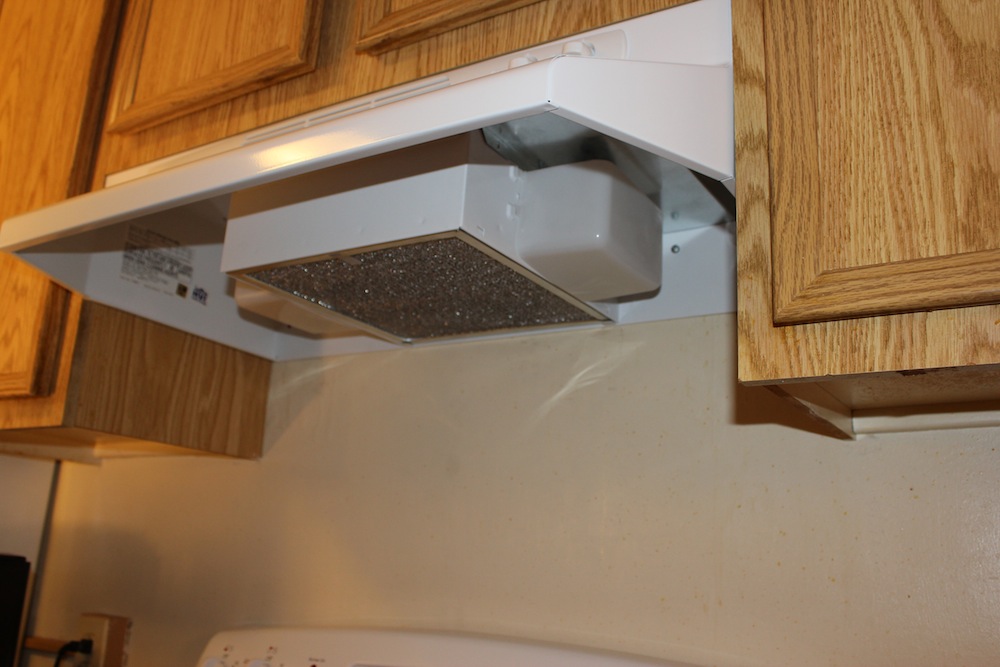
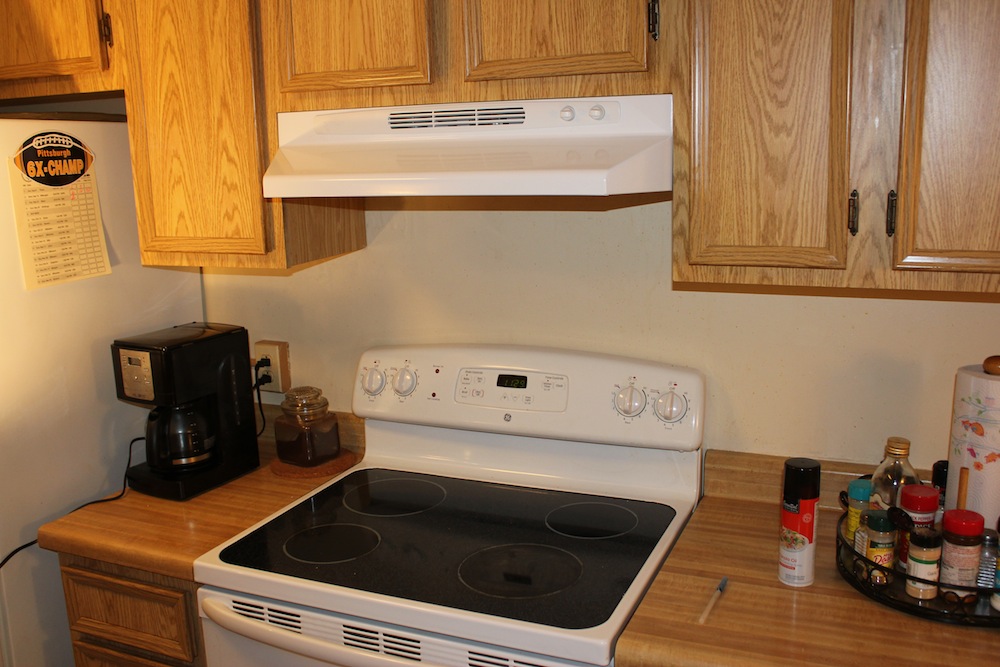
To support the front of the unit, you can either screw through the side of the unit into the frame of the adjacent cabinets (assuming you HAVE adjacent cabinets), or up into the frame of the cabinet above. Drill pilot holes through the vent hood into the frame, and run a couple of screws through and into the frame. Make sure your screws aren’t too long; usually a 1-1/4” screw is sufficient, and won’t poke through your frame. All that’s left to do is screw in any necessary light bulbs, flip the power back on, and get ready to enjoy quiet, debris-free cooking! The unit I installed came from Lowe’s, and retails for $129. There are many other options available, in sizes to fit every stove. If you want to eliminate rust and paint flakes down the road, replace your vent hood with something like this Broan Stainless Steel Range Hood, it’s only $72 from Amazon.