

Homefixated recently reviewed several bottle openers. Those are great if you want a simple tool, but what if you’d like to open your brews in dramatic style? And, what if you never want to have to go through the drudgery of having to pick another bottle cap up off the floor? Read on for a photo-heavy DIY project on how to build a magnetic bottle opener with style.
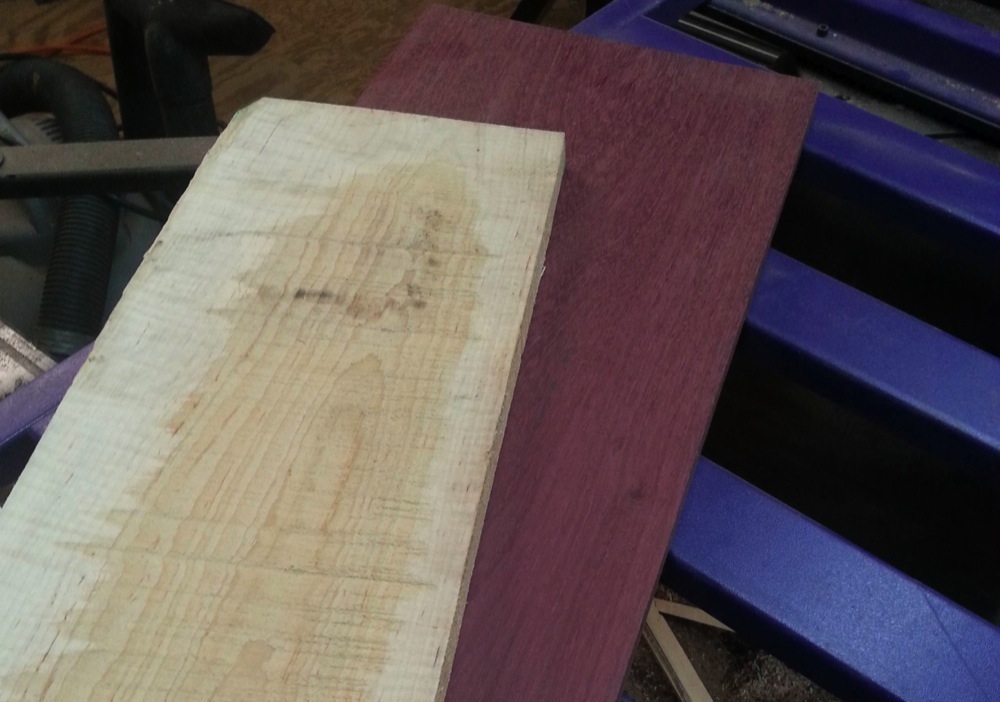
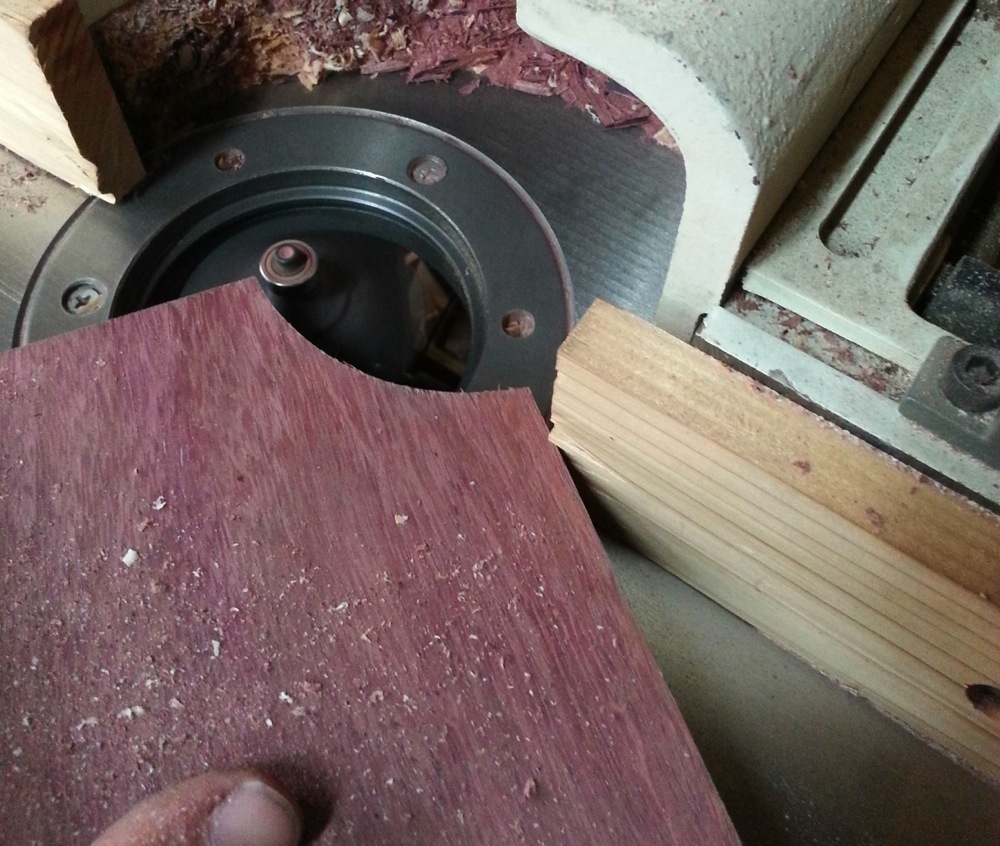
I used some nice wood I had left over, because for this particular project you don’t need anything too big. After getting everything square (because for some, squareness is above godliness), I used a compass to plan out the arced cuts for the corners. I then used a drill press to cut out the corners to be sure that they were nice and round. This would have been harder with a jigsaw, but you can get by with a jigsaw if you’re short a drill press.

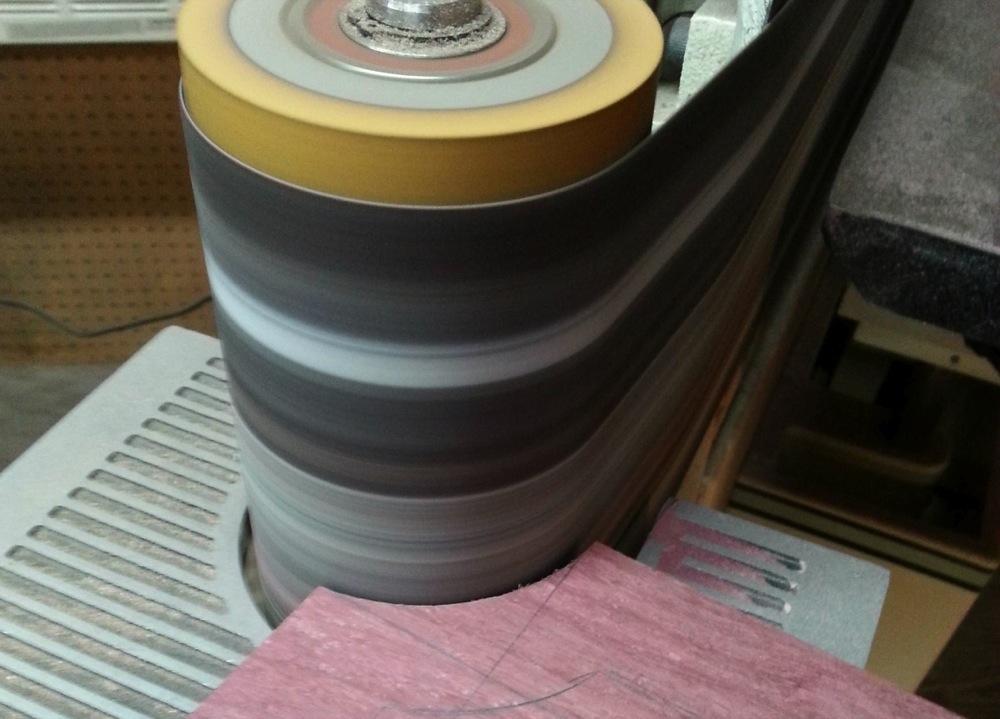
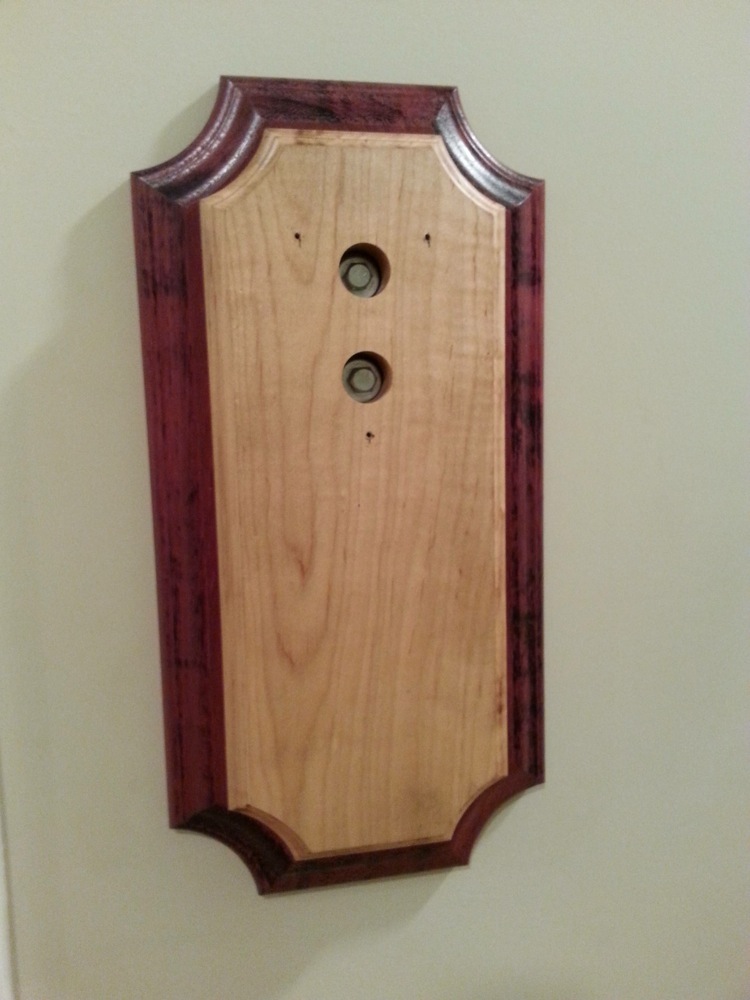
After cutting off the excess with the table saw, I used the end of my belt sander to smooth out the corners. Then I took it to the shaper to make the edges more interesting. You can really use whatever bits you like for this, and I used one that I had for doing chair rail. If you don’t have a shaper or router, then using the table saw at an angle would give you a nice look too.
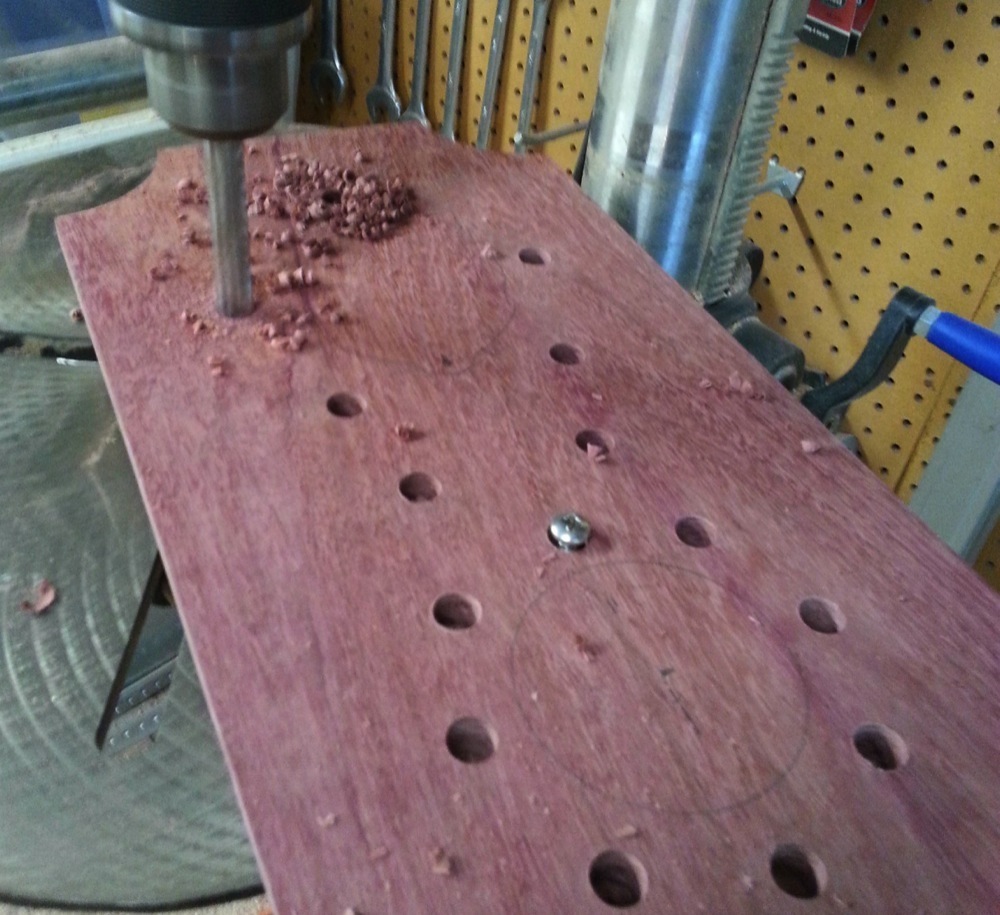 For the second piece I just rinsed and repeated. Except, of course, the corner arcs were not the same. I used a bigger bit for the press, and spaced it the proper distance from the previous corners to give a uniform look. I decided to use screws to mount the back on the front. If you do this project, you can glue the wood if you want, and it would be fine. I used screws mainly in the event of wanting to take the magnet out. I will say, by the time I finally had all the screws in I was exhausted. Anyway, I drilled out holes deep enough for the heads of the screws to go down far enough to correctly grip each piece of wood, then did pilot holes for the screws, as they were 5/16” x 1” sheet metal screws, and easily would have split the project into pieces. These overly aggressive screws did the job though. Then I countersunk for the lag screws that I used to hold the project on the wall. I put these behind the opener so they would not show. It looks a lot better than having them exposed.
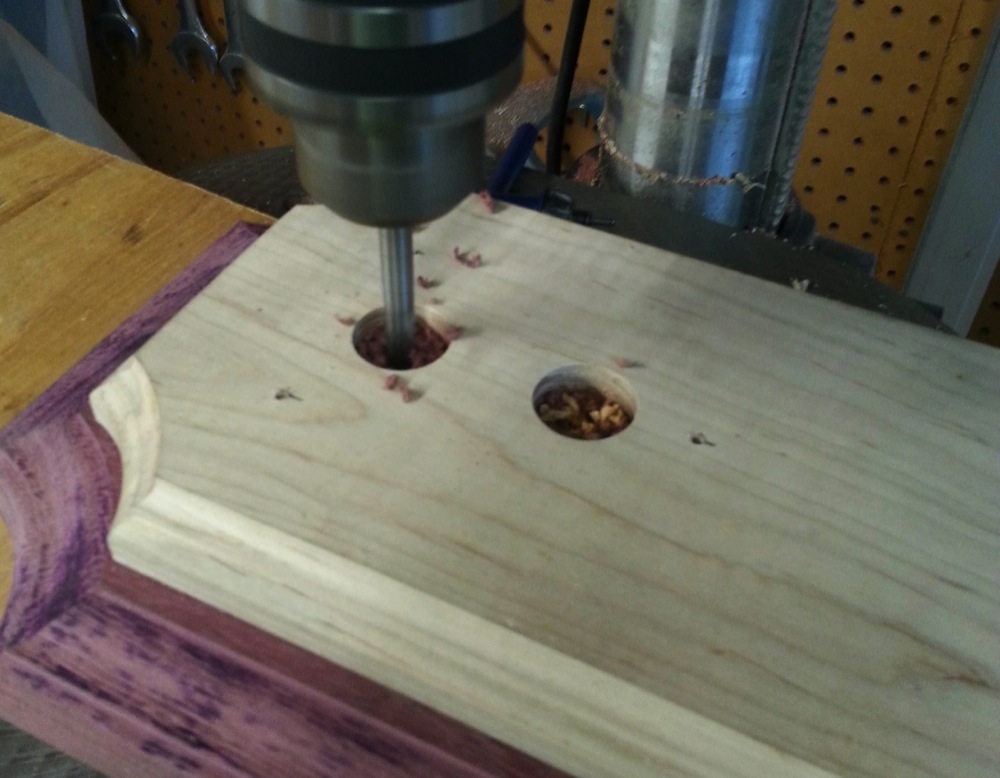
I then drilled out for the magnet space. I got a great magnet for this project, and I have no complaints on it. This beefy magnet does the job great, with plenty of force to grab bottle caps. The one I got was from www.magnet4less.com, and is 3” diameter .5” thick. Keep your credit cards, pacemakers and anything else that might be sensitive to magnetic force well clear of this beast!
After all the drilling, shaping, and sanding was done, I coated the pieces of wood separately with Deft spray on semi-gloss lacquer, (which is my favorite finish on small projects; I used the Deft brush on semi-gloss lacquer on bigger projects, see my hope chest project for reference ). Deft does a great job, and I am unashamed for plugging their product here. You can find Deft spray lacquer on Amazon very reasonably.

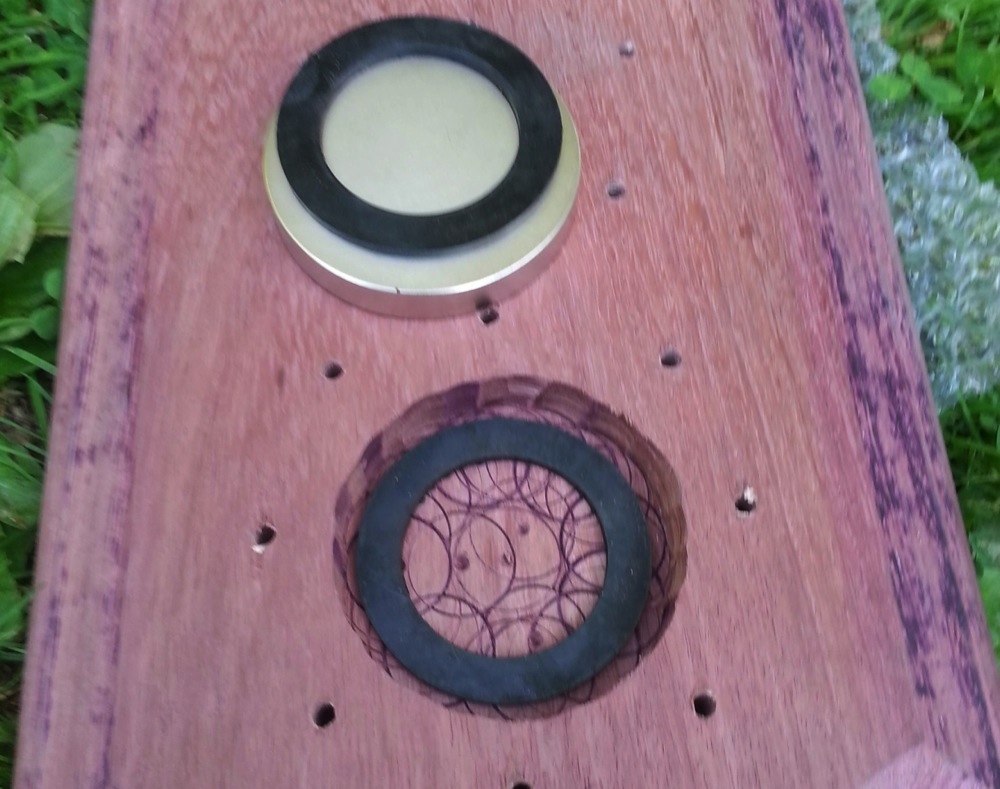
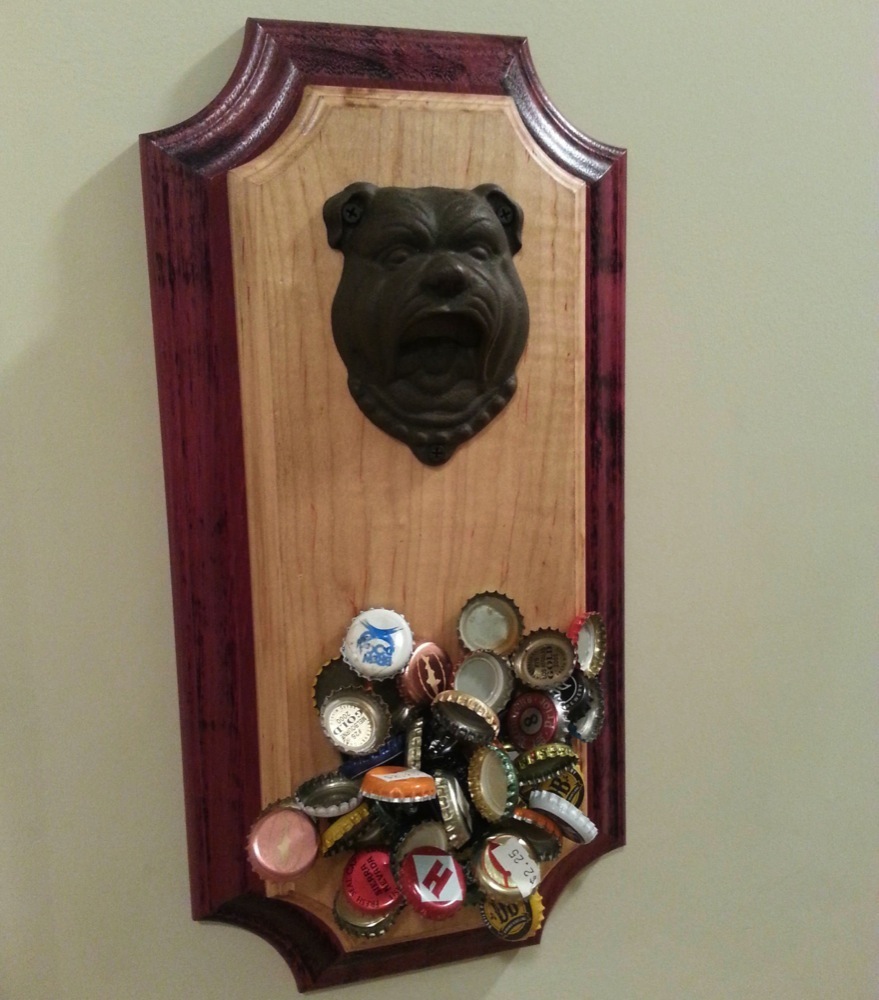
Once the finish coats were dry, I dropped the magnet in between two rubber seals I got from the plumbing department of the hardware store. These were to keep the magnet from knocking around inside the opener. I screwed the pieces together, mounted it on the wall with lag screws, and finally screwed in the bottle opener, which covers the lags screws.
For science, I tested the number of caps it would hold. The record is 204. I hope you enjoyed this build. If you do a similar project, let us know and we’d love to see it!
If you prefer buying your own similar product, check out DropCatch on Etsy.
Guest Author Bio
 Daniel Burke is a graphic designer and drinker of beer, living in the Shenandoah Valley of Virginia. Aside from enjoying the growth of his fine beard, woodworking is one of his “hobbies.” We can only imagine what kind of über-awesomeness he’ll produce if he turns pro!


Anyone who wears a watch has to be careful with this. A magnet with that kind of strength can easily mess up a the inner workings of a wristwatch. I speak from experience…
Good to know Ed, thanks! We probably wouldn’t recommend this project for use around folks with pacemakers. . . or people carrying sharp and/or pointy metal implements either. Hope it wasn’t a Rolex! 😉
De rien, mon plaisir! But I can’t believe there have now been at least TWO posts involving the opening of beer bottles, and my expertise has yet to be tapped!
Nous sommes d’accord. Merci bien, Martin…Santé!
Wow! I didn’t realize French comment replies were in your job description Phil. Well done! And glad you liked it Martin – definitely a fun project!
J’adore l’idée du récupérateur de bouchon magnétique.Beau travail