

When I do finish work, when I’m finished with it, I want it to look, well, finished. If I see trim with big divots in it from countersunk nails, that means there’s still work to be done, involving wood filler and stain. Aside from the annoyance factor, it’s time-consuming, and I can think of FAR better uses for my time than patching tiny holes. The best solution? Don’t make all those damn big holes in the first place. We recently received an updated version of a tool dedicated to fastening trim without leaving large craters behind. Join us as we launch some nails with the Milwaukee Gen 2 18 Ga Nailer.
About that update… Milwaukee first introduced the 18 gauge M18 nailer about three years ago. When the feedback started coming in, it soon became apparent there was a fair bit of room for improvement. Common complaints included excessive recoil, oversized divots in trim, inconsistent drive depth, poor line of sight for the drive head, and frequent jams and misfires. Yikes!
The Milwaukee 18 Gauge Do-Over
At Milwaukee Tool, they take their reputation as a provider of high-quality, “Nothing But Heavy-Duty” tools seriously. The engineers and execs at Milwaukee really dislike negative feedback and unhappy users, so they went back to the drawing board – or more likely the CAD program and the test benches – and dove into a complete do-over. The result was the Milwaukee Gen 2 18 Ga Nailer.
They discovered the excessive recoil issue was caused by excessive pressure in the tank. By reducing the amount of pressure in the tank, they not only reduced recoil, but also reduced the size of the divots left by having too much force behind the striker. And there was still plenty of power to fully sink fasteners completely, even through hardwoods. Turns out they also got increased battery run time. Win-win-win.
The depth adjuster was relocated, and the front of the tool was streamlined to improve line-of-sight to the work surface and access to tight spaces. Milwaukee’s engineers also addressed and resolved the issues with inconsistent nail placement, occasional overheating, and all the other common complaints. As a bonus, they managed to reduce the tool’s weight by almost a pound! Here’s the list of features and specs on the new and improved Milwaukee Gen 2 18 Ga Nailer:
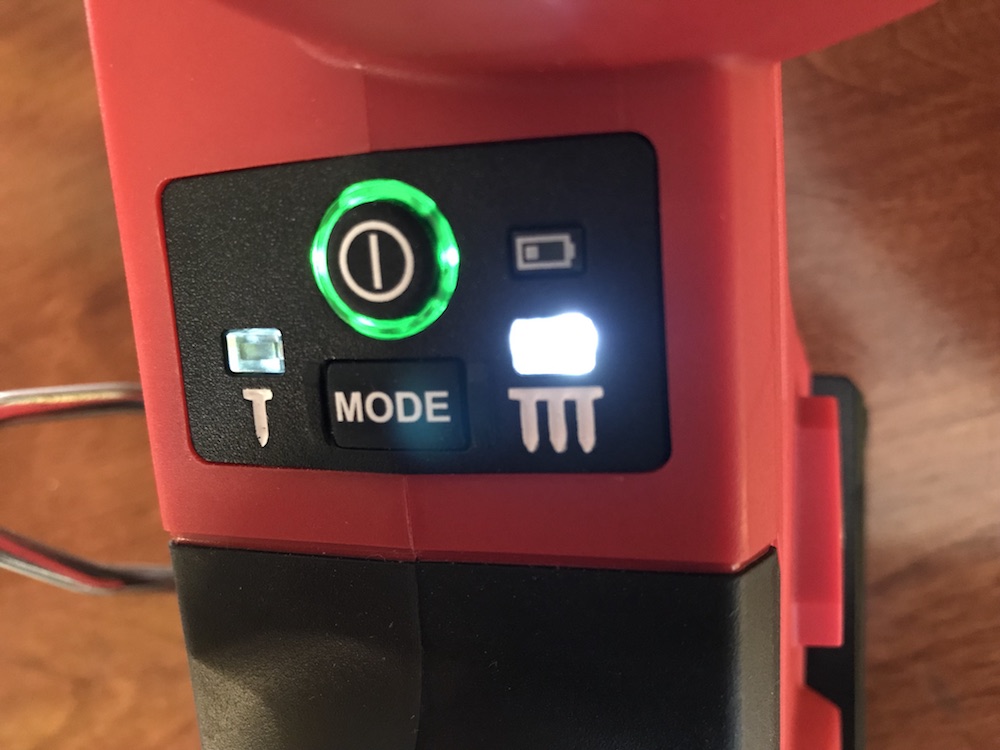
• On / Off power button
• Consistent, clean nail holes
• Compact size
• Zero ramp-up time
• No gas cartridge required
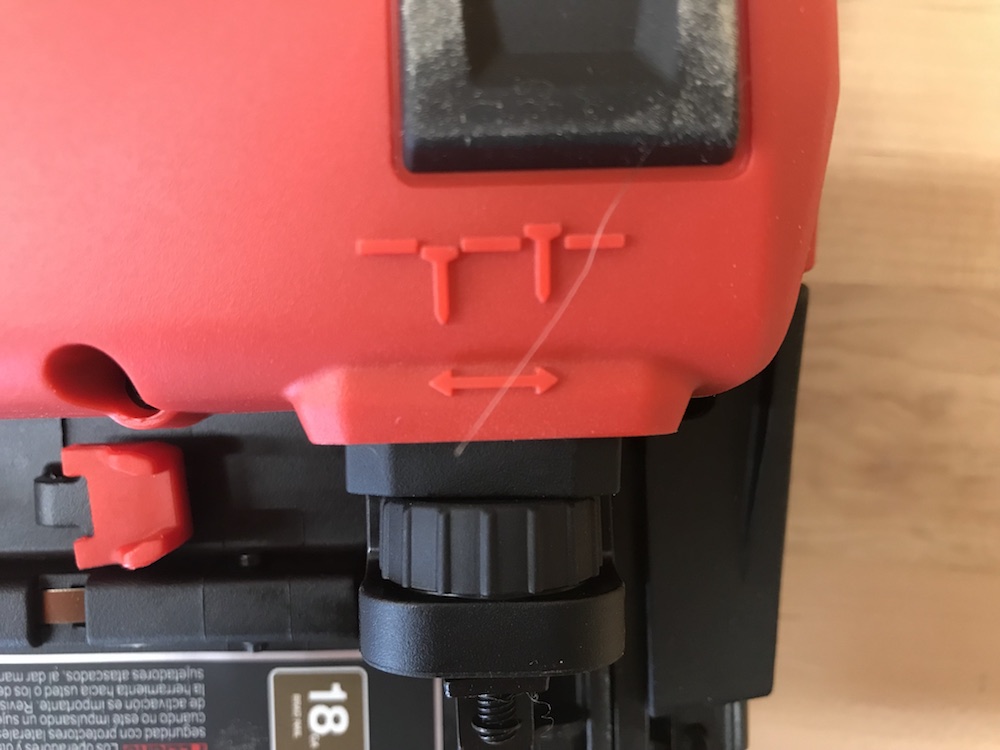
• Tool free drive depth adjustment
• Sequential and contact actuation firing modes
• Dry fire lockout
• Tool free jam clearing latch
• Reversible belt hook included
• Three interchangeable tips included
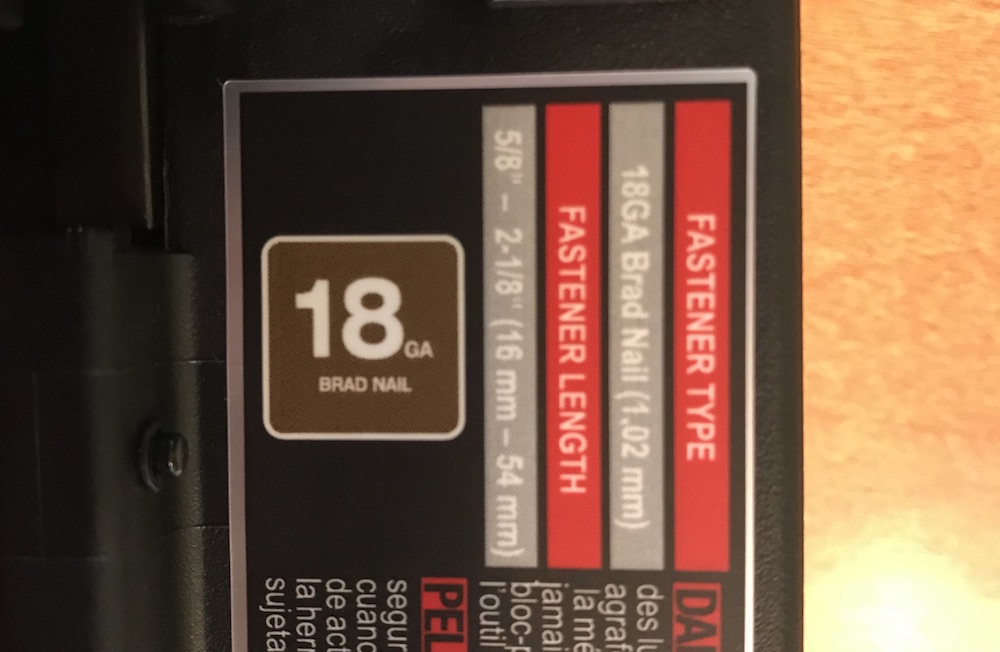
• Nail Sizes: 5/8” – 2-1/8”
• Magazine Capacity: 110 nails
• 1500 nails per charge on a REDLITHIUM 2.0 Compact Battery
• LED Work Light
Un-Bagging The Milwaukee Gen 2 18 Ga Nailer
If you’re used to using pneumatic finish nailers, the first thing you’ll probably notice about the Milwaukee Gen 2 18 Ga Nailer is its size and weight. Since they have to incorporate a compressor and have a power source, cordless nailers are inherently bigger and heavier. That’s the price you pay for not having to schlep along a 50’ rubber hose and a 40-pound compressor!
I’ve used several cordless nailers, and I’ve been using a Milwaukee Fuel 15-gauge trim nailer since shortly after they came out, about three years ago, so the size and weight weren’t a surprise. At about 5-1/3 lbs., it’s not unbearably heavy. Although it might get that way, if you’re holding it overhead to install crown molding all day.
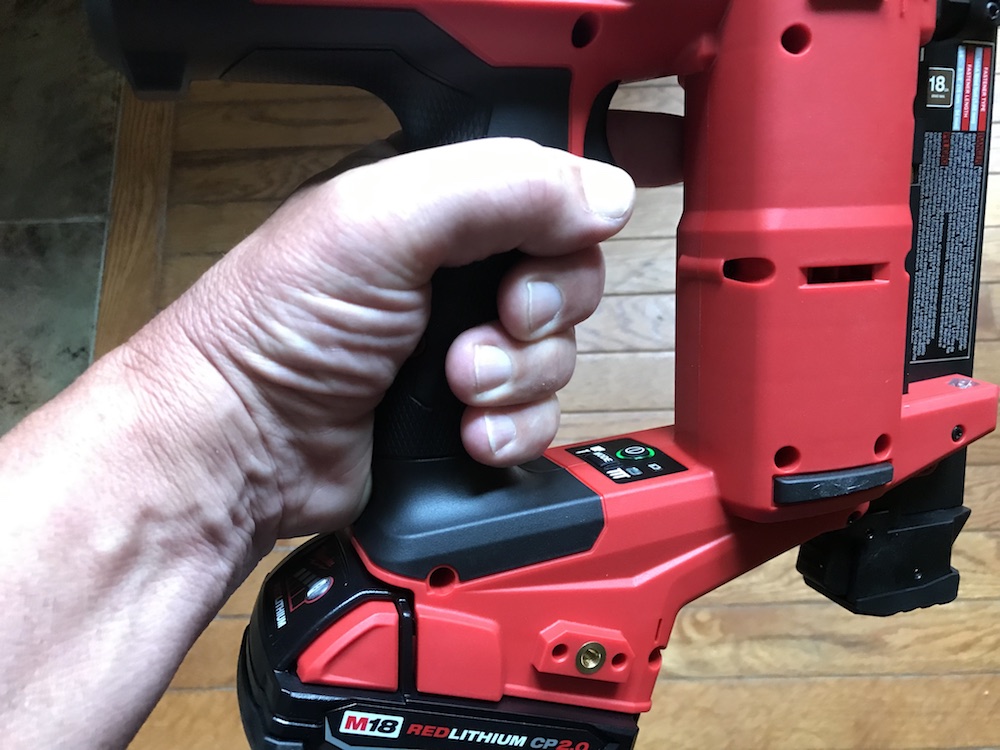
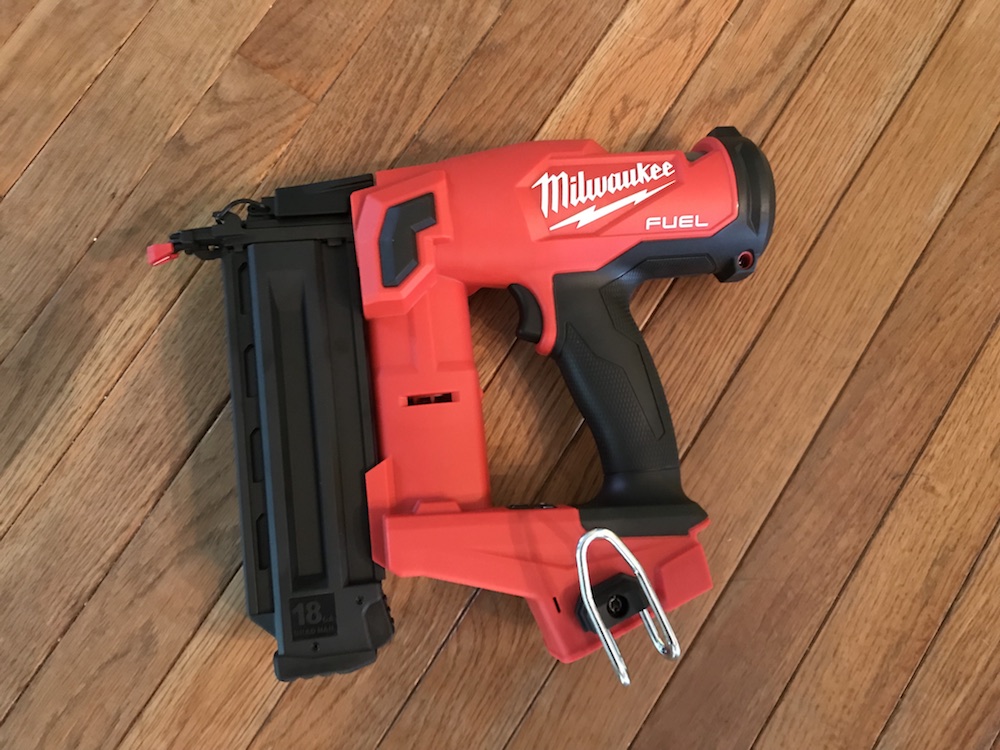
Fit and finish is excellent on the Milwaukee Gen 2 18 Ga Nailer. Everything feels rock solid, and the controls are well laid out and intuitive. The handle has plenty of room to grab on, and the rubber overmold makes it comfortable and less slippery.
For those occasional job sites that aren’t perfectly illuminated, a nice bright LED near the rear of the handle provides some useful light. A humongous reversible hook at the base of the handle makes it easy to dangle the nailer from your tool belt while you clamber up the ladder, or position your trim.

Kit Or A La Carte?
Milwaukee offers the Milwaukee Gen 2 18 Ga Nailer in two versions. For those already on the Milwaukee M18 platform, it can be purchased as a bare tool, as the Milwaukee 2746-20. Just getting started with Milwaukee’s 18V lineup, or need an extra battery? The nailer also comes in kit form, as the Milwaukee 2746-21CT.
We received the kit to evaluate, and in addition to the nailer, there’s a 2.0 Ah M18 battery and a charger. It all comes tucked into a super-sized contractor bag, with plenty of room left over for an assortment of nails, a pair of safety glasses, and an extra battery or two.

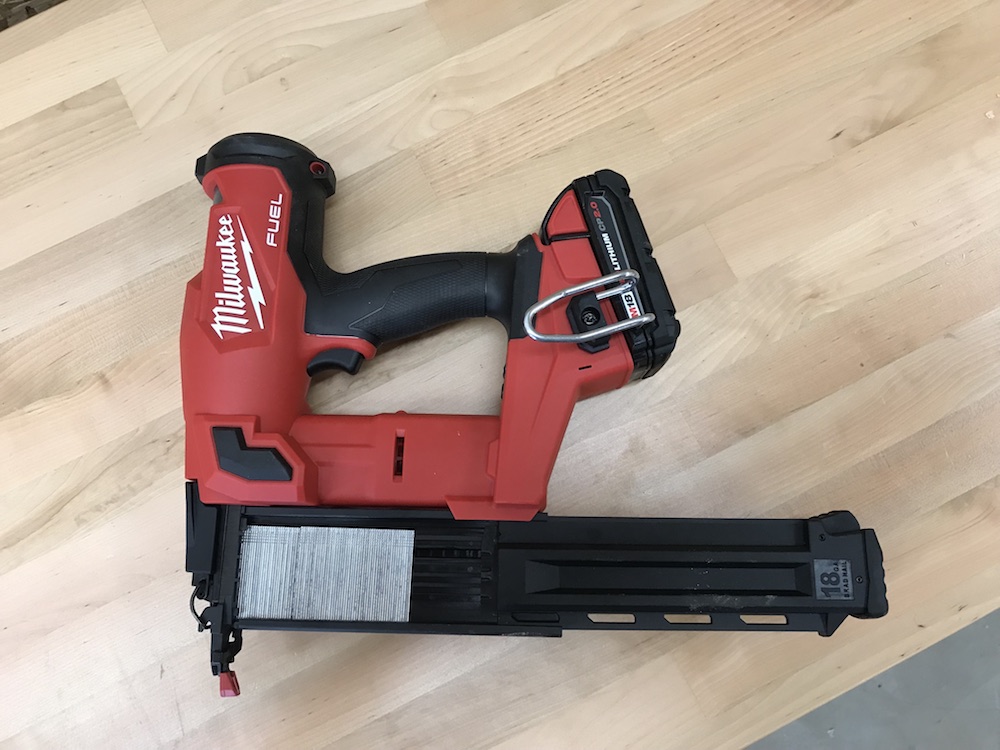
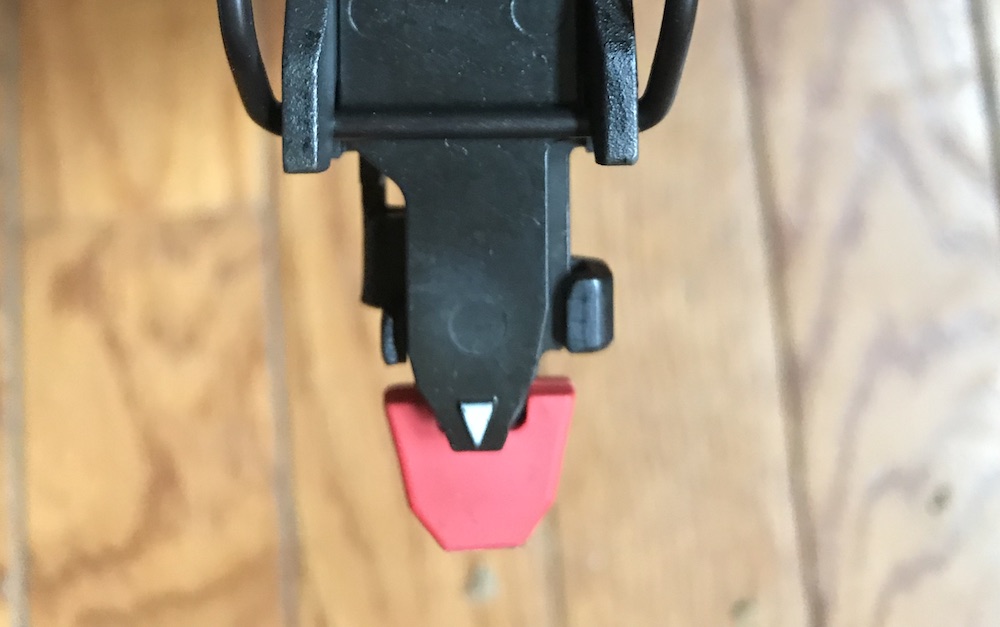
Either way you buy it, the nailer also comes with a total of three different contact tips. One comes pre-attached to the business end, and the other two ride along firmly attached just above the backside of the magazine. They can be quickly changed out, when working with different types of trim.
The Milwaukee Gen 2 18 Ga Nailer: Getting Ready To Run The Gun
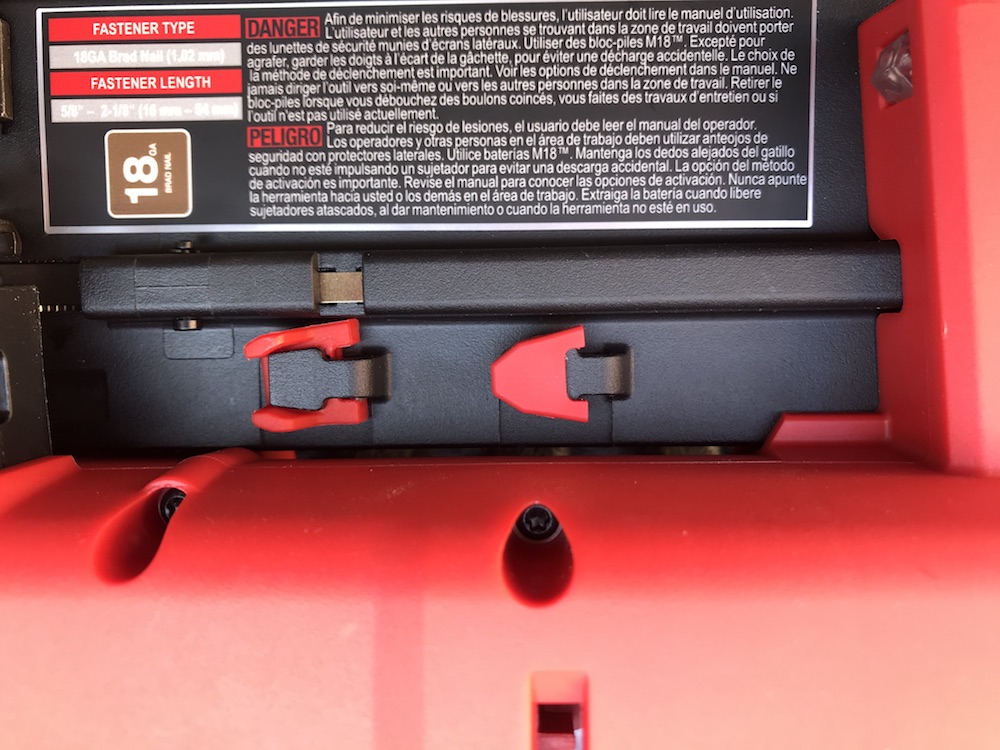
Loading up the Milwaukee Gen 2 18 Ga Nailer is fast and intuitive. Simply press the magazine release button and slide the magazine to the rear. Insert your fasteners of choice into the slot, and slide the magazine closed. The magazine can hold up to 110 fasteners, and can accommodate nails from 5/8” – 2-1/8” in length.
Once you’re locked and loaded, you can easily select how to launch those nails. The Milwaukee Gen 2 18 Ga Nailer will operate in either single sequential activation mode or contact (“bump”) mode. In “single” mode, you press the tip against the work piece until it compresses, then pull the trigger. Once the nail fires, release the trigger and lift up the nailer. In “bump” mode, hold the trigger in, and every time the tip contacts the work piece, a nail will fire.
To make your selection, first power the tool up by holding the power button in for about a second, until it glows green. Now simply press the MODE button for about a second, and you can easily toggle between the two firing modes.
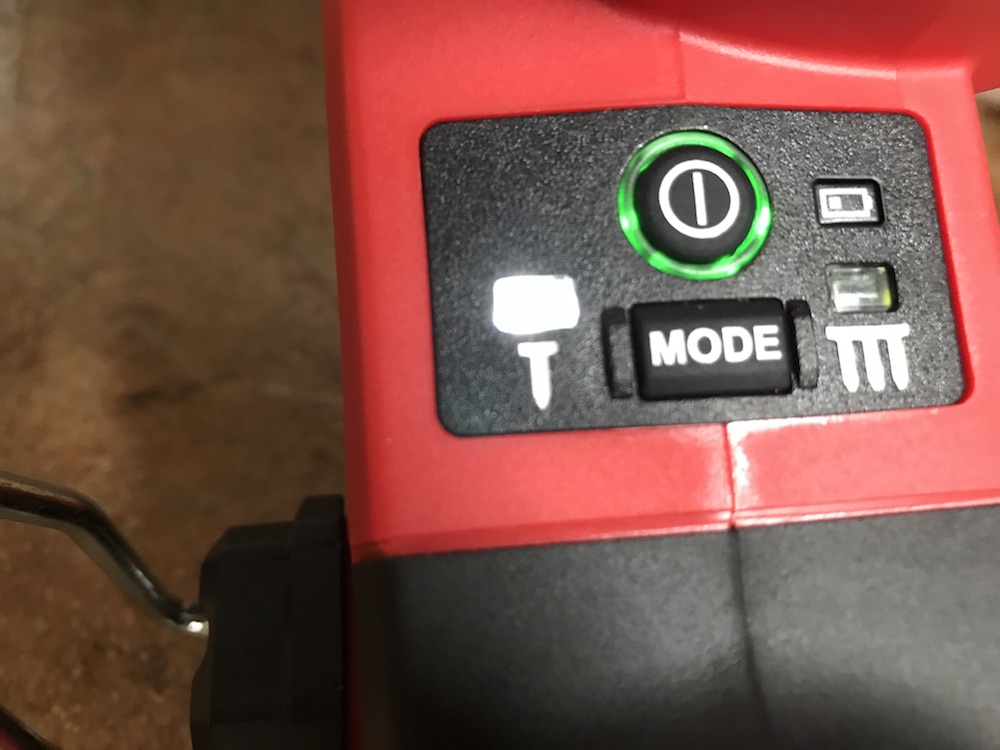
I have one quick side note on that power button. On my Milwaukee 15 gauge nailer, powering the tool up or down requires you to hold a somewhat awkwardly-placed button down for about 4 seconds. Apparently this was also the case with the Gen 1 18 gauge nailer. The new power button is MUCH more user friendly. So push it and get to work, already!
Going Deep, And Getting Out Of A Jam
The Milwaukee Gen 2 18 Ga Nailer can fire a wide range of brads, and there are numerous combinations of wood, drywall etc. that the nailer could be used on. Milwaukee made it easy to dial in the perfect match with its depth of drive adjustment wheel.
Before you start installing that pricey trim, or working on that masterpiece of custom furniture, do some test launches. Get some scraps of the same material, and get ready to fire a few brads through them, until you get the depth just where you want it.
Start by firing a nail, and checking to see if it’s too high, too low, or – in a perfect world – just right. To sink the nails deeper, rotate the dial to the left a click or two. For a kinder, gentler depth of drive, rotate it to the right. Check your results, and keep tweaking until you find that just-sub-flush sweet spot. Milwaukee recommends removing the battery between test firings.
Once your drive depth is dialed in, you can zoom right along, with no worries of firing blanks. Using some nailers when they’ve run out of nails can allow the striker to bang into the work piece, causing a fairly large hole. If you don’t notice right away, you may end up with SEVERAL fairly large holes. The side of the magazine has four long cutouts, making it easy to see at a glance how many nails are left.

The cutouts are really helpful, but Milwaukee has an even better way to save you from yourself: The dry-fire lockout. When there are only 4 – 5 nails remaining, the dry fire lockout feature will prevent the nose piece from compressing. This prevents making an unsightly divot, and uttering some unnecessary foul language.
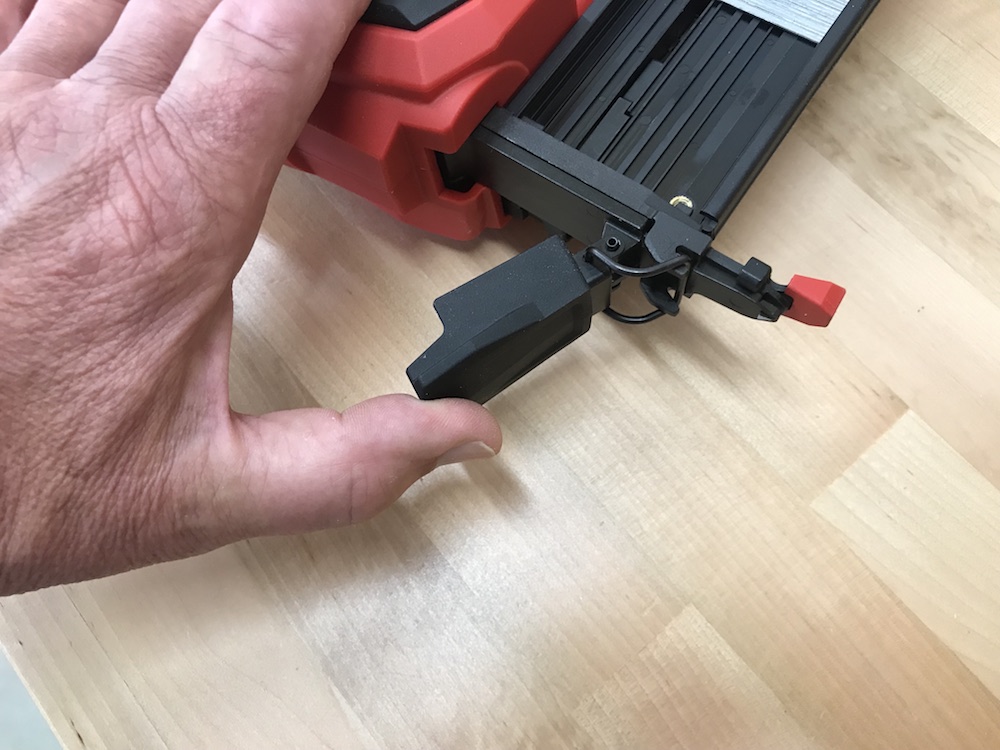
In any nailer, it’s possible for a fastener to occasionally get stuck between the driver blade and the nail guide, causing a jam. If this unhappy situation ever occurs on the Milwaukee Gen 2 18 Ga Nailer, it’s fast and easy to fix – and no tools are normally needed.
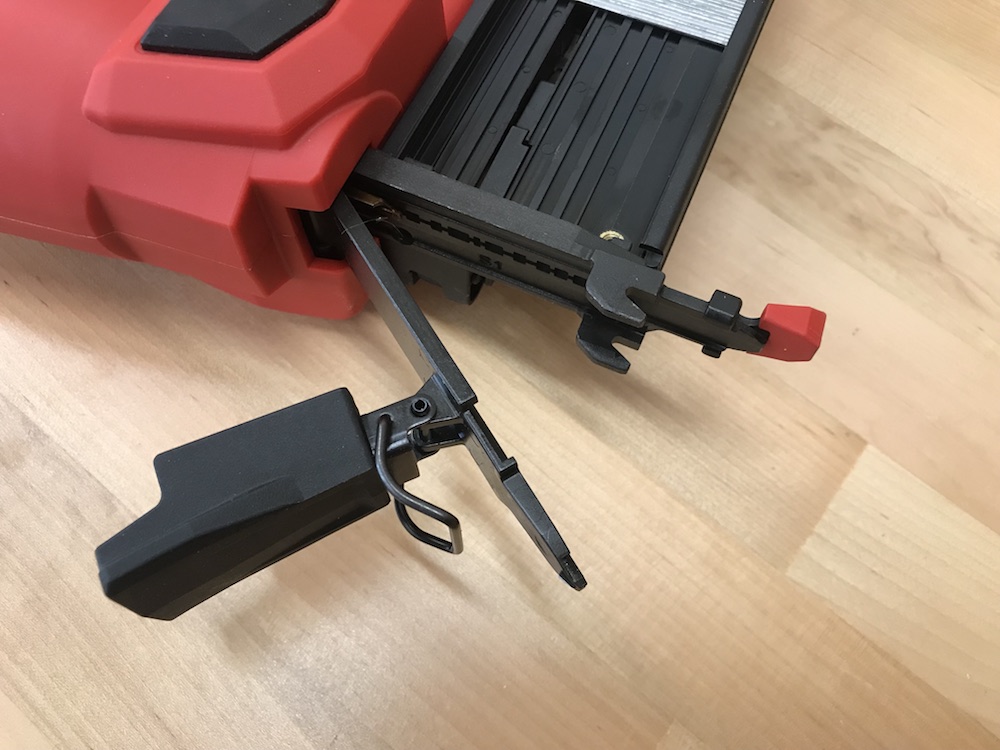
To get the jam cleared, step one is REMOVE THE BATTERY! Open the magazine, and take out the remaining fasteners. Now, just pull down the jam latch, and swing it away from the front of the nailer. Grab the stuck fastener and yank it out; if it’s really jammed in there, you might need a pair of needle-nose pliers. Close the latch, reinsert your brads and battery, and you’re back in business.
Putting The Milwaukee Gen 2 18 Ga Nailer To Work
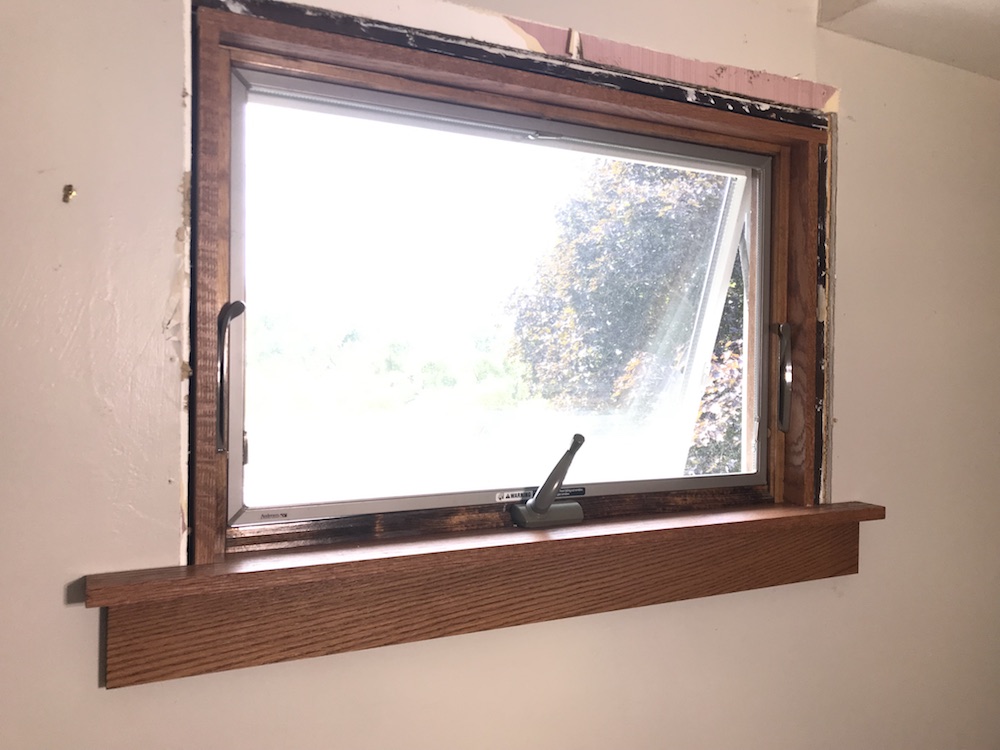
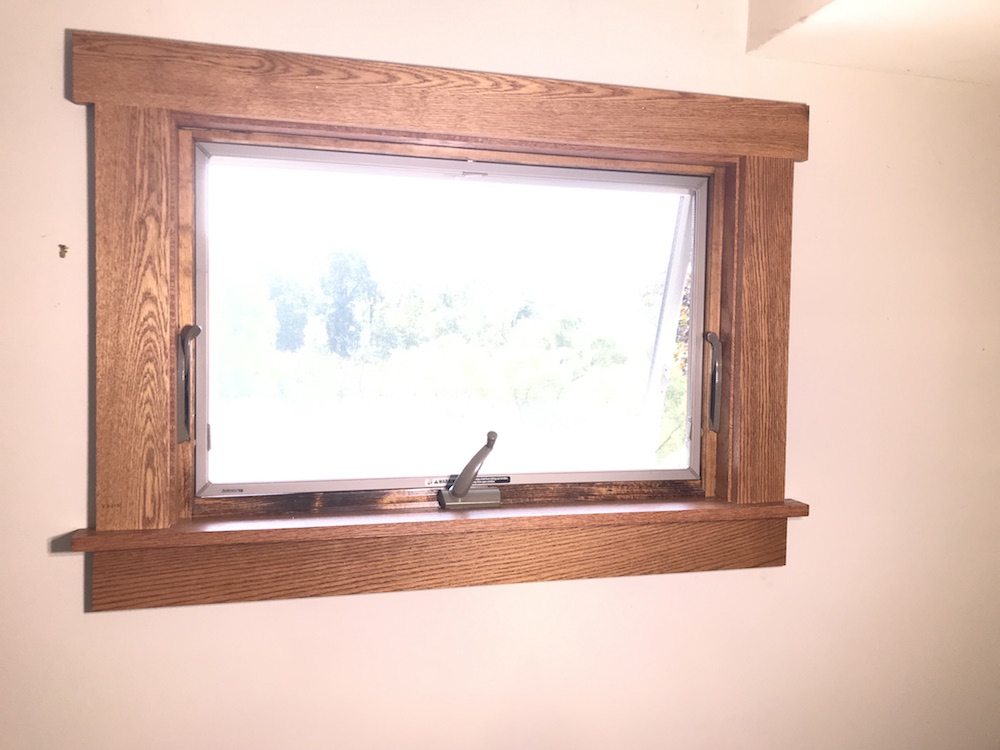
As part of a current renovation project, we’re trimming out all the doors and windows in ¾” oak. On a recent workday, I only had a 15 gauge nailer available, so I used it to trim out a couple of windows. Naturally, the big nails had great holding power, but I eventually realized that the holes it left in its wake were unacceptably large.
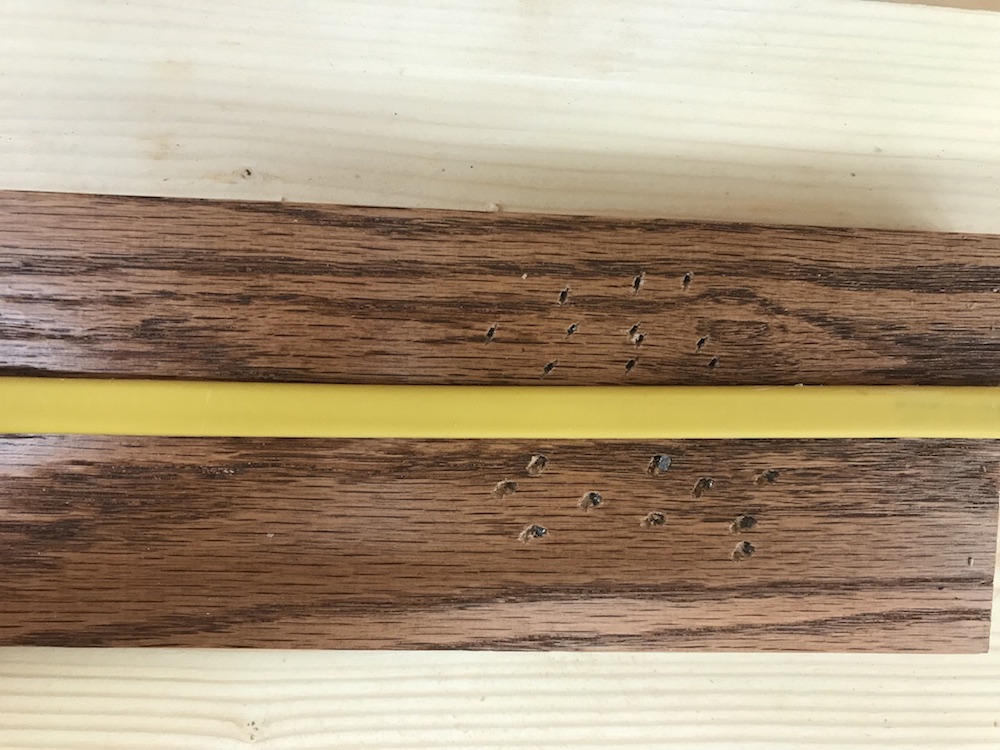

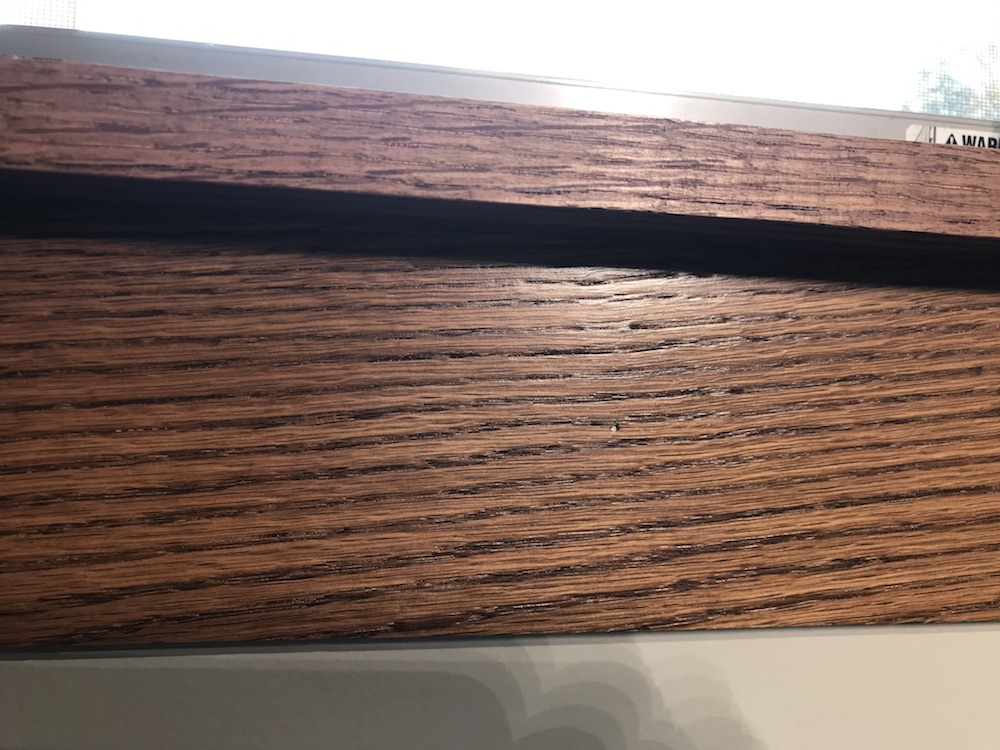
The next day I forged ahead, this time using the Milwaukee Gen 2 18 Ga Nailer. Using 2” brads, the trim, which I had pre-assembled with pocket screws into two components, all attached very solidly to the wall. And what a difference in footprint – the holes left behind by the 18 gauge nails were almost undetectable.
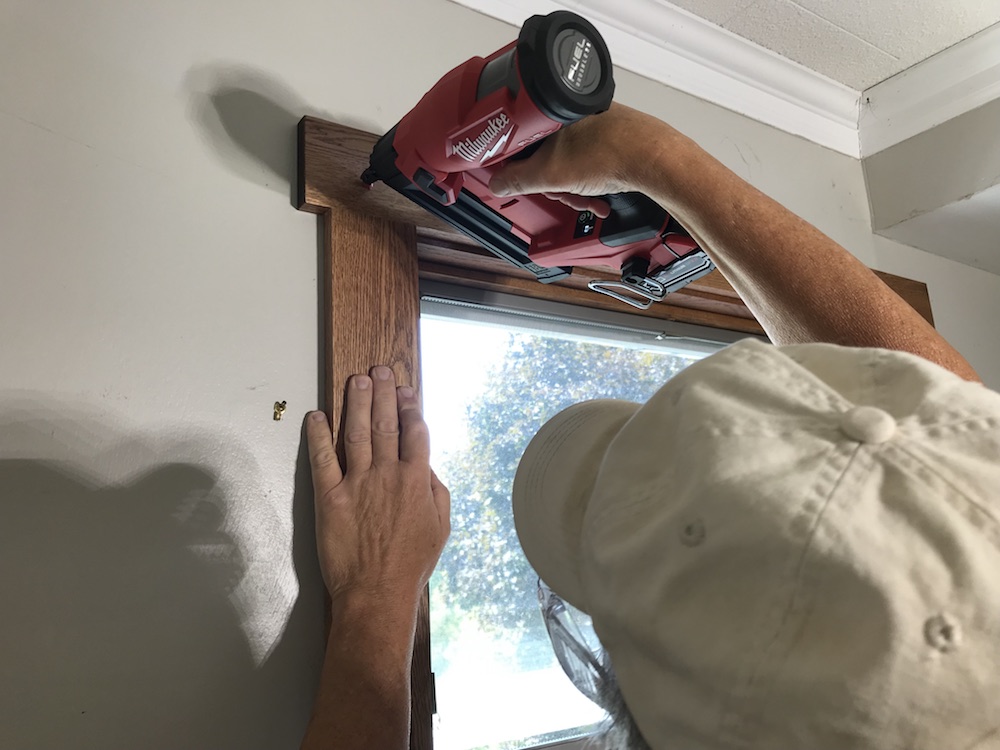
I used the nailer over the course of the next week to nail oak baseboard, as well as the door and window trim. The Milwaukee Gen 2 18 Ga Nailer was a treat to use; there is absolutely no ramp-up time. Pull the trigger, launch a nail. I used the nailer in both single sequential and bump modes, and it worked equally well in both.
The nailer consistently sank every nail just sub-flush, and I had zero jams. And I sure didn’t miss dragging a hose around, or the sound of the compressor cycling on and off! Visibility is excellent, and it’s easy to see exactly where the nail will be going in.
Testing, Testing, 1-2-3-4-5-6-7-8-9…
Although I used the Milwaukee Gen 2 18 Ga Nailer in bump mode while installing some of our trim, I wasn’t racing along. My normal speed for trim work is slow and steady, aiming for accurate nail placement over speed.
I wanted to test the nailer’s ability to maintain its “zero ramp up” ability when moving quickly, though, so I set up a test in the workshop. First, I laid a piece of ¾” oak trim over a doug fir 2X4” stud. Still shooting 2” brads, I set the Milwaukee Gen 2 18 Ga Nailer to bump mode, pulled the trigger, and bounced along the boards at a high rate of speed. After emptying a full magazine, I had no ramp-up delays, no proud nails, and no jams.
I also wanted to test the ability of the 18 gauge brads to hold trim to a wall. I nailed several 2” brads through a piece of the oak, a piece of ½” drywall, and into a wall stud. I then tried to pry the oak off the wall. It was possible, but it required getting something to pry it with, and took a bit of effort. The 18 gauge nails should be fine for keeping the trim up where it belongs.
Random Final Observations On The Milwaukee Gen 2 18 Ga Nailer
As I mentioned earlier, Milwaukee’s first version of the 18 ga M18 nailer had some problems. With their total re-design of the Milwaukee Gen 2 18 ga nailer, Milwaukee’s engineers really nailed it. In every aspect of our testing and on-the-job usage, the nailer performed flawlessly. The tool has very good battery life, better power up/down times, excellent tip visibility, excellent consistency of nail drive depth, and it never jammed once. The recoil is very manageable, and it leaves tiny holes. What else can you ask for?!

Want your finished work to go smoothly and look finished, all without dragging a hose and compressor along? Pull the trigger on the Milwaukee Gen 2 18 Ga Nailer. The bare tool retails for around $279, and the kit for around $399. Feedback to date on the Gen 2 version has been overwhelmingly positive, and Milwaukee backs the tool with a five-year warranty.

Buy the Milwaukee Gen 2 18 Ga Nailer kit from Ohio Power Tool:
Buy the Milwaukee Gen 2 18 Ga Nailer bare tool from Ohio Power Tool:
Buy the Milwaukee Gen 2 18 Ga Nailer kit from the Home Depot:
Buy the Milwaukee Gen 2 18 Ga Nailer bare tool from the Home Depot:


