

I like pickled wood almost as much as I like pickled foods. While the former turns my lighter colored woodworking projects into a work of art, the latter always sends my sodium level through the roof, so I prefer to work with pickling wood stain. Pickling wood is easy to do, doesn’t take much money and always ensures the finer grains in lighter colored wood species are showcased with perfection. Use the following ten tips for pickling and make your next wood project stand out from the crowd, all without a spike in your sodium intake.
What the Heck is Pickling?
Pickling, whitewashing, bleaching – there’s a long list of names for the varied process of treating wood to make it appear whiter and lighter. Basically, whitewashing and bleaching are all the same technique as pickling, but each process has slight variations in the application techniques and materials used.
Pickling (and similar techniques) is designed to make light colored wood (like ash or pine) have a washed out, driftwood effect. The process is actually a rip-off that comes from an old European practice of pasting wood with a caustic lime to prevent decay and insect infiltration – the 16th-century version of pressure treated lumber. The lime caused the wood to have the beautiful, ethereal effect that can easily be replicated using the technique of pickling.
Buy Pickling Wood Stain or Make your Own?
Personally, if I can make it at home for free, why would I go to the store and buy pickling stain? It costs around $10-20 a gallon in the stores, but if you have a gallon of old white primer (or if you can buy a cheap gallon of white primer) you can easily make your own pickling stain using the following ingredients:
- One Part Water-Based White Latex Primer
- Three Parts Water
- Salt and Pepper to Taste
The HomeFixated legal team insists that you don’t add salt or pepper, and strongly discourages tasting anything potentially toxic, like many paints and primers. Now that we have that out of the way, mix everything together in a paint bucket and you’re ready to pickle away. If you’re going for a darker, old-school whitewashed look, add less water; just one or two parts. For a lighter touch, use 4-6 parts water and get a softer driftwood effect, just like I did for my project.
Pickling to Perfection

Before you break out the old paint clothes and shoes, it’s a good idea to get some sanding done first. The best way to really get the grains to stand out in lighter colored wood is to enhance them with a little sanding. A 110 grit paper will do the trick just fine when you lightly sand with the grain a few times before pickling. Dust off the project before moving to the next step.
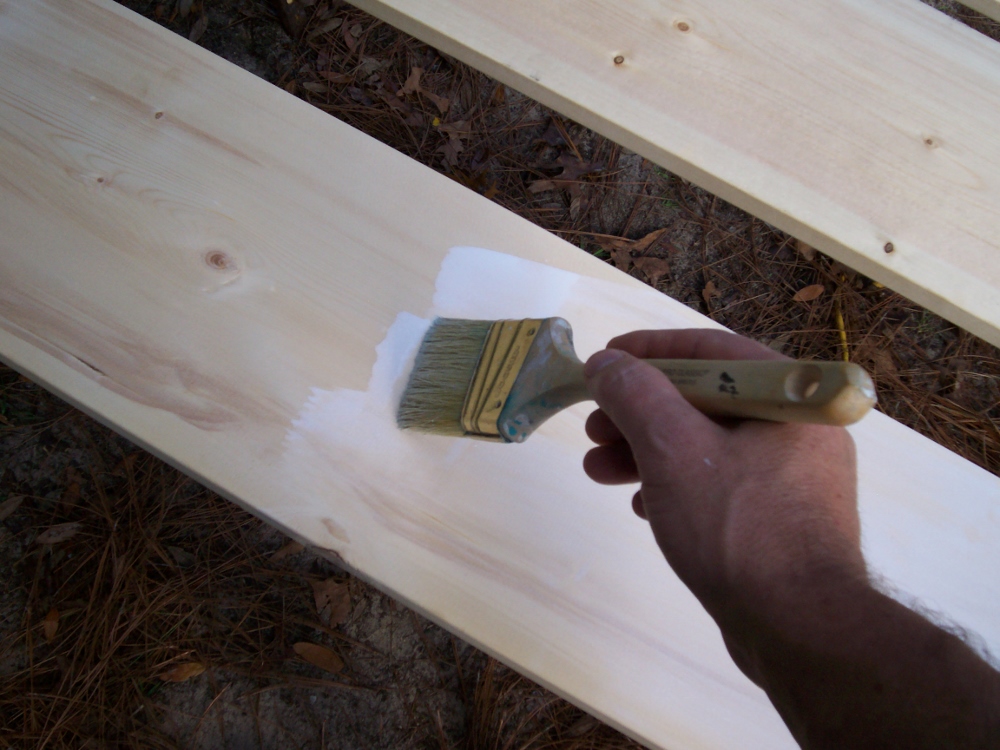
Once you’ve got your pickling mix ready, whether it’s DIY or store bought, you can spread it onto the wood. It’s just like painting with regular paint expect that it’s a lot thinner, so you won’t be able to load as much onto the brush. You’ll be doing a lot of dipping into the paint bucket.
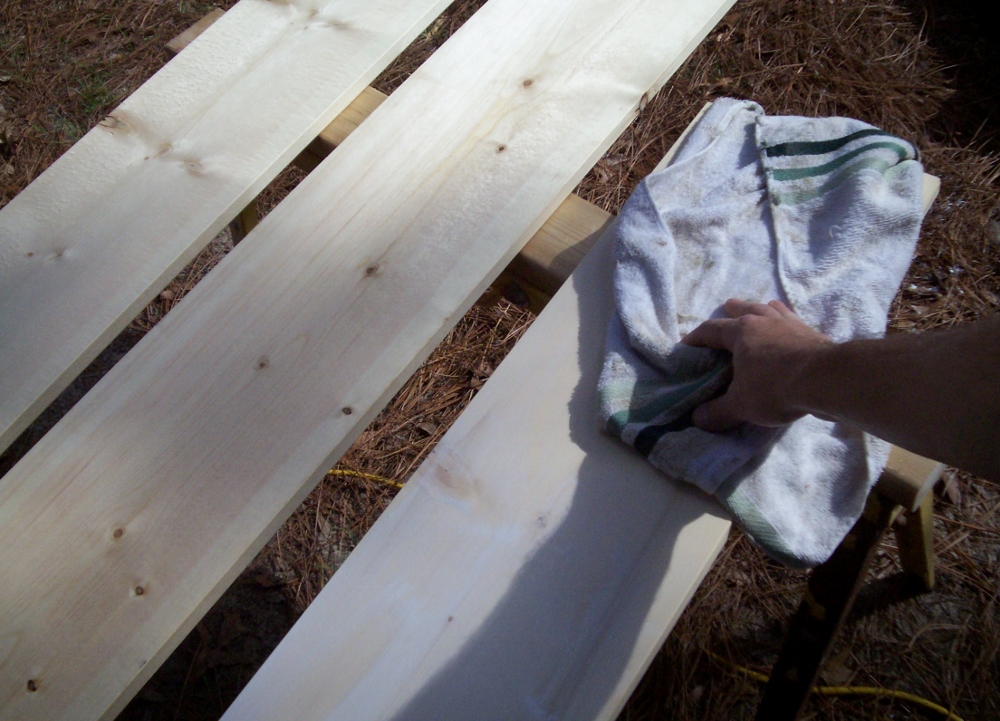
After you’ve spread the pickling solution onto the wood, you can wipe it away with your old rag. The longer you leave the pickling on the wood the darker the pickling will be. However, if you leave it on for too long and it dries, it’s going to give it a whitewashed effect that looks more like dried paint than pickled wood.
Seal the Deal
If you like the way it looks, then you can move on to sealing the project with some polyurethane. If you’re not into the color and you’d like it a little darker, then you can wait until it dries and add another coat of pickling stain. Either way, be sure that the pickling has dried thoroughly, (four hours at the minimum), before covering it with poly or you could end up with some blistering in the finish.
Ten Tips for Perfect Pickling
No matter what kind of wood project you’re pickling, use the following ten tips to attain pickling perfection:
- Use the Right Wood- Pickled woods that are light in color really pop, and dark colored woods really flop.
- Sanding Helps Relieve the Wood Grain- To help bring out the grain in lighter colored wood species, it’s best to rough up the grain with 110 grit sandpaper prior to pickling.
- Conditioning Soft Wood- If you’re working with a particularly soft species of wood, you may want to use a wood conditioner to help raise the grain before pickling.
- Brushes Really Don’t Matter- Don’t worry about using your fancy brush. A cheap dollar bin brush will work just fine.
- Darker Effect=More Stain- If you want to give your wood less of a pickling and more of a whitewashing, leave the pickling stain on for longer before wiping it away.
- Wipe It On and Away- Once you’ve applied the stain, wipe it away before it dries. But before you wipe it away, smear it in going against the grain and then wipe it off going with the grain.
- Terry Cloth- Use a good terry cloth rag to wipe away the pickling stain once it’s been applied. If the rag material is too thin, it will load up with pickling stain and end up just smearing things around instead of removing them.
- Different Colors for Different Effects- You can add other colored effects by adding colored latex paint to the mix, just be careful that you keep the paint-to-water ratio correct.
- Dried for Sealing- Make certain that your pickling stain is good and dry before you apply any polyurethane or the water in the pickling stain will evaporate causing the finish to peel and bubble over time.
- Stirred; Not Shaken- Unlike James Bond, polyurethane works best when stirred; not shaken. If bubbles are allowed into the polyurethane during mixing, it will leave imperfections and blemishes on the final finish.
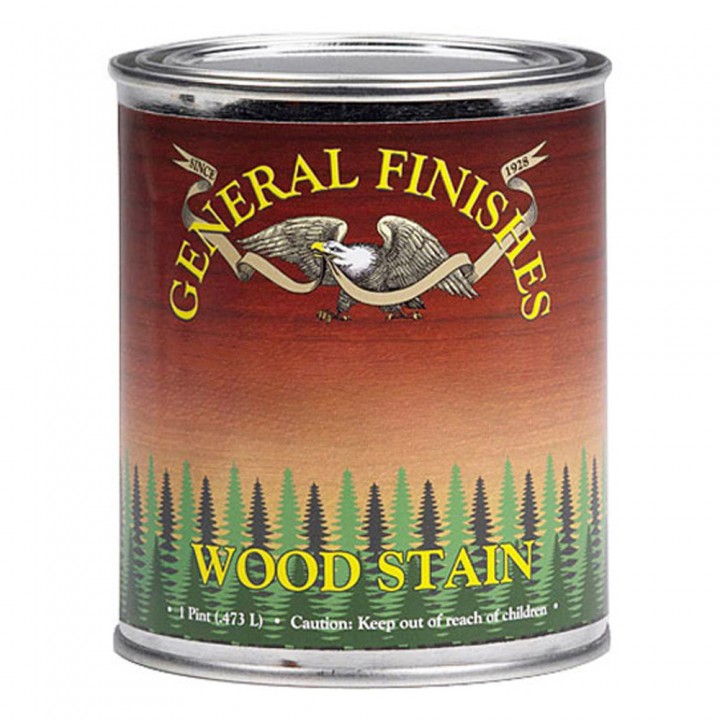
For an off-the-shelf solution, check out General Finishes Whitewash from our sponsor Rockler, at under $20 a quart.
Have any pickling projects you’re proud of? Or, any tips we missed? Let us know in the comments below.


my kitchen cabinets are pickled. The areas most used need to be redone. Never did this before and I don’t intend to do all the cabinets. Do you think it will come close to matching?
These are very helpful guidelines however, the term “darker” may confuse some people. I think “more opaque ” or “less sheer” is a more accurate way of saying it. No matter how the pickling is applied, the project never gets “darker”, only lighter/whiter.
Great, informative article—-I feel very confident trying this sort of project now!
I left my comments above.
Finally the pickling process makes sense!
Thanks…