

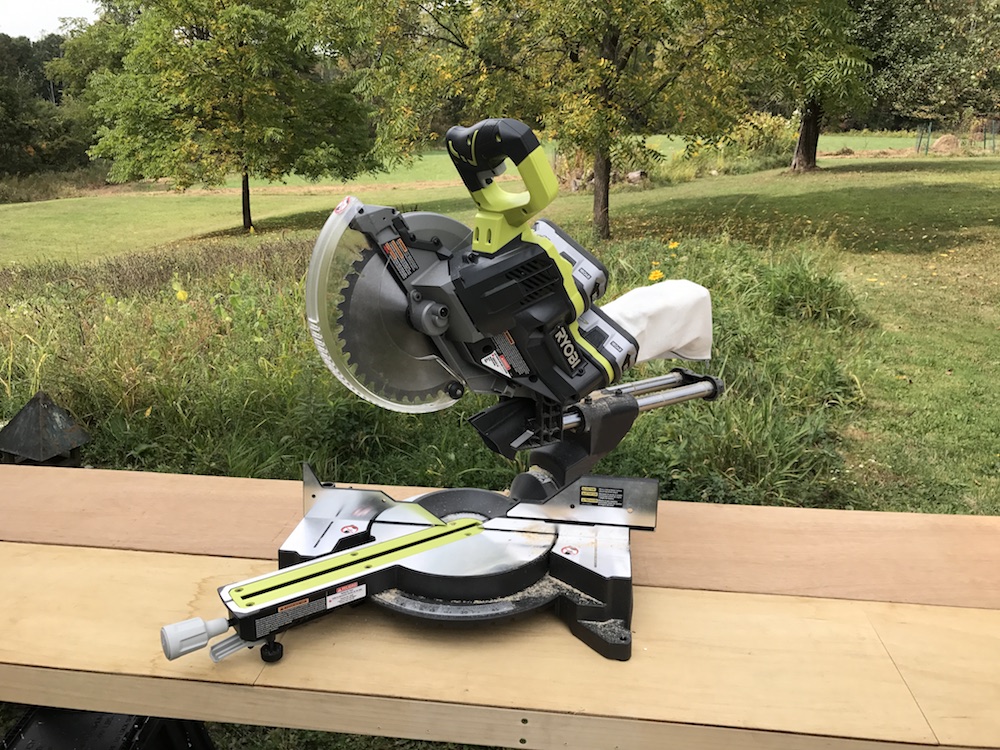
On most construction sites, one of the most useful tools is frequently a sliding compound miter saw. For everything from trimming studs and joists to length and cutting angles on rafters, to cutting baseboard, door and window trim, these saws are unbeatable for making fast, accurate cuts. On many sites, power availability is at a premium, and full-sized corded models are frequently heavy and cumbersome to carry around. With recent improvements in Lithium Ion battery and brushless motor technology, the trend is toward cordless saws. The folks in neon green just joined the “Cut the cord club” with the Ryobi cordless sliding miter saw. They slid one into HomeFixated HQ; stay tuned, and see if it has what it takes to replace YOUR corded miter saw.
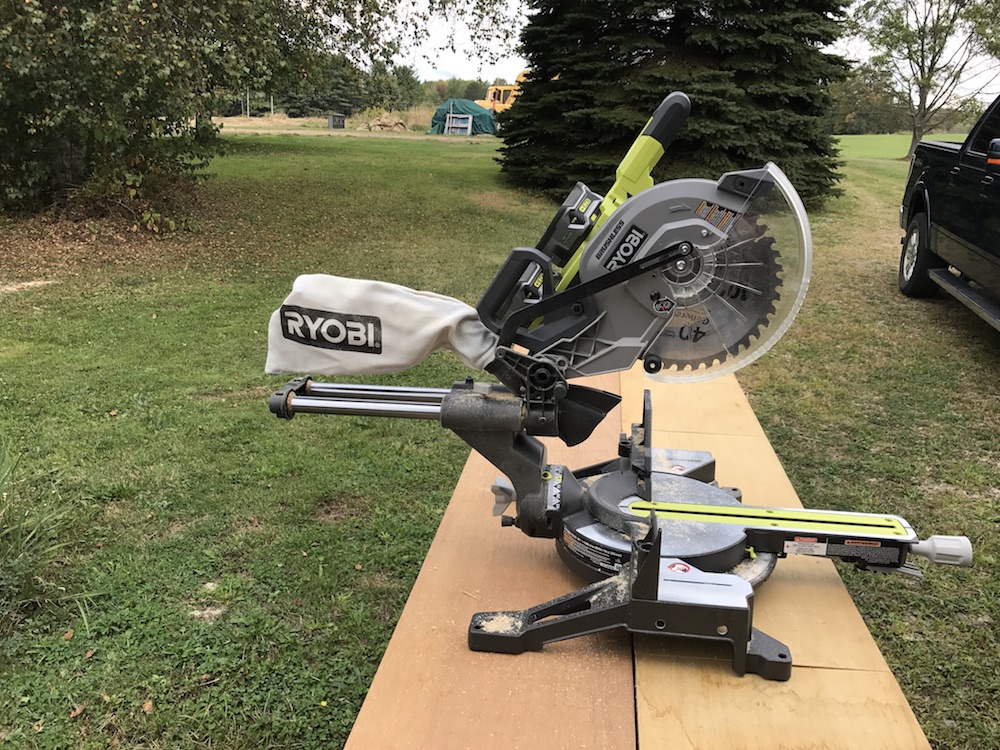
Weighing in at 34 pounds, the Ryobi cordless sliding miter saw, model P3650B, is pretty painless to schlep around. If that sounds heavy to you, come on over and I’ll let you carry my beast Bosch 12” slider up and down the stairs a few times – all 60 pounds of it. And when you get to the top of the stairs, you’ll need to find an outlet to plug it in. That’s the beauty of going cordless; you can get set up quickly, anywhere there’s an open spot close to your work zone, with no worries over power availability and extension cords.
The Ryobi Cordless Sliding Miter Saw: A Closer Look
Getting the Ryobi Cordless Sliding Miter Saw unboxed and set up was pretty straightforward. The blade is already attached, and there wasn’t really much left to assemble, other than one piece of the right-side fence. Home Fixated pro tip: The head is strapped down, but not locked down. When you cut the strap, keep a hand on the head, so it doesn’t come flying up at a high rate of speed, possibly boinking you in the face or other tender area.
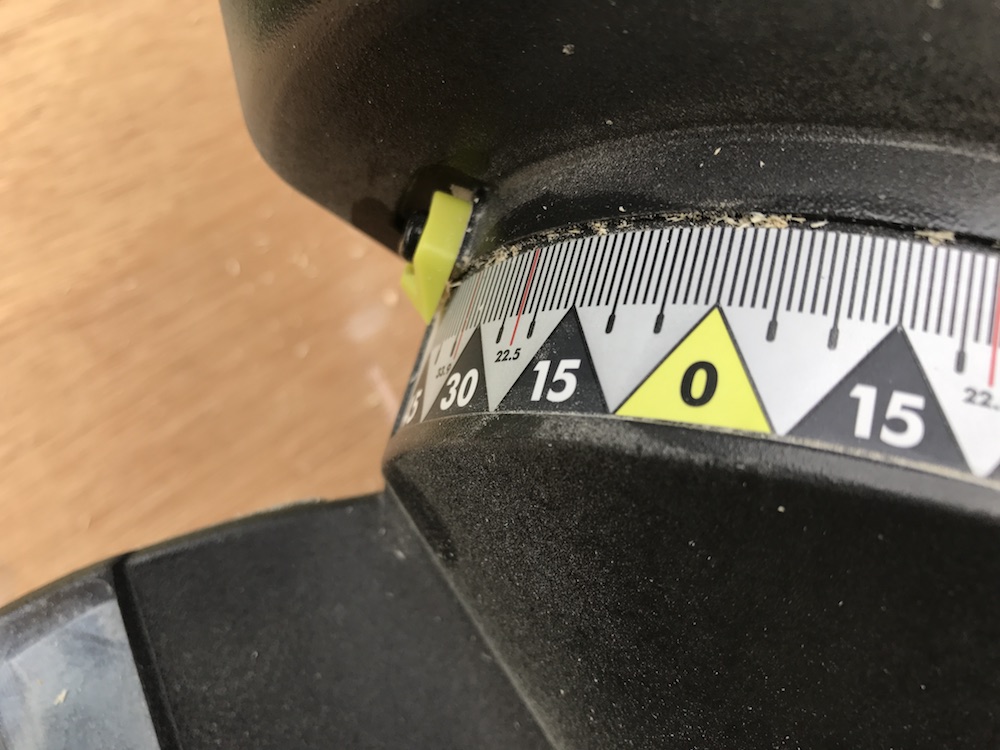
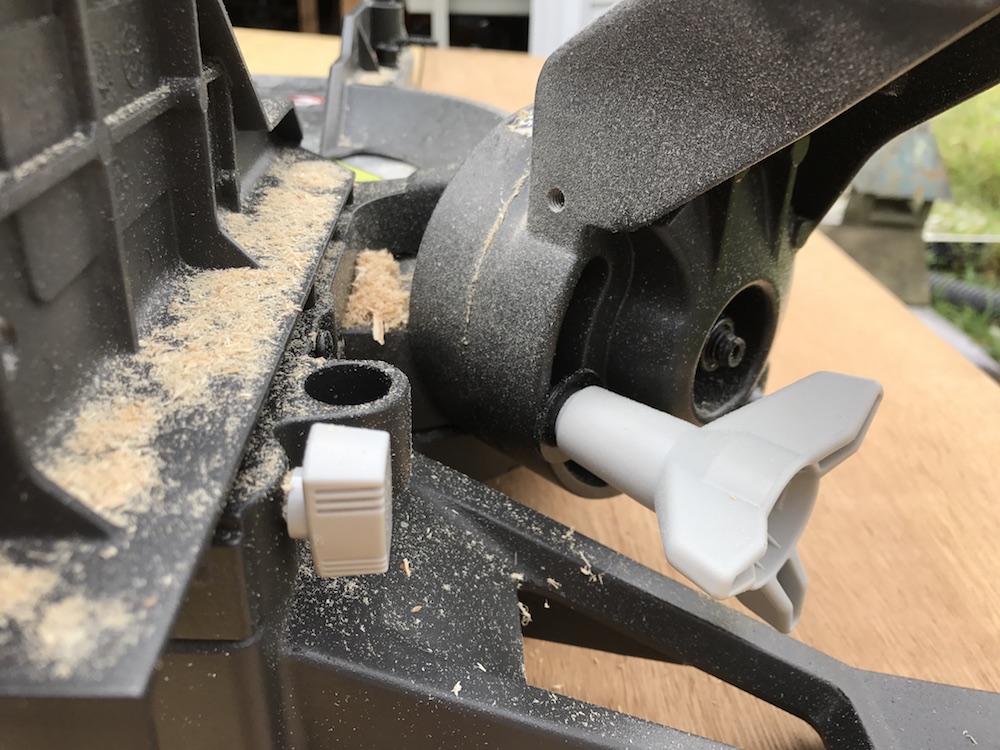
If you’re familiar at all with sliding compound miter saws, you’ll feel right at home with the Ryobi cordless sliding miter saw. A knob, with a lever beneath it, sticks out under the front of the throat plate. To change the angle for miter cuts, just loosen the knob, squeeze the lever, and rotate the blade to the desired position. The scale is well marked and easy to read, and there are positive detents at several of the most commonly-used angles. When you get your angle dialed in, tighten the knob, and the angle is locked in.

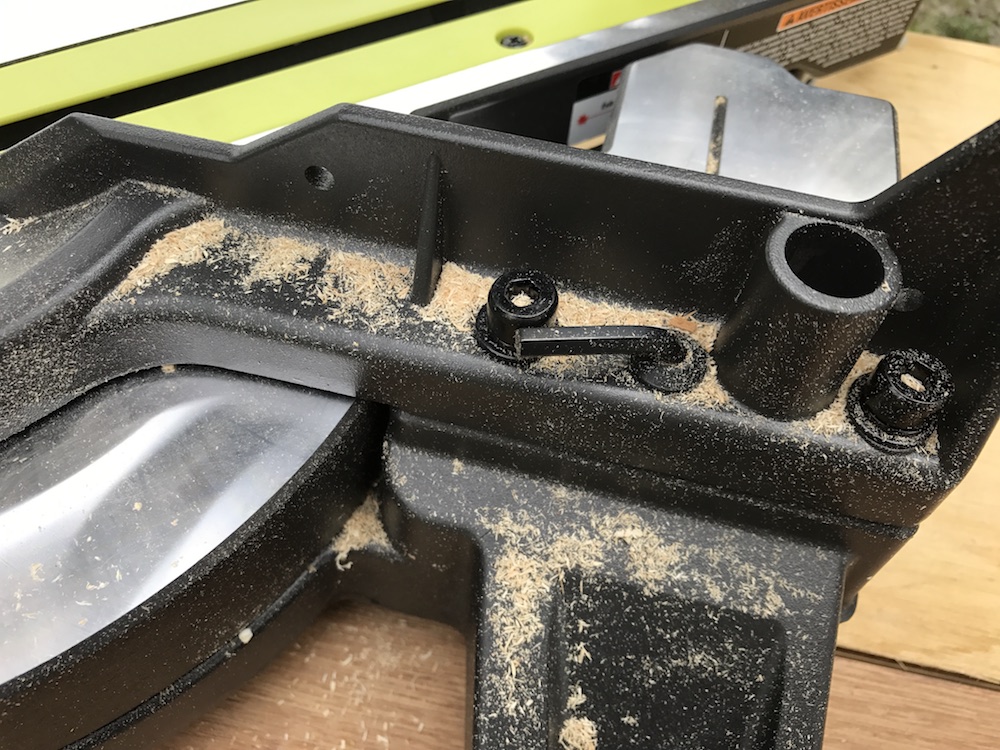
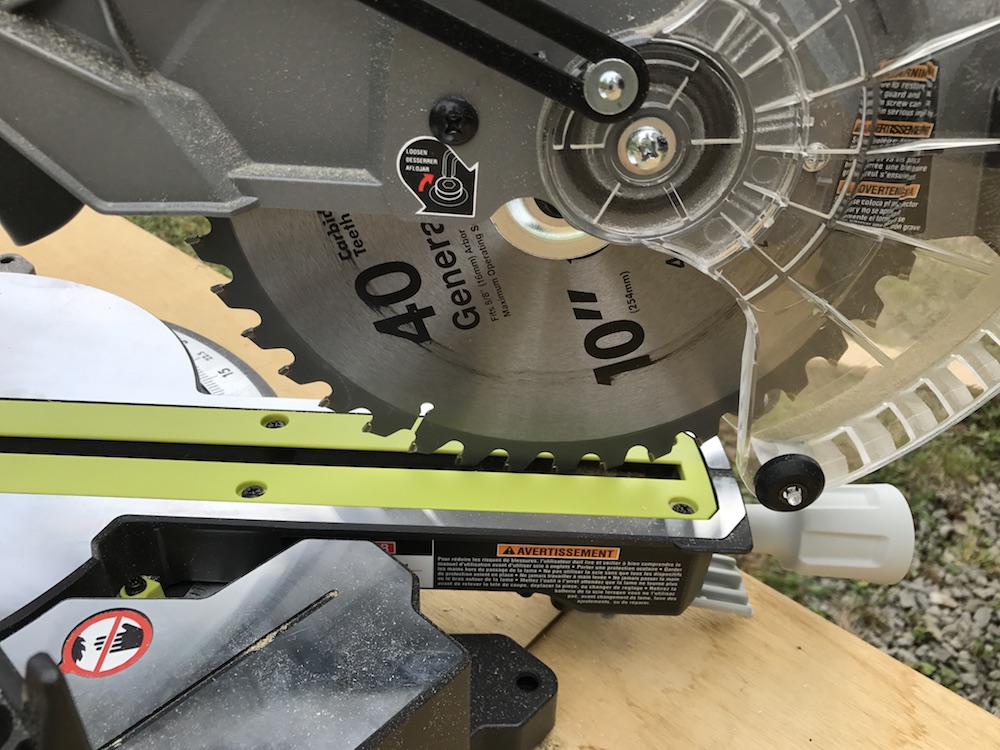
Blade changes are easy. First, remove the batteries. Then, just loosen up the arbor nut with the hex wrench that lives in its nook behind the fence, swap out your blade, and tighten everything back up. The Ryobi cordless sliding miter saw comes with a carbide-tipped general use 40 tooth blade; it did a good job cutting everything we fed it. For finish work, you’ll want to swap it out for your 10” finish blade of choice.

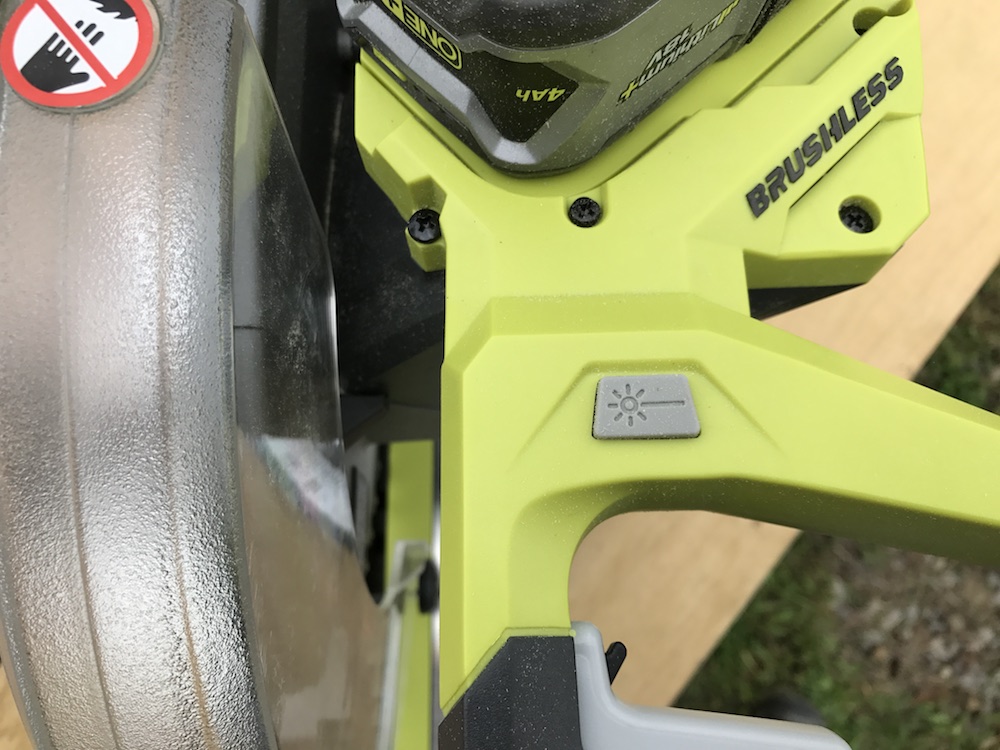
The battery compartments reside on top. They’re staggered, and it’s easy to get at them to insert and remove the batteries. A couple of inches from the batteries, there is a switch for the laser. Pressing it lays down a bright red cut line, and it stays on for roughly 20 seconds. It works very well indoors, but like most other such setups, can be tough to see when you’re out soaking up the sunshine. The light also comes on automatically when you pull the trigger. If the laser gets knocked out of alignment by one-too-many whacks with a 2×4, it can be easily recalibrated.

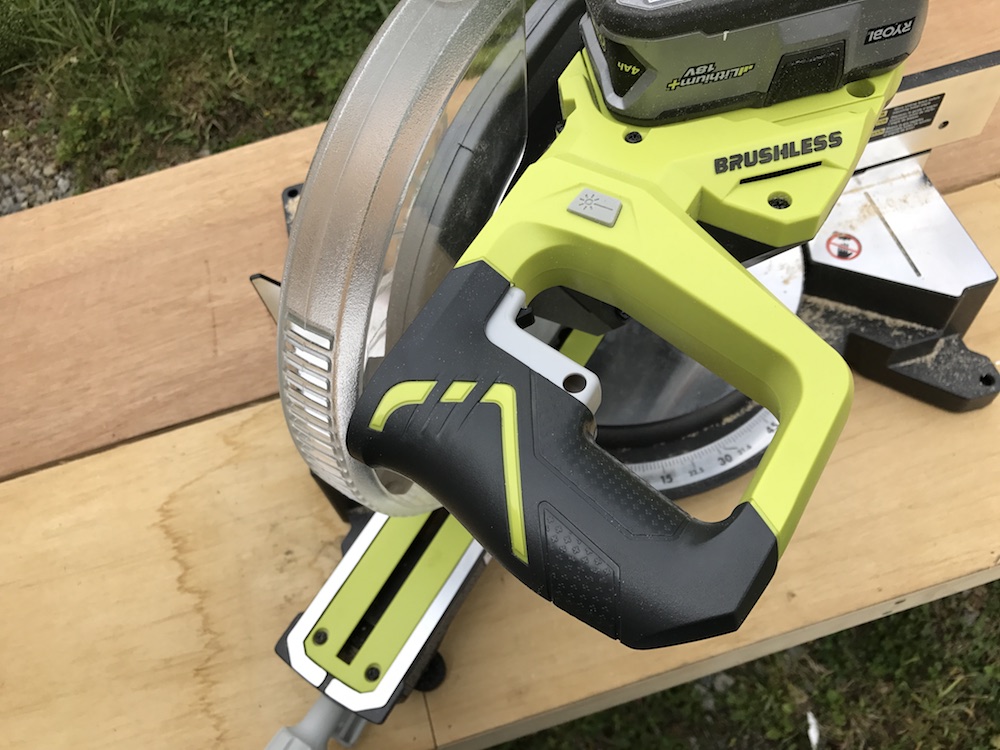
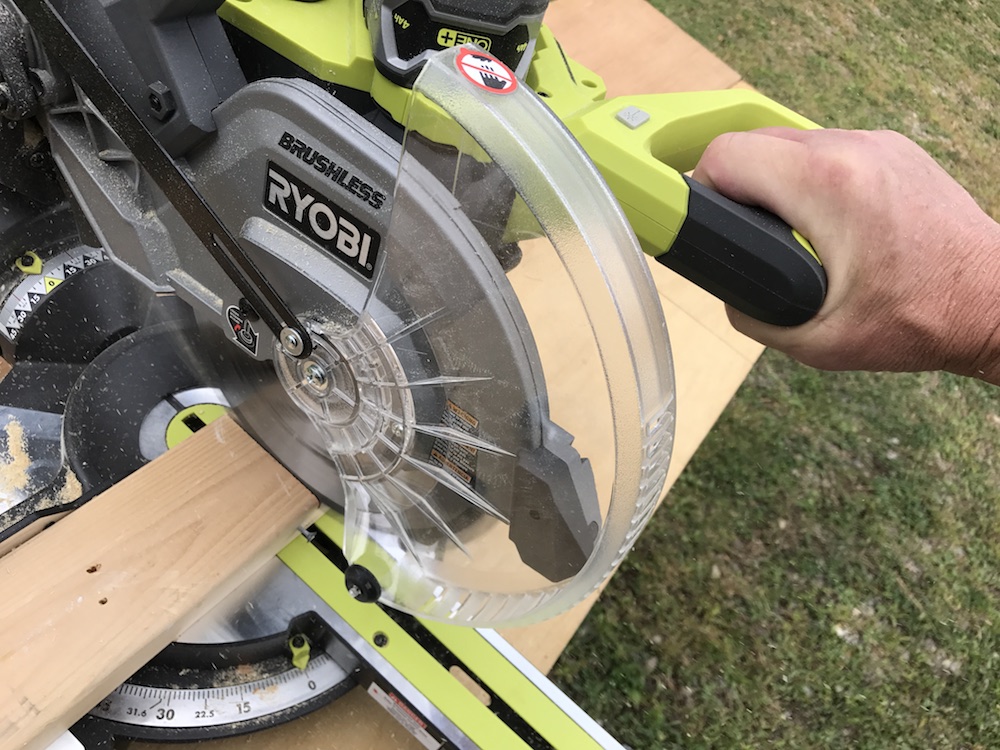
Speaking of the trigger, Ryobi used a stepped-down design for this Ryobi cordless sliding miter saw. To activate it, the little safety switch on the left side of the handle must be bumped over to the left, then the main trigger can be pulled. It isn’t hard to do, and a safety is definitely needed on a tool like this. The handle’s position requires it to be operated with the right hand, though, and it may be awkward to accomplish for lefties. I think a straight trigger running all the way across might be easier to use.
But Wait – There’s More
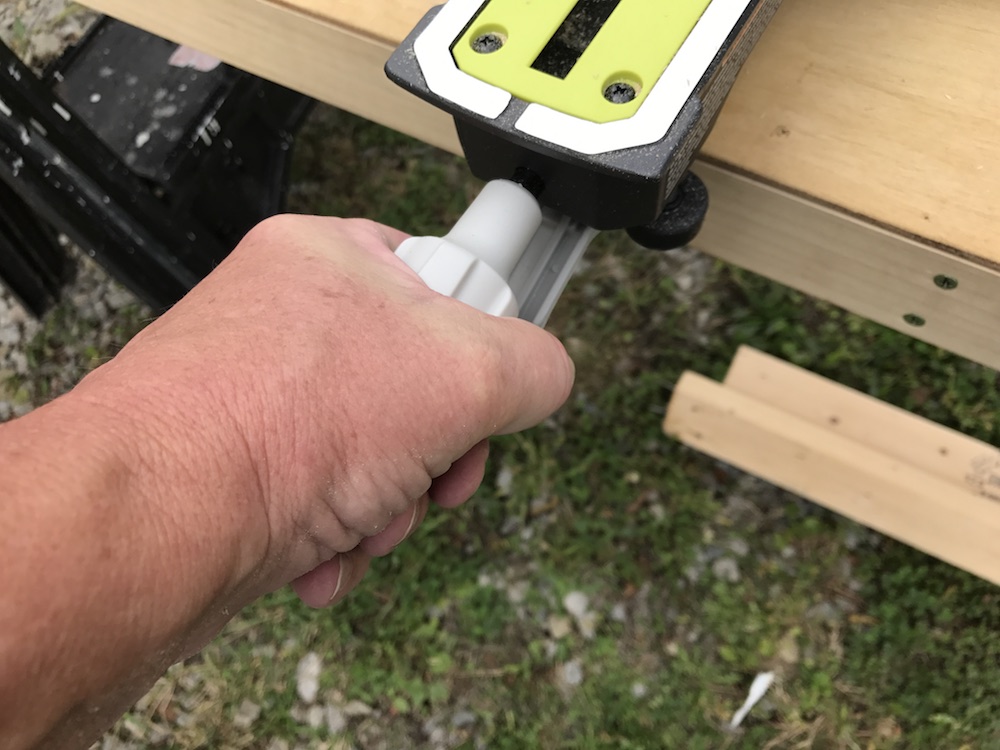
On top of the slides, there’s a knob that can be used to stop the head from sliding. This can be used to operate the Ryobi cordless sliding miter saw as a chop saw, or to tighten things up before transporting it. A large push pin on the side locks the head down when you’re ready to pack it in at day’s end.
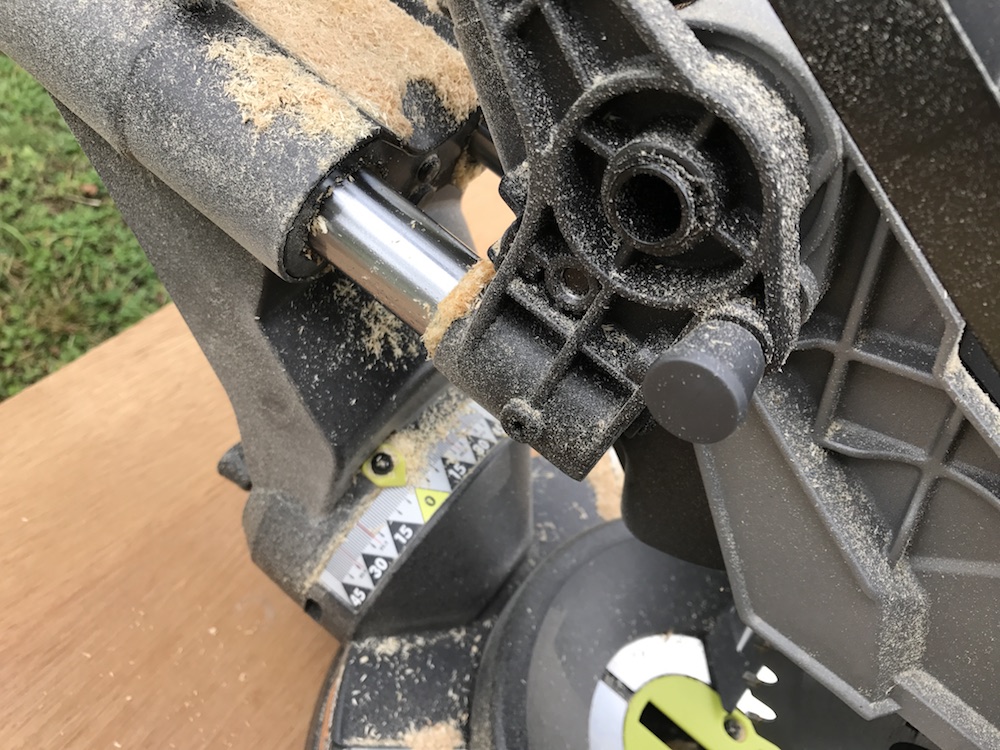
Adjusting the bevel is also simple. To bevel to the left, loosen the knob on the rear, rotate the head to your degree of choice, and tighten up the knob. Setting a right bevel requires just one more step: After loosening the knob, pull out the large pin next to it, to release the head. This is probably to slow you down, so you’ll remember that you have to remove the upper part of the right-side fence before proceeding, otherwise sparks and other undesirable things will ensue. The scale is clearly marked, with the most common bevels highlighted. There are no bevel detents, but the saw holds the angle very well once it’s set.
Enough blather; here’s an extensive list of specs and features from Ryobi. Pay close attention; there will be a mandatory quiz at the end. Just kidding; actually, there’s a short promo video from Ryobi after the specs. The quiz is at the end of the review.
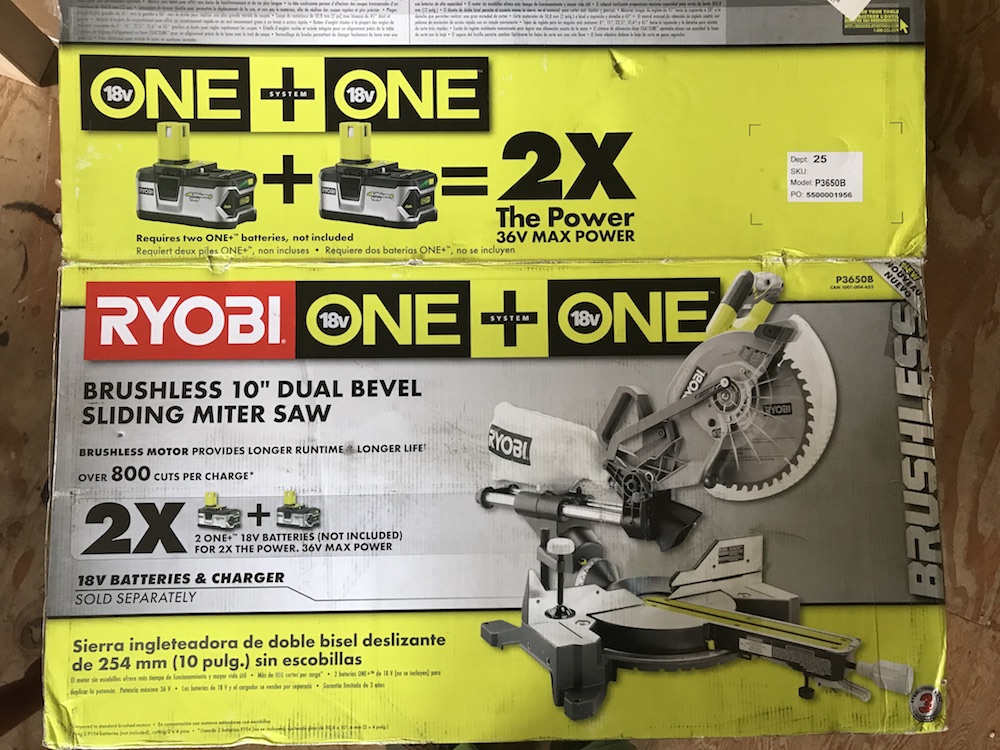
Uses two ONE+ 18-Volt batteries (not included) for 2X the power – 36-Volt max power
Compatible with all ONE+ 18-Volt batteries
Over 800 cuts per charge with Ryobi P194 batteries
For max performance, use high capacity Ryobi batteries
Brushless motor provides longer runtime and longer life
Sliding head provides maximum capacity for up to 12 in. cross cut
Dual Bevel design allows the user to move the saw, not the material, for faster and more accurate cuts
Extended miter ranges from 45° left to 50° right to accommodate a wide variety of cuts
Cuts 2x materials at 45° right and left bevels
Miter detent override provides quick-action lever bypass with one simple motion
Miter stops located at the most common crown molding angles 0°, 15°, 22.5°, 31.6°, and 45° left and right for quick cut settings
Machined cast-in miter scale for accurate table alignment
Adjustable EXACTLINE laser alignment system accurately aligns cutline with blade
Spindle lock for easy, single wrench blade changes
Electric brake stops the blade in seconds
3-year limited warranty
Includes: P3650 Miter Saw, 10 in. Carbide Tipped Blade, Work Clamp, and Blade Wrench
Dimensions:
Product Depth: 32”
Product Height: 17”
Product Width: 20”
Table Length: 18”
Table Width: 10”
Details:
45 Degree Crosscut Capacity Maximum: 2 in. x 8 in.
90 Degree Crosscut Capacity Maximum – Left: 2 in. x 12 in. or 4 in. x 6 in.
90 Degree Crosscut Capacity Maximum – Right: 2 in. 12 in. or 4 in. x 6 in.
Arbor Size: 5/8”
Bevel Type: Dual
Blade Diameter: 10”
Dust Collection Method: Dust Bag
Maximum Cutting Thickness: 3.5”
Maximum Degree Miter Cuts – Left: 45 °
Maximum Degree Miter Cuts – Right: 50 °
Maximum Speed: 4000 RPM
Miter Saw Type: Sliding Compound
Power Tool Features: Electric Brake, Laser Guide, Positive Stops
Product Weight: 34 lbs.
Certifications and Listings: UL Listed
BYOP (Bring Your Own Power) With The Ryobi Cordless Sliding Miter Saw
Cordless miter saws are notoriously power-hungry, and the major tool makers have come up with various ways to deal with this insatiable lust for power. Milwaukee has managed to pack enough juice into its 9.0 Ah high Demand battery to keep the blade spinning on the Milwaukee Fuel M18 miter saw. DeWalt went a different route, using two of their new 60V FlexVolt batteries to provide a full 120 volts of power for their FlexVolt miter saw. They went a step further, and gave it hybrid capability; using a corded adapter, the saw can be plugged in when AC power is available. This would be a hugely useful option for ANY cordless miter saw, table saw, or other power-hungry tool. Hint hint, major tool makers.
One lesson most of the big boys in the industry seem to have taken to heart is that their customers get vewy, vewy angwy when they introduce tools that require a totally new battery platform. Many users have a lot of money invested in a variety of tools, and tend to stick with one brand for many of them, simply because they can swap batteries in and out. Milwaukee’s High Demand battery, for example, will fit any tool in its huge M18 lineup. Even DeWalt’s new FlexVolt battery is backward compatible with all of its 20V MAX tools.

Ryobi also has an extensive line of 18V cordless tools, with a huge ownership base. In an effort to avoid upsetting their loyal customers, they are about the last of the major players to still use the post-style battery in their line of 18V Lithium Ion tools. Those customers will be happy to learn that the new Ryobi cordless sliding miter saw continues that tradition – sort of. The new saw uses the same familiar ONE+ 18V Li-Ion battery; it just needs two of them. And the bigger the better.
The new system, known as ONE+ONE, provides the extra juice needed to keep the big motor in the Ryobi cordless sliding miter saw spinning. The extra voltage, combined with an efficient brushless motor, enables the saw to do its job. Since Ryobi describes the saw as “the first tool in its ONE+ONE lineup,” it appears they have more 36V tools in mind. A portable table saw, perhaps?
At any rate, the Ryobi cordless sliding miter saw is sold as a bare tool, meaning you get no batteries, no charger, and no Tommy Silva to operate it for you. If you’re already on the Ryobi ONE+ platform, and you have at least two batteries, you’re good to go. The saw will operate using any two ONE+ batteries, but Ryobi recommends using high capacity batteries to help it run long and strong.
We tested the saw using two P108 4.0 Ah batteries, and were very impressed with the results. During my first day of usage, I made approximately 100 cuts throughout the day. I cut various material, including 1×4” pine, 1×4” and 1×6” oak, 1×12” pine, 2x4s, 2x8s, and 5/4” pressure treated material. When beer o’clock rolled around, I still had three bars left.
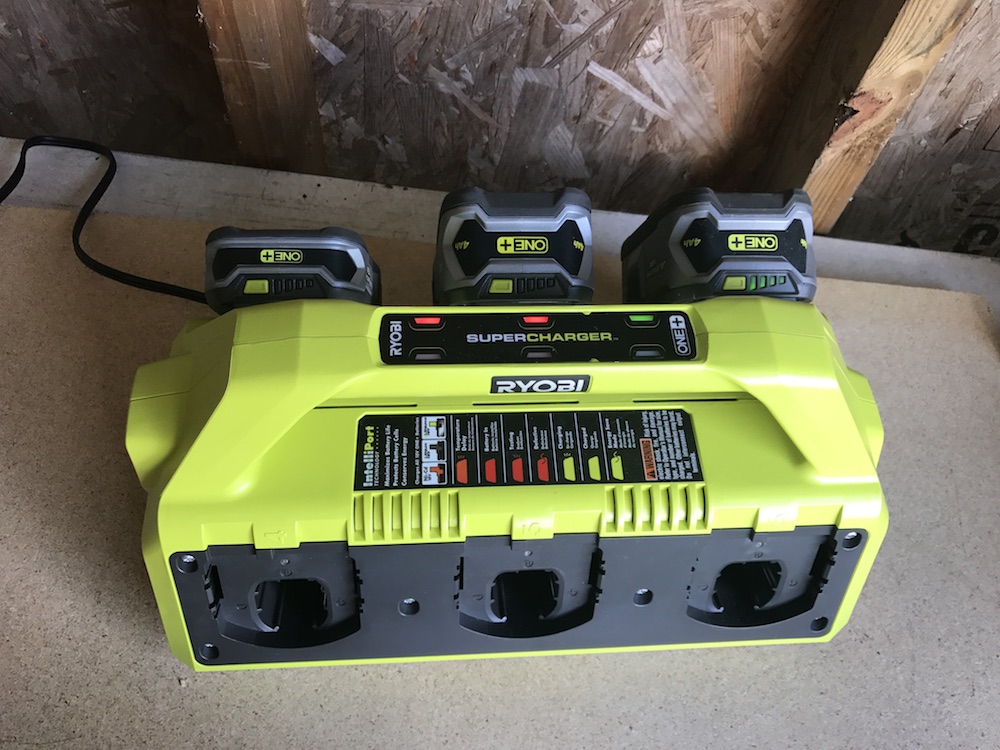
If you’re new to the Ryobi ONE+ platform, there are several options to get yourself powered up. Wanna get all batteried up in a hurry? You can get a four-pack for $149, giving you two of the 4.0 Ah batteries and two compact 1.5 Ah batteries. There are a variety of chargers, from single-battery units to the six-pack SuperCharger. It can charge any combination of Li-Ion and NiCd batteries, and simultaneously top off your phone or MP3 player with an on-board USB port. A search for “Ryobi ONE+ battery and charger” on the Home Depot web site will bring up several other potential combinations.

If you’re in the market for other cordless tools as well, there’s one other option to consider. Ryobi offers a wide variety of combo kits and single tools, many of which come with a charger and one or more batteries. Do a search for whatever tool you’re yearning for, and you may be able to pick up another tool for not much more than you’d spend on the battery and charger.
Slicing And Dicing With The Ryobi Cordless Sliding Miter Saw
Alright, already – let’s cut something! I took the Ryobi cordless sliding miter saw to our farm renovation project, where there are several projects underway at any given time. During this visit, my focus was on tightening up some of the numerous gaps in one of the exterior walls, aka the Rodent Autobahn. This portion of the farmhouse is probably 150-200 years old, and is a mix of old notched timber framing and half-assed modern “improvements.”
This portion of the house has balloon-style framing, meaning the wall studs are open from the basement all the way up to the attic. This makes it very convenient for the mice wiggling through the rubble-stone foundation to reach whatever destination they prefer. I cut numerous pieces of various types of dimensional lumber, all to custom-fit these gaps. I then used lots of steel wool in every remaining crack, and sealed it up with insulating foam. Hopefully that will at least slow them down, or inconvenience them a bit.
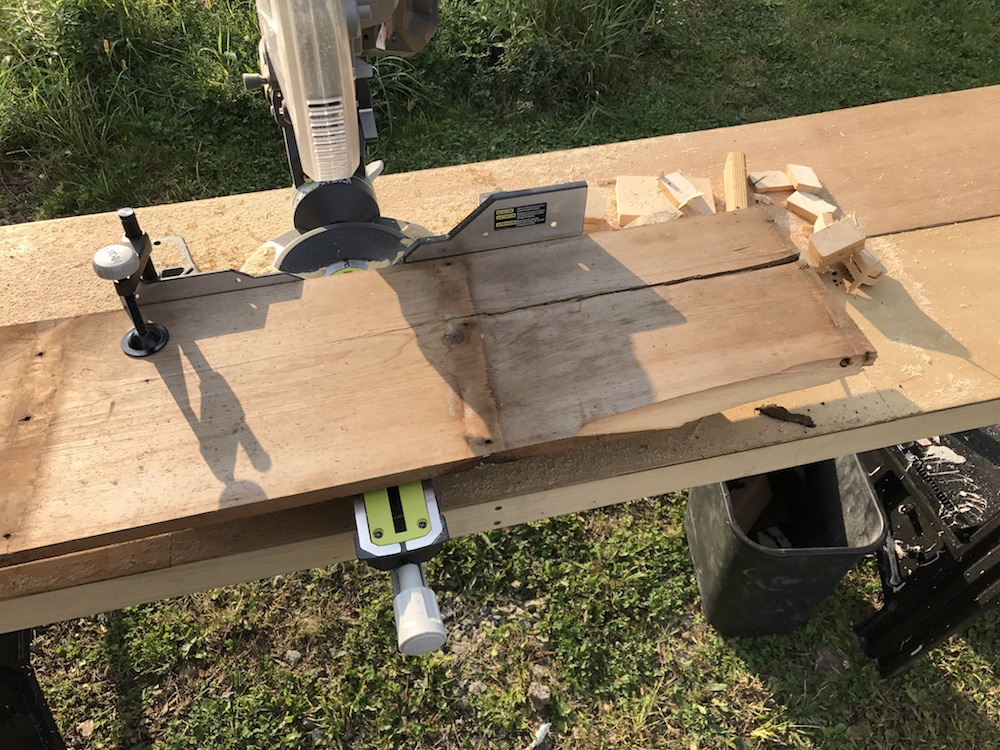
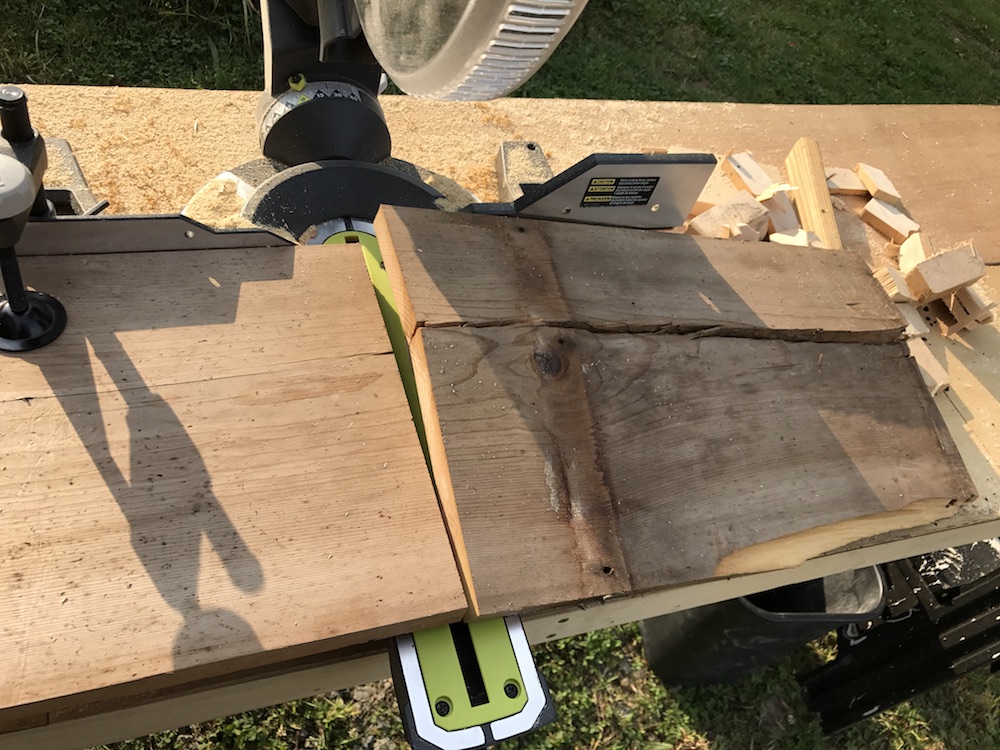
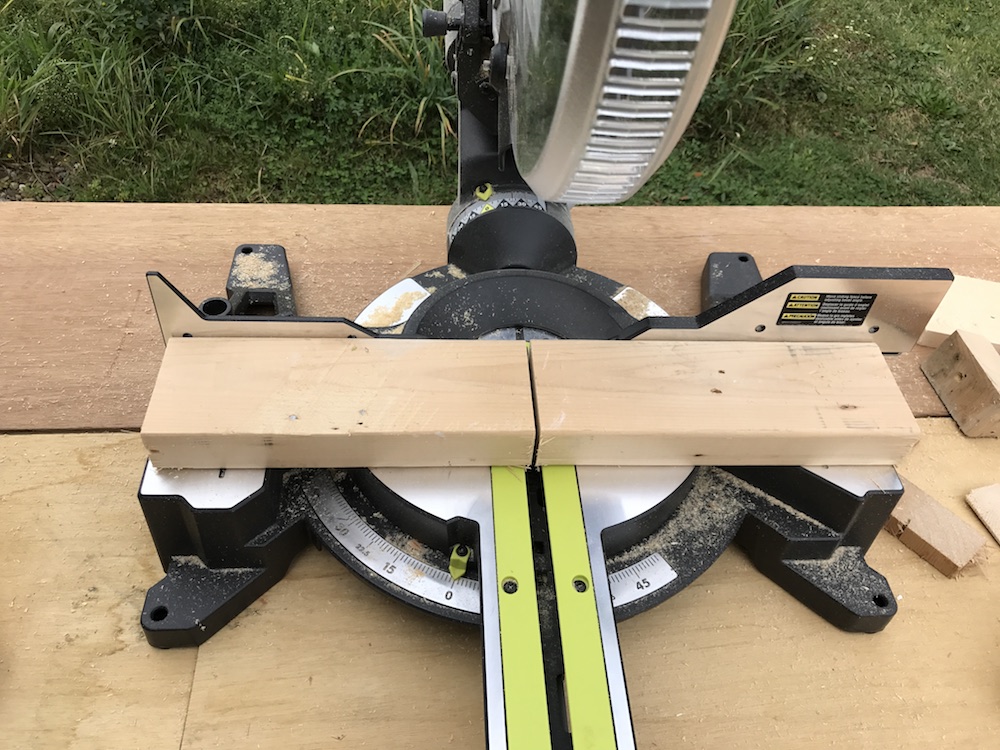
The saw was able to slice through all of the material I fed it. I used mostly 2×4” dimensional lumber to do the blocking, and the saw powered through it with no problem. I used it to trim some split sections off a bunch of 1×12” lumber I salvaged, and the saw had plenty of reach to make it in one pass.
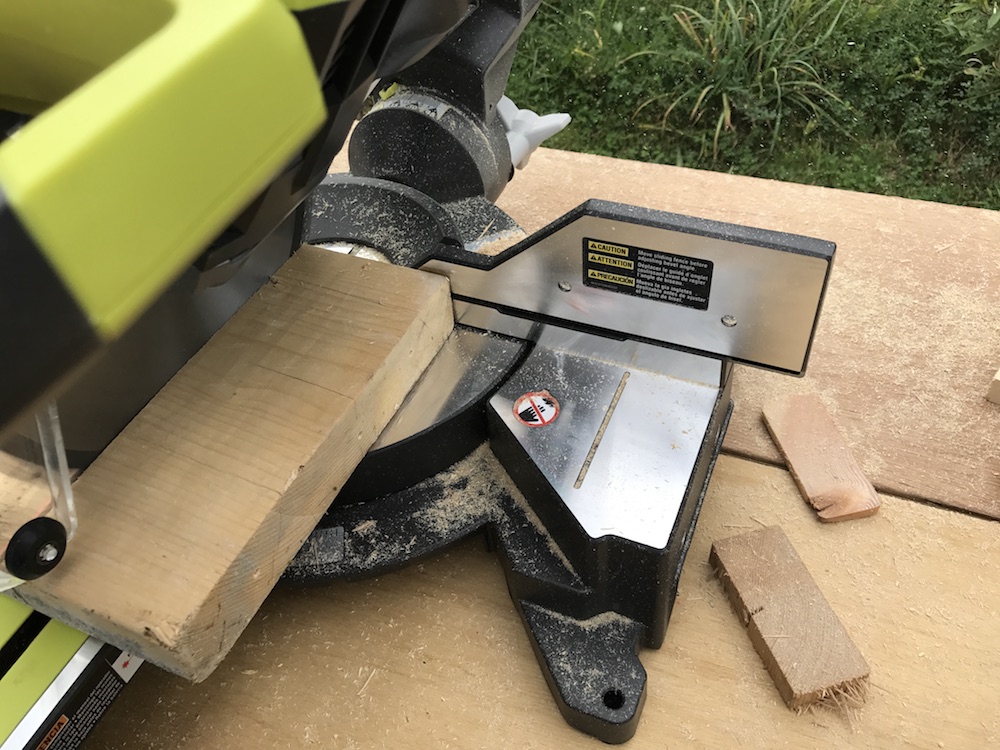
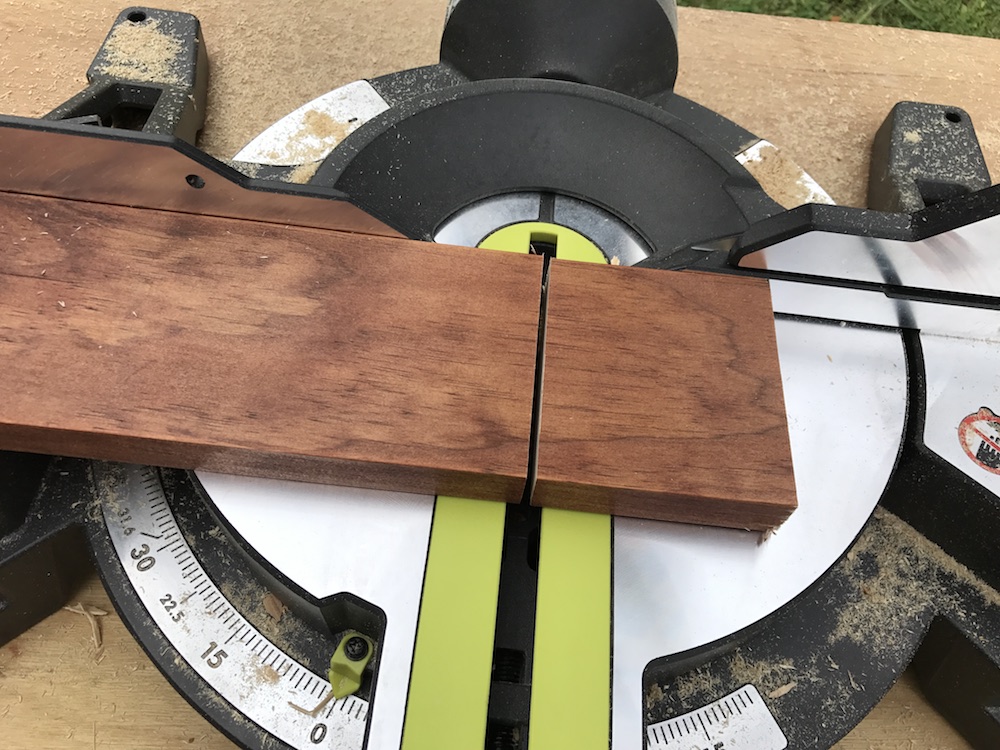
To change things up, I sliced a bunch of strips off some scrap 3/4” x 5” oak flooring and 1×4” oak trim, just to see if hardwoods were on its diet. I also made repeated cuts in some 2x8s, including some with doubled-up material, to see how the Ryobi cordless sliding miter saw would do with some beefier lumber. This definitely slowed progress a bit, but the saw was able to get through everything. The key is to not try and force the cut; when I felt the saw beginning to bog down, I eased up on the feed rate, and the blade chugged on through.
When making sliding cuts, the saw head glides fairly smoothly along the rails. The blade brake is a great safety feature; when the trigger is released, it stops the blade in less than two seconds. The blade was square to the table right out of the box, making perfect 90° cuts. If it gets knocked out of alignment, the manual has good instructions to get you lined back up.
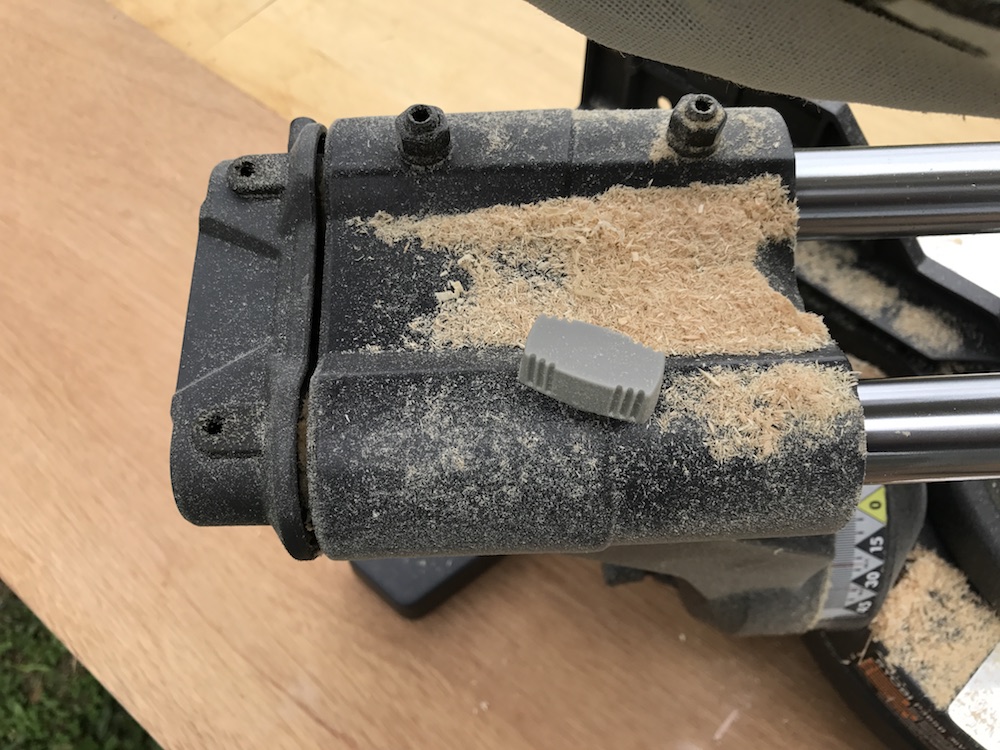
The dust bag works pretty well; I would guess it inhaled about 70-80% of the sawdust. Once it gets full, though, it’s not quite as effective; you do apparently have to empty it occasionally…Something to be aware of is that the light coating of oil on the slides attracts sawdust. Some of this sawdust builds up on the slides, and gets compacted each time the saw completes a cut. Eventually, this prevents the saw from coming all the way forward and making a clean cut. It’s easy to prevent; just knock the little compacted clumps off every once in a while.

Final Musings On The Ryobi Cordless Sliding Miter Saw
A miter saw is a staple tool on pretty much any job site these days. Having the ability to get it set up pretty much anywhere, without worrying about finding a power source, is a huge benefit. The Ryobi cordless sliding miter saw feels solidly built, is reasonably priced, and comes with plenty of useful features. Its ability to crosscut material up to 12” wide or 3-1/2” thick makes it very versatile.
Any negatives? While the saw has very good capacity, it sometimes struggles to get through wider or thicker pieces. This could be frustrating on a busy job site, where there is a huge stack of joists and rafters waiting to be cut. It would also be nice if they had included side extensions. One other minor drawback is the low fence, especially on the left side. For trim carpenters used to standing their crown up against the fence, it doesn’t provide great support.
This would be a great saw for a small remodeling contractor, or those DIYers who love taking on bigger projects. The saw is able to handle most dimensional lumber you’ll come across, and with a good finish blade, would be great for installing trim. It has great battery life, and a single pair of batteries should easily get you through a busy day. It’ll be interesting to see what’s next in the ONE+ONE lineup…
The Ryobi cordless sliding miter saw is backed by a three-year warranty. It also comes with a 90-day money-back guarantee, which gives you a great opportunity to do some slicing and dicing of your own, and see if it makes the cut. Now about that quiz…ah, the hell with it. Class dismissed!
Buy from the Home Depot for around $299:
Buy the Ryobi SuperCharger for around $79:
Intro Photo – Ryobi


