

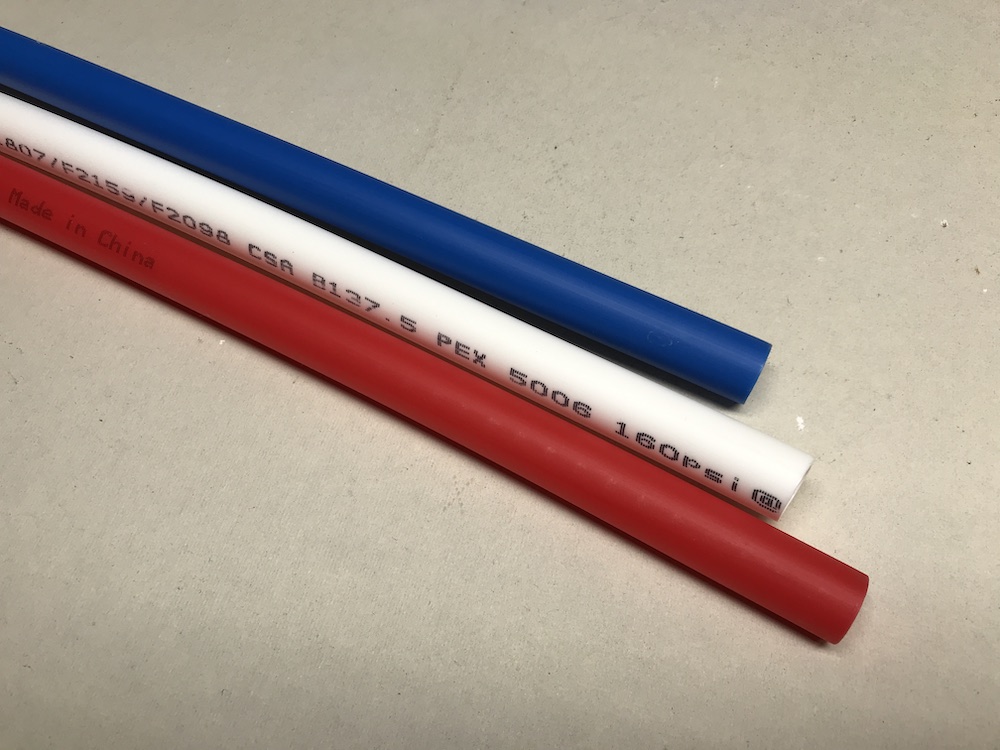
Until fairly recently, whenever I had a plumbing job to do, it was done with copper. Period. I was aware of the newfangled stuff called PEX, of course, and had heard others tout how easy it is to work with, and how reliable it is. But despite the all-American look of the red, white and blue tubing, it never looked very durable to me. It’s just so…plastic-y. After helping out on a couple of recent jobs where all the plumbing was done with PEX, I was impressed with how easy it is to maneuver into awkward spaces, and how quickly the installations went. With the recent arrival of the Ryobi PEX Pinch Clamp Tool to make the clamping connections, I may be listing my MAP gas torch on eBay.

Touted by Ryobi as the industry’s first battery-powered PEX pinch clamp tool, the Ryobi PEX Pinch Clamp Tool will operate using any Ryobi 18V ONE+ battery. Capable of handling any size PEX pinch clamp from 3/8” – 1”, the tool can put the squeeze on up to 400 clamps with a 4.0 Ah battery on board. That should hold me at least until lunch! Here’s the full spec list, followed by a short promo video from Ryobi:
• Fits all PEX clamp ring sizes including 3/8″, 1/2″, 3/4″ and 1″
• Dual LED lights illuminate the workspace
• Easy one-handed operation with one touch button activation
• Belt clip included for ultimate portability
• Up to 400 clamps per charge using a RYOBI ONE+ P108 4.0 Ah LITHIUM+ Battery (not included)
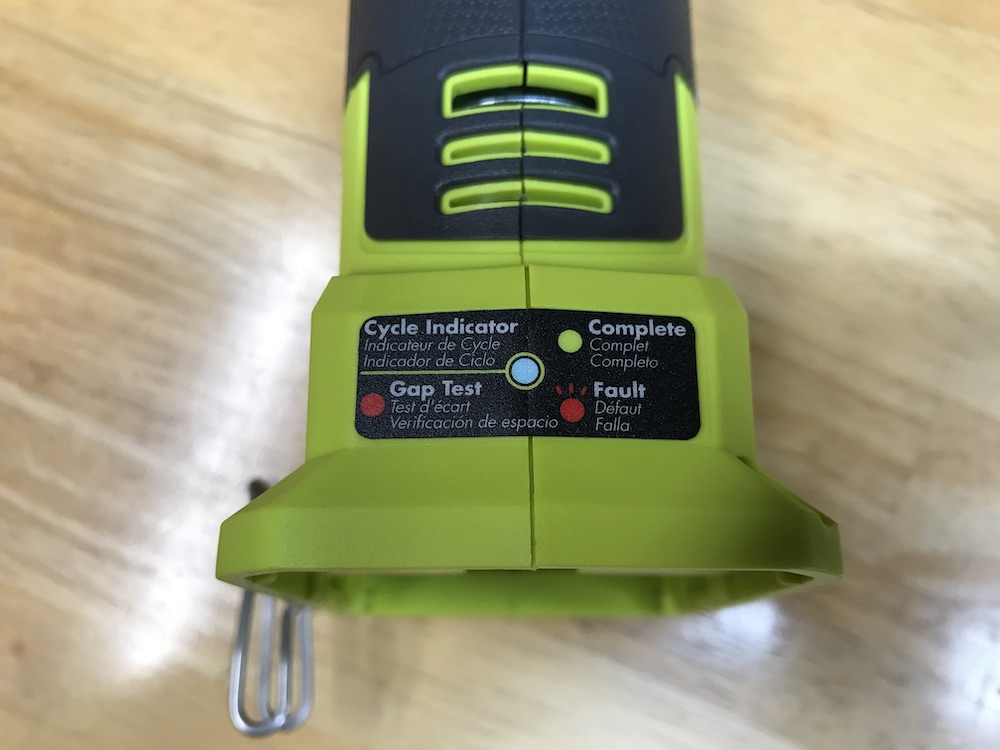
• LED light to indicate completed clamp cycle
• Innovative design allows for efficiency on the jobsite
• Part of the RYOBI ONE+ System of over 175 Cordless Tools
• 3-year manufacturer’s warranty
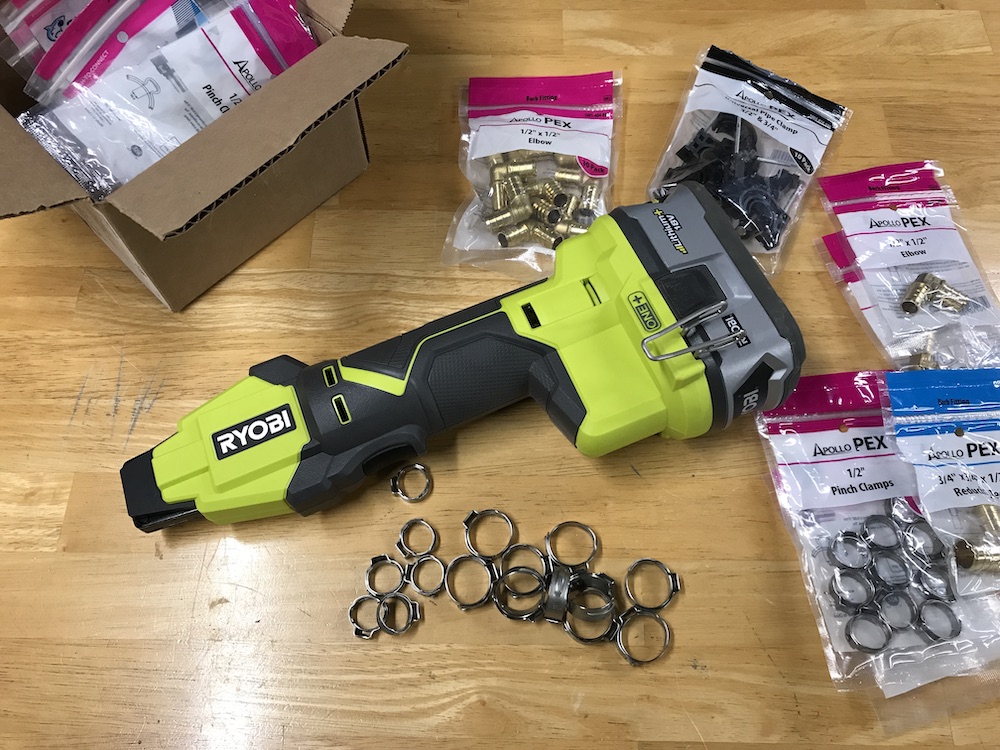
• Includes: (1) P660 PEX Pinch Clamp Tool, go/no-go gauge, belt clip, and operator’s manual
• Battery and charger sold separately
Setting Up The Ryobi PEX Pinch Clamp Tool: Got A Minute?
Getting the Ryobi PEX Pinch Clamp Tool ready to pinch is a pretty straightforward process. Step One: Remove tool from box. Step Two: Attach battery. Ready for the quiz?

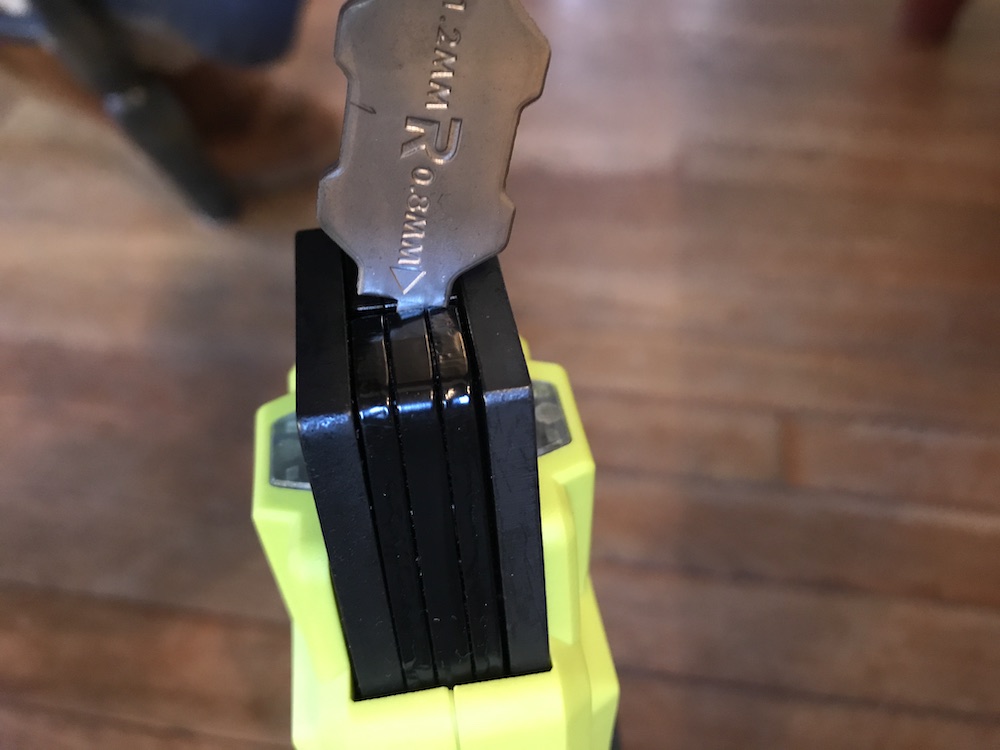
Actually, there’s one more step Ryobi recommends performing before each clamping session: Minding the gap. Tucked in under the battery is a small gauge, with a thin (0.8 mm) end and a thicker (1.2 mm) end. Inserting either of these ends into the “Gap test” slot on the base of the handle will turn the indicator light red, and close the tool’s jaws.

With the jaws closed, the thin end should fit between the jaws, and the thicker end shouldn’t. If there’s any discrepancy, the tool won’t close your clamps properly, and the tool must be recalibrated by a service tech, or returned for replacement if it’s still under the return period (currently 180 days).
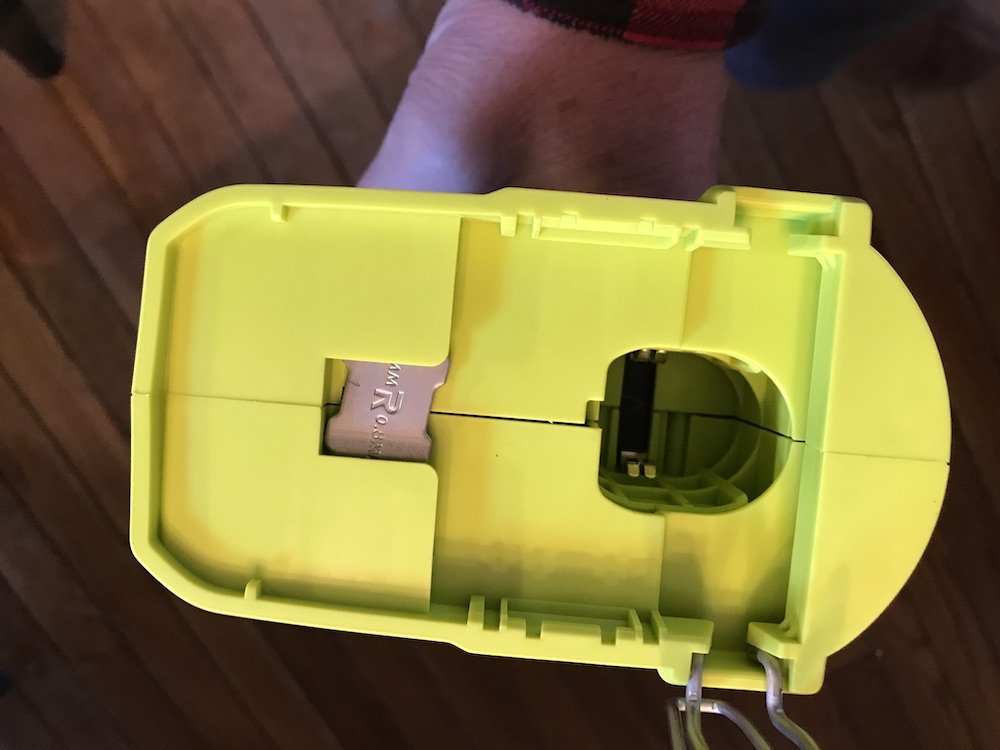
There’s one other optional step you can take to get the tool prepped. Included with the Ryobi PEX Pinch Clamp Tool is a belt clip, which can be installed on either side of the tool. To install it, just squeeze the insertion prongs together, and insert them into the slot. It can be a bit finicky, but once the clip is attached, it’s rock solid. I found it very useful in keeping the tool handy while getting joints ready for clamping.
Ready To Put The Squeeze On
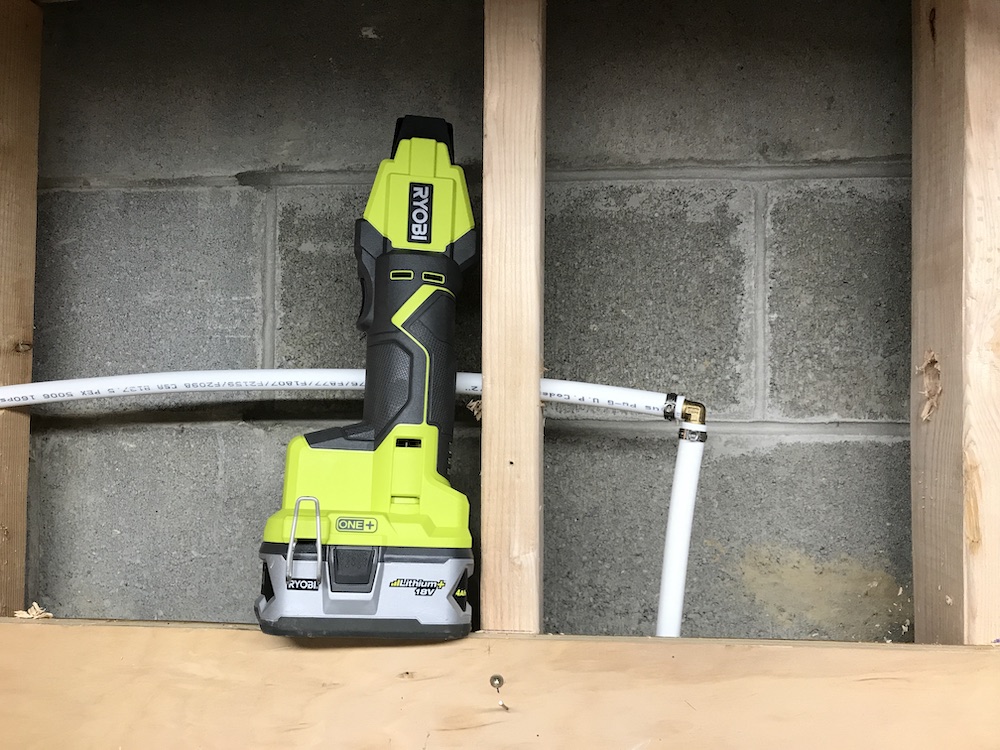
When it’s time to get to work, the Ryobi PEX Pinch Clamp Tool is intuitive to use. A layer of rubber overmold makes the tool comfortable to hold, even for my largish hands. The overmold also helps keep the tool from becoming slippery if it gets damp.
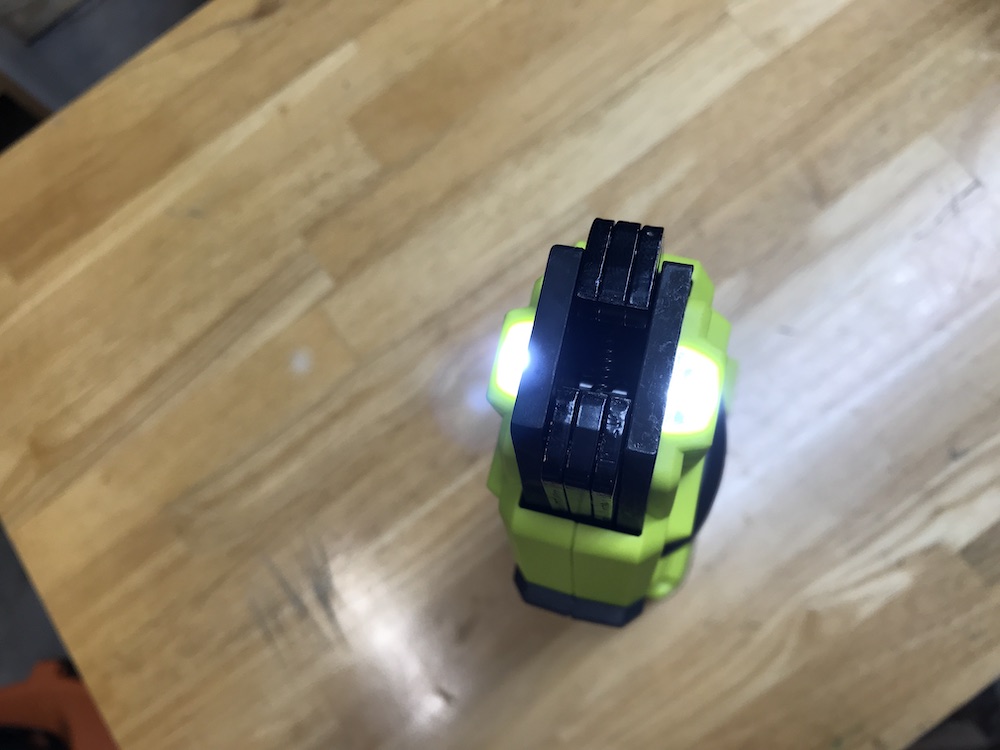
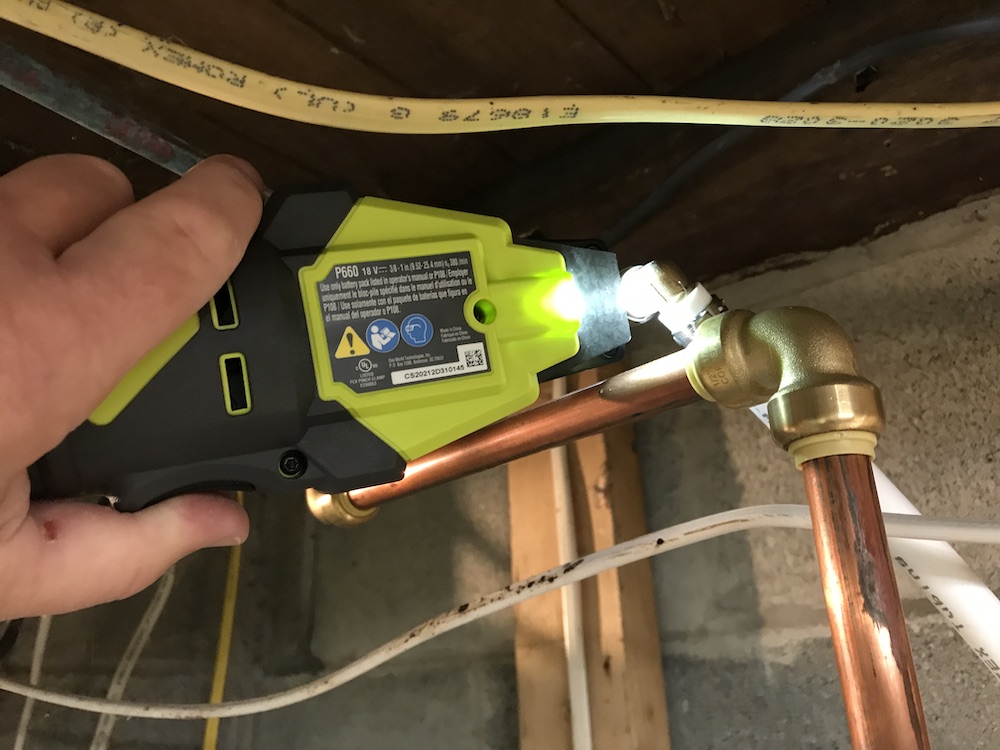
Twin LEDs on the nose of the tool come in handy on the off chance you’re working in a dimly-lit basement or crawl space. In my experience, that encompasses approximately 97% of basements, and 100% of crawl spaces.
Operating the Ryobi PEX Pinch Clamp Tool is even easier than getting it set up. Simply slide the tool’s jaws over the tab on the pinch clamp, and pull the trigger. The tool’s jaws will tighten to secure the clamp, and a green light glows to indicate clamping is underway. When the clamp is properly secured, the jaws will automatically release, ready for the next pinch.
The Ryobi PEX Pinch Clamp Tool Goes To Work
When the Ryobi PEX Pinch Clamp Tool arrived, I was in the final stages of installing a whole house water filter system. (We’ll have a step-by-step post detailing the process in the not-too-distant future). Although I did most of the installation using copper, I wanted to put in a section to bypass the filters for water going to the outdoor hose bibbs.
Since the path from the water supply to the plumbing going outdoors was convoluted, using PEX was clearly the easiest way to accomplish the task. I bought a coil of white PEX, along with some pinch clamps and fittings, and got to work.
After attaching the main run of PEX to the ceiling, I inserted elbows, tees and pinch clamps to bring the PEX down at each end, to tie into the water supply and the plumbing going outside. Particularly in the area above the supply line, quarters were tight, up near the basement ceiling.
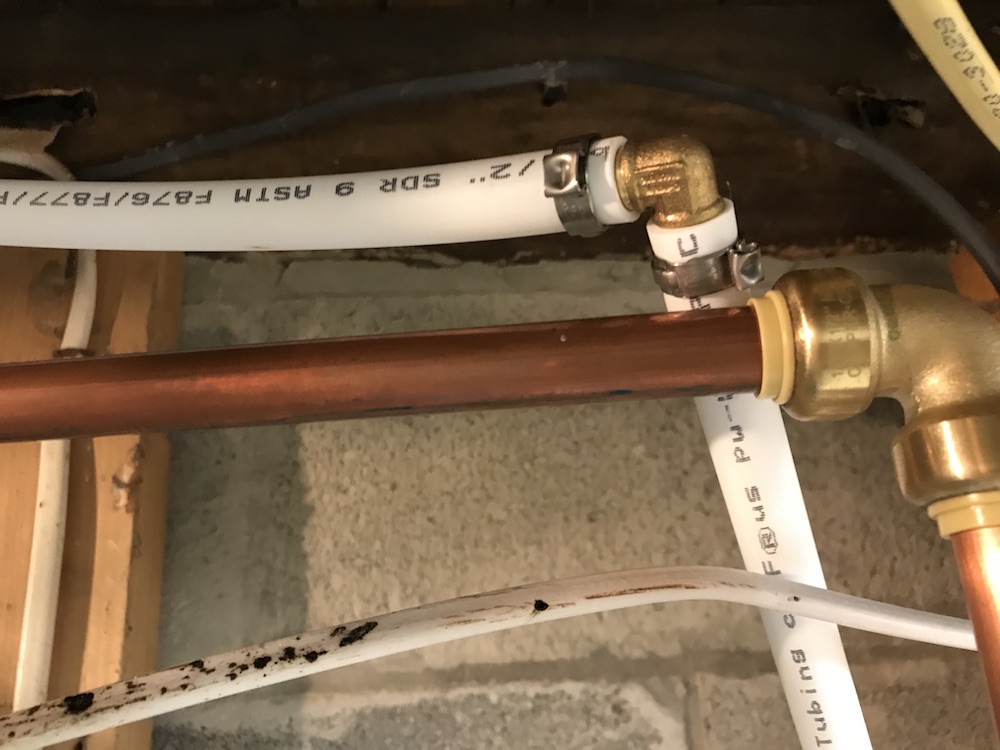
Using one hand to position the pinch clamp, it was easy to maneuver the Ryobi PEX Pinch Clamp Tool into position, and give the trigger a squeeze. A couple of seconds later, the connection was secure, and it was on to the next. A few minutes later, all the connections were good to go – and totally leak-free.
Since the Ryobi PEX Pinch Clamp Tool was sorta fun to use, and I had a fair bit of PEX tubing and plenty of fittings left, I had a “While I’m at it…” moment. Since there was no hose bibb on the opposite side of the house, I decided to run tubing over to it and put one in.

Again, once the tubing was cut to length, and the fittings and clamps put into position, connecting everything was a breeze.


Squeezing In A Few Final Thoughts
Now that I’ve worked with PEX a few times, I have to admit I’m a convert. It’s much easier to connect point A to point B, it’s faster and easier to cut, and the tubing and fittings are a helluva lot cheaper and faster to install than copper. Additionally, in the rare and extremely unlikely event I happen to screw up a connection, fixing it is a breeze compared to fixing a botched soldered copper connection. And since PEX been in use in the U.S. since around 1980, I guess it’s not all that newfangled anymore.
The first couple of times I worked with PEX, I used a manual pinch clamp tool. It worked fairly well most of the time, but it could be tough to maneuver into tight areas, and sometimes squeezing the handles several times could be challenging. Using the Ryobi PEX Pinch Clamp Tool, where all that is required is a single pull of the trigger, a fast, secure connection is much easier to accomplish. It’s also easier on the hand and wrist, especially for users with arthritis, or hand-strength issues.
Available only as a bare tool, the Ryobi PEX Pinch Clamp Tool will accept any Ryobi 18V ONE+ battery. I used it with both a 1.5 Ah and a 4.0 Ah battery, and it performed equally well with both. Obviously, you’ll be able to do a lot more pinching with the larger battery, if you don’t mind the slight additional weight.
Any downsides? Naturally, the tool is heavier than a manual pinch clamp tool, weighing in at a fraction over 5 lbs. with a 1.5 Ah battery in place. It’s also pricier than a manual tool, as you’d expect, but at its current price of around $119, certainly not extravagant. For anyone with a lot of PEX connections to make, the tool should more than pay for itself in time saved.
The tool feels solidly constructed, and worked perfectly for me. Backed by a three-year manufacturer’s warranty, the Ryobi PEX Pinch Clamp Tool is returnable for 180 days, giving you plenty of time to clamp down during the lock down – or any time.


