

Succulents get major kudos in the plant world for being incredibly low maintenance. They also come in a variety of interesting shapes and forms. (I’m personally a big fan of spiky aloes). Then, these same plants all have really cool names like ‘Gollum’s fingers’ or ‘Shrek ears’ that are incredibly appealing to nerds like me. My mom is the only person who fails to see how awesome succulents are, but then she has a chronically brown thumb and isn’t the one looking after nine million flowers and vegetables when the temperature hits 100 degrees. I personally find succulents heartwarming at such times. When things get toasty, who wouldn’t love the one plant that didn’t have to be watered by hand?
However, it never fails to astonish me that my local garden centers sell container of dinky succulents for a seemingly outrageous sums. Or maybe they don’t. I’ve never actually seen anyone buying them. People probably are not buying because they wisely realize they’re being hoodwinked. Anyway, you can easily make your own at home. Here’s how.
Succulent Gardening – What You Will Need
Succulents of Choice
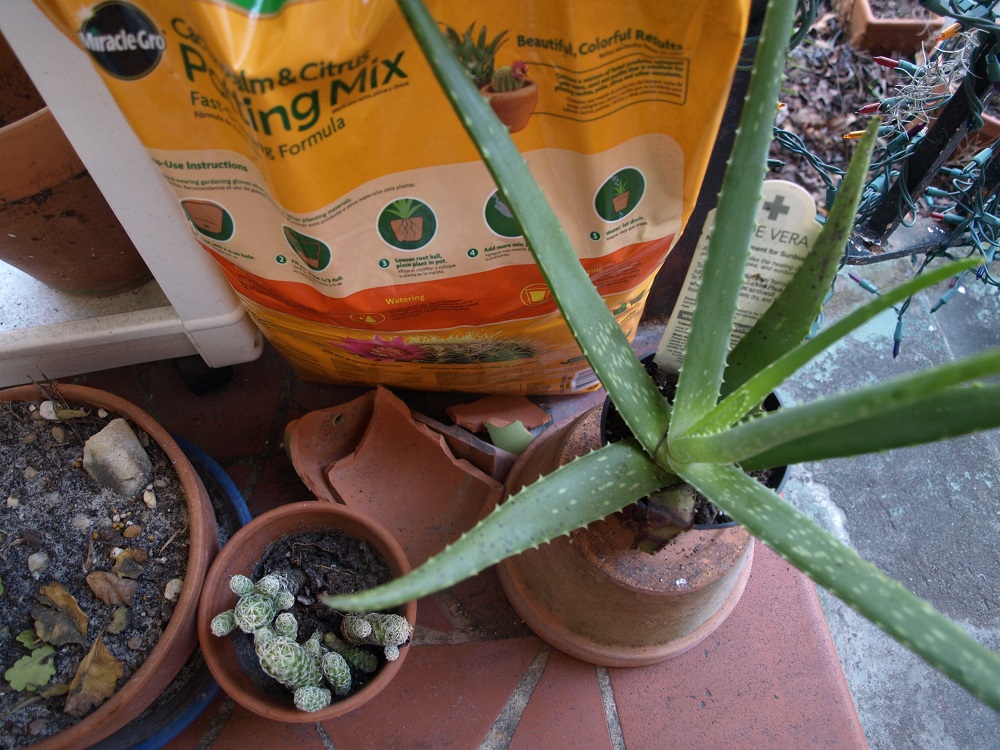
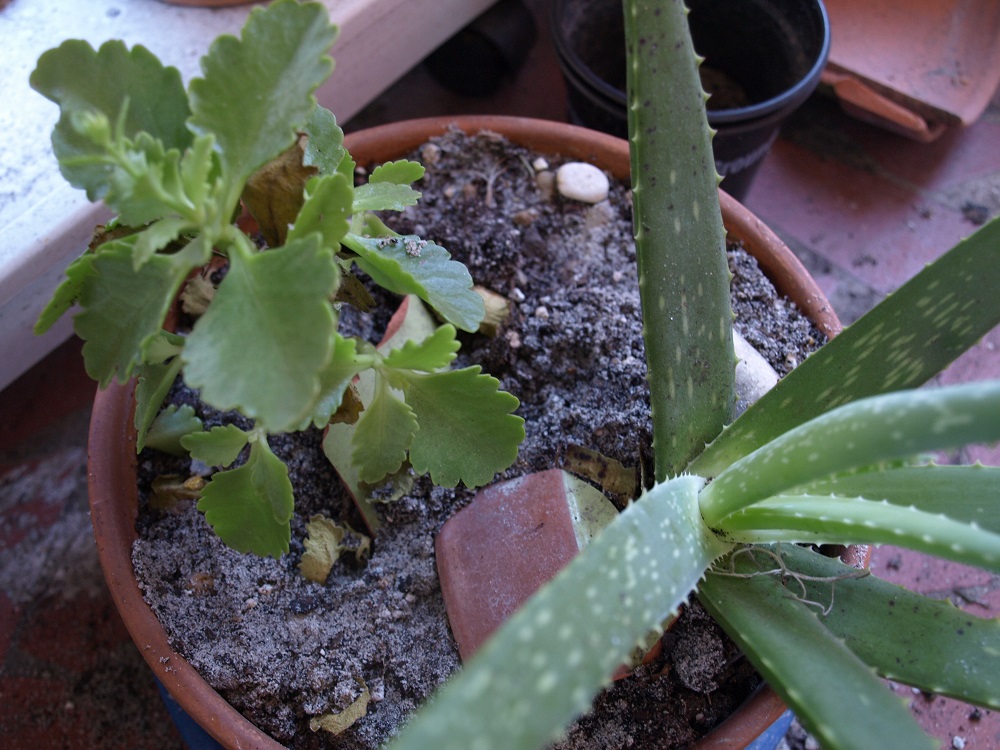
For this exercise, I had an Aloe that needed rehoming, a cactus that got overturned and has been growing sideways as result (leaving cacti on window ledges is a bad idea), and Flaming Katy who needed a container buddy.
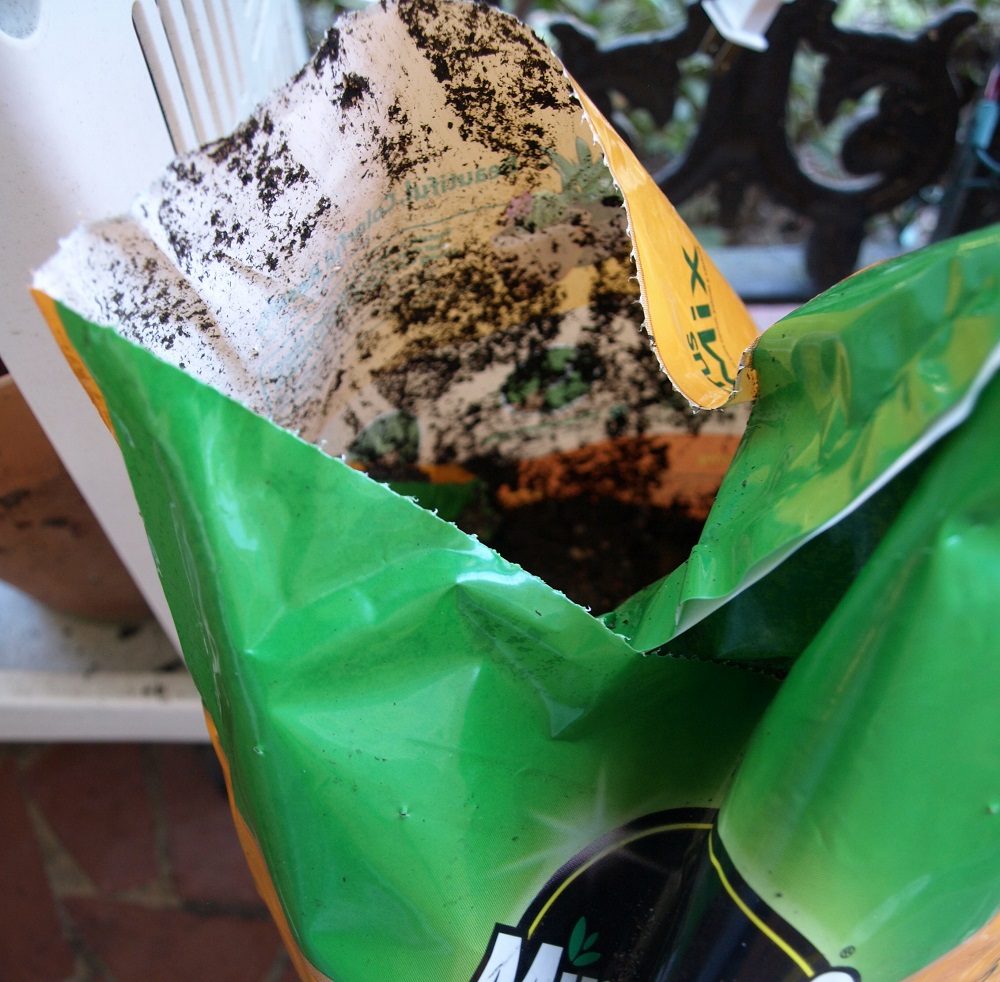
Potting Soil
I bought fast-draining soil that’s formulated for cacti, palms, and citrus plants’ as it says on the container. It was about $4.30 at Lowes.
Cool Terracotta Container, Preferably Clean
Terracotta is your best choice for plants that don’t love moisture. I did successfully grow a huge aloe for years in a Styrofoam container but that was because it had outgrown everything else. On the other hand, the Flaming Katy has been growing in a shallow saucer-shaped dish and it’s gotten along fine. If you are reusing an old terracotta planter, you might want to give it a quick scrub down with soapy water just to keep any harmful, malingering organisms from deciding that your new plant is their next victim of choice.
Broken Terracotta Bits, Rocks, Sand (optional)
You can recycle old, broken terracotta pots by using them to improve the drainage around succulents. I read about this cool trick in The Container Gardener’s Encyclopedia and I can honestly say it works. Larger rocks can also serve the same purpose, while sand and pebbles make good mulches for heat loving succulents. I’ve said this before but it bears repeating. I get triple-washed playground sand at Ace Hardware for $3 a bag that I use as topdressing for the succulents and herbs. It last a long time. However, the broken pots tend to be free. I have a smashing personality, what more can I say?
Protective Gear (if dealing with sharp creatures)
See next section for more details.
Tips for Dealing with Sharp Creatures

If you have a sharp, pointy succulent that likes to see you bleed, you’re probably not going to try moving it about with your bare hands unless you’re impervious to pain or into that kind of thing. Most of my garden books recommend tying a bit of newspaper around pointy plants so you can move them without injury. Since a lot of us are have gone completely digital and don’t bother with newspapers, you may want to simply use whatever paper you have handy, like notebook paper or printer paper. I personally like to use thick washcloths on smallish to medium succulents because there is less chance of the cloth slipping off like the paper usually does and resulting in stab wounds. You could also use gardening gloves but I usually find them a bit too cumbersome.
Assembling Your Succulent Arrangement
1. Take all the supplies outside. Unless you have very a tolerant spouse or roommates, or you’re the only person who cleans up and so it doesn’t matter if you get potting soil everywhere, this step is pretty crucial. It’s going to get messy. If you’re going to try it inside anyway, you might want to put down a drop cloth, towel, or garbage bag over the area where you’re working to help facilitate an easy clean up.
2. Fill the empty container you’re using with potting soil until its almost full. Then gently break apart roots of plants that you’re adding, arrange them in the container so that they look their best, and then completely cover their roots with as much potting soil as needed.
3. Add rocks and broken pot bits wherever you think they look good. You can also top dress with the container with sand or pebbles, if you like. I’ve also seen some cool arrangements that contained driftwood, glass bits, or colored pebbles. (You can find the last two items I mentioned at Michaels’ craft store).
4. For containers that need refurbishing, clear out any debris from the top. Remove dead specimens if needed. Carefully excavate holes in containers where you’re adding new plants so that you don’t damage any existent plants. Gently break apart the roots of the plants that will go in the container, add them, and then cover the hole you made with dirt.
5. Plants that are damaged or not well-situated in their soil should be carefully extracted. Then refill the container in question with soil until it’s almost full. Then the specimen should be carefully placed back and the roots completely reburied. You can use twigs, plastic utensils, or shish-kabob sticks to hold damaged plants upright until they recover. If needed, tie bent plants to their post with twine, string, or embroidery thread. You can also trim damaged bits off provided you’re careful.
6. Ta-da! You’re done. Take pictures and post them to Facebook. Brag to your friends about your mad succulent skills.
7. Don’t forget to water the plant about once a week if it doesn’t rain.


would like to know how to propagate succulents that get overgrown… can you help me?