
 Feeling lonely? Don’t worry about it! You can always hang out with your kitchen cabinets. Or at least hang your kitchen cabinets. But hanging your own kitchen cabinets can be a complex, back-breaking job that has been well-known to drive sane people mad with rage, cause teetotalers to drink and even cause premature aging—just like Benjamin Button. If you’re an optimist, you might know that the bright side of hanging cabinets is that it can cause your significant other to get frisky. DIY kitchen cabinets might finally enable a hot date with your mate other than on Valentines, Christmas or your birthday. Or maybe not. Either way, you’ll have a place to hang out—with your prefinished cabinets.
Why Prefinished Cabinets?
Online shopping, big box retailers and discount construction supply stores can all offer great deals on prefinished cabinets. Just measure your kitchen and use their onsite CAD to find the perfect cabinet layout for your kitchen space — what could be easier? While prefinished cabinets aren’t comparable to the luxuries that a custom built cabinet set can provide, they do give the gift that keeps on giving – savings. Prefinished cabinetry is a fraction of the cost of custom builds and if you do the job right, no one will ever know that you bought them from a store (maybe).

Whether you’re installing cabinets for a job, for a friend or for your wife’s honey-do list, use the following cabinet hanging tips to save your marriage and/or sanity.
Layout-
After you run a shop vacuum and suck up any debris, you can layout the floors and walls. In cases where windows, appliances and uneven measurements won’t allow the cabinets to fit from wall to wall, you’ll need to layout for a spacer panel. Also, you’ll want to layout the cabinets overall height from the floor. Cut a 2×4 that height; attach a towel on one end to prevent marring the cabinets and you’ll have a nice little helper to hold up the heavy cabinet uppers.
Level Lines-
Sort the Cabinets-
Since most prefinished cabinets come with a blueprint of the cabinet layout; you can easily get ready by sorting out the cabinets, finding their locations and getting your tools/materials ready to go.
Find the Studs-
Spacer Panels-
A spacer panel is a false panel that disguises the gap between the wall and the cabinets. Cut the spacer panel to the correct length/width and attach it to the cabinet directly. A few predrilled holes, screws and wood glue and you’re ready to hang the cabinet uppers.
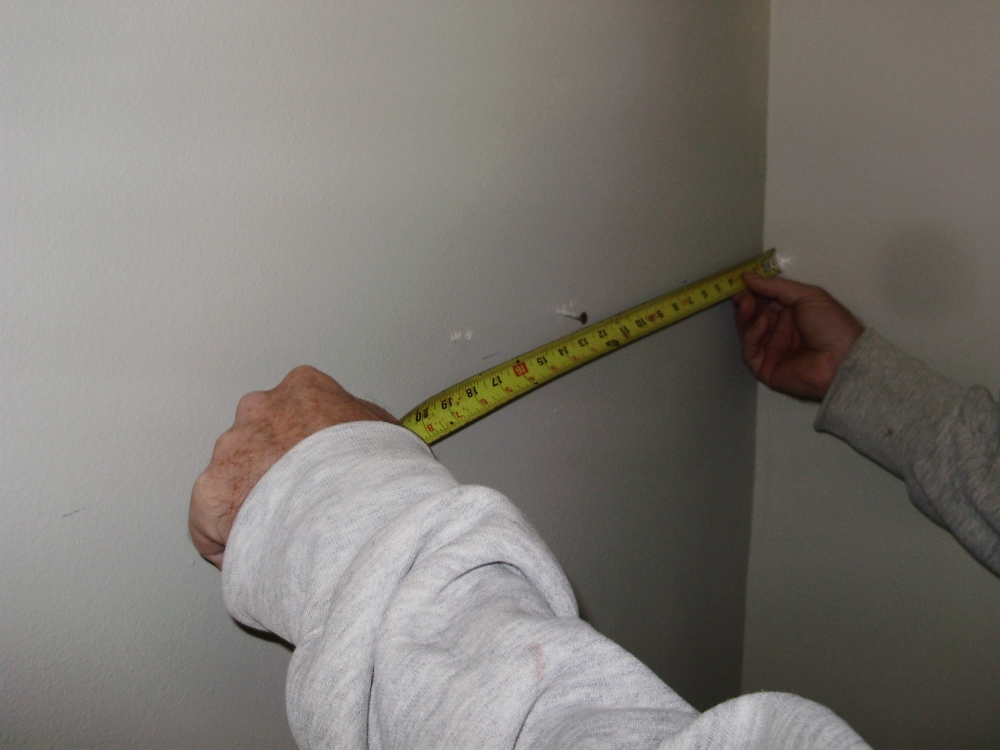
Transfer your Wall Measurements-
I like to transfer the location of the studs on the wall into the interior of the cabinets. Then I can predrill the holes and attach the cabinet to the wall without trouble.

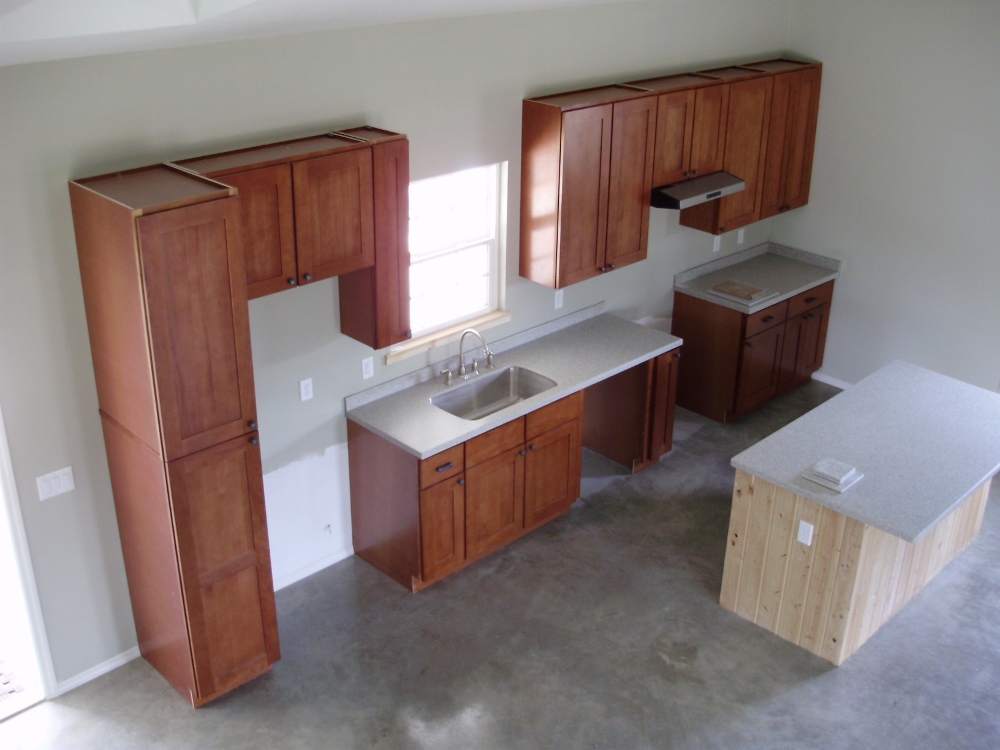
Attach the Cabinets-
With the help of a big and strong friend (or two) hold the first upper into place and attach it to the wall using the already predrilled holes. After the first cabinet is secured to the wall, attach the next cabinet to the wall and the other cabinet. Don’t forget to predrill the holes first!
Cutouts-
I like to use a jigsaw to make any cutouts in the back of the cabinets. I also like to place the cabinets against the back of the plumbing to help make a perfect fit with the layout. I also like to cut from the inside out to prevent tear outs. I also like beer.
Install the Bottoms-

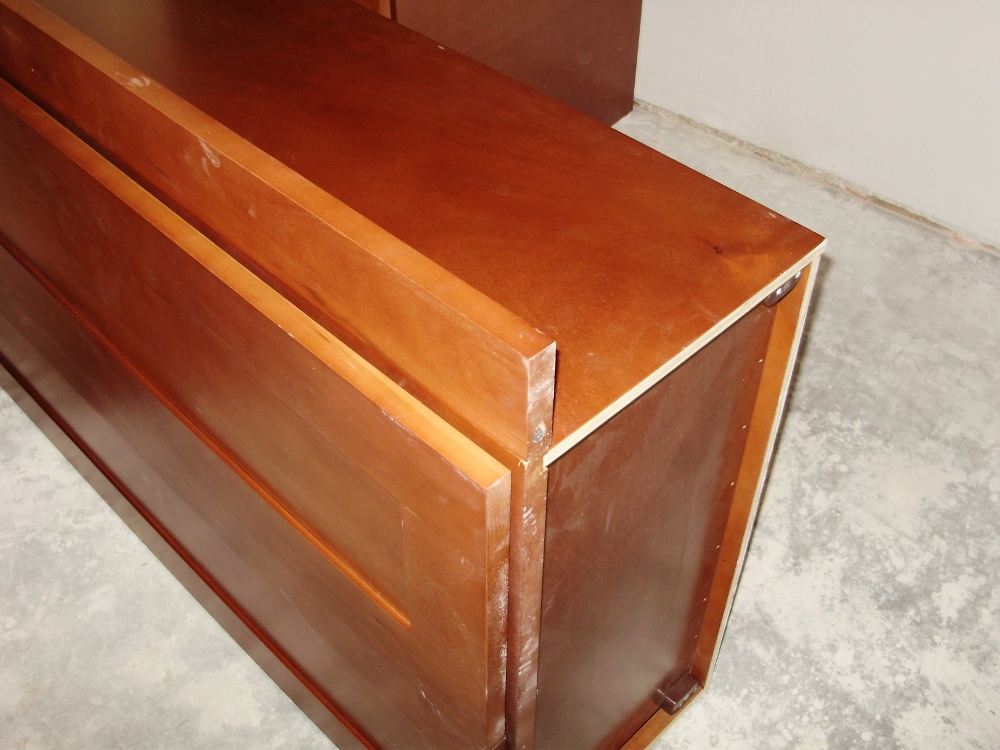
Veneer-
Trim out the exposed sides and bottoms of the cabinets with a matching piece of veneer, wood glue and a few brads. Now you’re ready for the countertop, sink and the plumber!
Did we leave anything out? Let us know how you like to install prefinished cabinets in the comment box below.
Excellent tips on cabinet installation. Well done.
Thanks Mark!
hi Eric, i guess i’m just backward (being from Arkansas and all) and more than a little bit lazy… but i like to set the bases first. Then i use them to hold up the uppers. I know that makes you farther out from the wall and there’s bending and reaching going on and all kind o’ stuff… but putting up the uppers first gives me a headache when i do the bases!! Those sharp edges and pointy corners!! Did i mention i was a slow learner too? (the Arkansas reference should have covered that)
I guess the countertop install is another edition? or were you going to describe how to make it fit the wall? Or sometimes make the wall fit it. I suppose the preformed tops are just a paragraph; laminate installation is a bit more. yep.
I saw a neat trick in one house; they glued laminate to the wall(s) as a backsplash before hanging the uppers and lapped them over it. Makes for a clean edge. I figure they just did it for speed.
best regards, bill