

Sometimes the life of a homeowner or handyman isn’t quite the glamorous role it’s cracked up to be. I put caulking jobs near the top of the list of things that have to be done but just aren’t much fun to do. Like many jobs though, knowing a few tricks of the trade can help smooth the process and prevent your work from being featured on HomeFail, like this sorry caulking job. In this article, I’ll cover the basics of how to caulk a shower surround, but not before going on a little diatribe about silicone.
Given the sorry state of the silicone in my surround, I didn’t really love the idea of reapplying the same product. While it was a cheap DIY project and my shower did need it, I loathe the finger aching work that comes with reapplying the stuff. Especially on a perfectly good weekend. And to make matters worse, silicone application stinks – literally. For the many of us who have used silicone before, you know the olfactory concerns. However, if you like the smell of rotten eggs and enjoy making a good awful sticky mess of your clothes and yourself, then you probably love using silicone in the shower.
Silicone or Acrylic Latex Caulk?
Silicone is commonly used in the shower and bath. It’s flexible, it works well in gaps that expand and contract and it’s pretty resilient to water. Some silicone even has mildew-cide in it to prevent mold and mildew growth. But besides those few basic assets, silicone doesn’t have much going for it. It stinks a lot like a sick dog’s farts and as soon as you open it, it starts sticking to anything and everything it comes into contact with (especially my jeans). It’s a pain to clean up and it’s really hard to get a good bead of silicone to stay in place without lots of painters tape and paper towels. Wikipedia even mentions that Silicone isn’t optimal for long-term adhesion to plastics. That’s why, when I went to my local big box home improvement center this weekend, I was amazed by all of the choices I had that weren’t silicone.
I settled on a Loctite POLYSEAMSEAL Caulk+ that contains no silicone, uses no chemicals to start curing and has easy-breezy water cleanup, yet it’s made for tub and tile. It’s an acrylic latex, water-based product that also has antimicrobial properties. It’s easy to work with and it doesn’t stick to everything. Take that silicone caulk! Now I can relegate silicone to where it’s most popular (I wanted to include a photo of a popular silicone usage here, but the evil editor nixed that idea).
Preparation Isn’t Everything, But It Is Important
Clean Up
First things first. Since you’re probably not going to want to clean your shower or tub surround for a while after the new caulk is applied, a general cleaning is in order. I washed everything down with some bleach water and let it dry for a few hours. I came back and wiped everything dry with a towel. No mildew residue ensures a longer lasting bond.
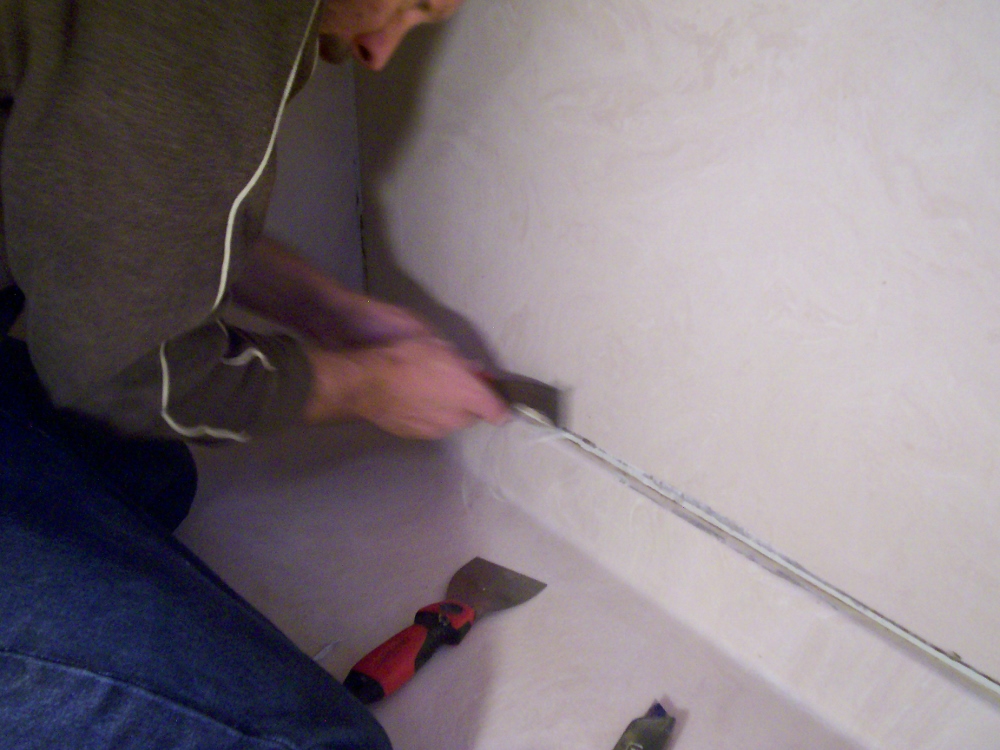
Cut the Old Silicone
Stripping the Silicone
After cutting the silicone with a razor knife, it mostly came off by hand. I used a flexible putty knife and a five-in-one tool to remove the old silicone that was still stuck to the shower enclosure. Before I used the tools, I cleaned them up using a 220 grit piece of sandpaper to make them smooth and clean. This little step makes them less prone to damage the surface, but you may want to adjust your tools according to how delicate the surface you’re working with is.
Detail Washing
Without pouring buckets of water down the now cleaned out crack, wipe the area clean with a bit of bleach water and scrub away any excess silicone/stains/crud/whatever out of the cracks. Let it dry for a bit (beer break) then wipe it down with a clean, dry towel before moving to the next step.
How to Caulk a Shower Surround – Caulking 123
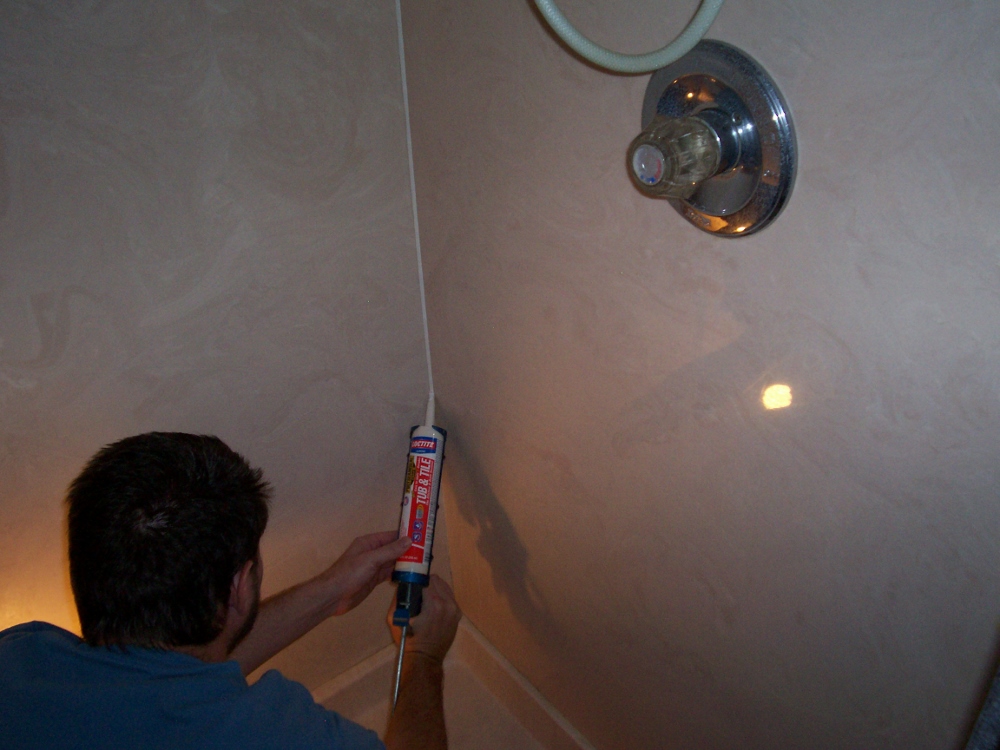
Applying the New Caulk
I wanted the smallest effective bead possible, so I cut off a small tip if the caulk tube on a 45 degree angle. Next, I worked my way around the shower caulking from top to bottom. Trying to keep a bead consistent is pretty tough (try doing it while taking a photo) especially when you get down towards the bottom. Flip the caulk gun around, start in the bottom corner, and then pull the gun up to finish the bead.
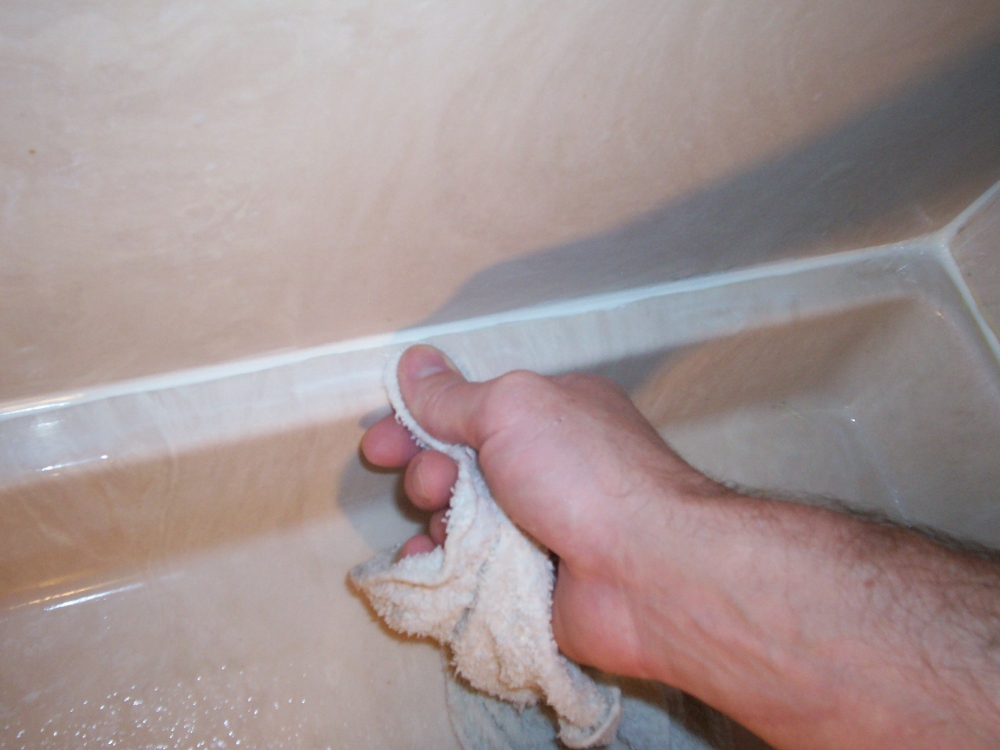
Soapy Water Scrub Down-
Just like a good sponge bath, it’s going to get sloppy in them cracks. I really don’t like those caulking tools (I use my fingers), so I use lots of warm soapy water to wipe the excess caulk from my fingers. Keep that soap away from the caulking job though, it can destroy adhesion. However, a little moisture keeps my finger slick when knocking down the bead. Use one consistent swiping motion unless your finger gets full of caulk. Stop and wash off your fingers in the soapy water and start again. Repeat until you have a smooth and consistent bead.
Wipe Away the Excess
Let it Dry
Now, your project just needs good old fashioned oxygen (and time) to cure. Let the whole unit air out and dry for at least 48 hours before you use it, and at least 2-3 weeks before cleaning. Here’s the obligatory “after” shot:
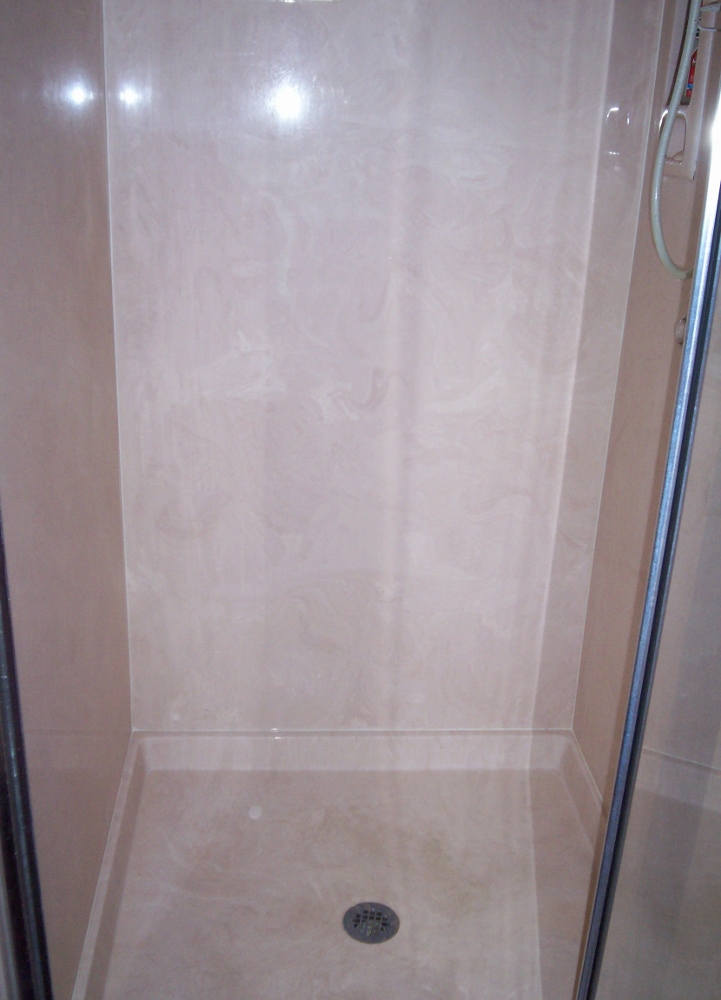
Congrats! You’re finished. . . now go enjoy the rest of your weekend! Did you like my no silicone tub/shower surround tips? Did I leave any steps out or do you have any advice for next time? If so let me know in a comment below!
thanks for the caulk suggestion…. I always end up forgetting what I used the last time I caulked. I need to write it down so that I remember for next time
But I only have one bathroom. Guess I could hose off outside while it dries for 48 hours. 🙁
I agree that silicone caulk is not the best product for many applications. I do find it good for tub and shower surrounds. In the house I bought the previous owners used silicone caulk to try and fill the nail holes in wood moldings, door trim and crown molding. Not only did they not fill the holes they left a mess of silicone around every hole. Since silicone does not sand it required working it off with a scraper, ugh! Don’t use silicone as a nail hole filler in wood trim!
Good tip Rich, thanks!