

The best season for outdoor fun depends on where you live. In the “sunshine state” (my neck of the woods), our seasons go as follows: 3 weeks of winter > 2 weeks of bliss > 1st love bug season > raging inferno / rainy season > 2nd love bug season / hurricane season > 13 really nice days > then mild to cold again. In Florida, picnic season isn’t a time of year, it’s a time of day. It’s that 5-minute window between getting drenched with rain and soaked with sweat. But wet or not, you can’t stand up all the time; sometimes you need to sit down. This DIY picnic table project is a great family gathering place for a little outdoor fun and collaborative love bug shooing, just about any season of the year!
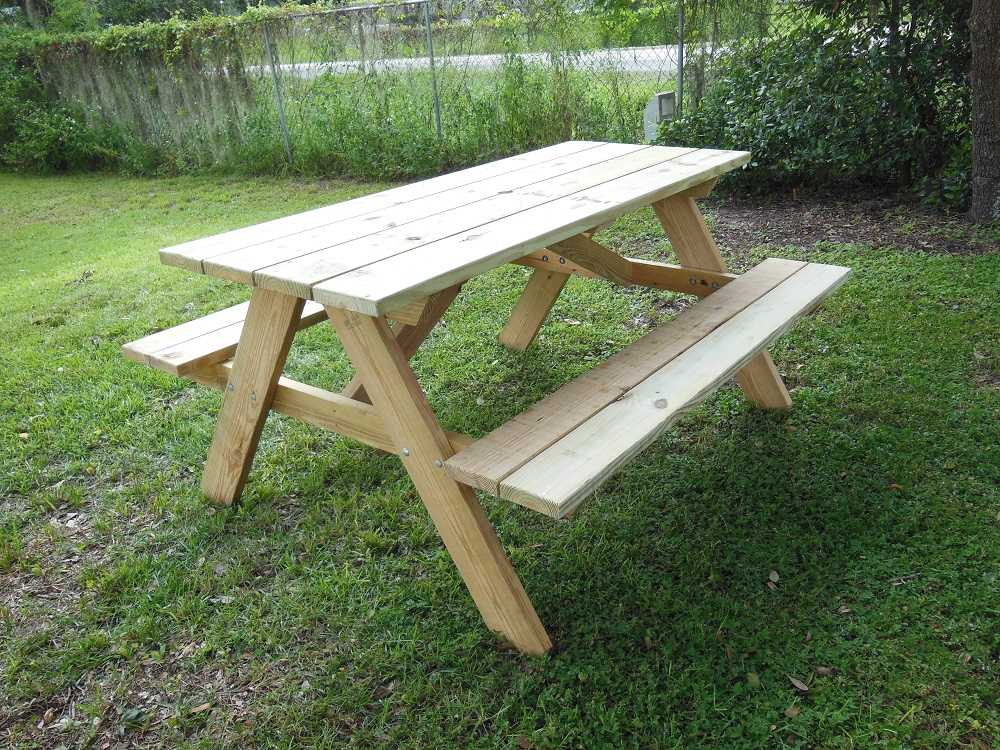
Build Your Own Picnic Table – An Easy Weekend Project
There are two important numbers to remember while building your picnic table: 60 and 1,000. And to be honest, I’m trying hard to forget the second one. 60 is the number of degrees for the angled cuts and 1,000 is the number of degrees it was outside during most of this build.
Between multiple daily rains, a hurricane scare and the unbearable tropical heat, I stretched this project out over about two and a half weeks (after the weather allowed me to even start). But given a good forecast (and maybe help from a friend), it’s actually a fairly quick 1-2 day project.
Getting Started On Your DIY Picnic Table Project

Enough small talk. Let’s get this thing built so we can enjoy it when the nice weather does come along, for those 2 brief weeks. Start by gathering materials. All of the wood is pressure treated and all hardware is rated for outdoor use and contact with treated wood.
Materials List
Pressure treated lumber (8′ long):
* (4 pc) 2×8
* (4 pc) 2×4
* (6 pc) 2×6
Hardware:
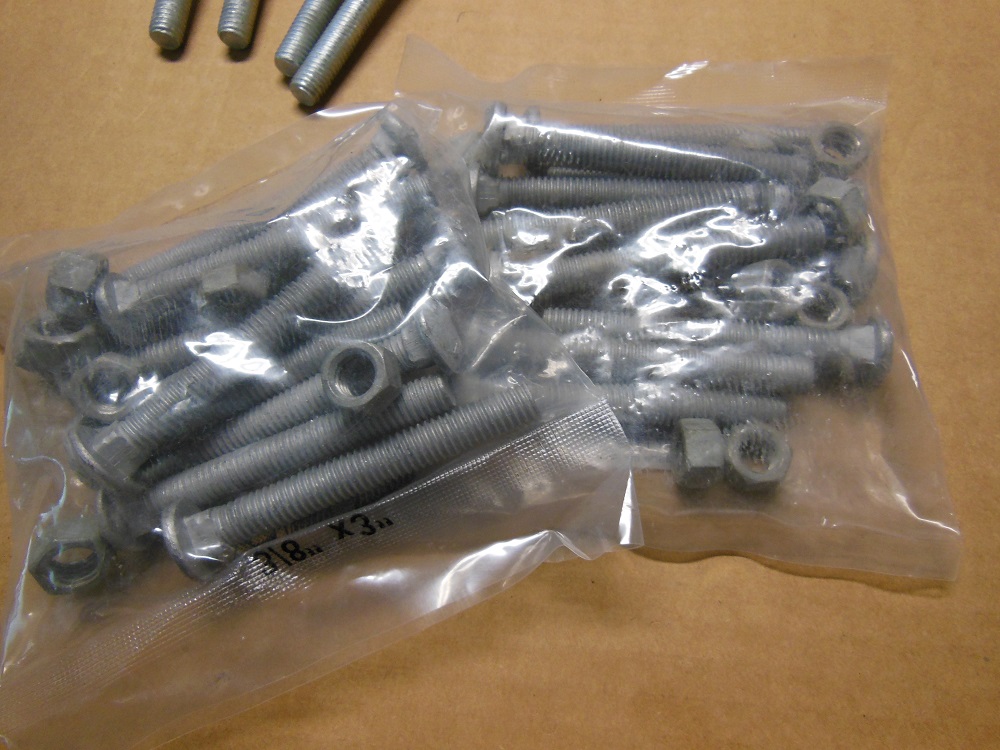
* (16 pc) 3/8” x 3” carriage bolts
* (16 pc) 3/8” flat washers
* (16 pc) 3/8” lock washers
* (16 pc) 3/8” nuts
* (34 pc) 4” x 10 deck screws
* (16 pc) 2-1/2” x 9 deck screws
* (4 pc) 3” x 9 deck screws
The deck screws are all self drilling, to avoid the need for pilot holes. The carriage bolts, washers and nuts are all galvanized.
Laying It All Out On The Table – The DIY Picnic Table
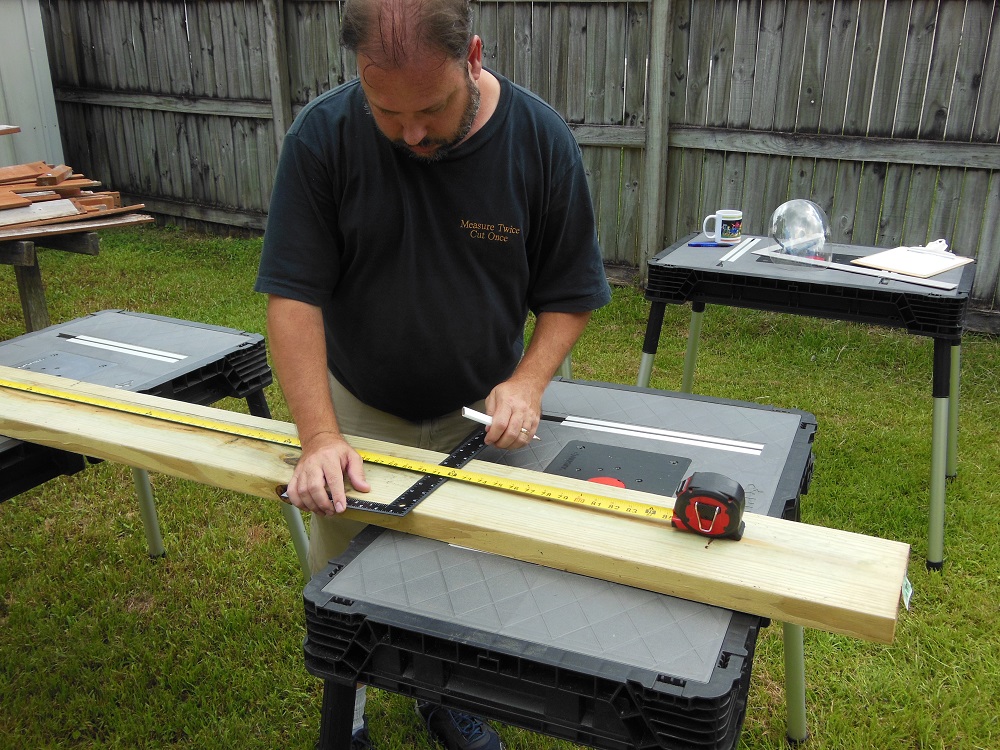
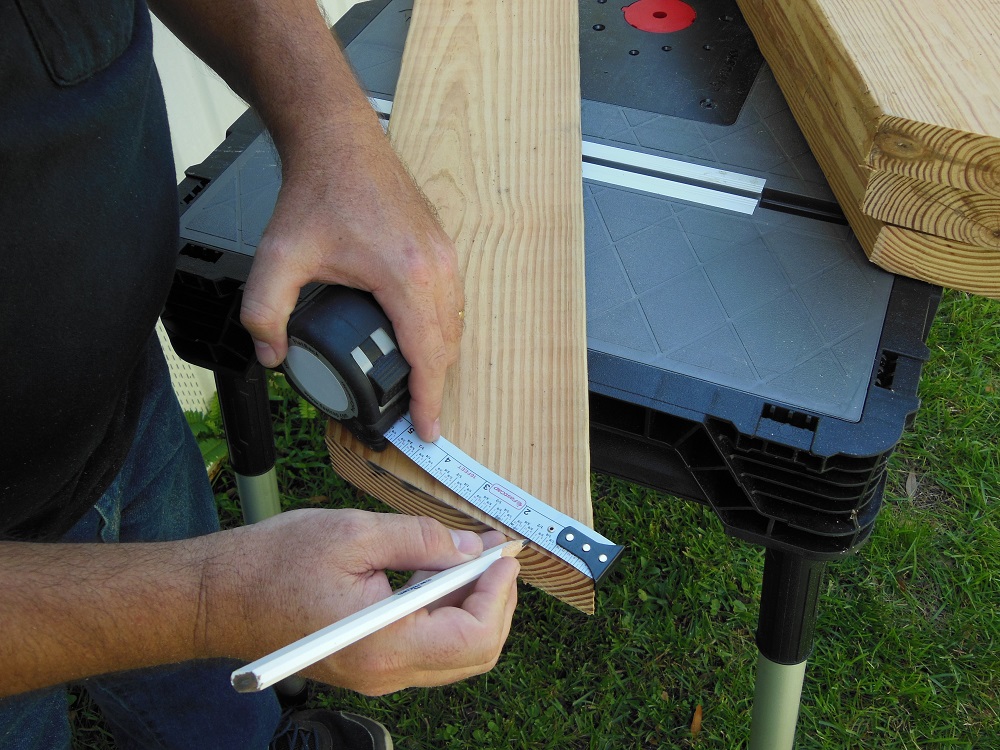
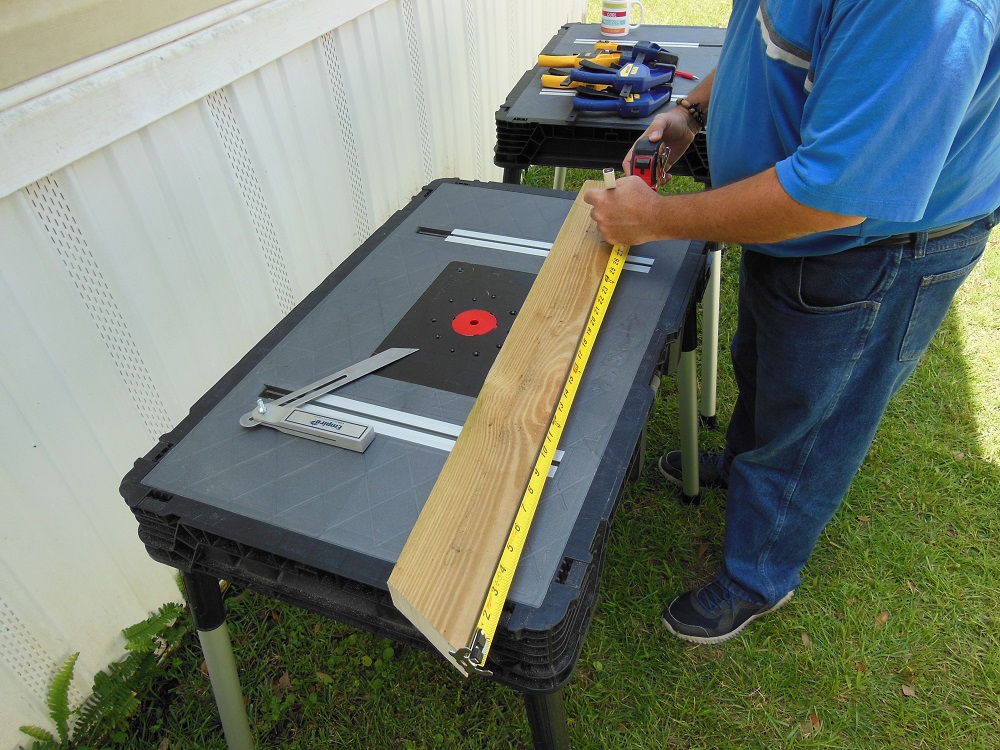
I based this project on traditional picnic table designs. It’s plenty sturdy and should last for many years. With each piece of lumber, first trim away one of the factory ends, past any splits. Then take your measurement from that end. That way, every piece has two clean, freshly cut ends.
We’ll start with the table top, then the legs and bench supports. Next we’ll brace the legs so the picnic table doesn’t get all weak at the knees. And finally we’ll add the bench seating.
The Table Slats – DIY Picnic Table
The picnic table build starts with the top. Go ahead and cut all four 2×8’s down to 72” (6 feet). Evaluate each piece and mark their best face with painter’s tape. These will be the top side (show side) of the table.
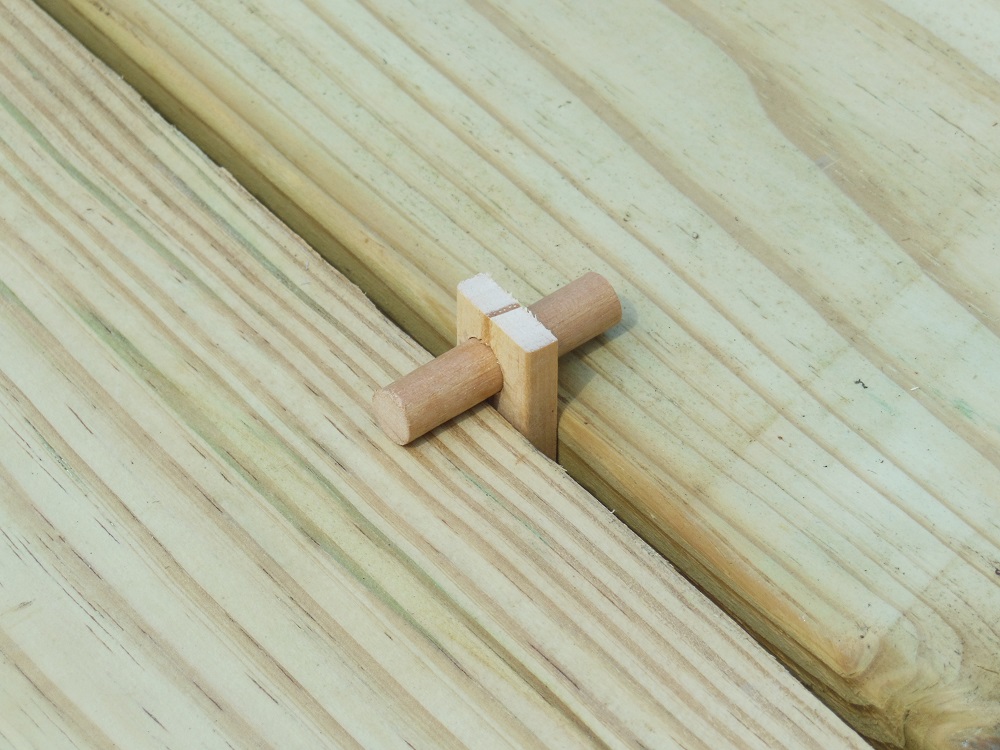
My wife and I want the option to use a large patio umbrella with this table. I googled and found that patio table umbrellas typically have a 1-1/2” diameter pole, so I decided I need a hole approx 1-3/4”. If you don’t want the umbrella hole, skip to the next section.

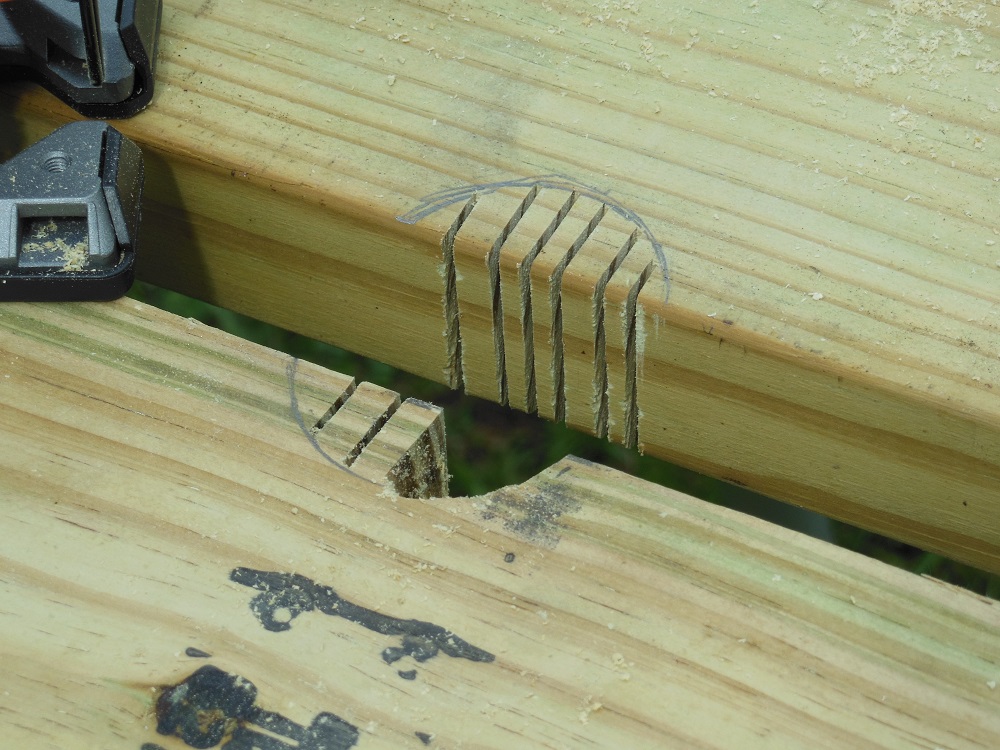
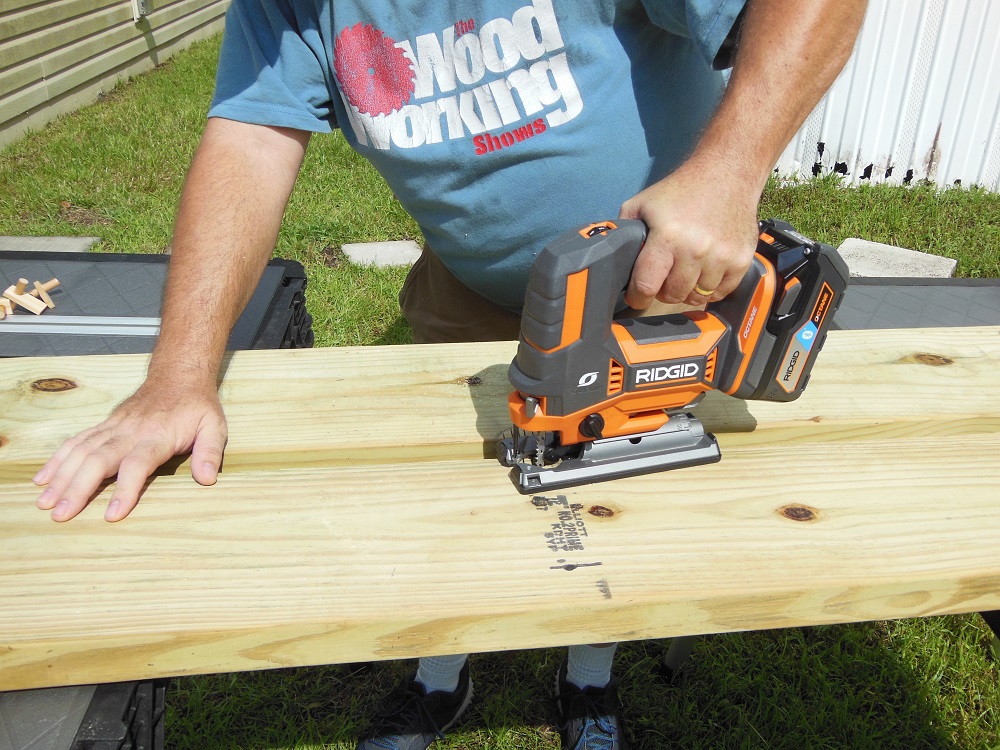
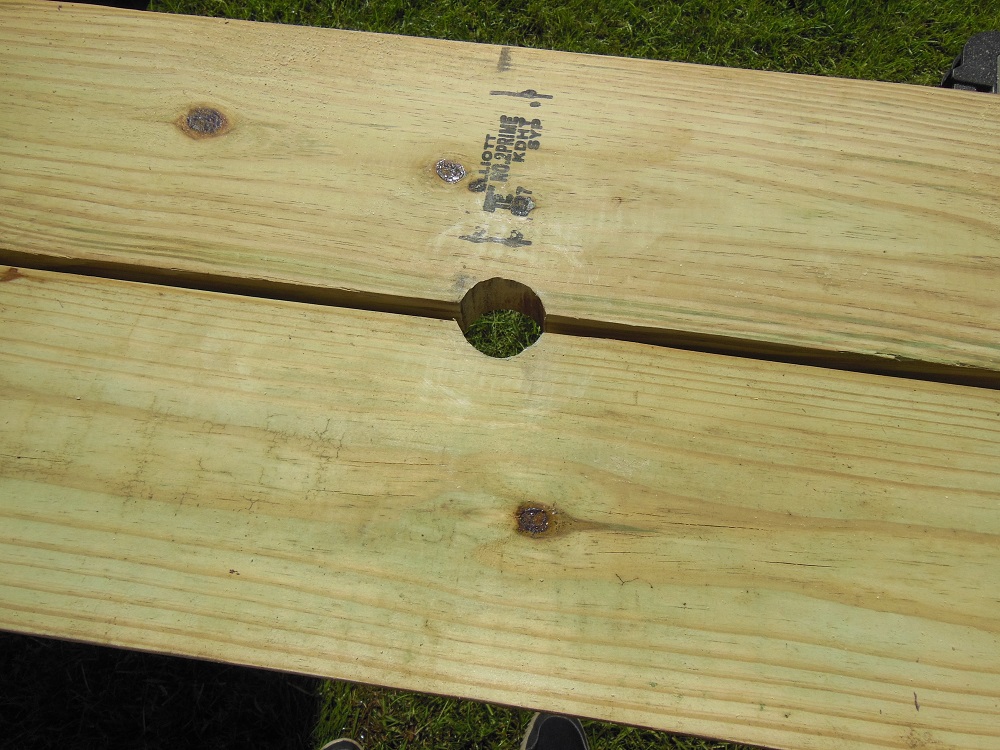
Table Supports – A Tip Top Tabletop Support Team
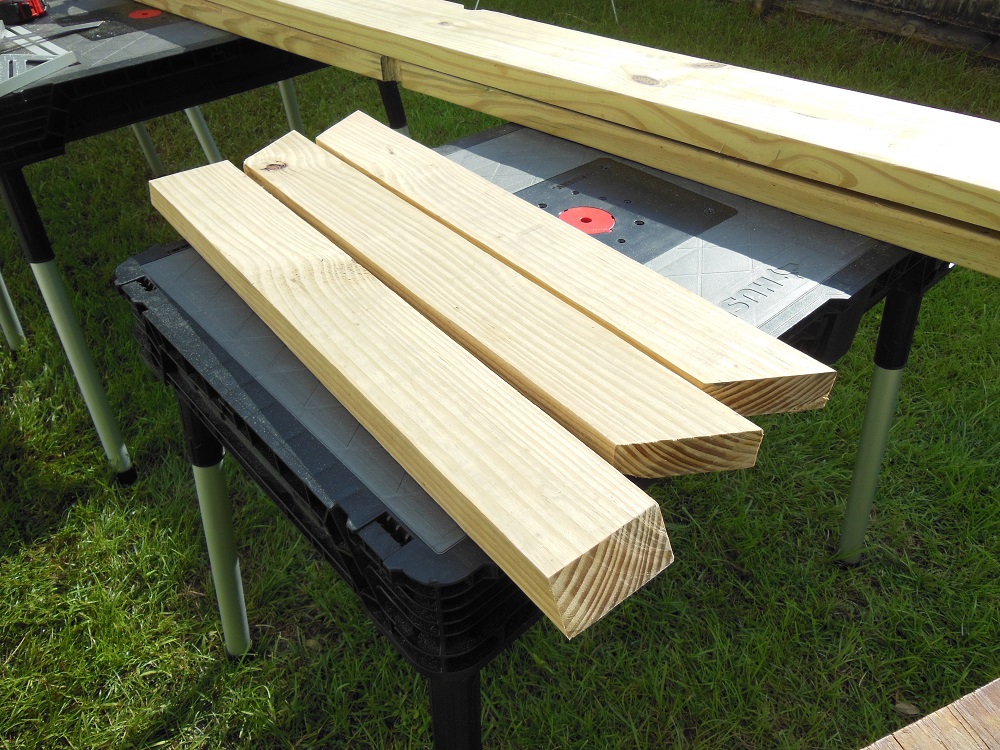
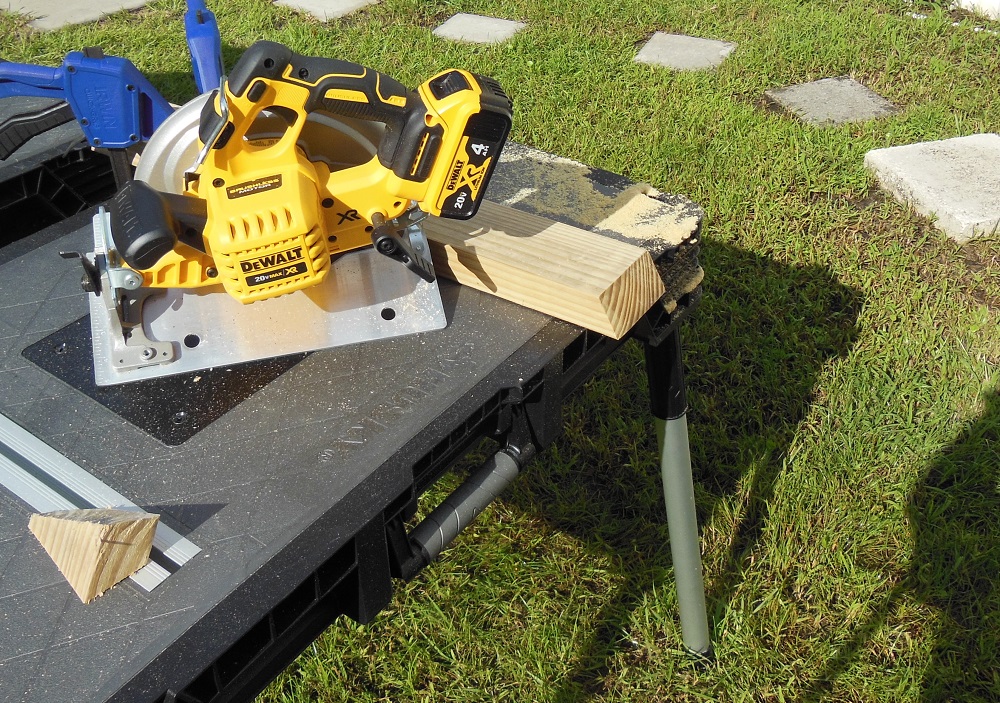
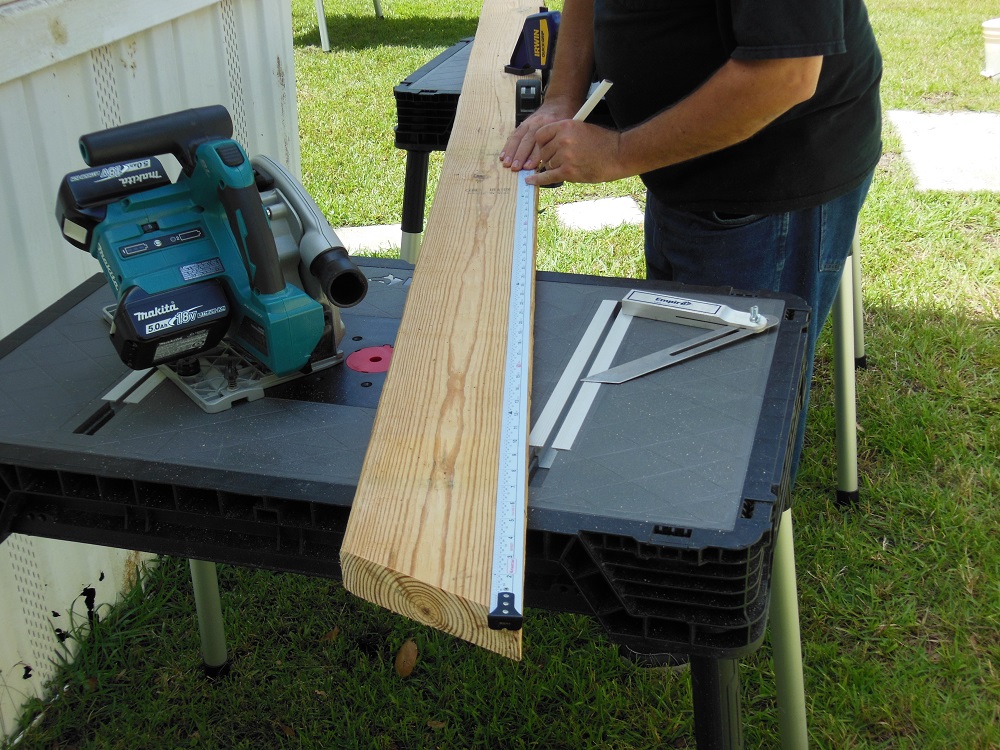
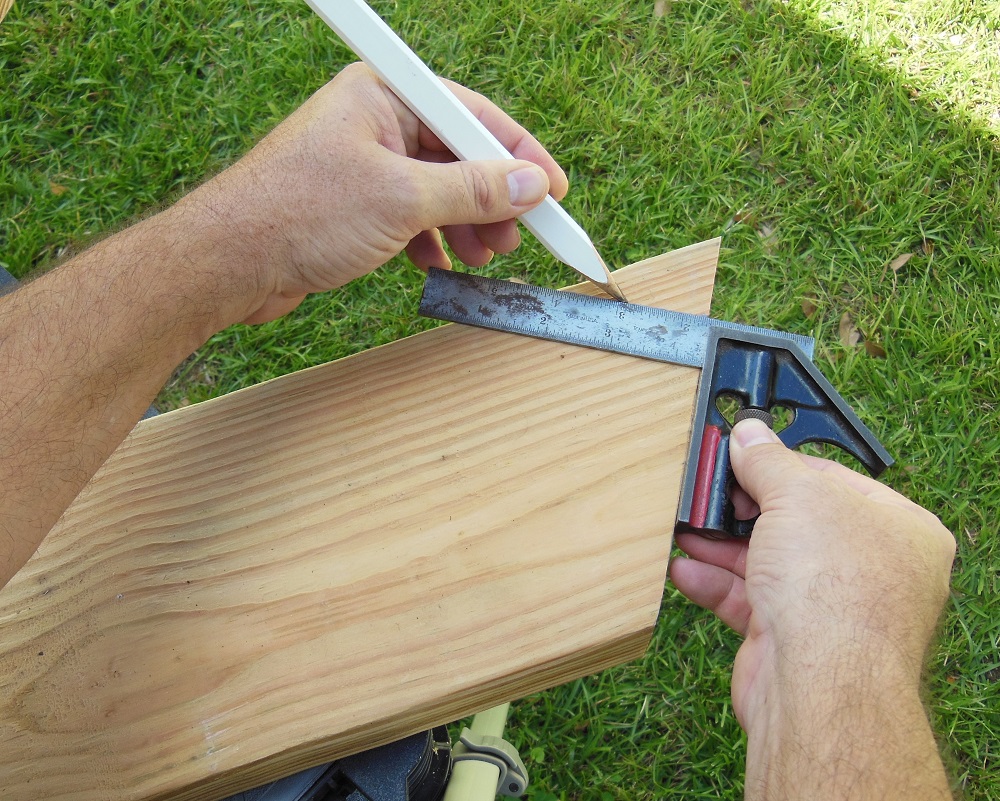
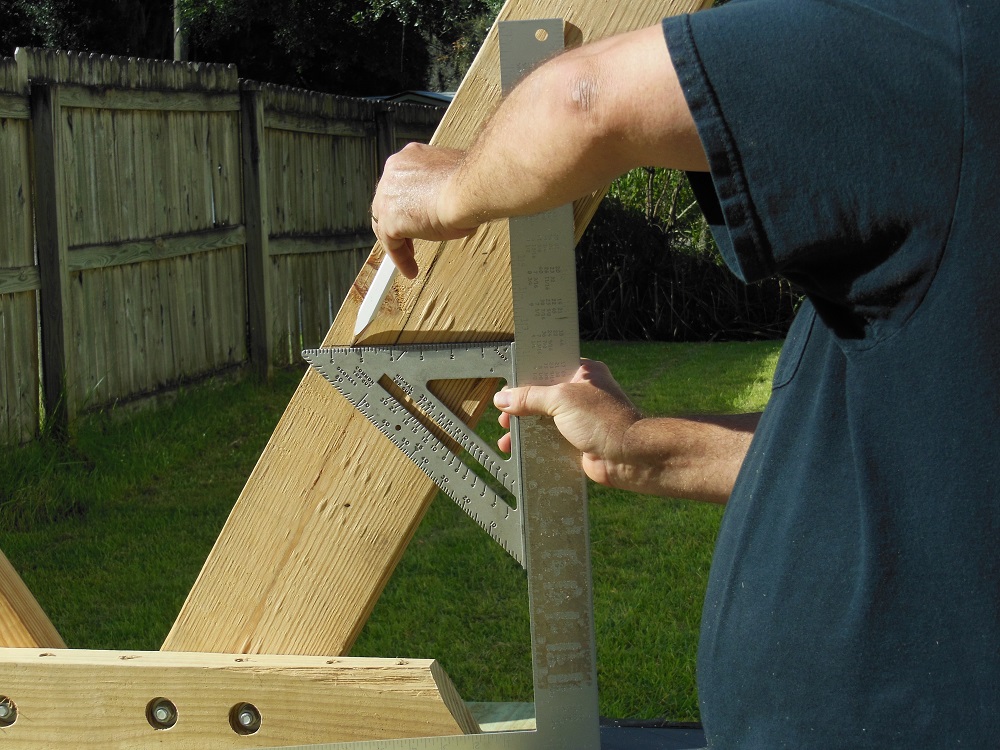
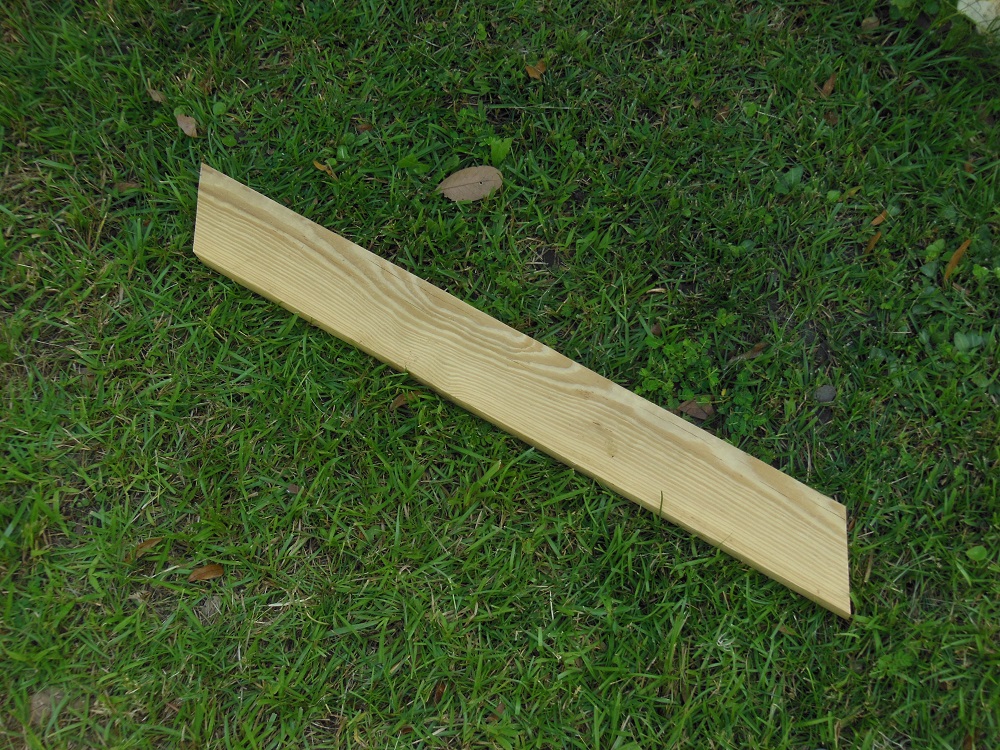
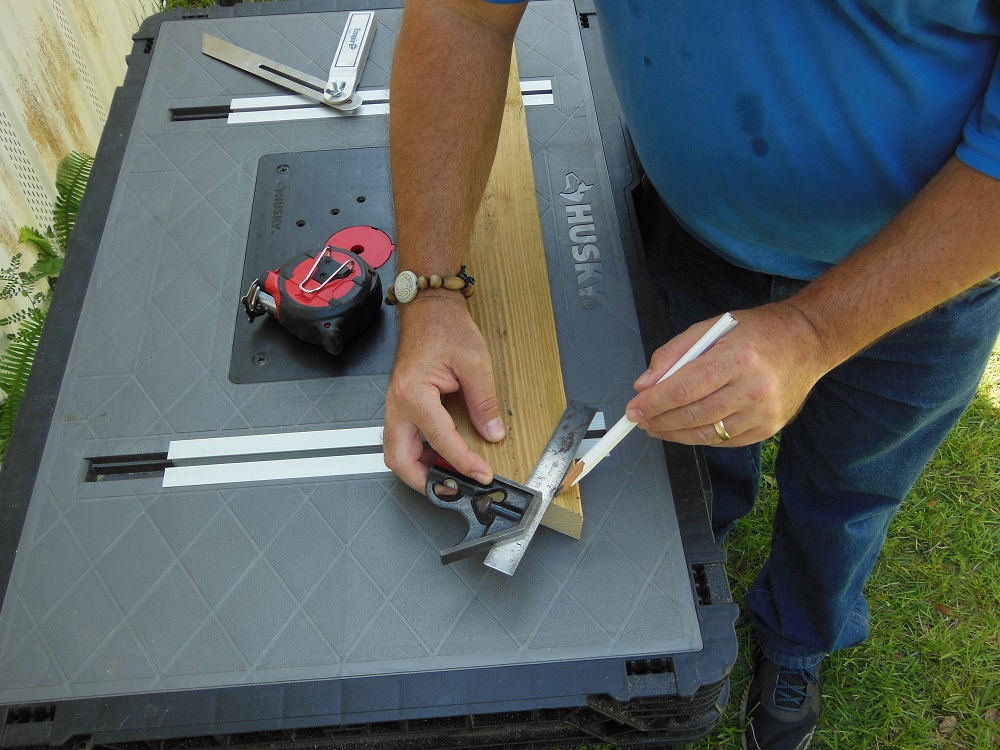
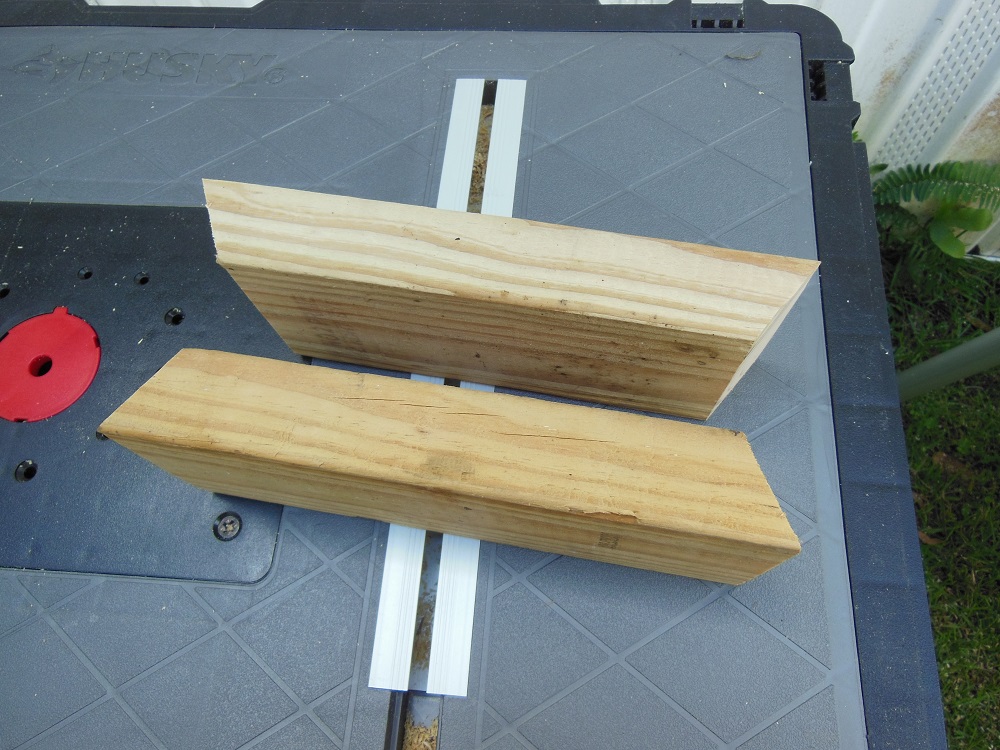
There are three table supports (two outer and one middle), all of which are cut from 2×4’s. Both ends of each are cut at 60° and angle towards each other.

I used a T-bevel (aka “sliding bevel”, “false square” or “bevel gauge”) set to 60° to lay out the miter cuts. Alternatively, you could use a 30-60-90 triangle or miter saw.

No One Wants A Saggy Middle – Not Even Your DIY Picnic Table
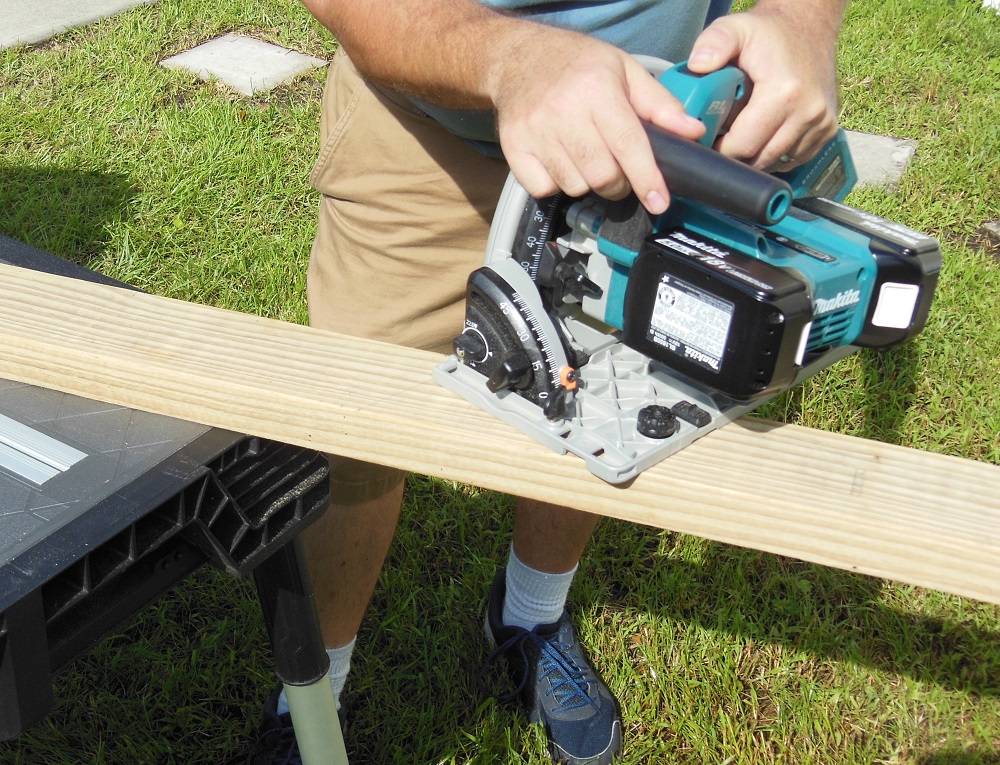
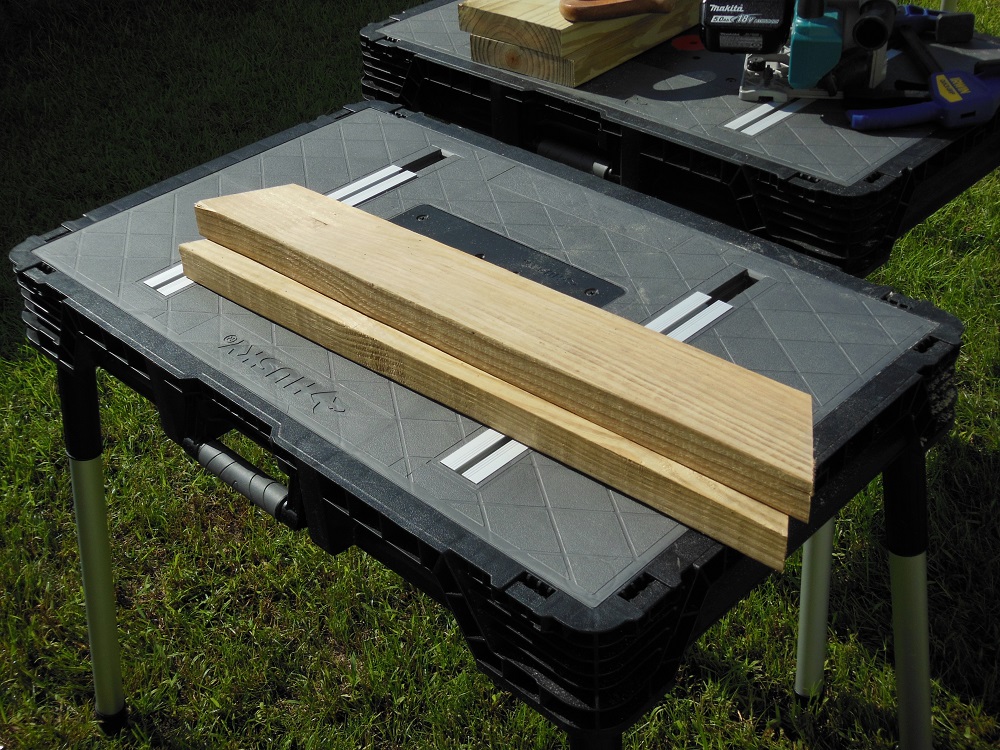
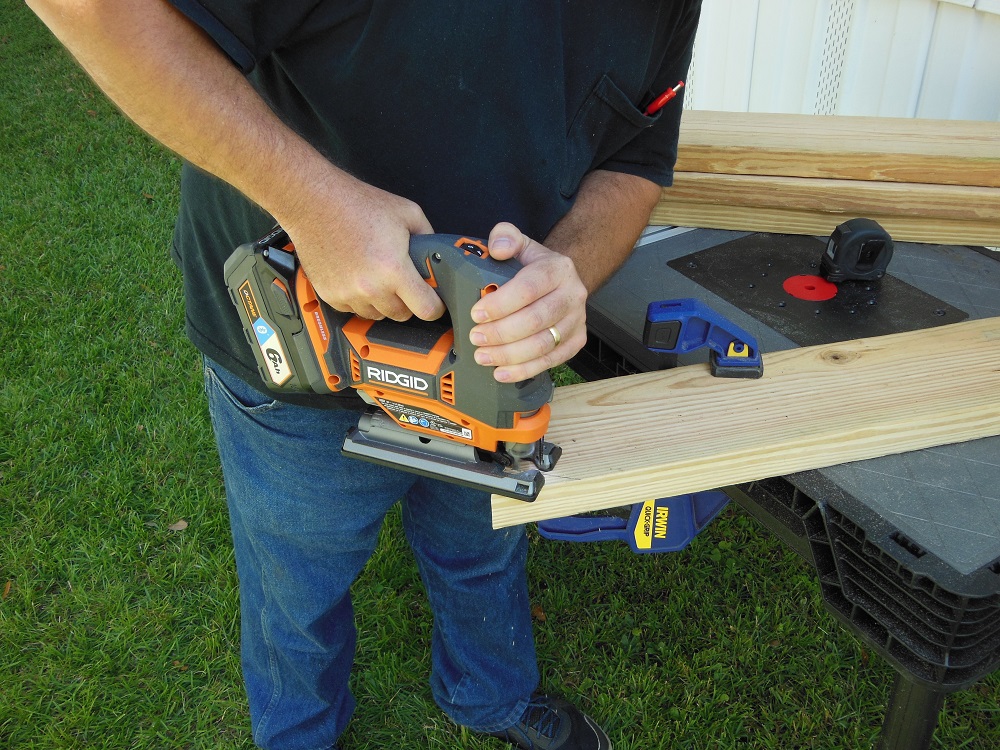
I was able to get all three table supports out of a single 2×4. After you cut the two outer supports, set them aside and cut the middle support. This piece also has 60° angles at each end. But this time we’re cutting bevels*, not miters. Mark a square cut line a little past the angle on the remaining section of the 2×4.
* TIP: To cut a 60° bevel, tilt the sole plate of your circular saw to 30°.
Just like with the two outer supports, the cuts should angle in towards each other and the long edge should measure 28”.
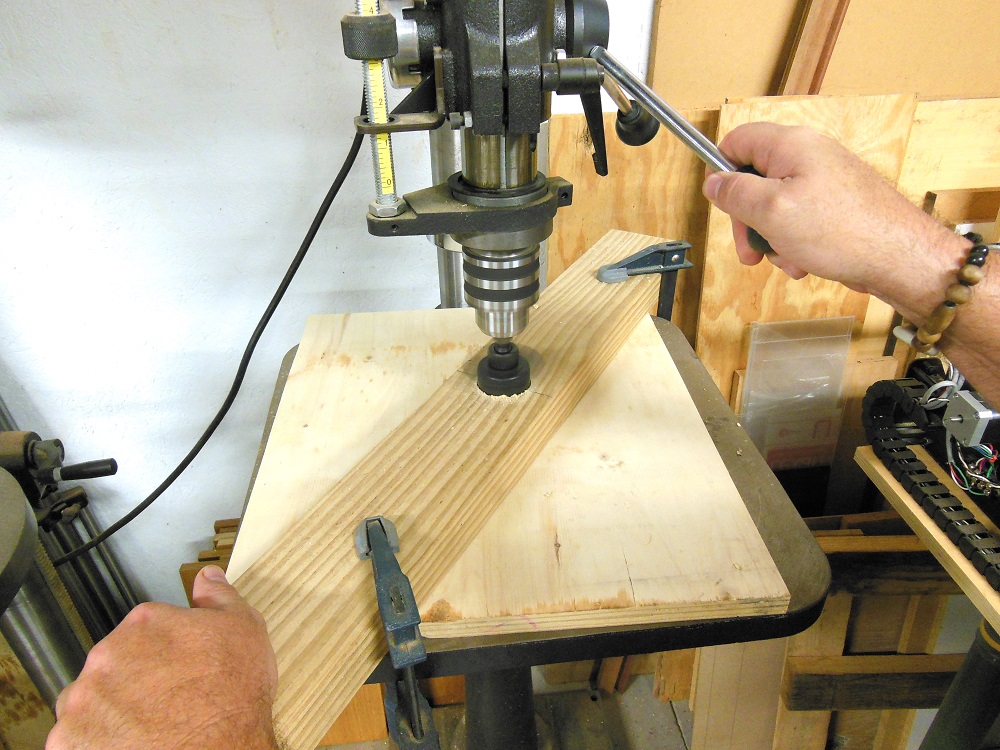
If you want the umbrella hole in your picnic table, cut it with a 1-3/4” hole saw, Forstner or spade bit. This is best done with a drill press. If you don’t want it, fine… no shade for you!
Assembling The Table Top – DIY Picnic Table Project
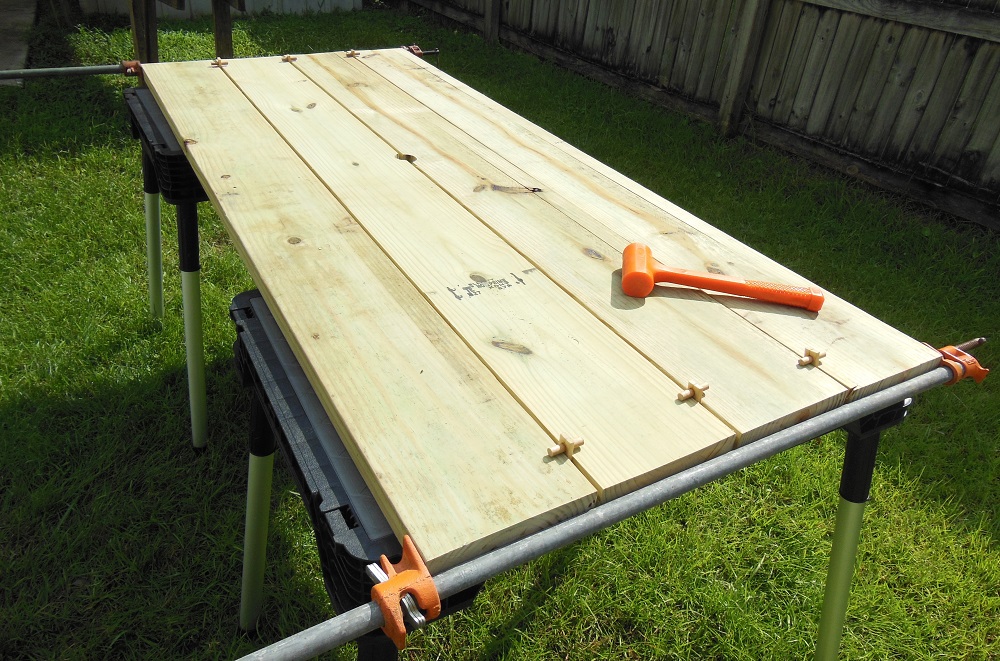
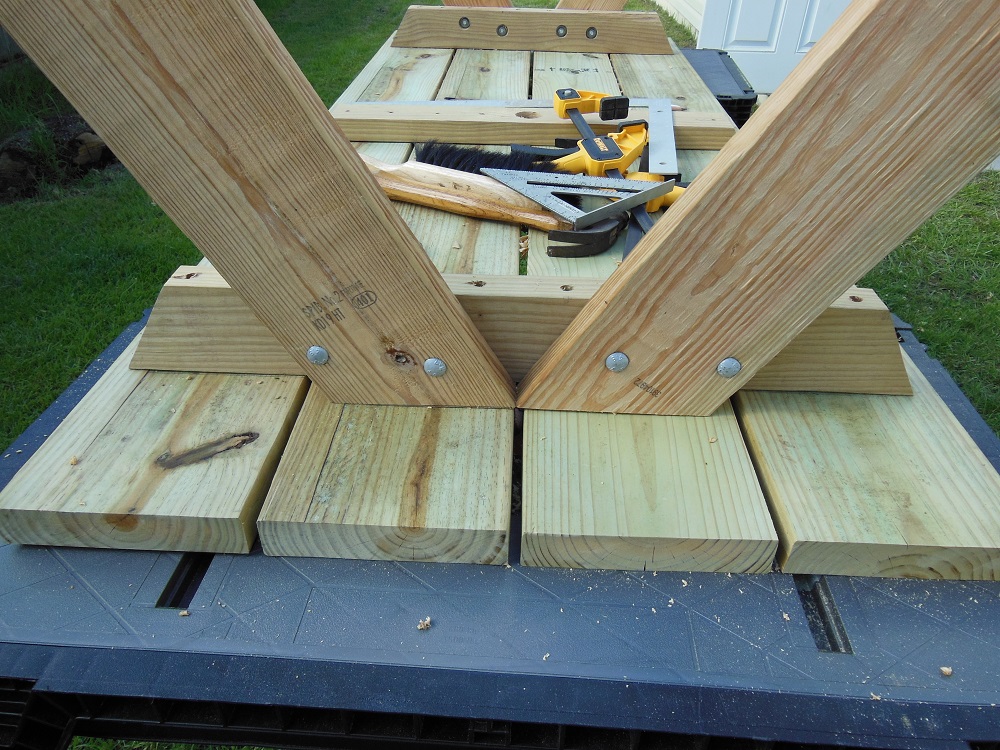
Lay the boards with the best faces down (and best edges on the outsides). If you made an umbrella hole, make sure those cutouts are positioned in the middle. Now you can attach the three supports. The long dimension of each support goes against the table slats.
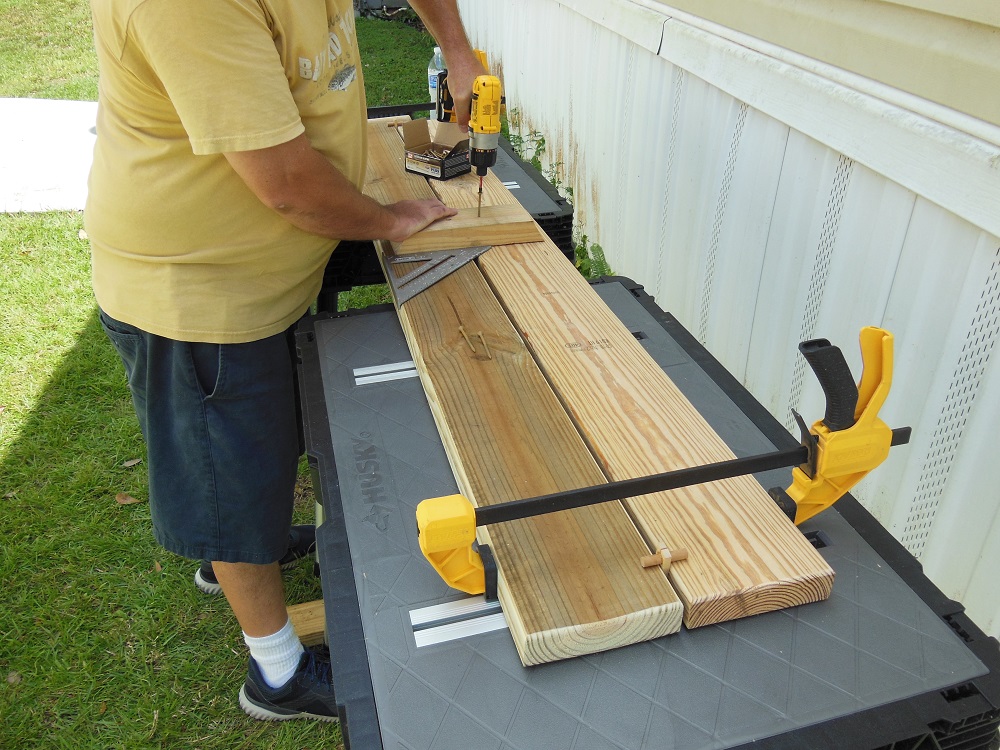
Attach The Outer Table Supports
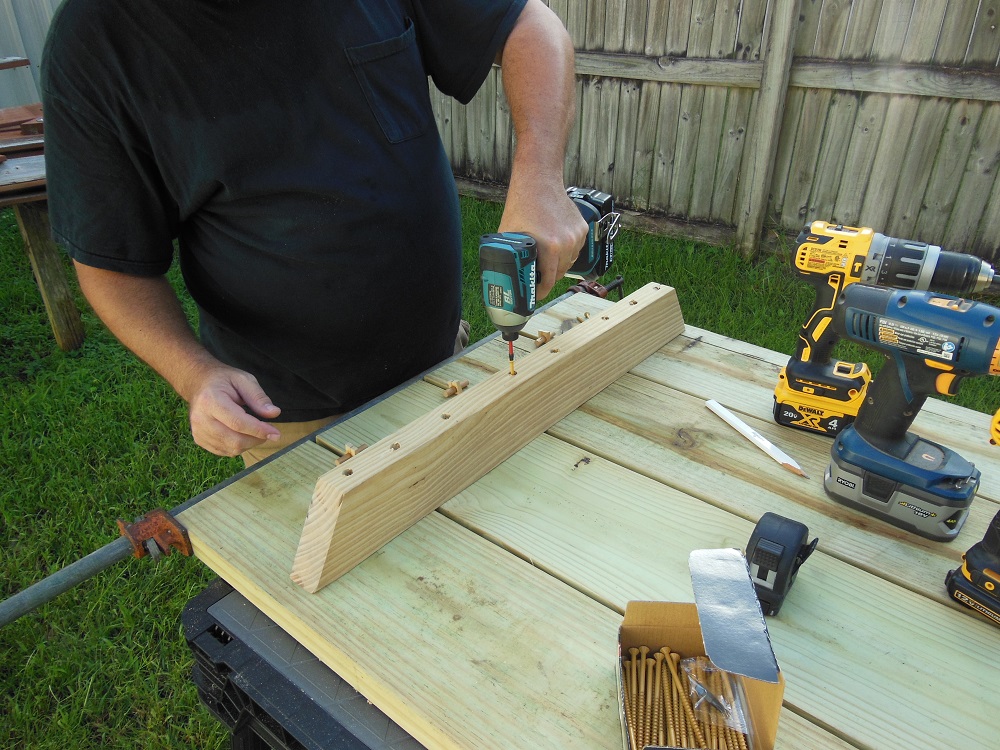
Use 4” long #10 deck screws to attach the outer table supports 7″ from the ends of the tabletop. Drive two screws per board. You’ll need to first drill countersinks for the screw heads. Also, even though I used self drilling screws, on this step I decided to drill a counterbore (just large enough for the screw shaft to fit into) all the way through the outer supports. I didn’t want to risk splitting the support pieces. I then let the screws drill their own way into the table slats.
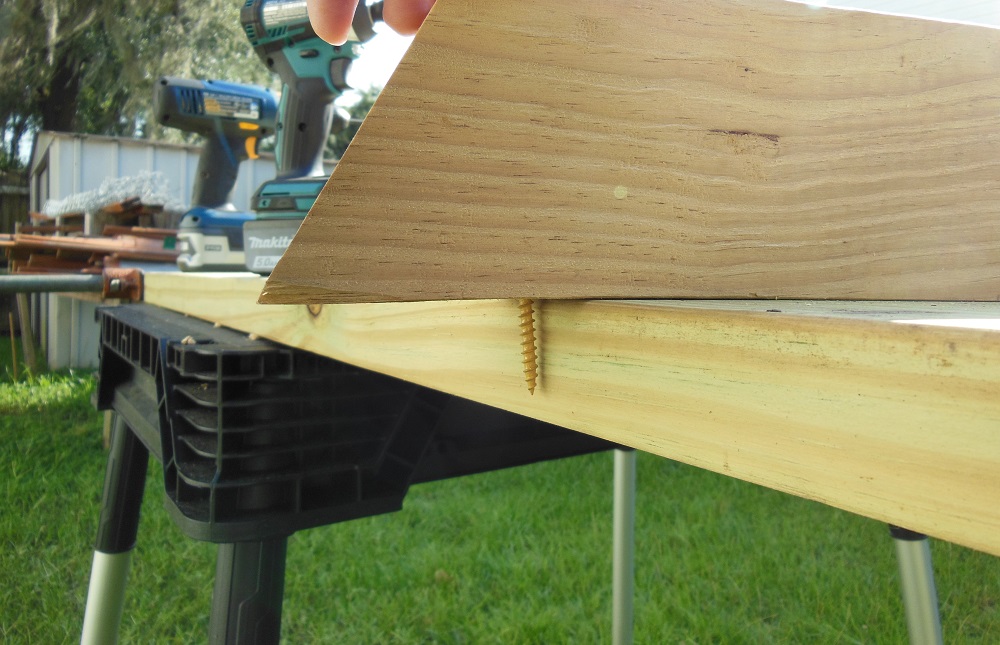
Rather than counter-boring for the screw shafts (because it does take a long drill bit that you might not have on hand), you may instead want to drive the screw a little ways, back it out to clear the shavings, drive it a little deeper, and so on until you’re all the way through the outer supports. THEN attach them to the table top slats.
Attach The Middle Table Support
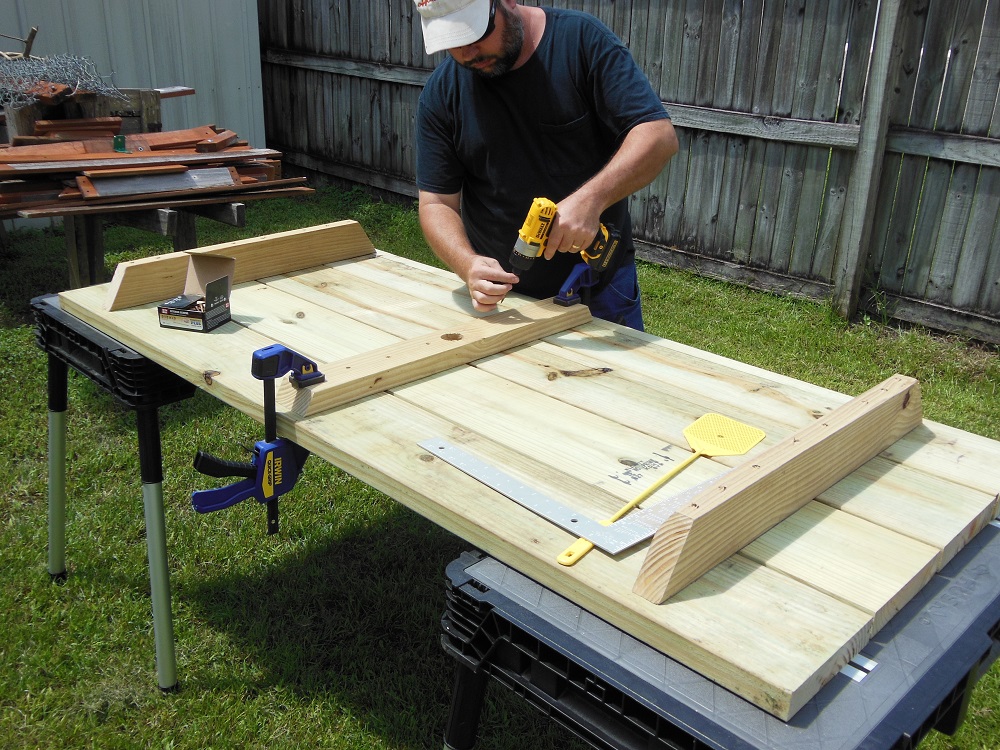
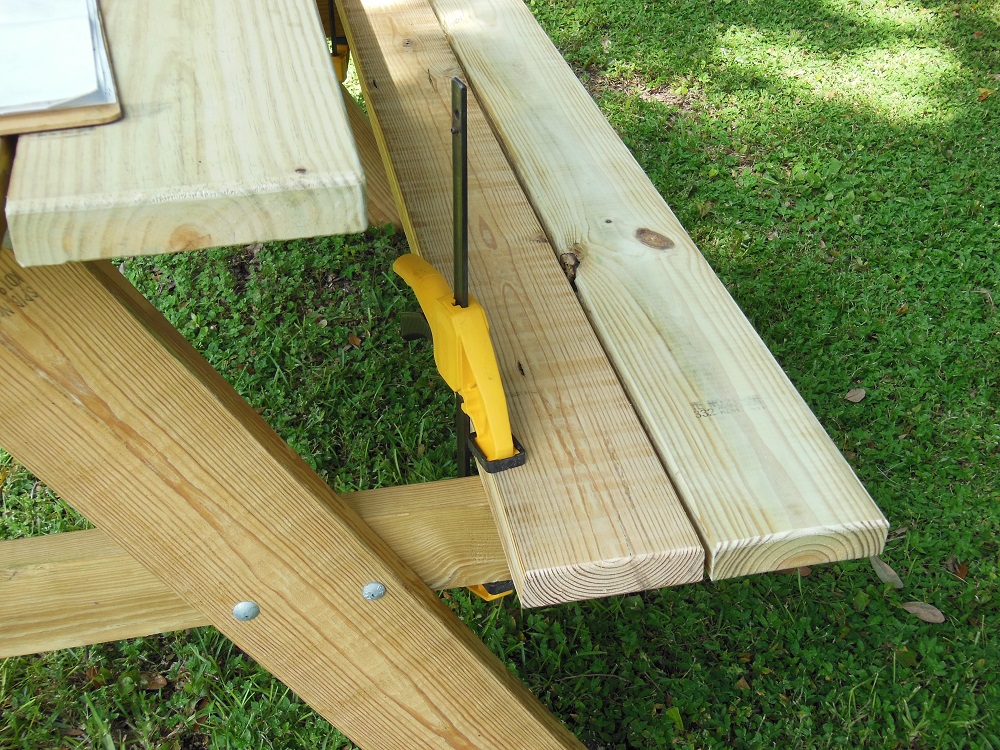
Finally, position the middle table support. Check that it’s square to the table and the hole (if you opted for one) is centered over the one in the table slats. Clamp the support in place then fasten it to the table top with eight 2-1/2” long #9 deck screws, two per slat. Do not countersink, but do drive the screw heads flush (or slightly below the surface).
It’s Got Legs – It Knows How To Use Them

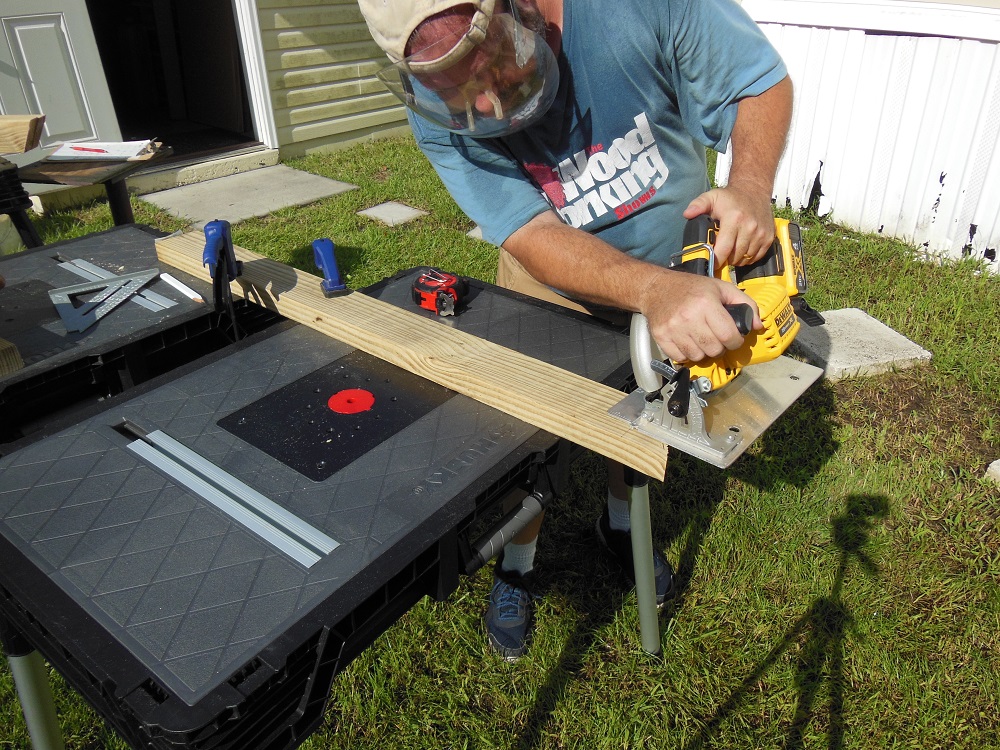
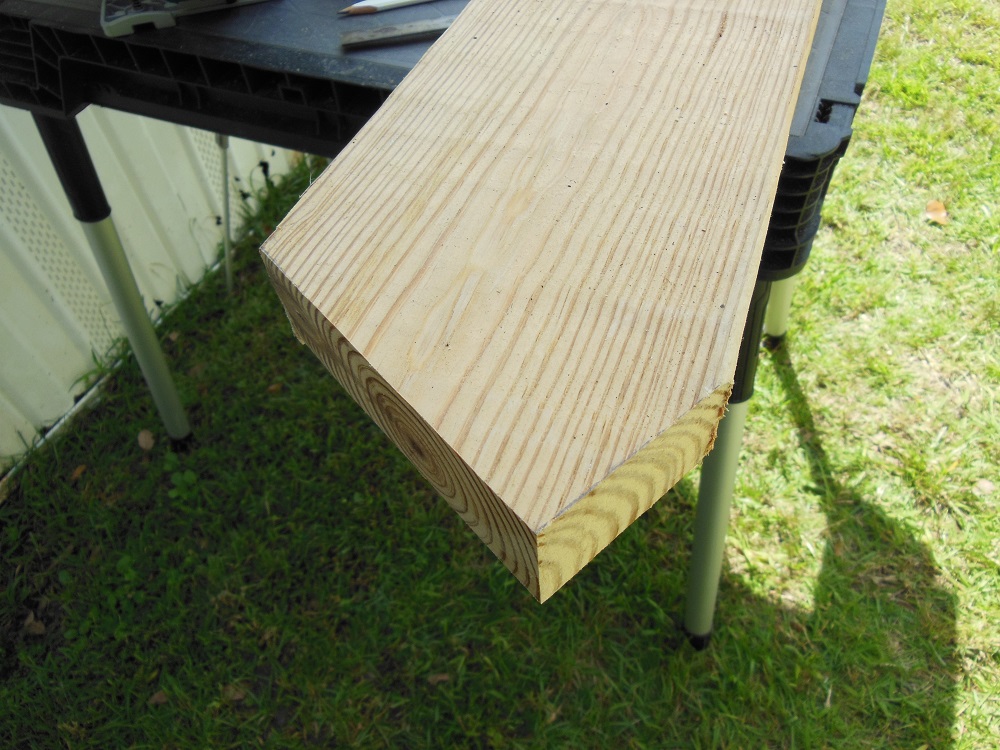
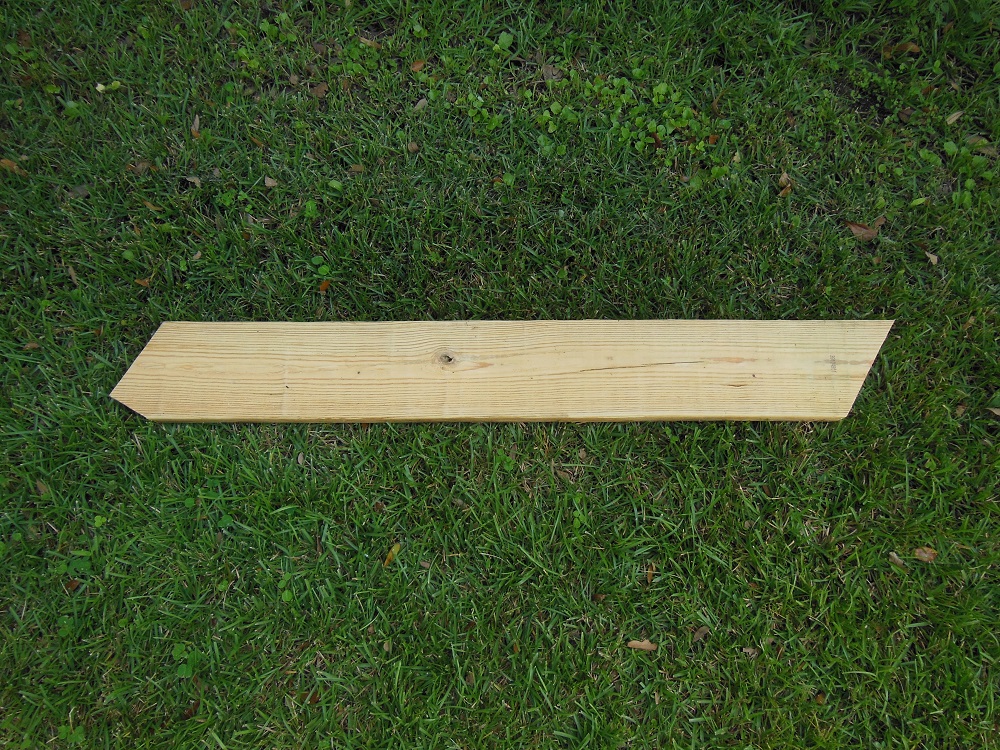
The four legs are cut from 2×6’s. Unlike the table supports, the ends of the legs are cut parallel to each other (leaning in the same direction). Start by cutting a 60° angle on one end of a 2×6. Then cut the other end, mitered in the same direction, 40” from the first.
Next, we’ll cut the point off of one end of each leg.
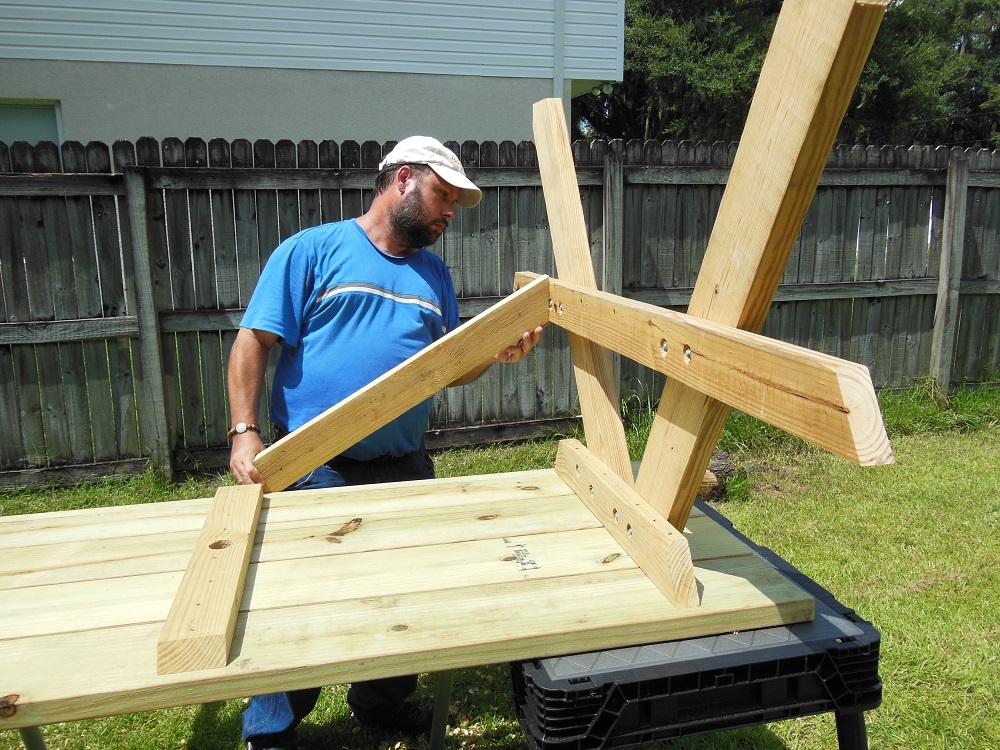
Spread Eagle – Those Legs Go All The Way Up And Make A Table Of Themselves
The next step is to attach the legs to the outer table supports. In the previous step, we cut the point off of the foot end. The end goes up in the air during this step.


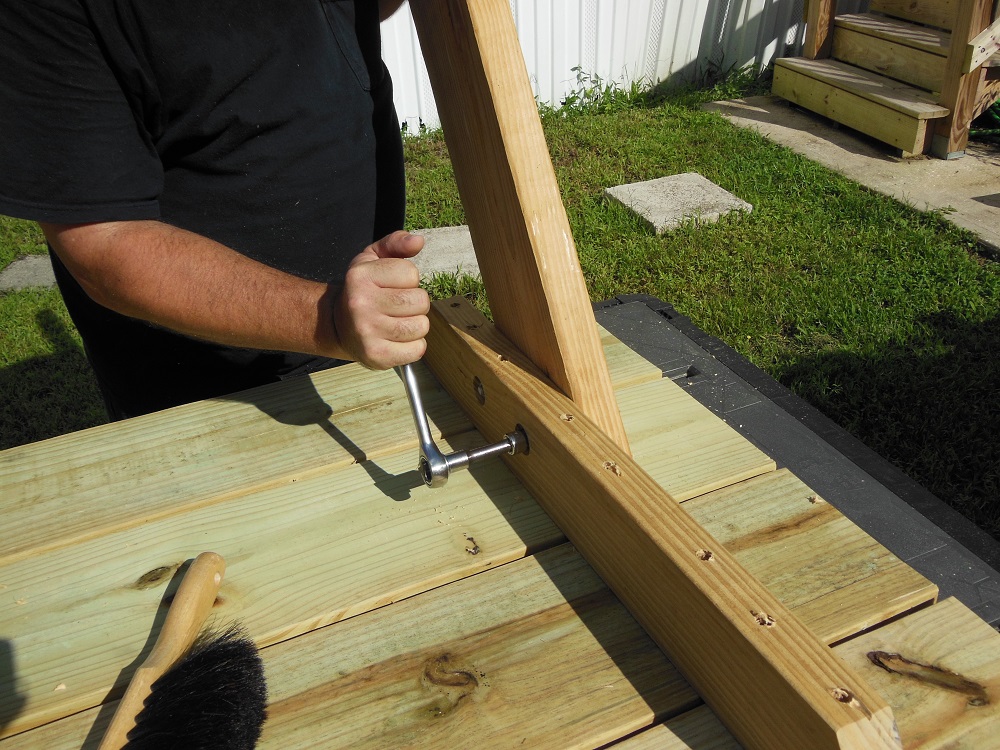
Hardware The Legs Go – Glamorous Gams For Your Picnic Table

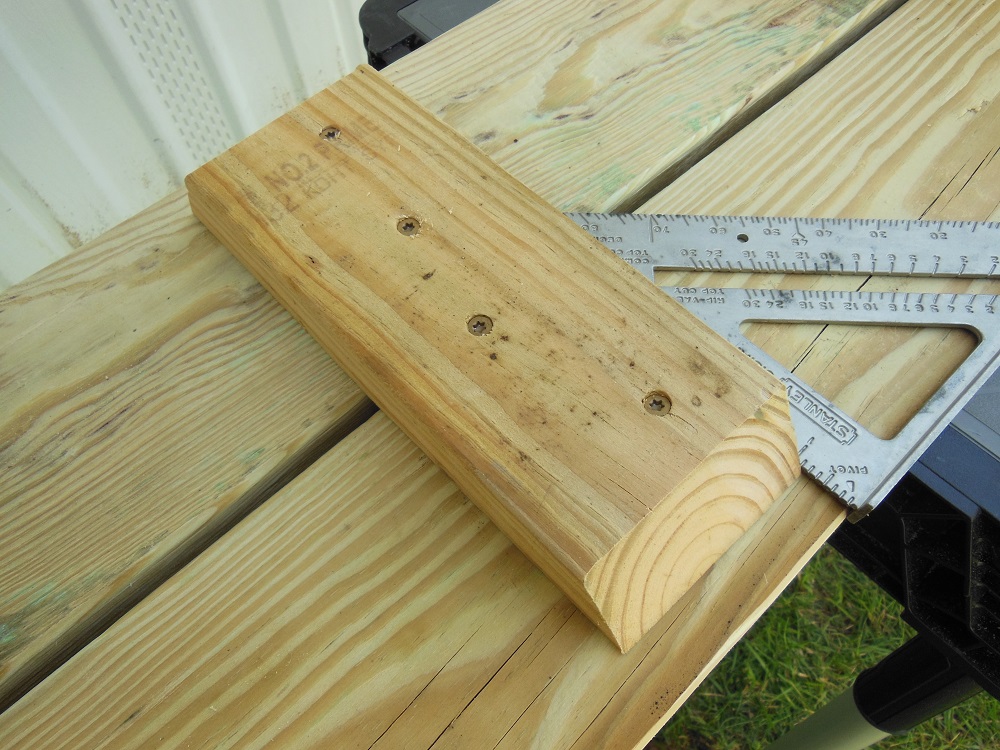
Install the hardware with the heads of the carriage bolts facing the outside of the table and the washers and nuts countersunk on the inside. The bolts are 3” long so they’ll hide completely within the wood, never giving unsuspecting knees the old “howdy-do”.
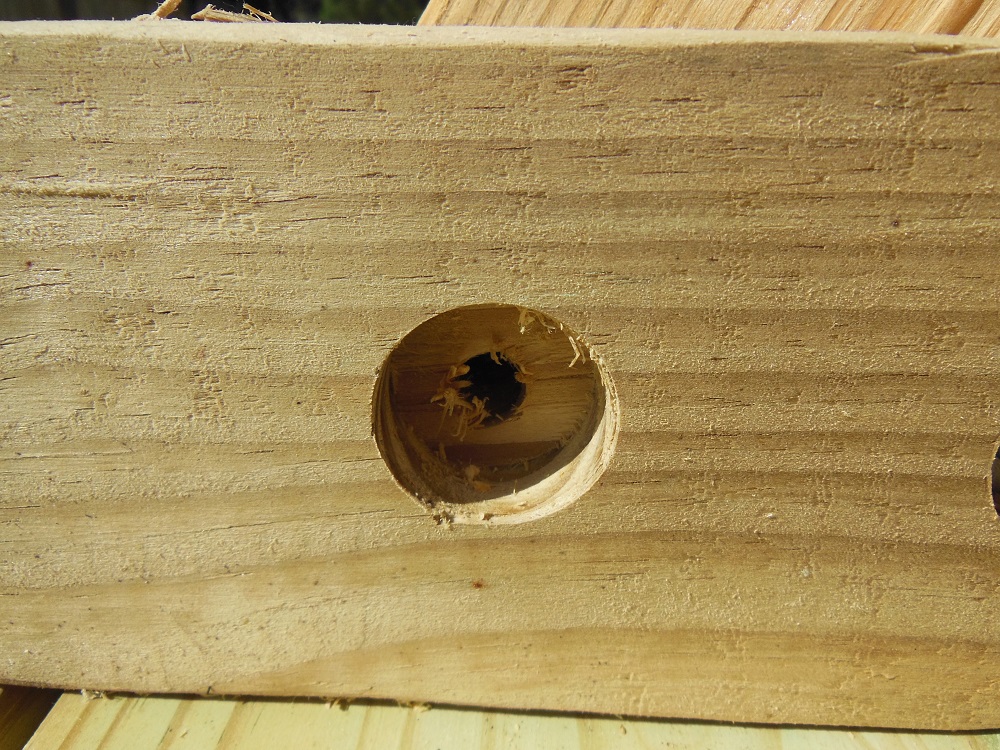
Drill to countersink the nuts and washers. The holes should be large enough in diameter for the flat washer and just deep enough to accommodate the two washers and nut, no deeper. I used a 1-1/8” Forstner bit but your size may vary (depending on the outside diameter of your washers).
Counter-sink first, then counter-bore for the bolt shafts. Be sure to dodge the screws already running through the table supports. It’s OK to stagger the holes if you need to.

Bench Supports – The Picnic Table Legs Support You So Yours Don’t Have To

Next up: the bench supports. Two, to be exact. Each bench support is cut from a 2×4. The ends are 60° miters angled in the opposite direction (in towards each other) and the long edge measures 60”.
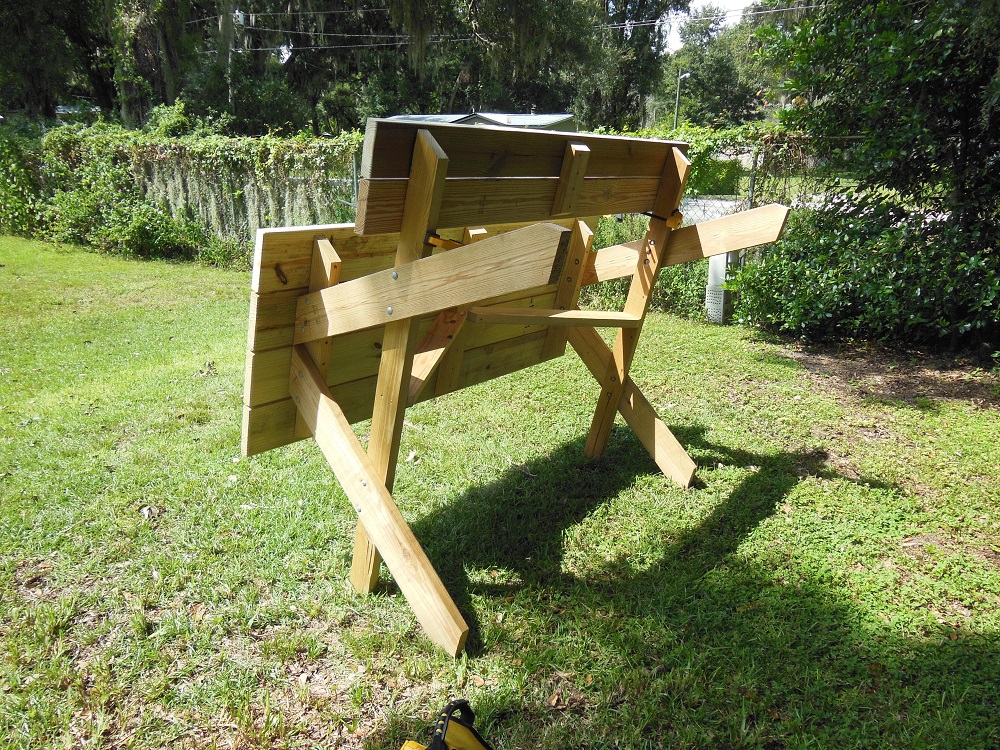
Mark the legs 14” from the table top and attach temporary support blocks.
With the bench supports mounted to the legs, each leg should have a total of four carriage bolts: two at the table support and two at the bench support. After everything’s bolted together, un-clamp and discard the temporary support blocks.
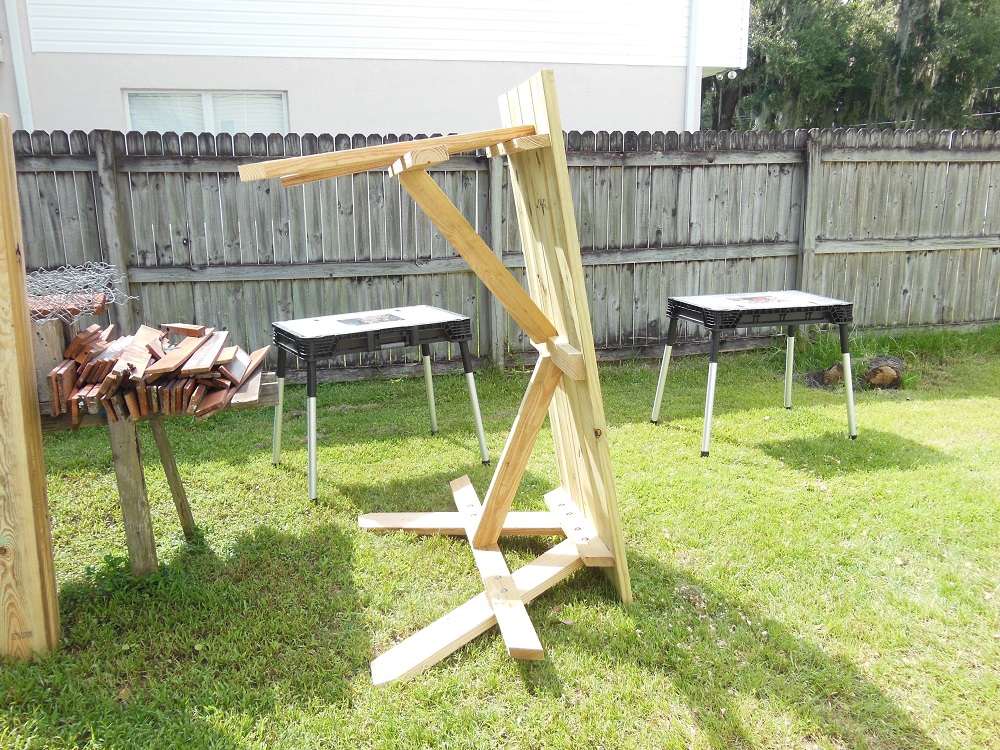
Braces – Give Your DIY Picnic Table Something To Smile About
We’re not here to throw shade on your project; that’s what the umbrella is for (did you opt for the hole?). We know your project is your baby and we feel the same way. But someone has to say it: your baby desperately needs braces. That’s not our way of callously mocking a wayward overbite. Instead, we’re referring to the required leg braces.
The leg braces are arguably the most critical part of the picnic table project. They aren’t difficult to make, but do not be tempted to omit them. This is a heavy unit and – without the braces – it is not safe to use. We might be all smiles now, but if your picnic table pancakes at the next shindig nobody’s going to be flashing those pearly whites.
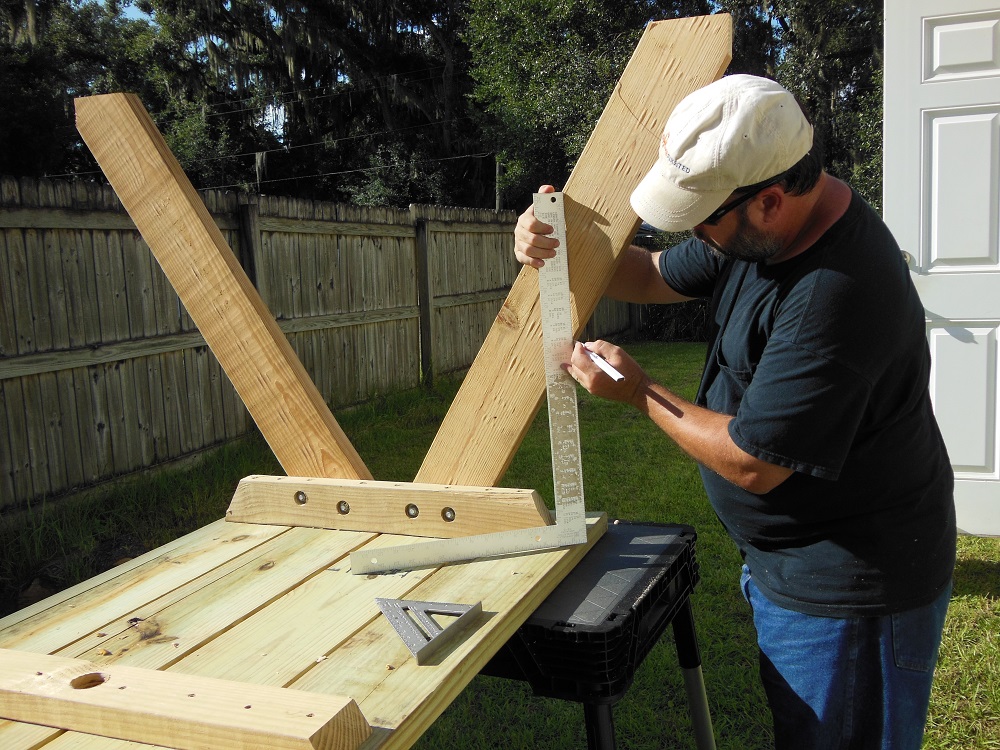
Custom Fit The Leg Braces – DIY Picnic Table Project
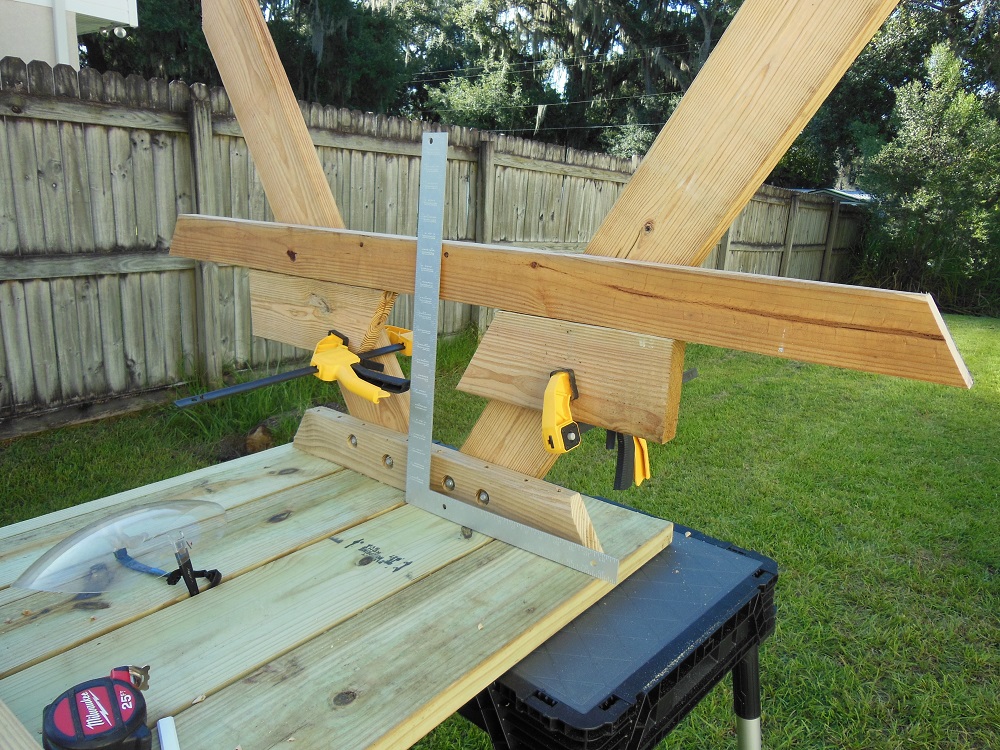
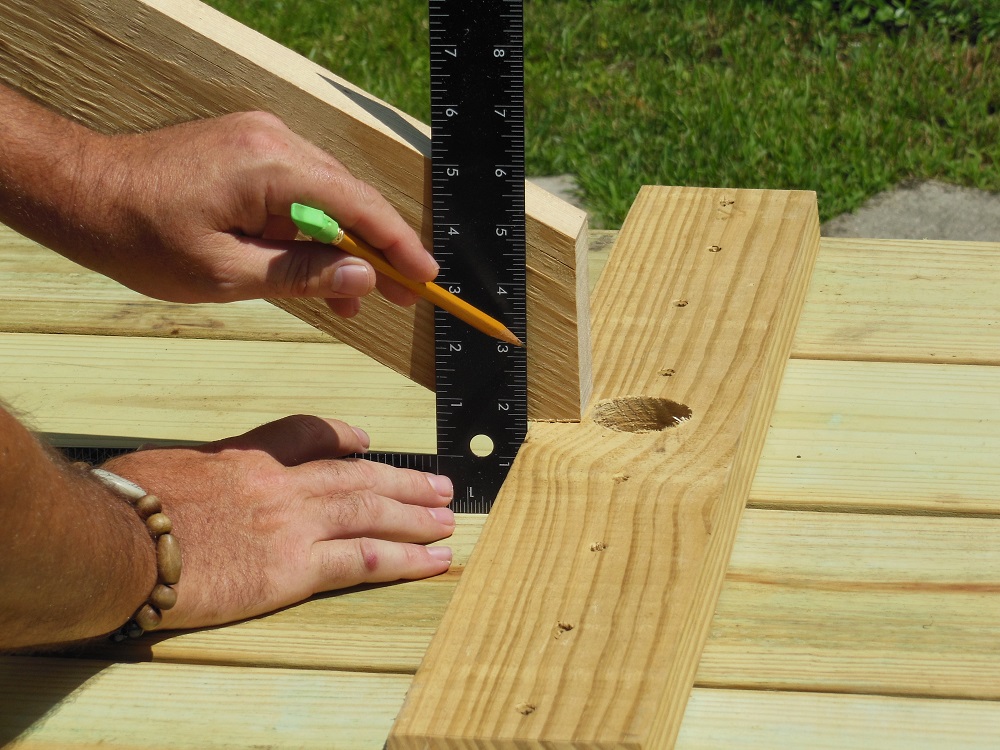
Since there will undoubtedly be minor variations in the distances between the middle table support and the outer supports, the leg braces are cut to fit.


To avoid confusion or error, fit the first leg brace before starting to customize the other.
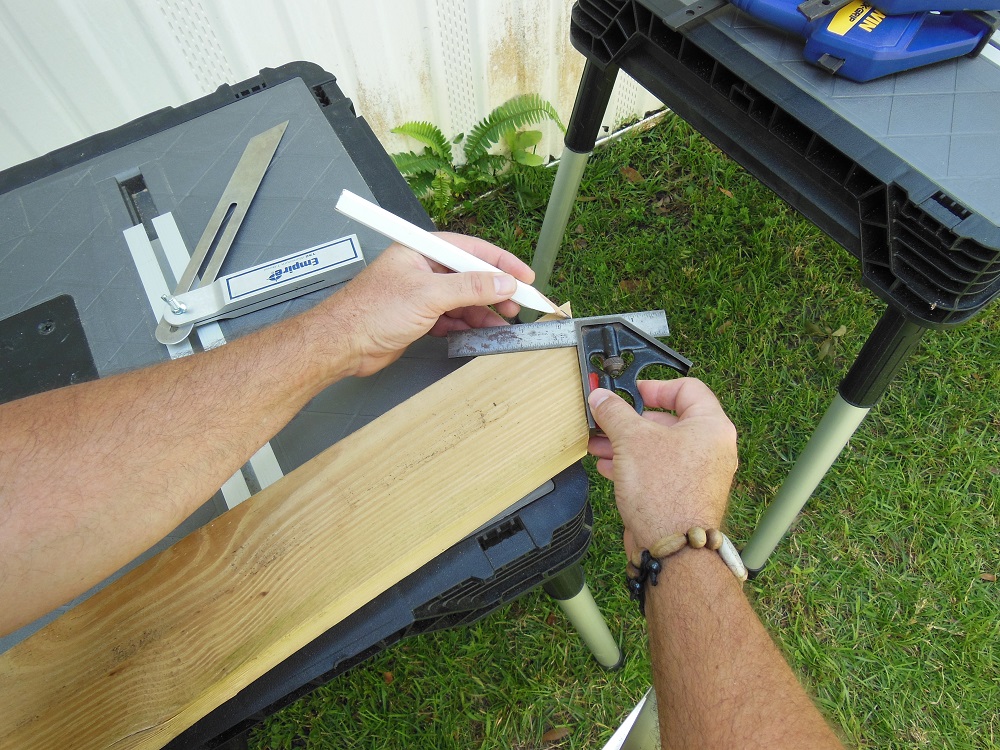
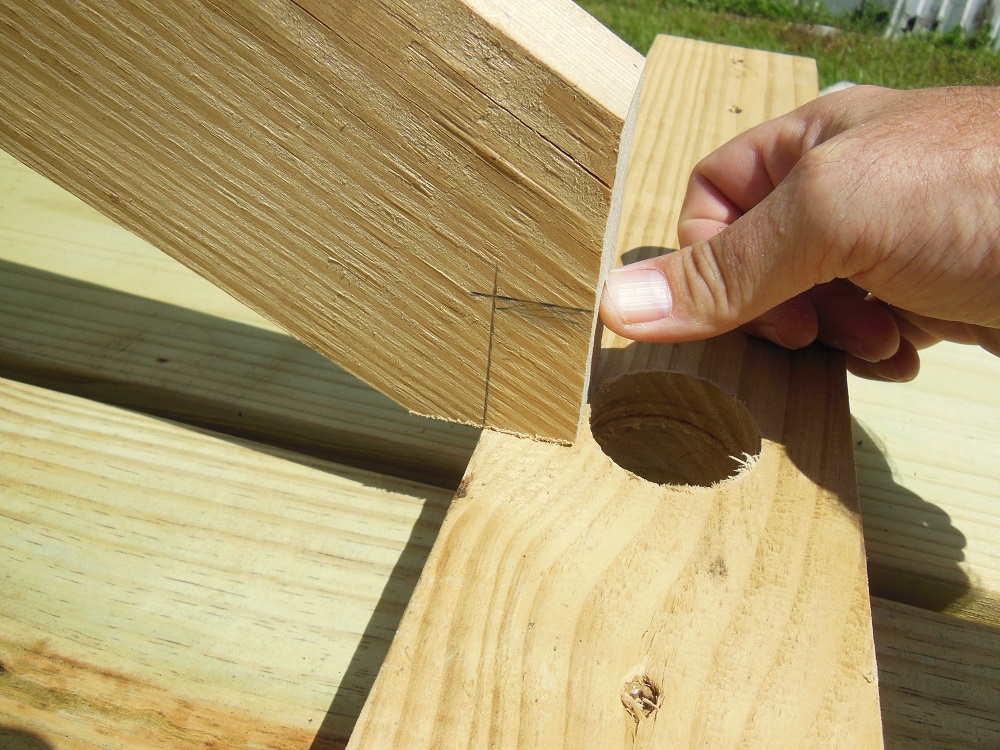
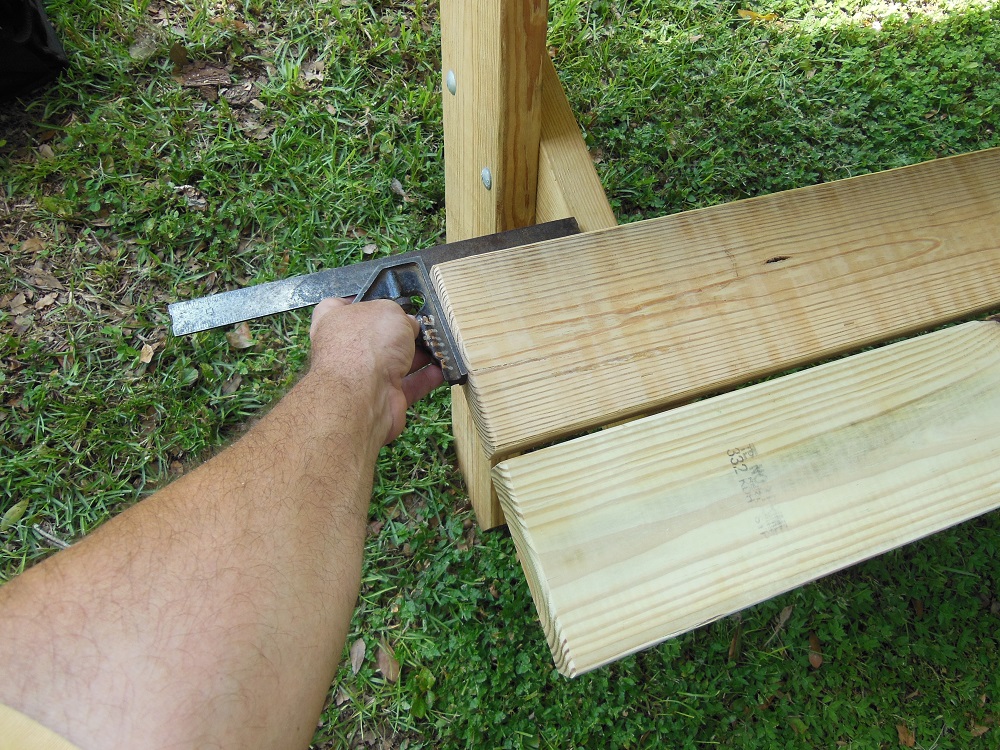
After marking and squaring the marks at both ends (as described above) cut the points off, keeping your blade to the waste side of the lines.
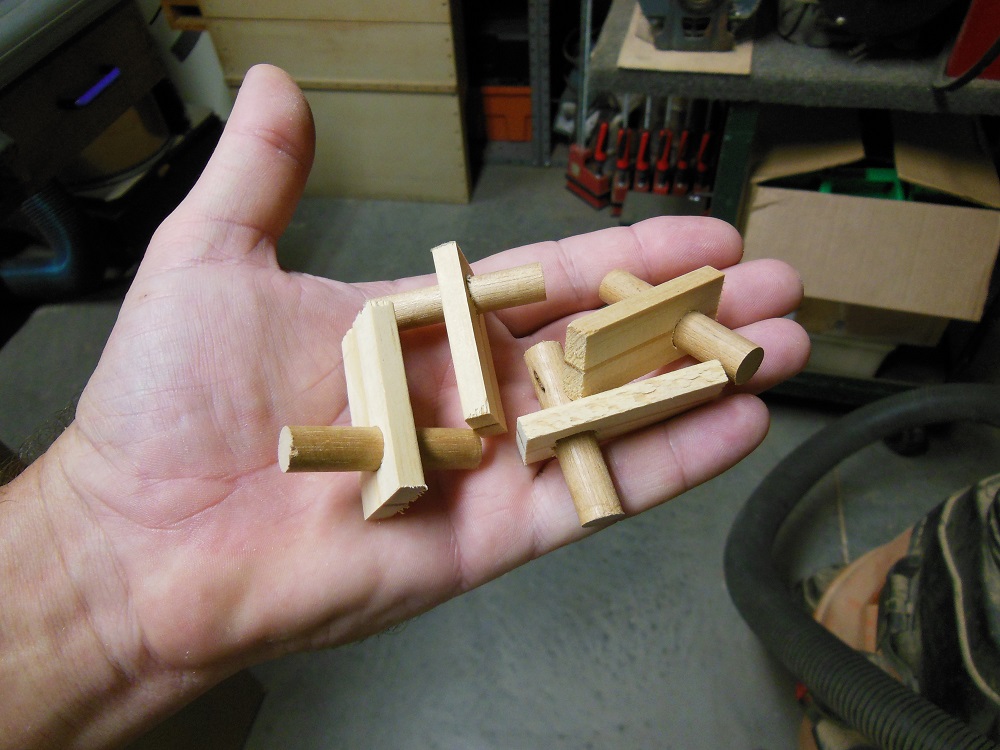
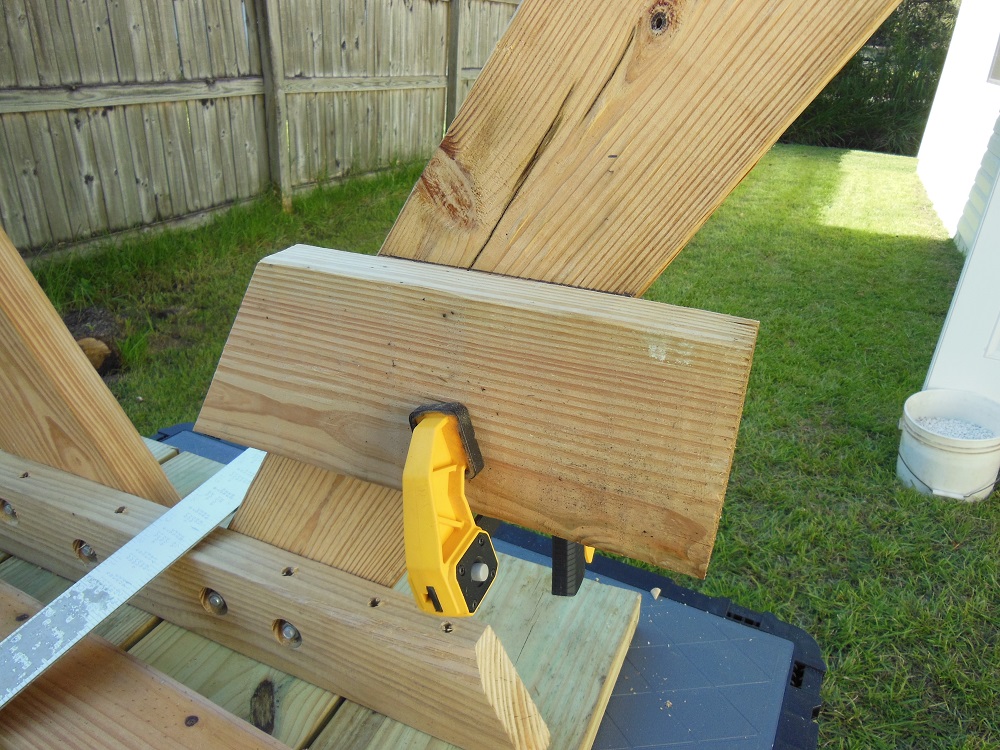
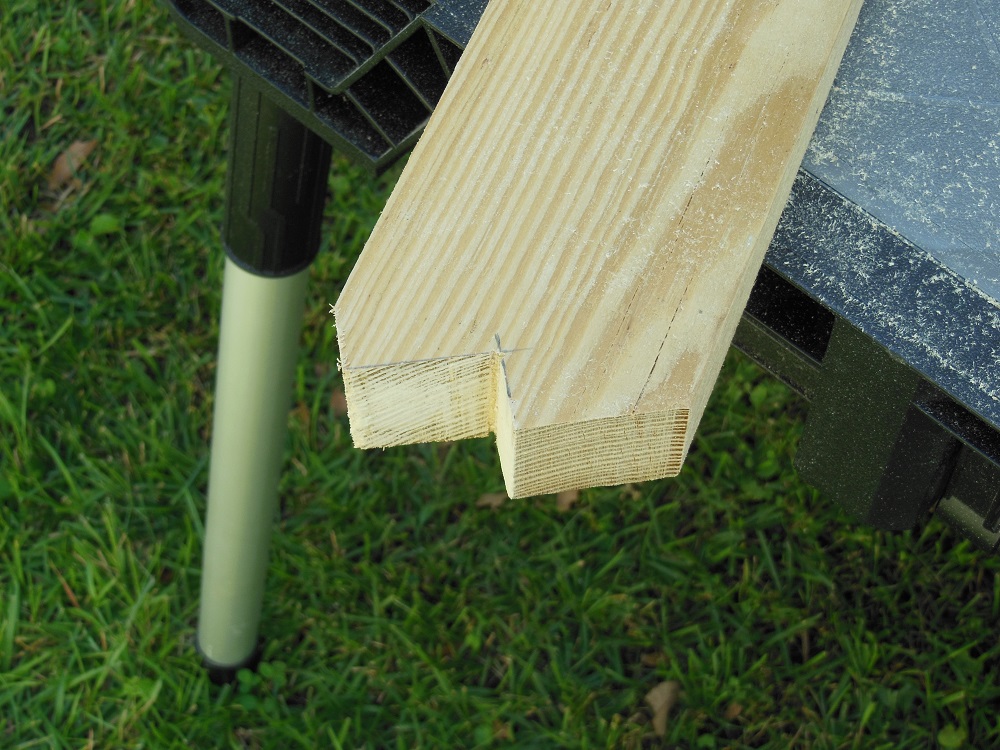
Straight From The Bird’s Mouth – Fitting The Leg Braces To The Middle Table Support
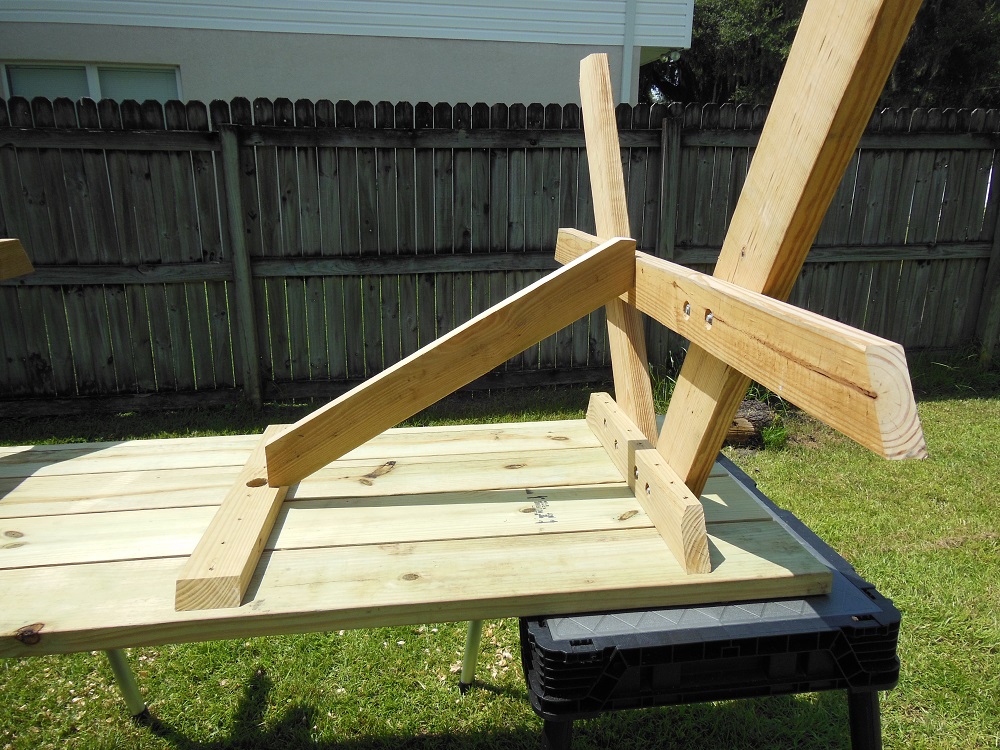
The next step is to cut a birdsmouth notch that will fit around the middle table support. For best results, verify that the legs are square to the table top (or at least really close) before proceeding.


Finishing Up With The Leg Braces – DIY Picnic Table Bench Plans

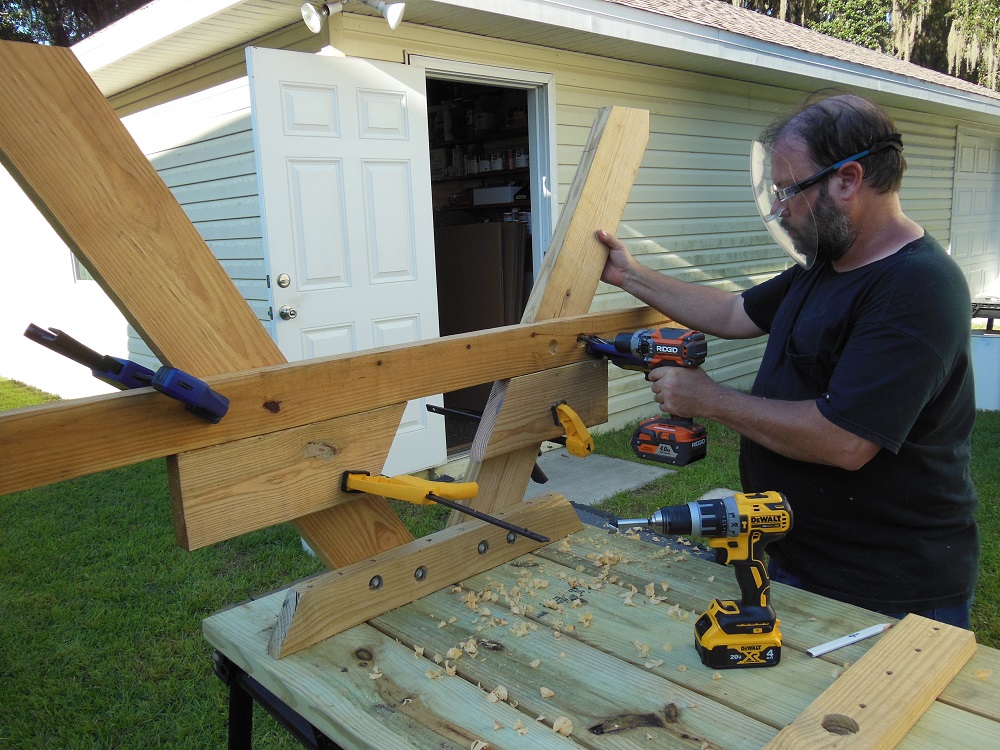
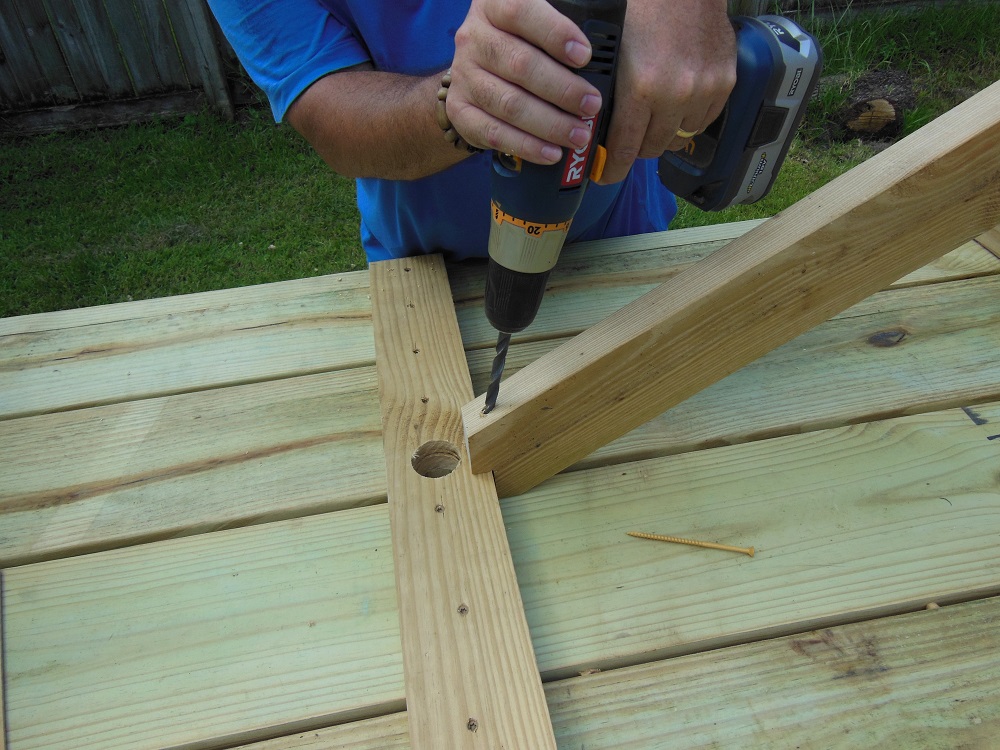
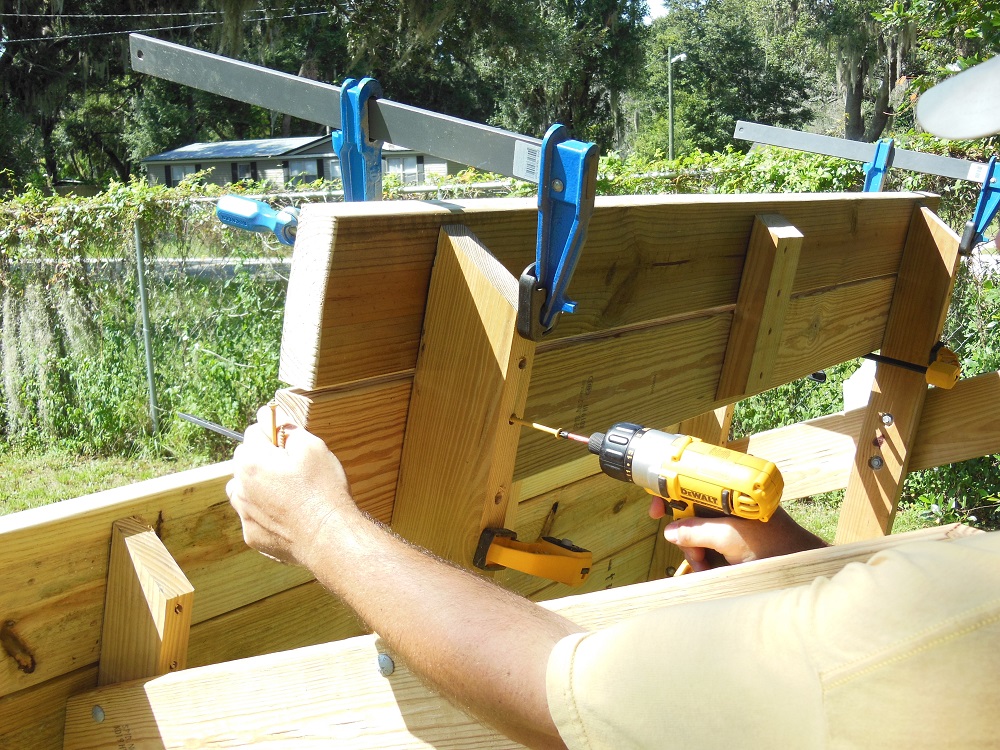
After shaping the leg brace, set it in place and fasten with screws.

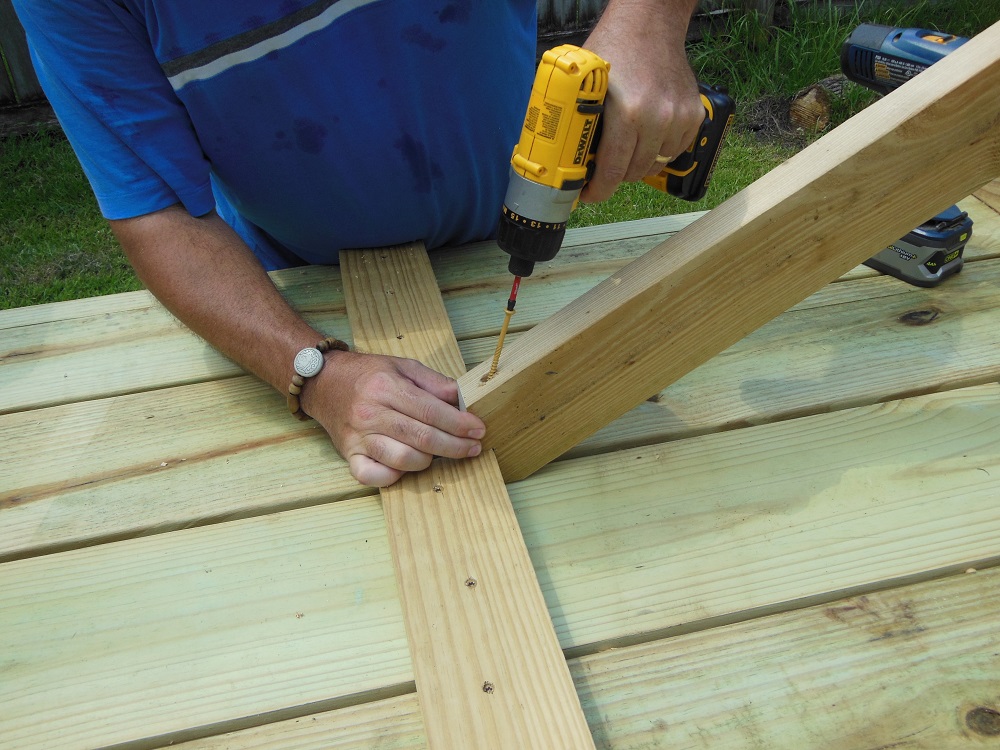
And now, repeat the process for the other leg brace.
We Have A Picnic Table – Now For Somewhere To Sit
We’re almost done building the picnic table. The next step is to cut the bench slats. You should still have four untouched 2×6’s. Cut each to 68” (4” shorter than the table top).
Since this is a project designed for sitting – and people often shift and slide around as they sit (sometimes wearing shorts) – I did a couple things I wouldn’t normally do to an outdoor project: I routed a 1/4” roundover on all four bench slats and sanded their top surface (choose the best face as the top) and outer edges. I also routed all outer edges of the table top.
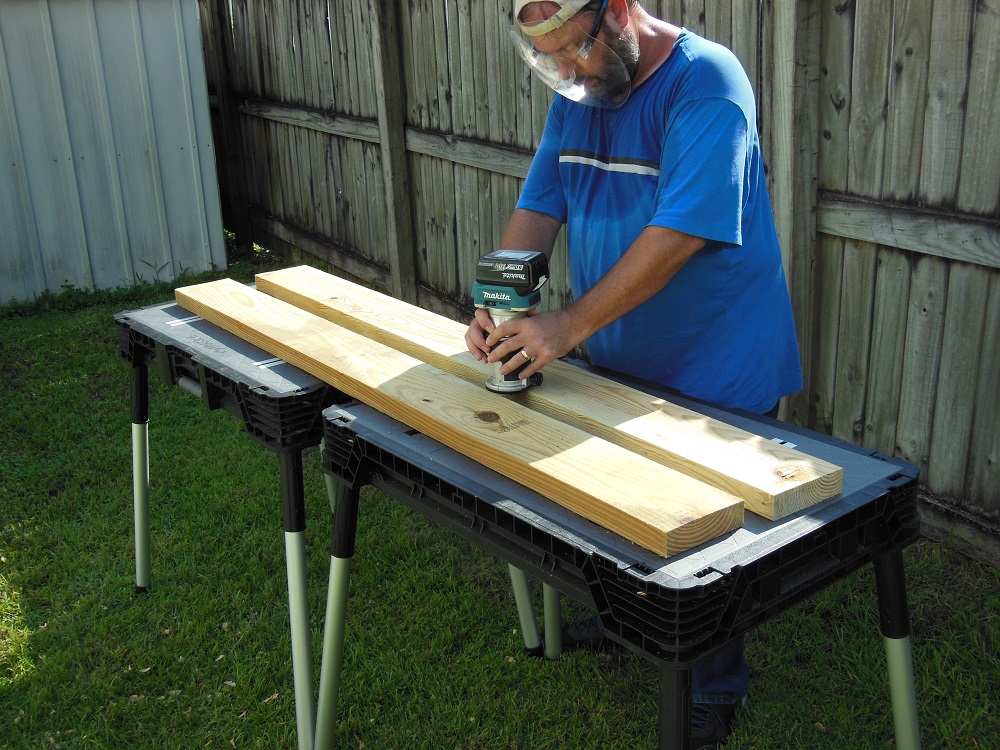
I highly recommend taking the time to rout and sand the bench slats. It doesn’t take nearly as long as you might think and it makes for a soft, comfortable feel. Best of all, outdoor family time won’t be ruined by nasty splinters in your loved ones’ legs and hindquarters.

Then, also for comfort, I routed the same roundover on all outside edges of the table top. I didn’t sand the table top, but you can if you want or need to.


Intermediate Bench Supports – Stiffen The Benches On Your DIY Picnic Table Project
The last parts to cut are two short support pieces that go in the middle of the bench seats. Like the middle table supports, these keep the slats aligned and help prevent sagging under load.
To assemble the intermediate supports to the bench slats, lay a pair of slats with the sanded side (the top, butt contact side) facing down. Align the slats side-by-side with 1/4” spacers and gently clamp the ends to hold everything still while you fasten the support.
You May Now Approach The Bench – A Place To Rest Your Weary Bones
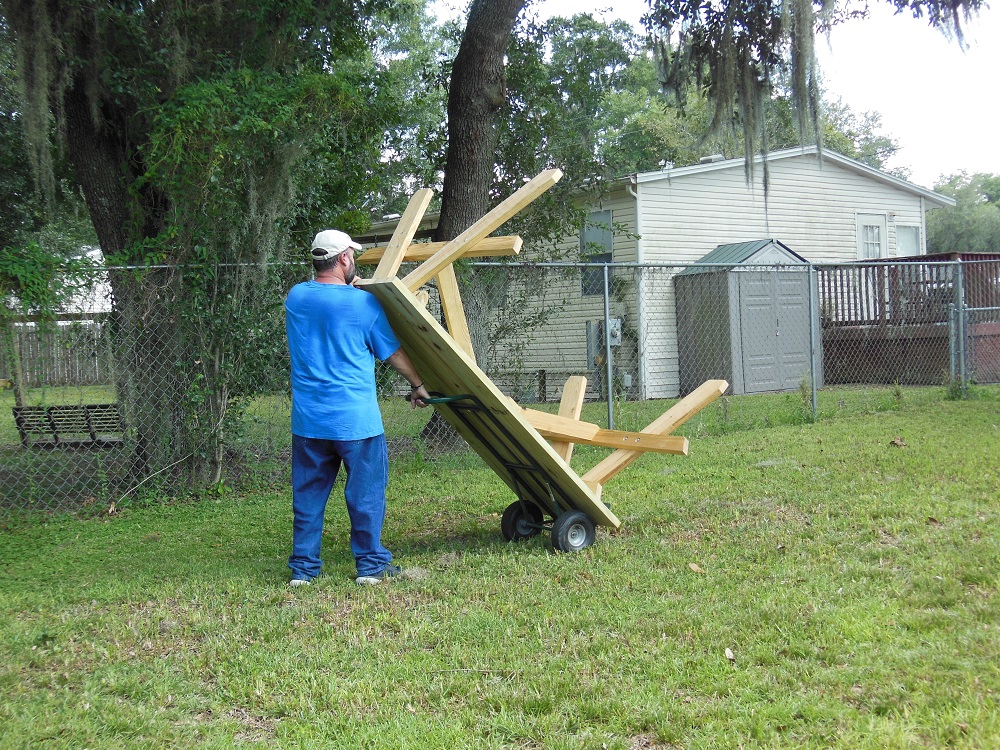
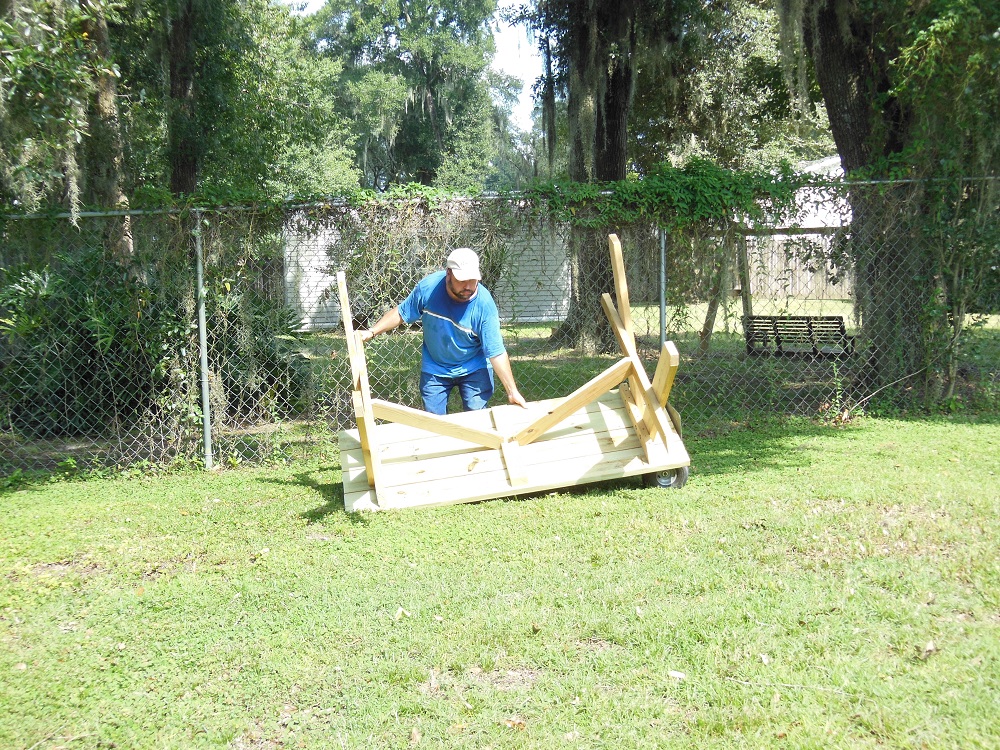
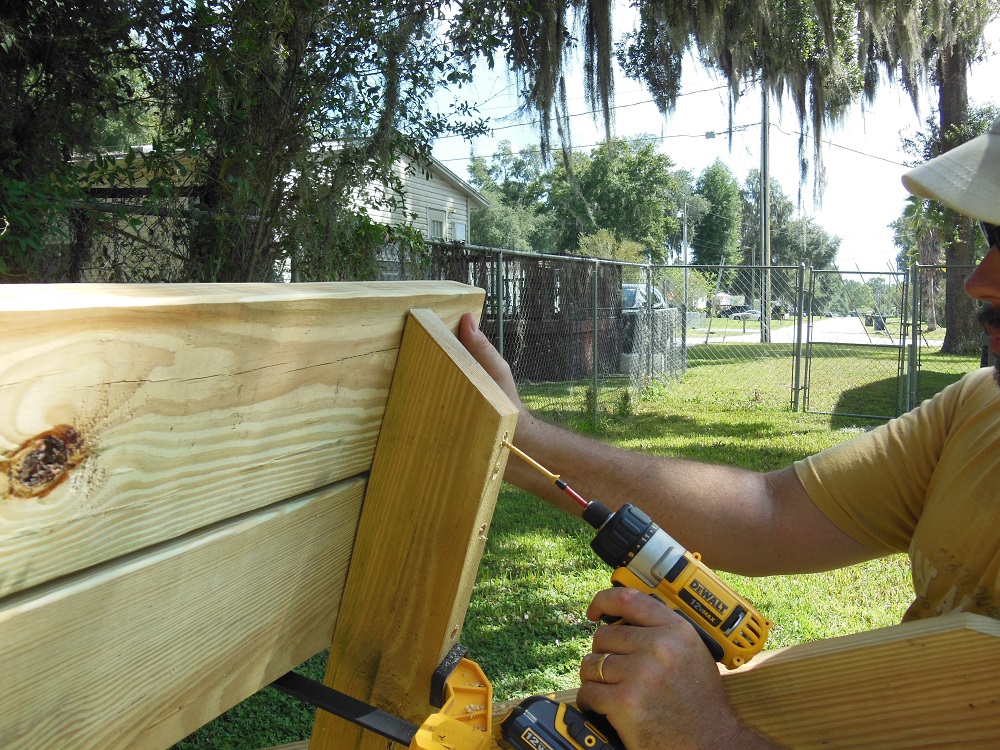
Position the first set of bench slats and clamp them in place. Then tip the picnic table on edge and screw them to the bench supports. Take care that the table doesn’t tip while attaching the benches.
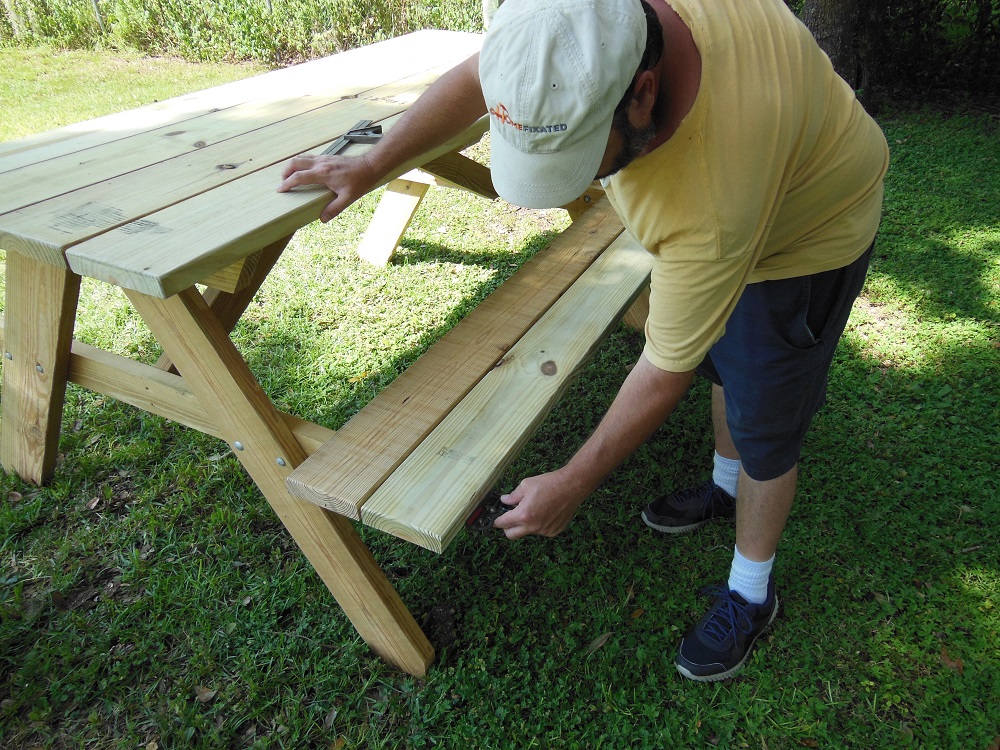
After you get the first bench mounted, carefully right the table then stand it on the other edge and attach the other bench.
Bench Press – Enjoy Your DIY Picnic Table!
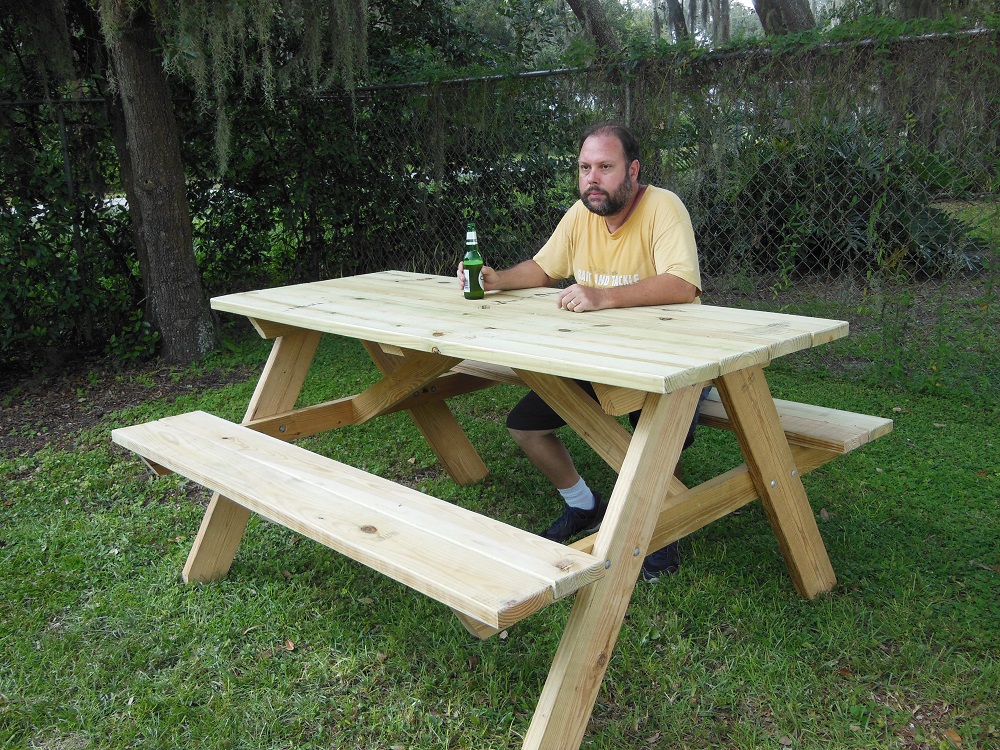
You’re done, and you’re now a pro at how to build a picnic table bench set! There were a ton of photos for the sake of clarity, and that may make it seem like a long, difficult build. But if you follow along and build your own picnic table, you’ll probably agree this was an easy, fun project. From here you can leave it as is or finish it any way you’d like.
Paint, deck stain or spar urethane would add a layer of protection and beauty while squeezing a few more years of life out of your picnic table project. When the liquid sunshine eases up a bit more, I’ll be using a deck stain/sealer on mine.
Now grab yourself a cold one, sit down and relax. You’ve earned it! But hurry up, more rain is on the way.