

Here in the scenic Northeast, we are normally blessed with an abundant supply of precipitation. Sometimes, it’s even a tad TOO abundant, resulting in overflowing gutters. We’ll show you how to remedy that unhappy situation, by adding a downspout, in an upcoming post. Meanwhile, we’ll show you how to fix one of the consequences of those overflowing gutters, as we detail how to fix a rotted windowsill.
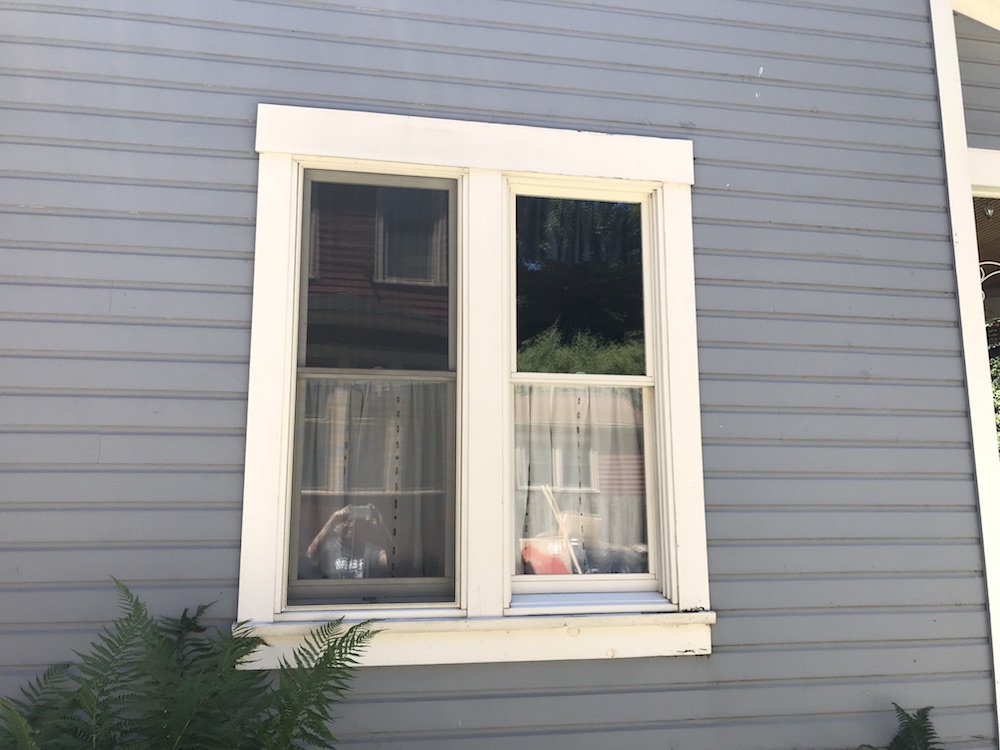
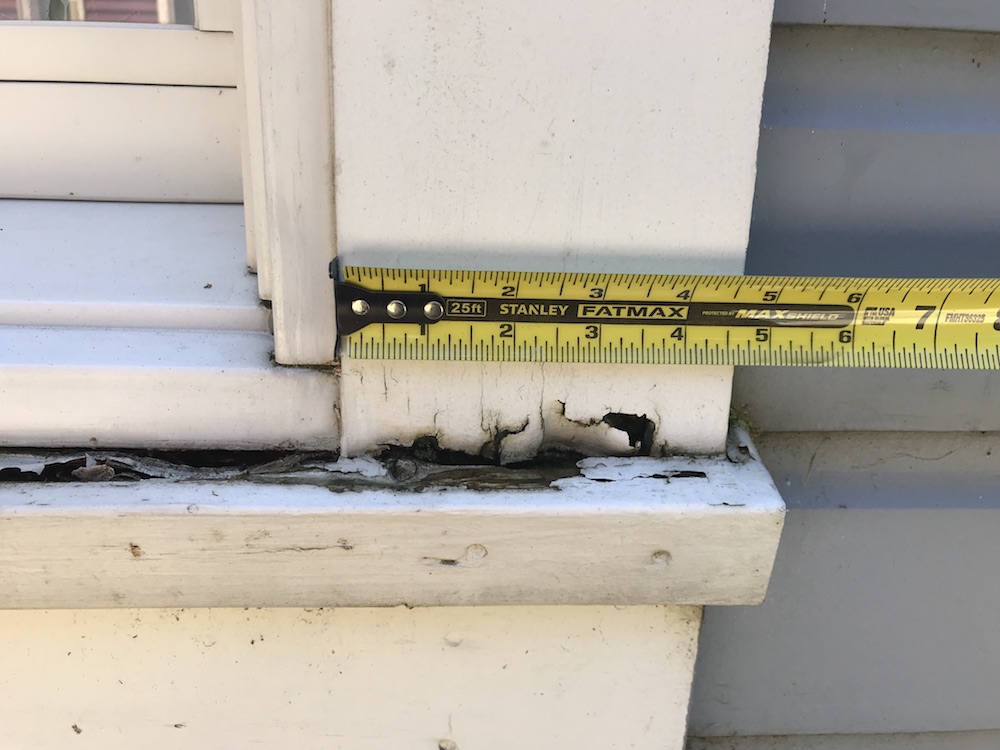
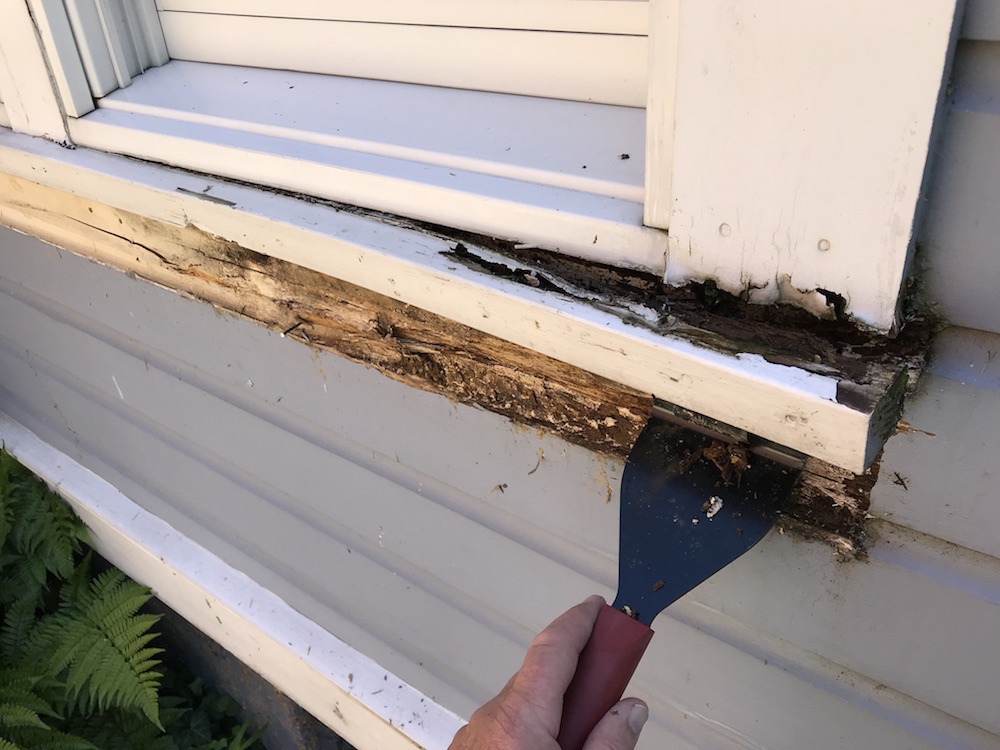
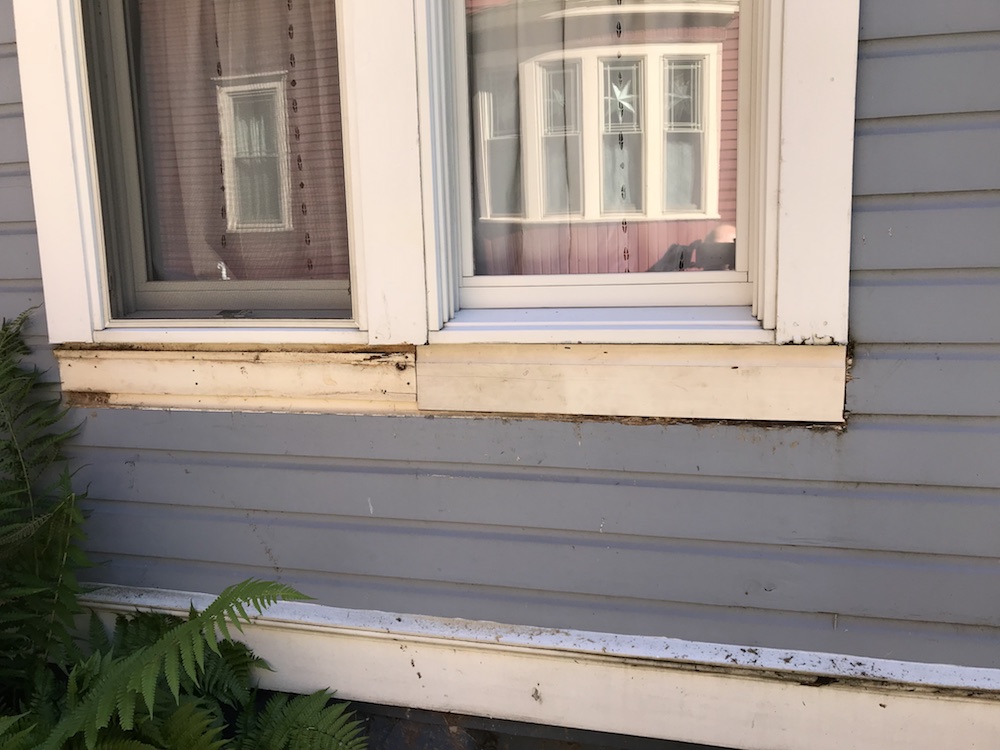
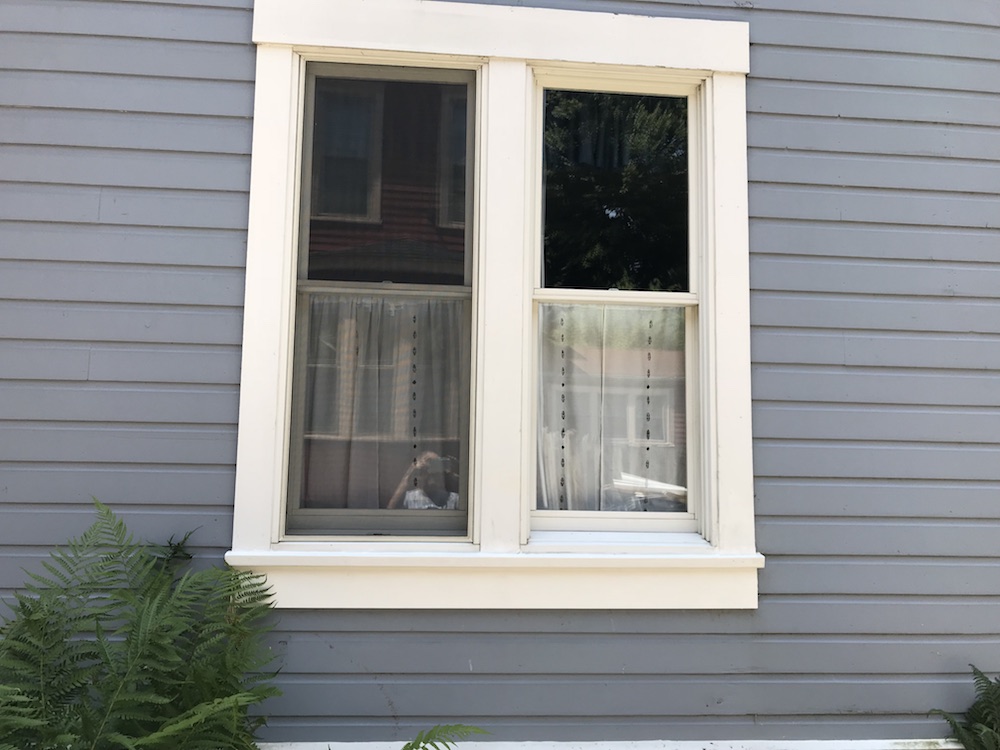
The sill we’re using as our test subject has been the victim of several years of water cascading down on it from a gutter above it. While I’m thrilled we live in an area where water is plentiful, that water can cause an amazing amount of damage when it finds its way into your house. And it’s VERY good at finding its way in. Looking at our sill, there was apparently just a small rotted area.
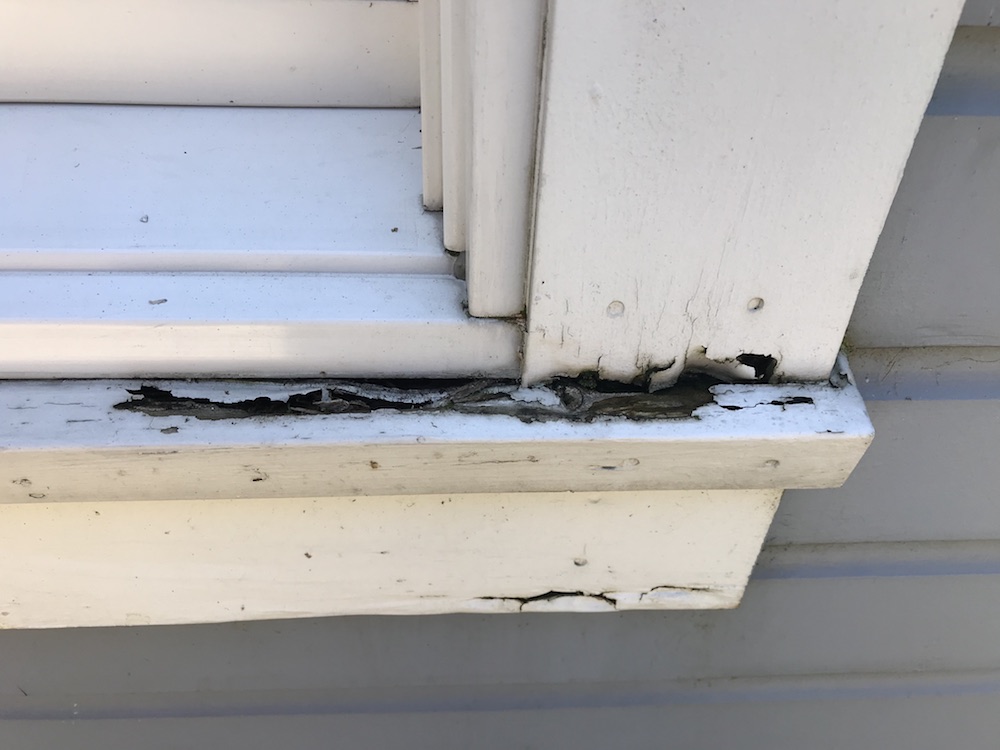
When I started pulling things apart, I found extensive damage to the sill. The siding behind it was also wet and rotted, as well as the apron trim under the sill. There was also a small area of rot at the bottom of the side casing. Unpleasant surprises are the norm when you decide to fix a rotted windowsill. Don’t let it intimidate you, though; it’s not all that hard to deal with. Grab your tools, and let’s get it done, before it rains again!
Tools You Need To Fix A Rotted Windowsill
Fortunately, the tools and techniques needed to fix a rotted windowsill are pretty fundamental. You’ll need a pry bar, a claw hammer, a utility knife, a tape measure, a circular saw, and either a sharp chisel or an oscillating multitool to cut out the rotted stuff you’re sure to find behind the trim. If you have access to a table saw, it will make it much easier to cut the angle on the new sill. If not, it can be done with a circular saw and a steady hand. You’ll also need some sandpaper, primer and a paint brush.
I Don’t Mean To Pry…
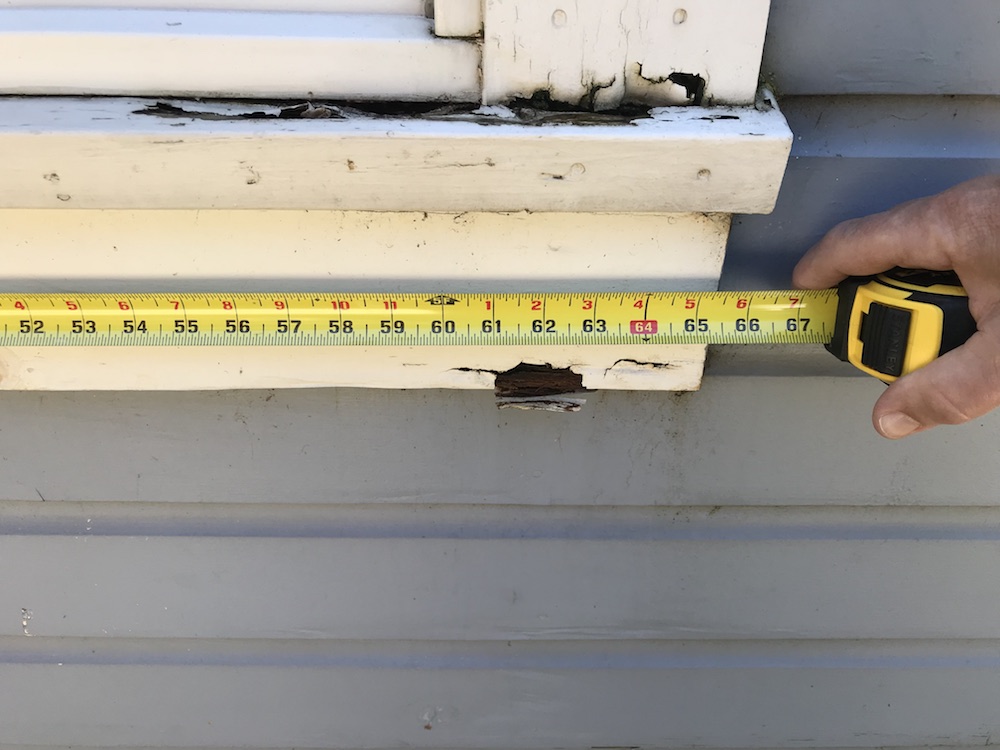
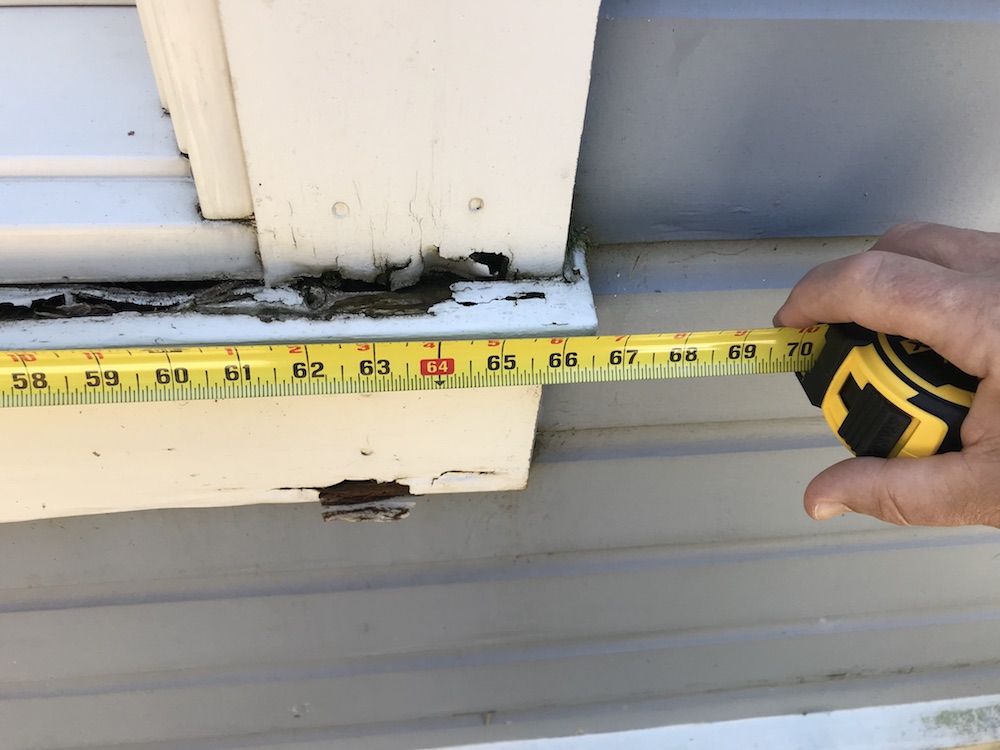
Before you go shopping for materials to fix a rotted windowsill, you need to know how extensive the damage is. Note: Before you start your demo, make a note of how long your sill and apron are, as well as any other rotted trim you’ll be pulling off. Now let’s get cranking!
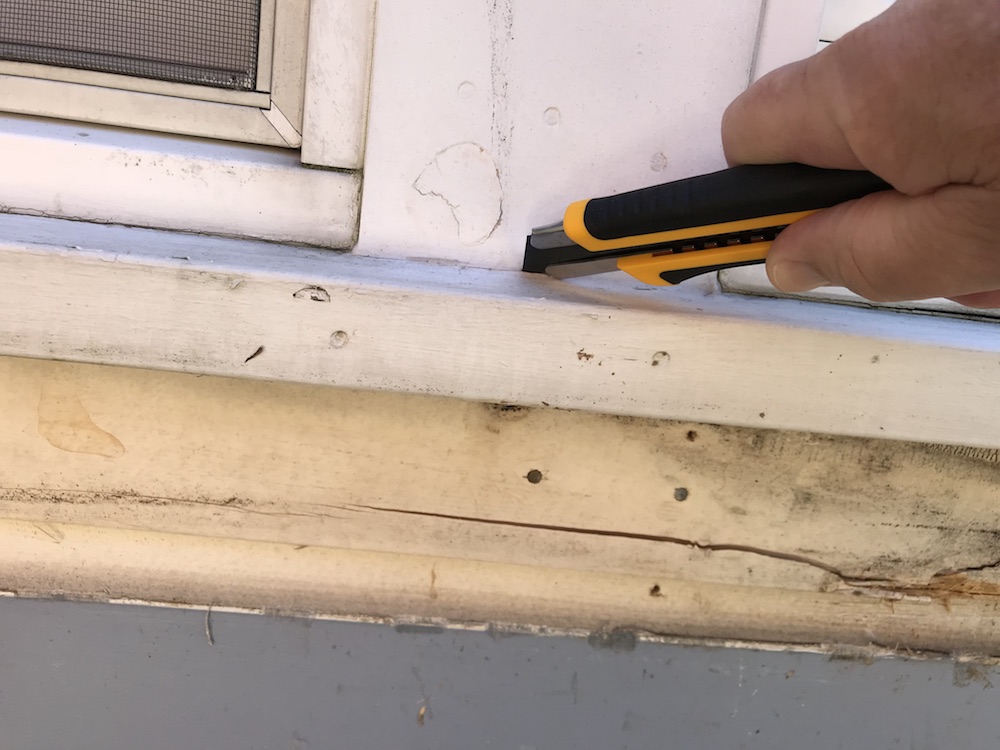
Start at the bottom, with the apron trim, and work your way up. To avoid peeling paint off of siding and trim that will be staying, use a utility knife to score the paint and caulk where they meet.
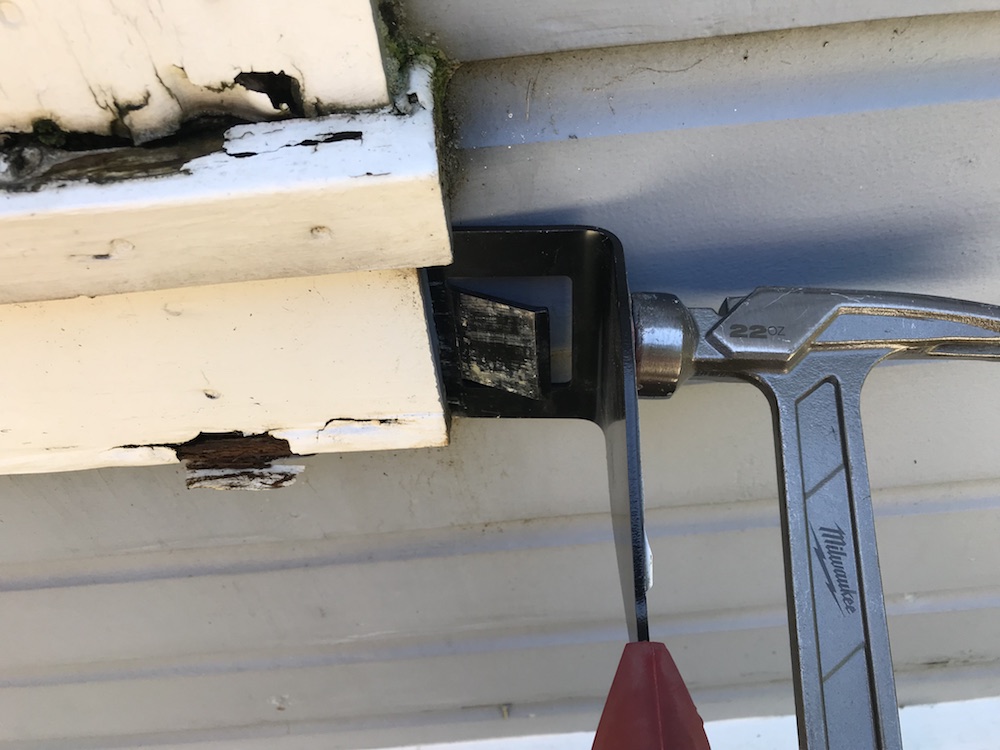
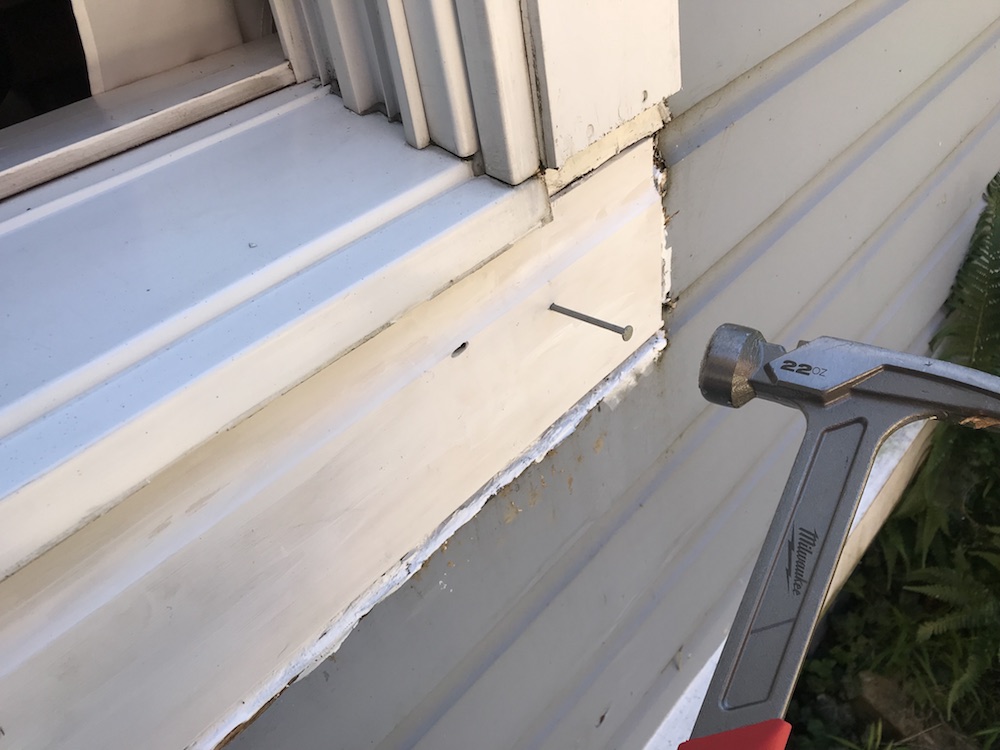
Get your pry bar behind the apron by gently tapping it with your hammer, and slowly work your way from one end to the other, prying slowly and being careful not to scuff or dent your siding.
Once the apron is off, repeat the process with the sill. Again, make sure you score any areas where it contacts trim that won’t be removed. If there are nails left behind when the trim is off, make sure you pull them out. Make sure you save a piece of the sill, so you can use it to match the angle when it’s time to cut the new sill.
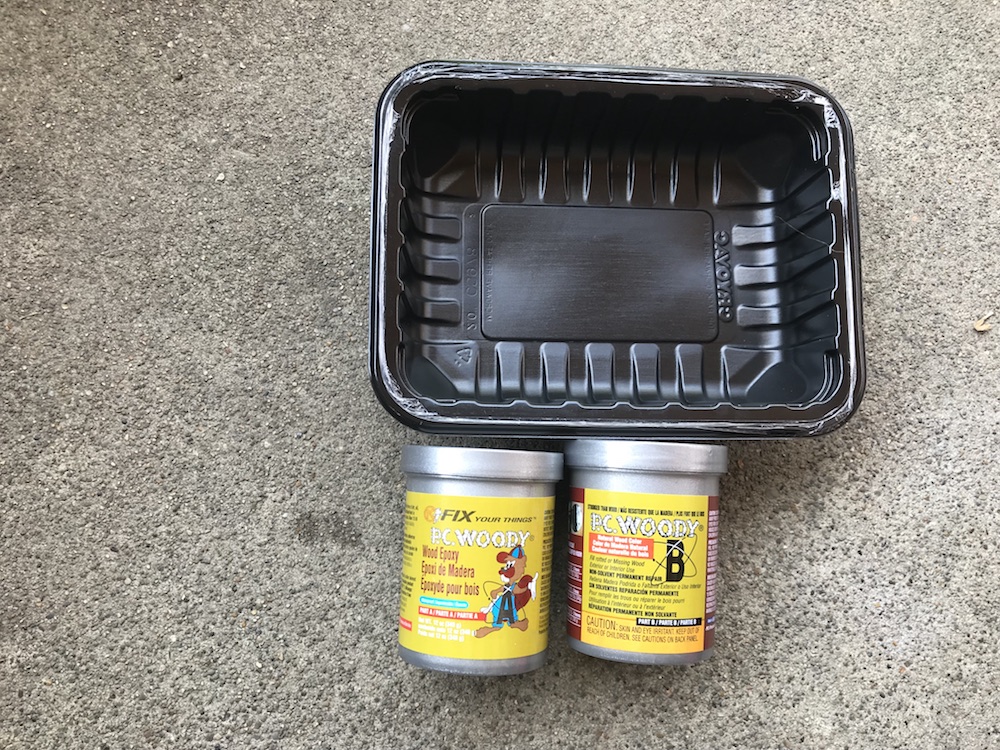
If the rot extends vary far into your vertical trim, you may have to pull it off and replace it as well. If it’s not extensive, there’s another option: cut out the rotted area, and use epoxy wood filler to fill in the gap. It’s not too expensive, and when mixed and installed properly, it’s actually stronger than wood, and it can be shaped, sanded, nailed, screwed and painted. That’s what I use to fix small areas of rot on any trim when I fix a rotted windowsill.
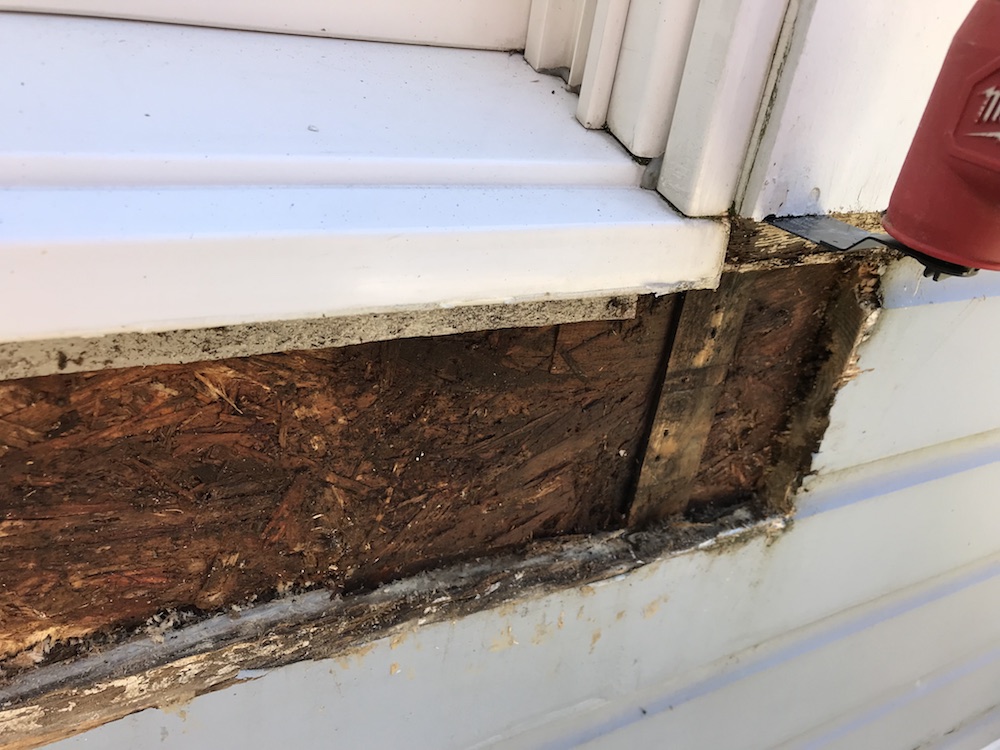
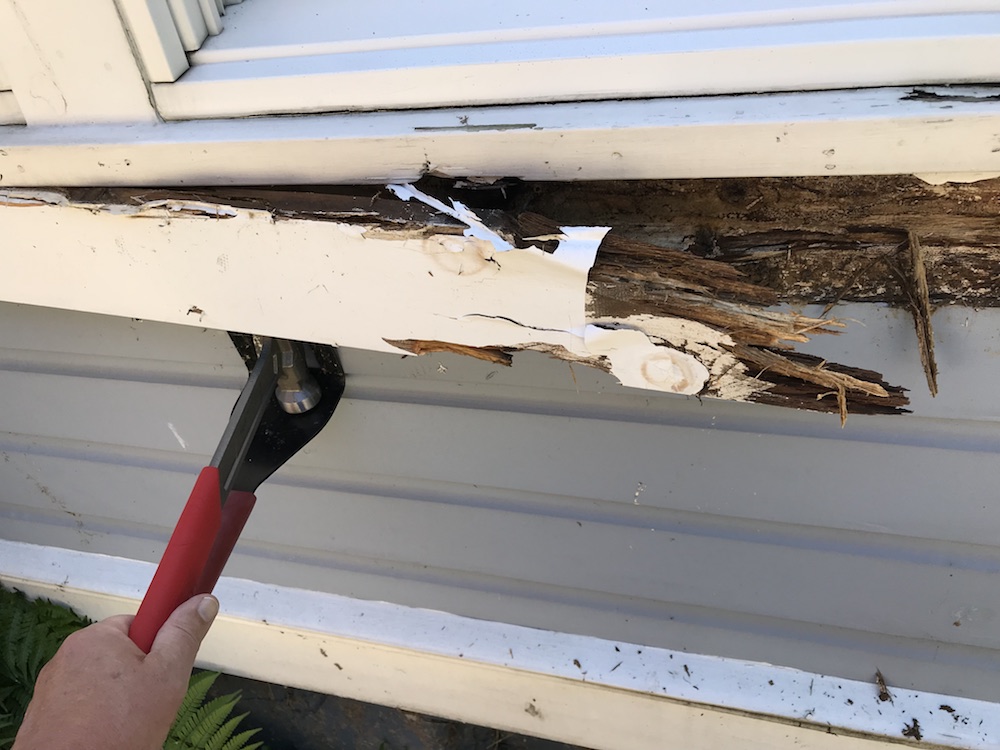
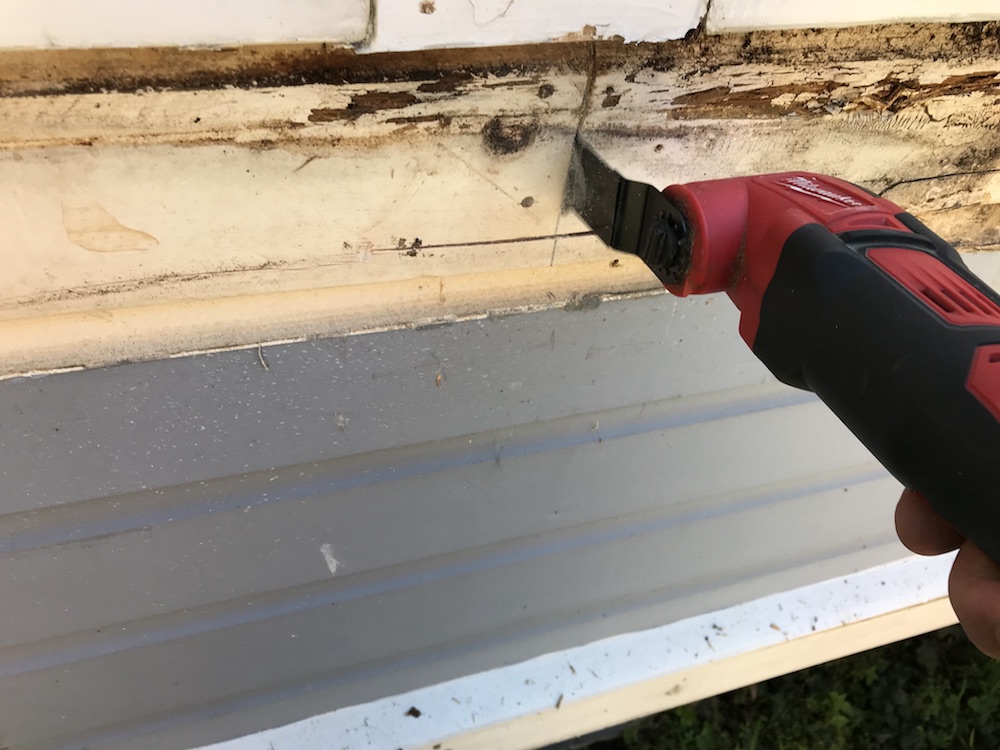
Once the damaged stuff is off, take a good look at what was behind it. If the sill was pretty rotted, there’s a good chance that water worked its way in behind it, and rotted siding, and possibly even framing members. Use your chisel or multitool, and get rid of any wood that’s rotted, crumbling or punky.
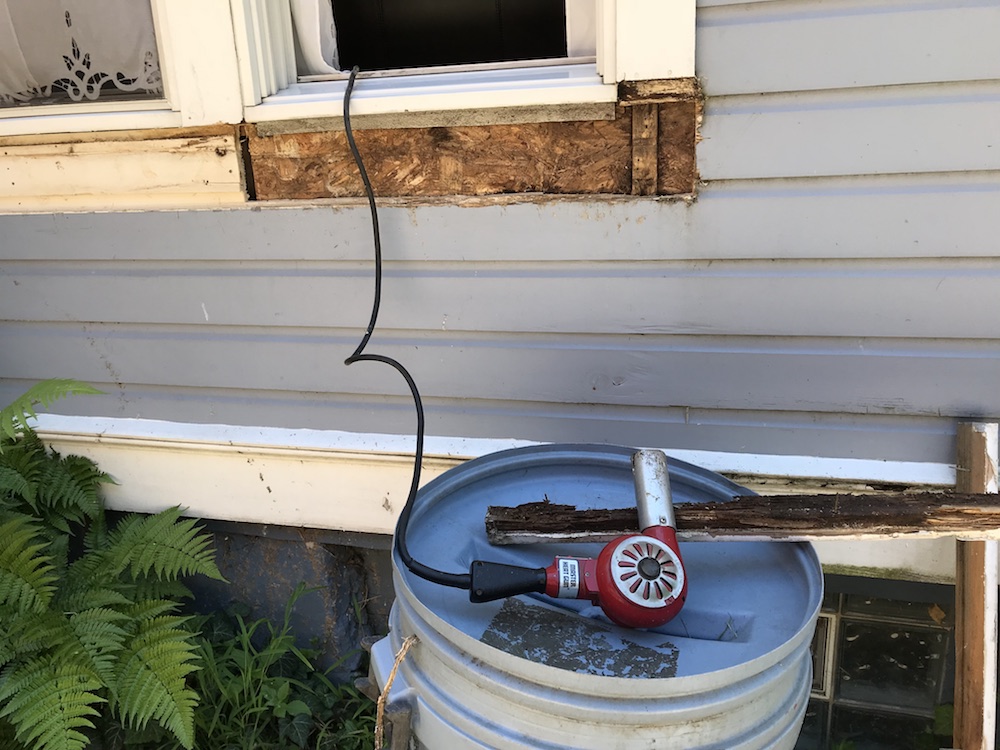
I had to cut out a piece of the siding that had been behind the apron, and some of the sheathing behind it was damp but not rotted. If you have any wood that’s solid but damp, make sure you let it dry completely before you put everything back together. I left it open for a couple of days of sunny weather, and finished the water banishment by using a heat gun for a couple of hours. If you go that route, don’t keep the gun close to the wood for long; some heat guns get hot enough to start a fire. I had mine a couple of feet away, propped up and aimed at the damp area.
Getting The Materials You Need To Fix A Rotted Windowsill
It’s easy to figure out what you need to fix a rotted windowsill once the bad parts are out. There are many sizes and styles of windows, of course, and you want to match what was there as closely as possible. Many window sills, including ours, are 1-1/2” thick. This makes replacement simple, as the new sill can be cut from a standard 2×4 or 2×6. Measure the thickness and length of your sill, and add it to your list.
If you had damaged siding behind the apron or sill, you need to replace that too. If it will be completely covered when you install the new apron, you’re in luck – you can use any material that’s the same thickness as the old siding. If part of it will show, take a piece of the material you cut out to your home center or lumberyard, and get the closest match you can.
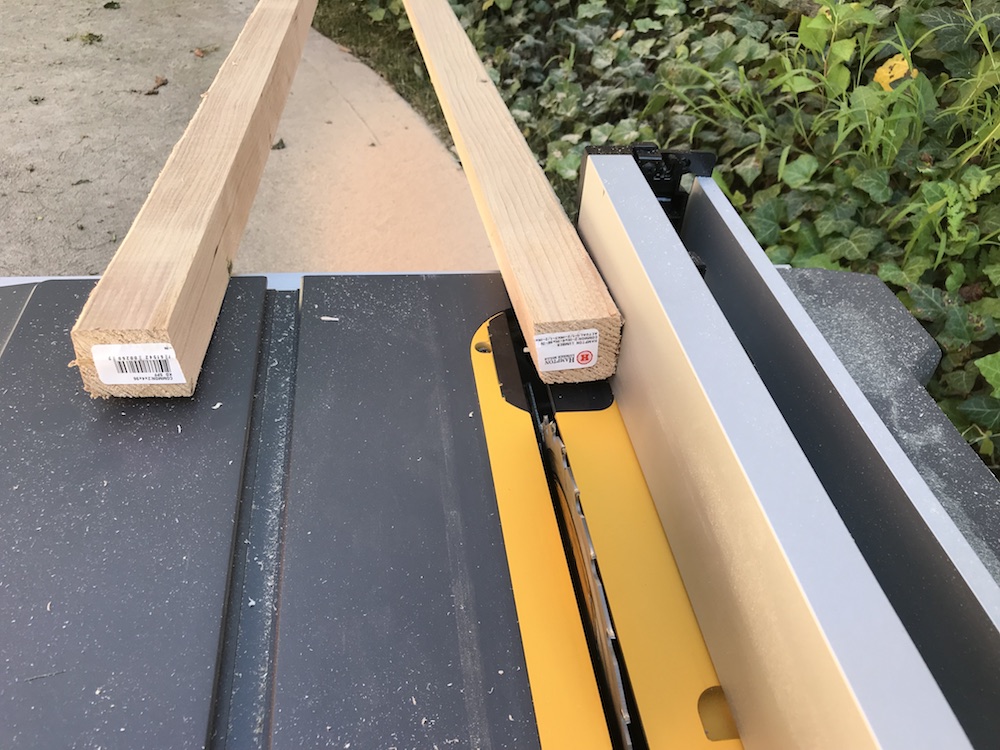
For the apron trim, and the side casing if needed, measure the width, length and thickness of the old piece. If you’re lucky (again!), it may be a standard dimensional piece, like a 1×4 (actually 3-1/2” wide) or a 1×6 (5-1/2” wide). If it’s an oddball size – ours was 4-1/2” – get the next size up, and rip it to the width you need with a table saw or circular saw.
Something you may want to consider when you’re shopping for replacement parts to fix a rotted windowsill: Many trim parts made of PVC are available. They can be cut and nailed just like wood trim, and they DON’T ROT! They are a fair bit more expensive; the 1x6x8’ piece of PVC trim I bought was $20, clear pine would have been around $8. If you’re planning on staying put awhile, I think it’s money well spent. At least next time you have to replace a rotted windowsill, it shouldn’t be that one.

While you’re shopping, grab a tube of good paintable acrylic caulk, and some galvanized nails. You’ll want some 8-penny finish nails for the apron, and 16-penny sinkers for the sill. Don’t skimp and use regular “bright” nails; they’ll rust and eventually disintegrate if they get at all damp.
Fix A Rotted Windowsill – And Help Prevent A Relapse
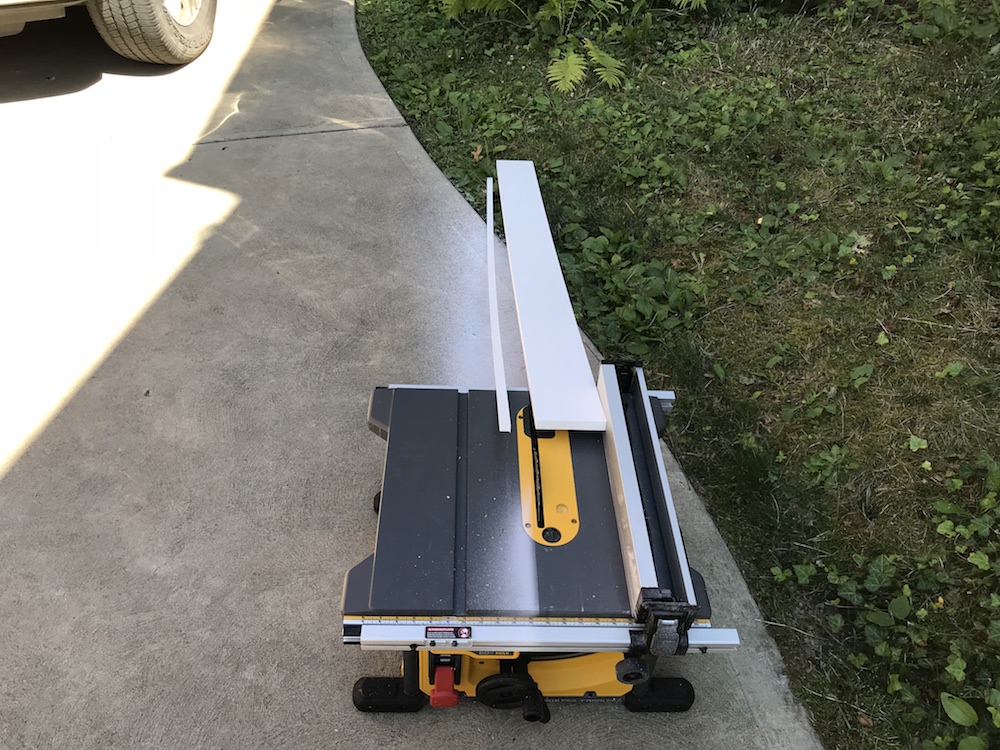
Once you’ve retrieved all your parts, it’s time to start putting everything back together. First, cut the angle on your sill. Most sills are designed with a few degrees of downward slope, to help them shed water. Some water, anyhow. If you have a table saw, set the angle on the blade to match the angle on that scrap piece of sill you saved. Then set the cutting width to match the width of the sill, and just run it through.

If you’re using a circular saw, set the angle of the blade to match the old sill, and mark a cut line on top of the work piece. Make your angled cut in the center of the piece. Keep the saw as steady and straight as you can; use a guide if one is available.
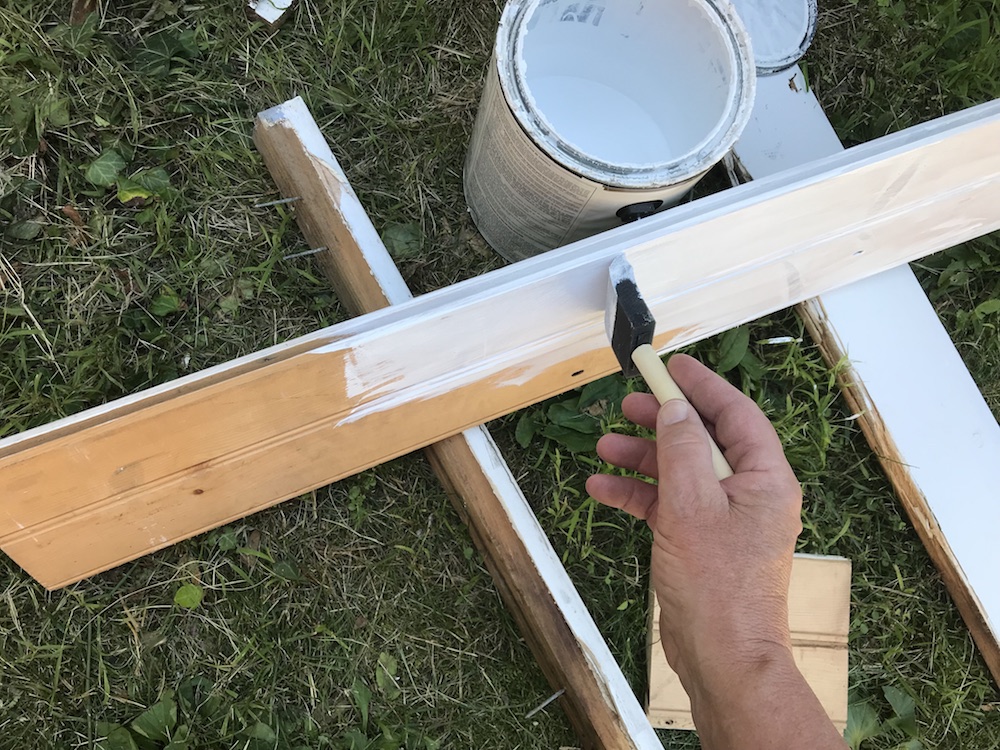
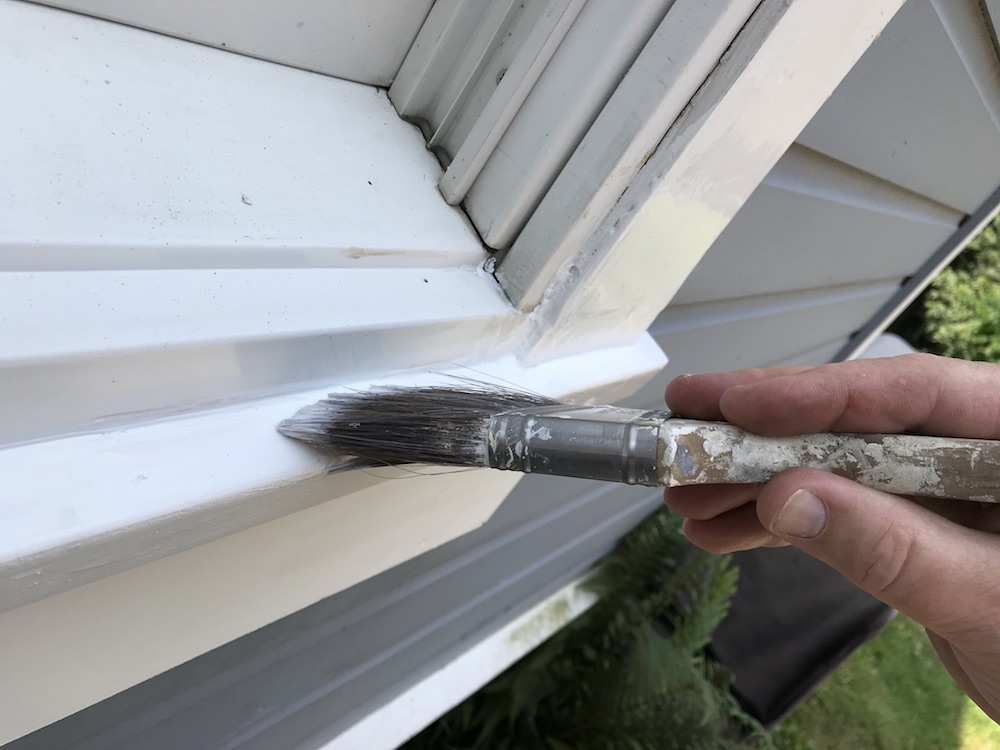
Once your angle is cut, the hardest part is done. Now cut your piece to length, and give the edges, and any surfaces that will be exposed, a good sanding. This will help them take paint better, and they’ll look much better when you’re finished. Paint ALL surfaces – even the areas that will be hidden – with a coat of good primer. Do the same with your apron trim, and any other trim pieces or siding you’re replacing. This will also help delay the next occasion you’ll have to fix a rotted windowsill.
Work your way from the inside out. Make sure everything is completely dry inside, and replace any sheathing and siding, attaching everything with galvanized nails. Caulk any seams. Next goes the sill. Usually the sill extends a short distance beyond the side casing trim on each side; make sure the sill is centered, with an equal overhang on each side.

Push the sill up snug to the bottom of any vertical trim, and nail it in place using your 16D galvanized nails, making sure the nails are positioned to go into the framing members (studs or window framing). Now attach the apron. Normally the apron is shorter than the sill, and sized to line up with the outside edges of your side casing. Push the apron up snug against the sill, and nail it with 8D galvanized finish nails, again trying to hit framing members whenever possible. Caulk any seams.

If you have vertical trim to replace, cut it to fit, keeping in mind that the surface that rests on the sill should have a slight angle cut, to match the slope of the sill. Make sure to match any reveal on other areas of the window, and to line up the outer edge with the edge of the apron trim. Caulk any seams.
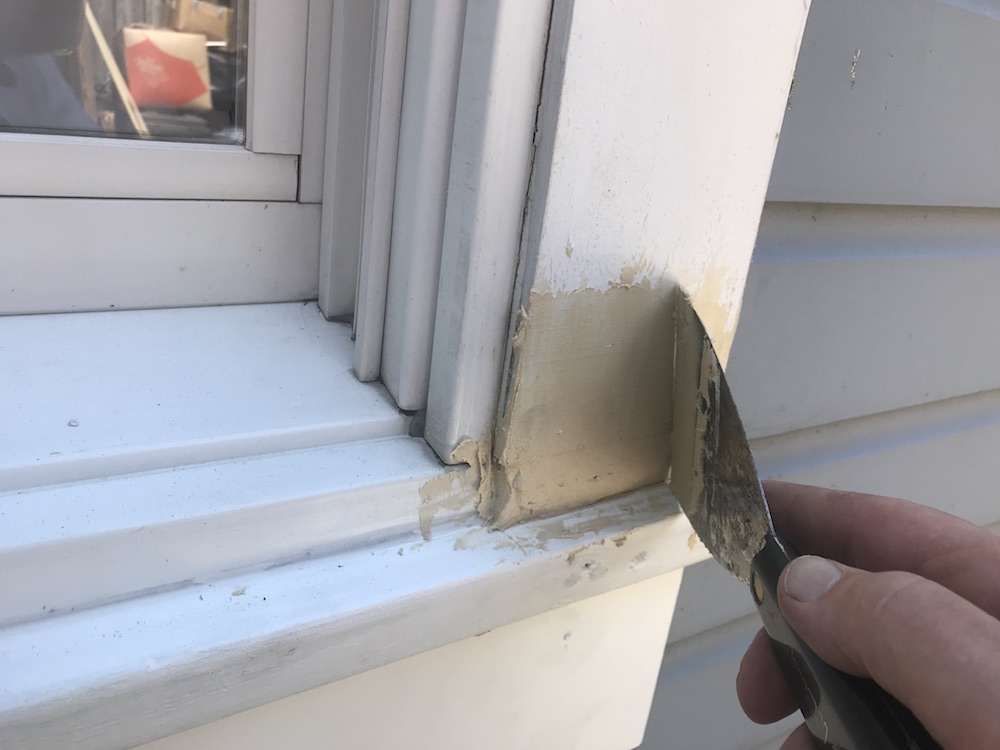
If you had a small area to patch, like I did, now’s the time. Unless the space you’re filling is very small, it’s a good idea to add a little “rebar” to give the filler something extra to grab onto. I used a couple of construction-grade screws, screwed into the siding and studs, and set about 1/4” below where the finished surface will be.

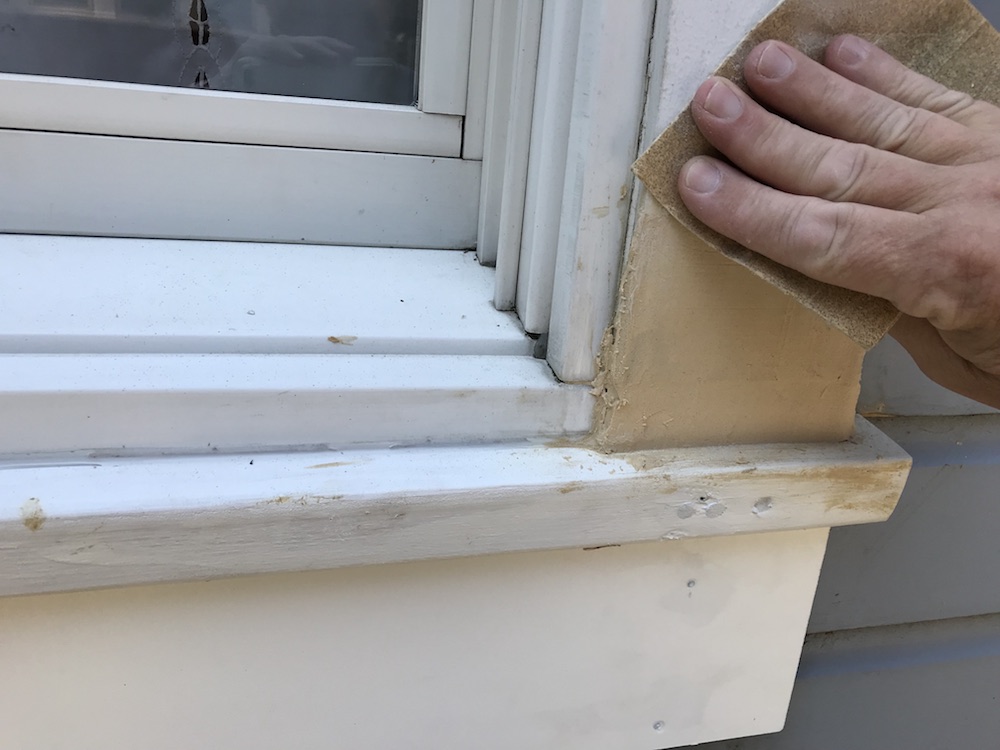
Mix up your epoxy wood filler following the directions on the container, and fill in the gaps. Use a putty knife to get the surface as smooth and close to the existing trim as possible. Let it set up according to the directions, then sand it to blend in with the rest of the trim, caulk it, and prime it.
Once everything is in place, the final step to fix a rotted windowsill is to put a coat or two of good-quality exterior paint on all your repairs. This, of course, will look all spiffy and new, whereas the rest of the trim may not have seen a paintbrush for a while. Try cleaning the remaining trim, and hopefully it will be close enough that it won’t bother you. If you just can’t stand it, repaint the rest of the trim on the window.
And that’s it – now you know how to fix a rotted windowsill! Hopefully that was the only one; if not, rinse and repeat. And if the issue was due to an overflowing gutter, check back soon, and we’ll show you how to add a downspout, so you can make the water go where YOU want it to go.
Very helpful guide. Thanks for sharing with us.
Our pleasure – and good luck with your project!