

If the owner of your lawn mower is anything like the owner of mine, they sometimes neglect the blade for way too long. What can I say? If it still cuts, sharpening tends to slip my mind. But if you use your lawn mower the blade will get dull. And performance will drop off over time. Today we’ll show you how to safely remove and sharpen a lawn mower blade, for a faster, cleaner cut that requires less effort and less gas (or electric power). Let’s get busy; that lawn isn’t going to mow itself!
Not The Sharpest Tool In The Shed
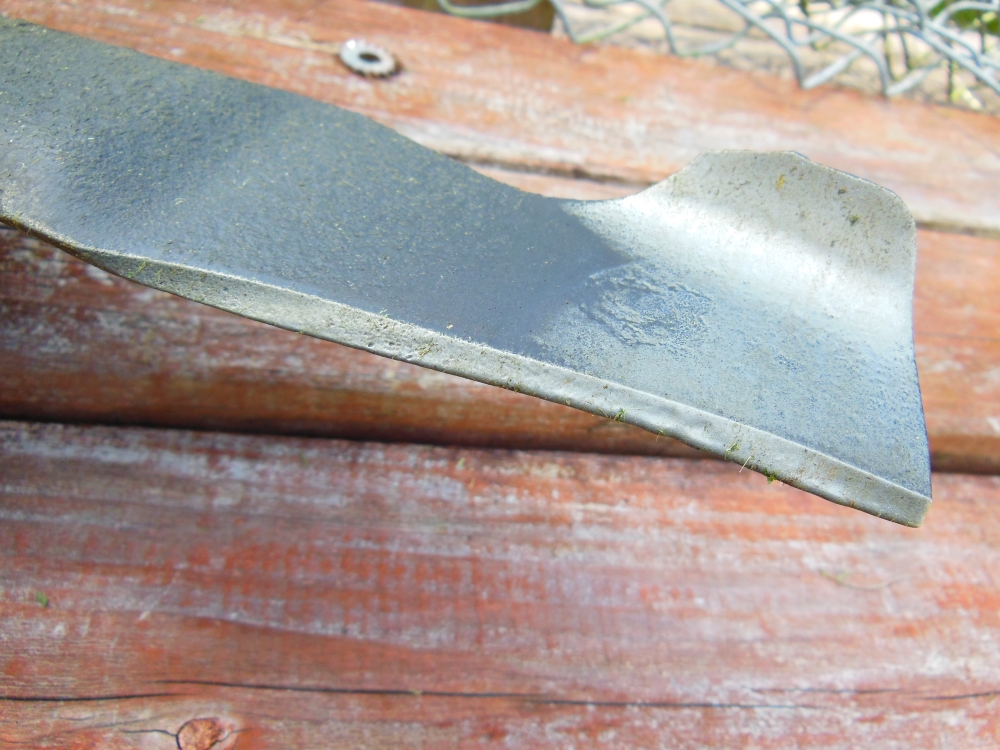
For the past nearly two years I’ve been guilty of cutting the lawn with a dull mower blade. It doesn’t have to be super sharp to “cut” grass; whack anything hard enough and it’ll rip apart (think “string trimmer”). But with a dull blade you have to walk slower and make a second pass over taller, thicker grass. It also puts more wear and tear on the engine.
A common recommendation is to sharpen every 20-25 hours of mowing time. Unless they do a ton of mowing, however, the average homeowner can likely limit sharpening to once a year. But if they run over a lot of sticks – like I do (and usually on purpose) – they should probably be sharpening twice a year.
Danger Will Robinson! – Pull The Plug On That Spark Plug, Power Cord, Or Battery!
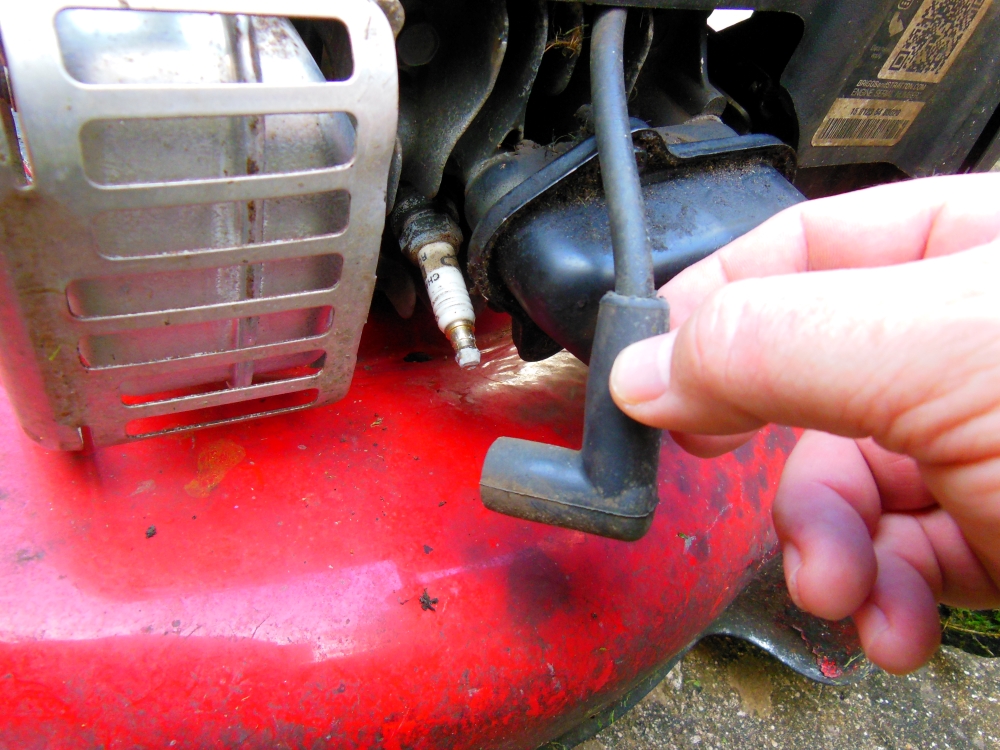
WARNING! Whether your gas powered mower is pull start or key start, the first thing you need to do is disconnect the cable from the spark plug to eliminate any chance of an accidental start. For electric mowers, unplug the power cord or remove the battery pack.
Whenever you manually rotate a lawn mower blade, you’re performing exactly the same action as the starter. And as you can imagine, the last thing you want is to have the engine start – or even try to start – while you’re messing around in the undercarriage.
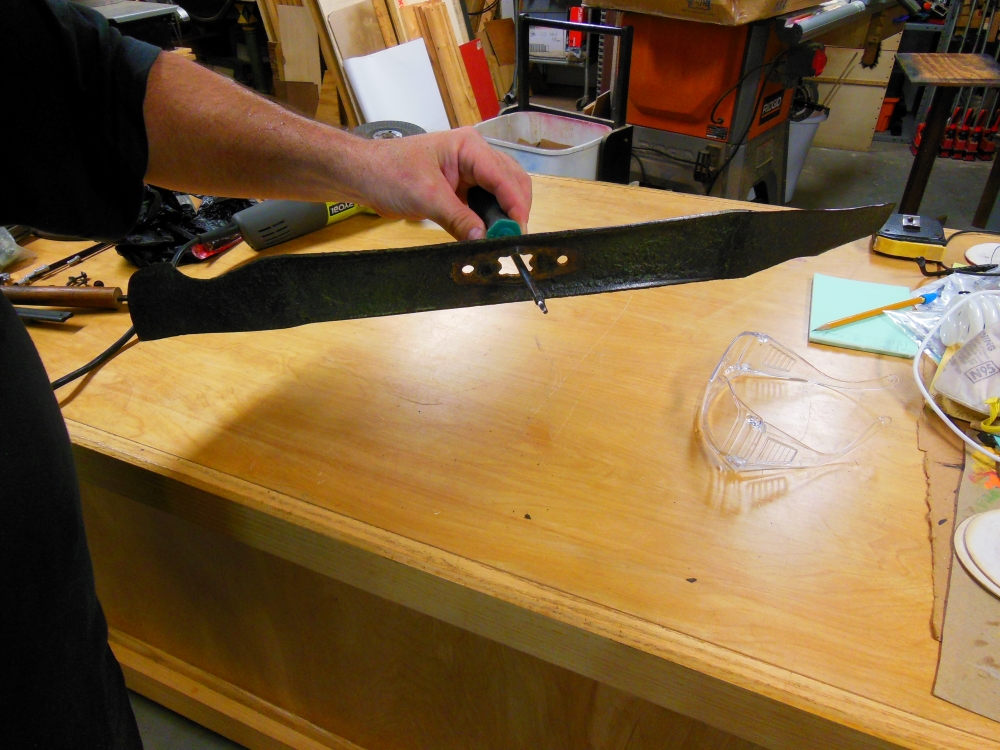
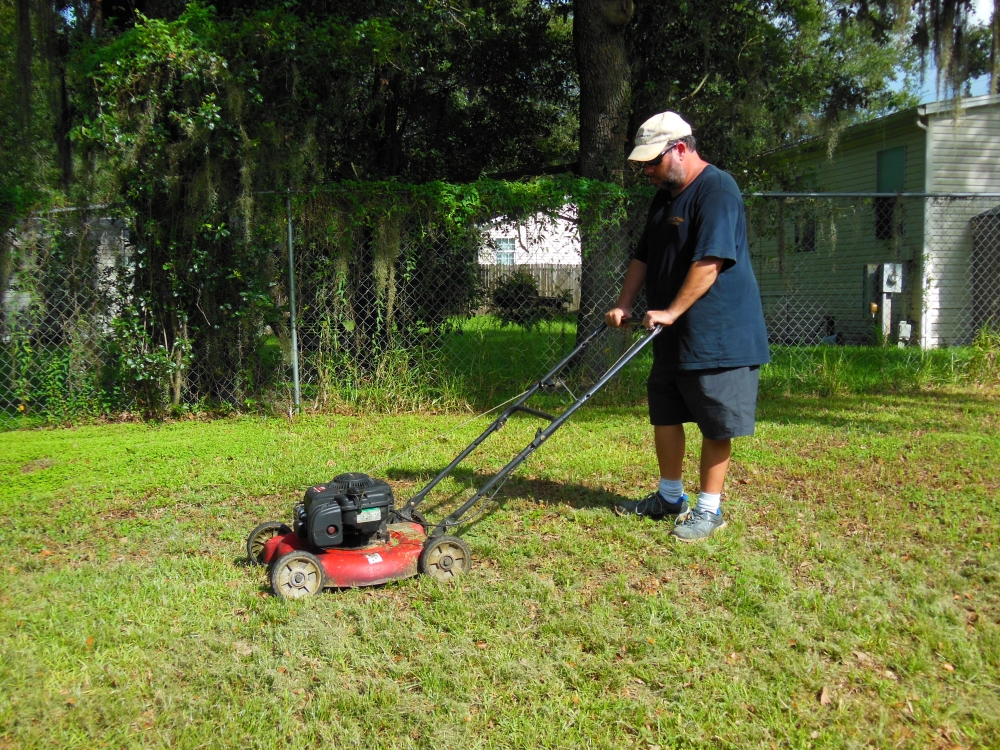
There are different types of mowers and blades. Mine is a basic 20” walk-behind gas push mower with a pull starter and side ejection chute. Yours may vary, but the same ideas can be adapted to pretty much any mower or blade. One thing that definitely carries over is that you should pull the spark plug cable before attempting to remove or install a blade.
Tip The Mower On Its Side – The Correct Side
Mower gas caps never seem to seal very well. So I like to wait until I’ve run the tank dry before sharpening the blade. Otherwise, gas will spill out onto the ground.
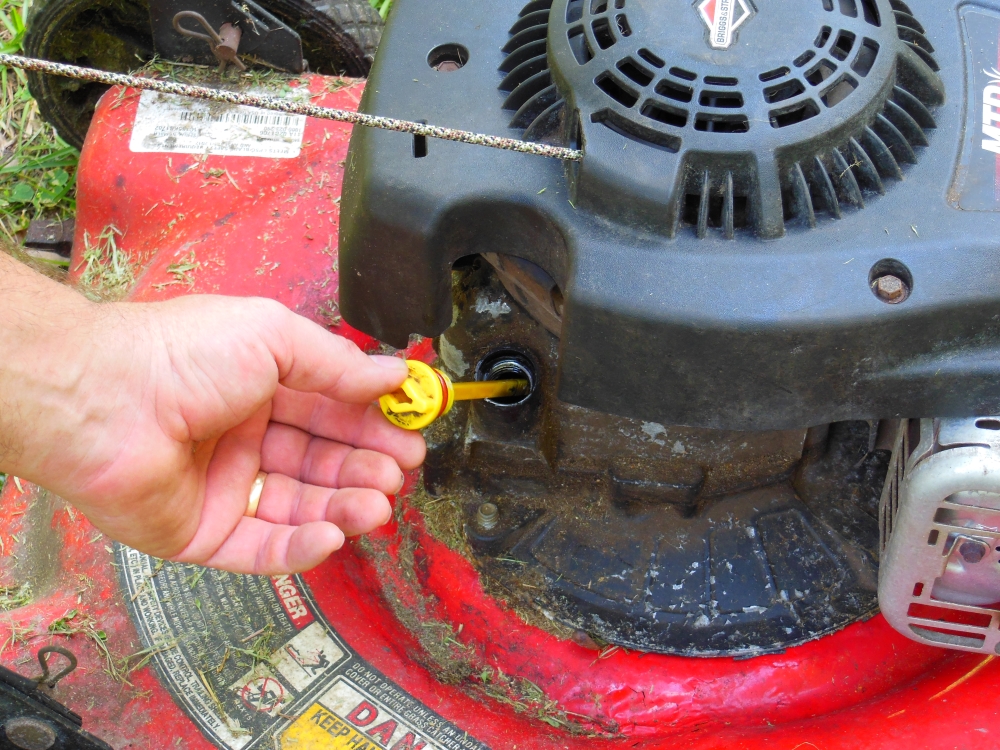
Lay the mower on its side to access the blade. For gas powered mowers, make sure the carburetor side of the engine faces up. It’s usually the same side of the mower that the grass blows out of (your right, as you stand behind the mower), but look to be sure. If laid with the carburetor down, oil can run through and gunk up the air filter (and cause other problems).
Rebuilding a lawn mower carb isn’t all that difficult, but it might take me away from the more enjoyable carb-indulgent activities: junk food and beer.
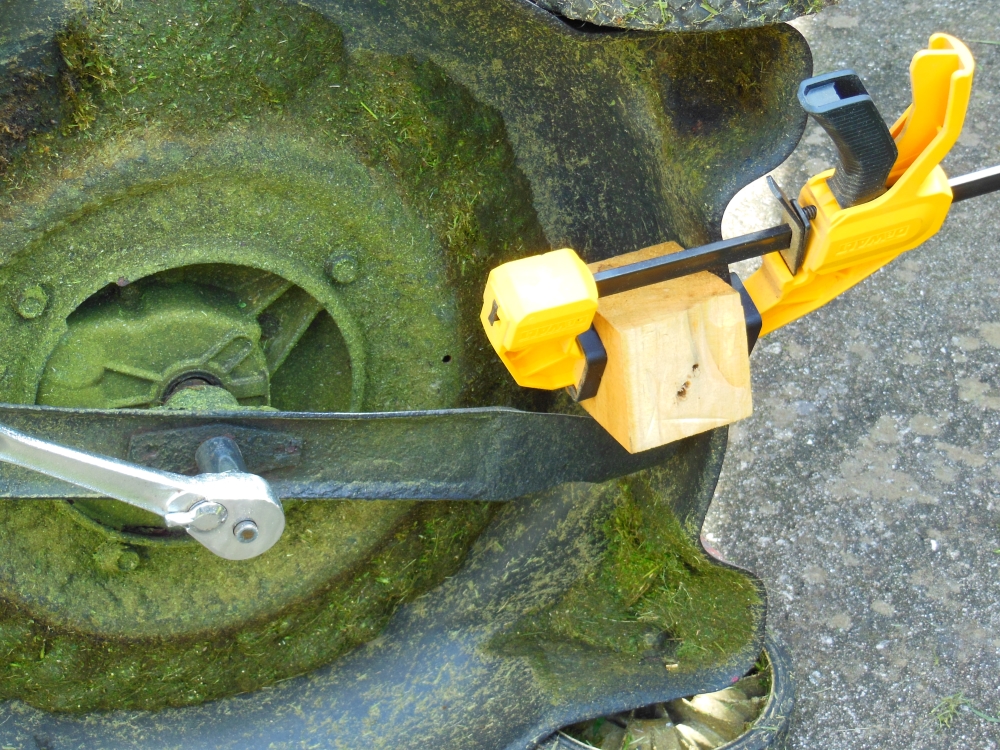
Removing The Blade – Lefty Loosey Righty Tighty
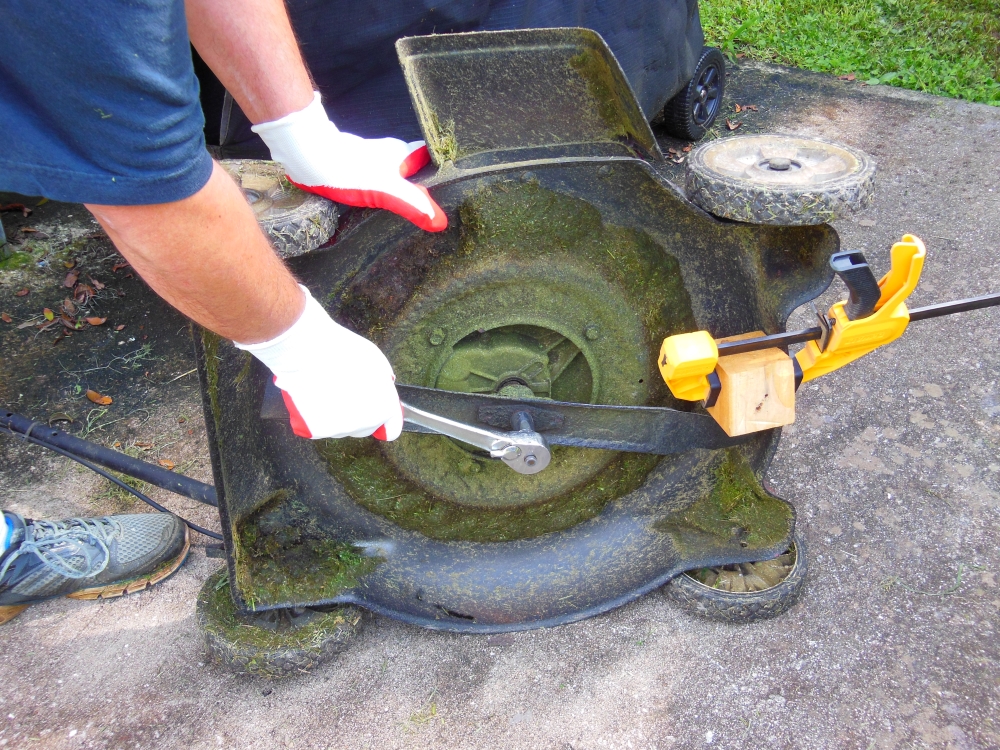
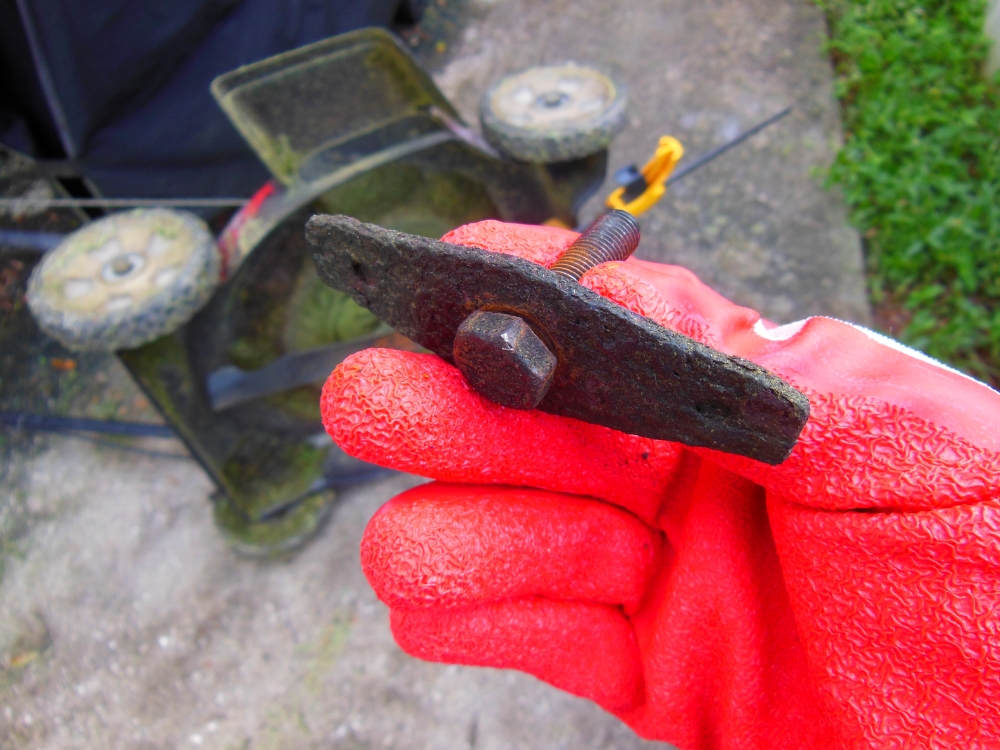
A block of wood clamped to the housing holds the blade still while you loosen (or tighten) the mounting bolt.
How To Sharpen A Lawn Mower Blade
Some people sharpen lawn mower blades with a file or bench grinder, but it’s quicker and easier to use an angle grinder. Grind the bevel, not the flat, bottom surface of the blade. Do your best to preserve the bevel angle (usually around 45°) and don’t allow the cutting edge to get too hot.
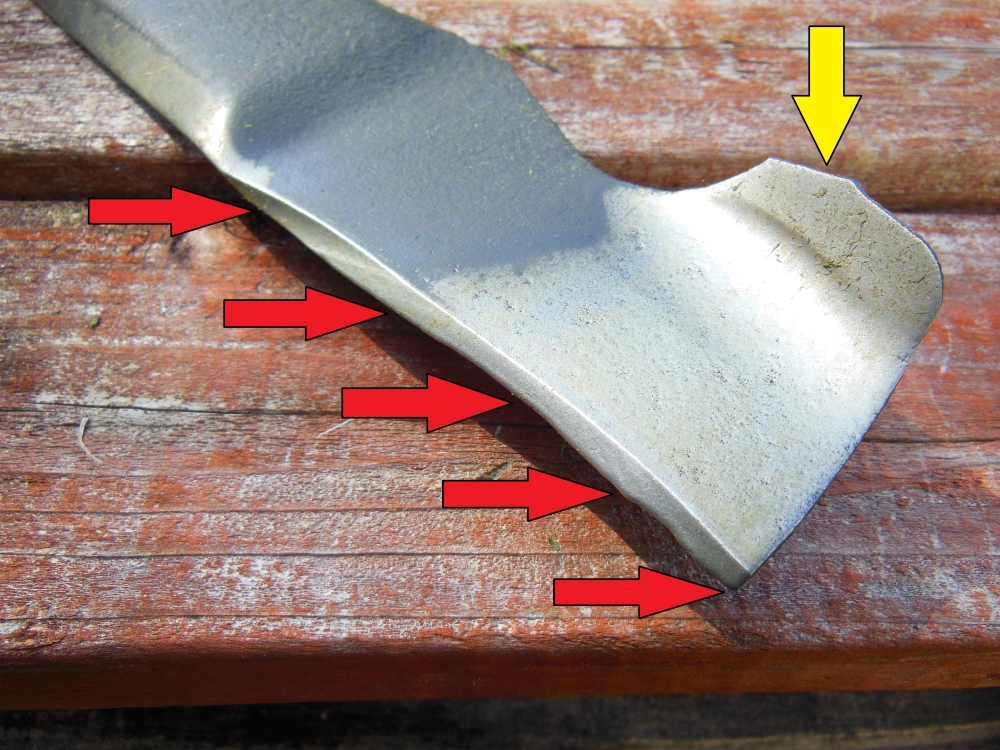
Whether you use a file or a grinder, start each pass or stroke closest to the center of the blade and work towards the end. This lowers the likelihood of catching on the corners (or rounding them over). The same goes for mulching blades – which usually have a hump in the middle of the cutting edge – but you’ll have more contours to navigate.
Sharpening With A File Or Angle Grinder
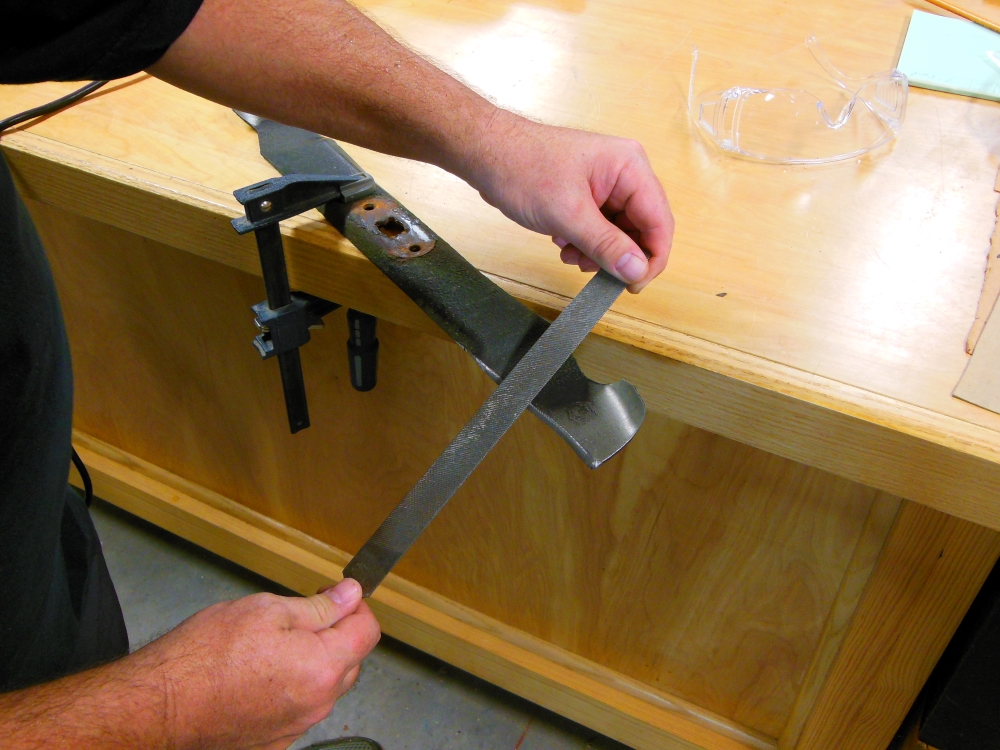
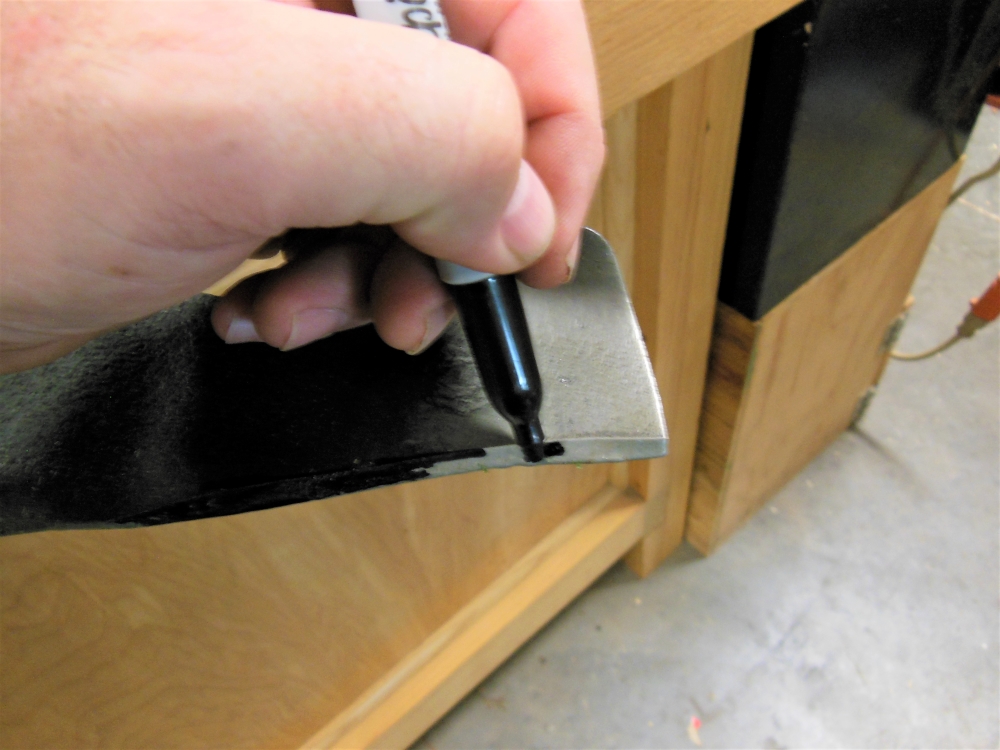
Clamp your blade to a sturdy bench and start on one of the two cutting edges. You want to keep the blade in balance. So don’t try to sharpen one side all at once. Instead, make a little progress on one, then rotate the blade and do the same number of passes on the other. Continue back and forth until both cutting edges are sharp. Reapply marker as needed.
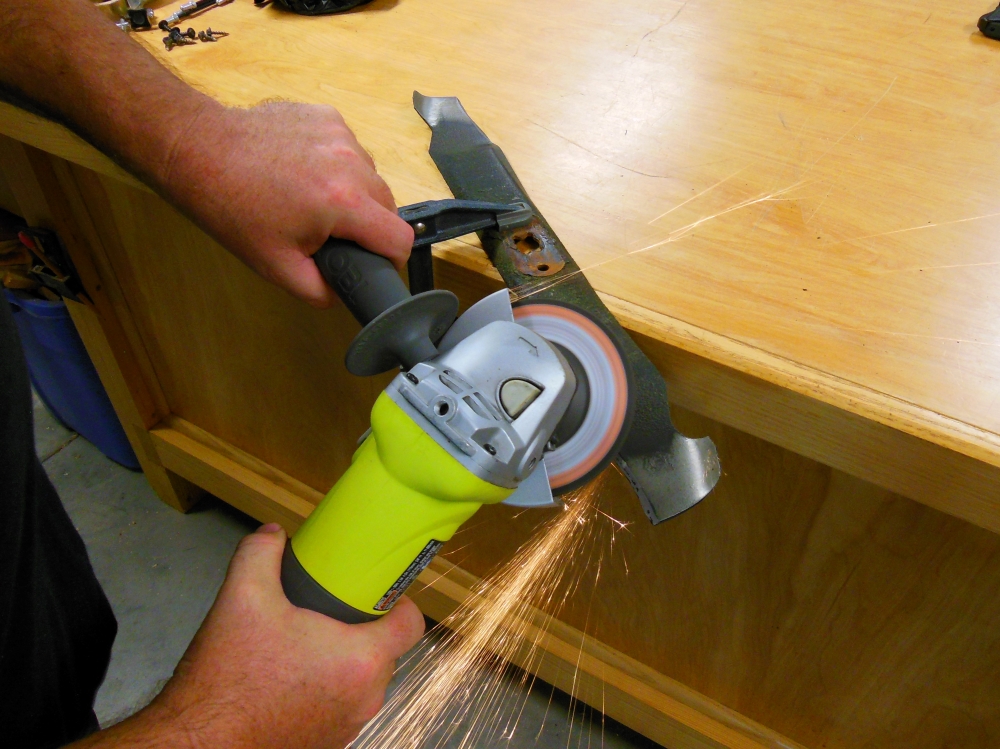
With an angle grinder, I like to use the right side of the grinding disc (the side coming towards me) because there’s less of a chance of catching on the blade. But I may be biased by my left-handedness. Do what works best for you. Just be sure the blade is clamped tightly, wear eye protection and be careful.
Burr – Cold, Hard, Sharp Steel

As you establish the fresh cutting edge, it’s often best to handle particularly nasty dings simply by deviating from the line a little. A sharp, wavy edge beats a blunt, straight edge all day long. Preserve the original contours the best you can, yes; but don’t waste away half of the blade chasing the perfect edge. And remember, if you remove a lot of material from one end of the blade you have to do the same to the other.
Also, your sharpening efforts may raise a burr on the back side of the blade. Remove it with a quick pass of the angle grinder or with a flat file angled nearly flat against the back of the blade. A quick de-burring can make quite a difference.
Keeping Your Lawn Mower Blade In Balance
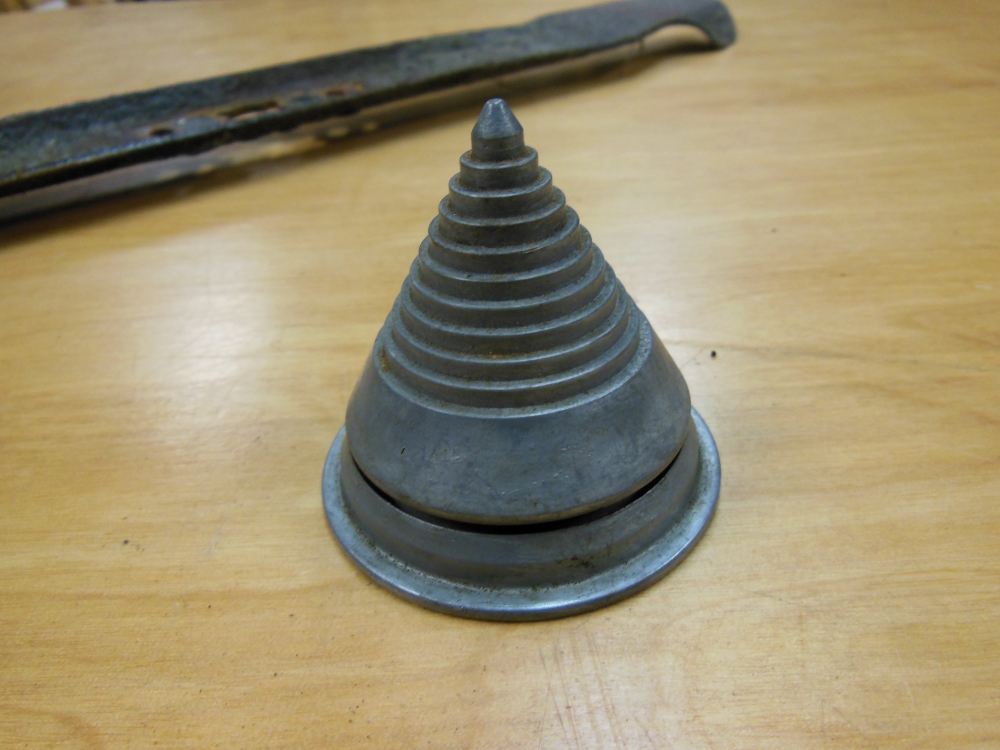
Before reinstalling your newly sharpened blade, verify that it’s reasonably well balanced. An out-of-balance blade will cause excess vibration and can make your hands feel numb and springy. It also subjects your mower to needless wear and tear. And if it’s bad enough, it can vibrate bolts and other parts loose. So it’s worth checking.
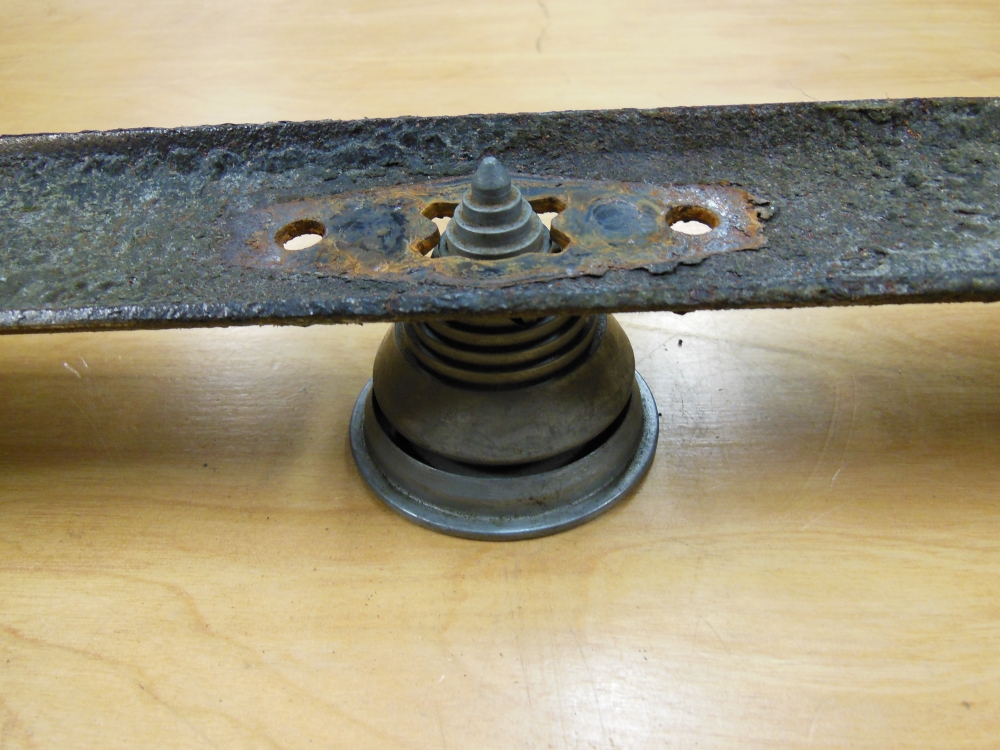
As long as you’ve removed about the same amount of material from both cutting edges of the lawn mower blade, you’re probably good to go. But if one side is a little heavier, make several more passes over that side’s cutting edge and check again. Continue until the blade sits level on the balancing cone.
Reinstall The Blade
Reinstall the blade with its wings and sharpening bevels facing “upwards”, towards the underside of the mower and away from the ground. The cutting edges should lead as the blade rotates (counter clockwise, when viewed from the bottom). Finally, remove the wooden block, set the lawn mower upright and, for gas mowers, reconnect the spark plug cable. Now refill the gas and cut some grass!
If you have to rock the mower back and forth through denser grass; if you have to push the mower slower to get the same results, or; if your grass develops brown tips a day or two after mowing, it’s probably time to sharpen your lawn mower blade. Given how easy it is, there’s no reason to put it off as long as I did or to waste money buying a new one every time it gets dull.