
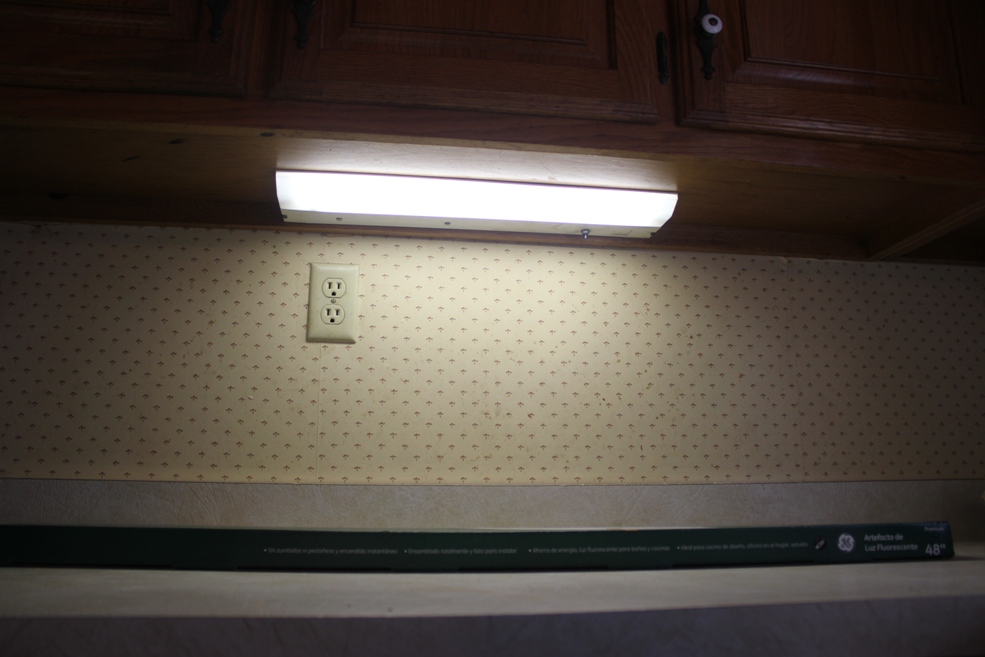
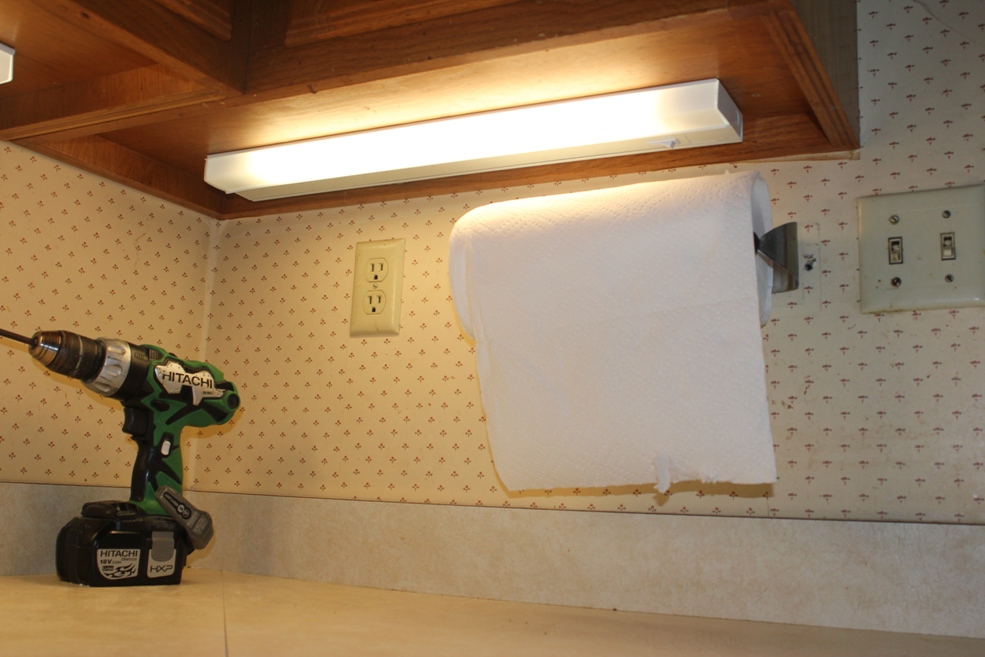
 Hearing scary scrabbling noises coming from your kitchen at night? Need some task lighting while slicing and dicing your empty beer cans and rusty nails with your Ginsu knives? Often, the light from overhead kitchen fixtures leaves a lot to be desired. It may be coming from flickering fluorescent fixtures, or recessed lights that don’t quite hit the G-spot (that’s G for Ginsu…). You may even have a sad, underpowered little unit like the one at left, begging to be replaced. Fortunately, if you have upper cabinets, it’s pretty easy to get lit up; the recessed area under most upper cabinets provides the perfect platform from which to light up your world.
Illuminating your options
As you begin your quest for illumination, you will encounter three basic types of under-cabinet lighting: battery operated, hard-wired or plug-in. If you’re doing new construction, or remodeling and have access to wall cavities to do some wiring, hard-wired is definitely the way to go. You’ll be able to control all the lights with a single switch, you won’t have wires dangling into your culinary masterpieces at inopportune moments, and you won’t be tying up all your outlets. Whichever route you go, you’ll want to get the biggest fixture that will fit the space, to provide maximum coverage.
The other choice you’ll face is the type of bulb. From least to most energy-efficient, they are tubular incandescent; halogen, which is dimmable, and provides light most like natural daylight (they also get fairly hot); Xenon (which I think comes from Superman’s home planet — China?), which burns cooler and lasts longer than halogen; fluorescent, which is available in various configurations and offers bulbs in cool and warm shades; and LED’s, which are by far the coolest and most energy-efficient. They also tend to be the priciest, but the cost has been coming down, and when you factor in the longevity (which can be ten years of constant use) and energy savings, LED’s are well worth considering.
Hard-wiring Made Easy
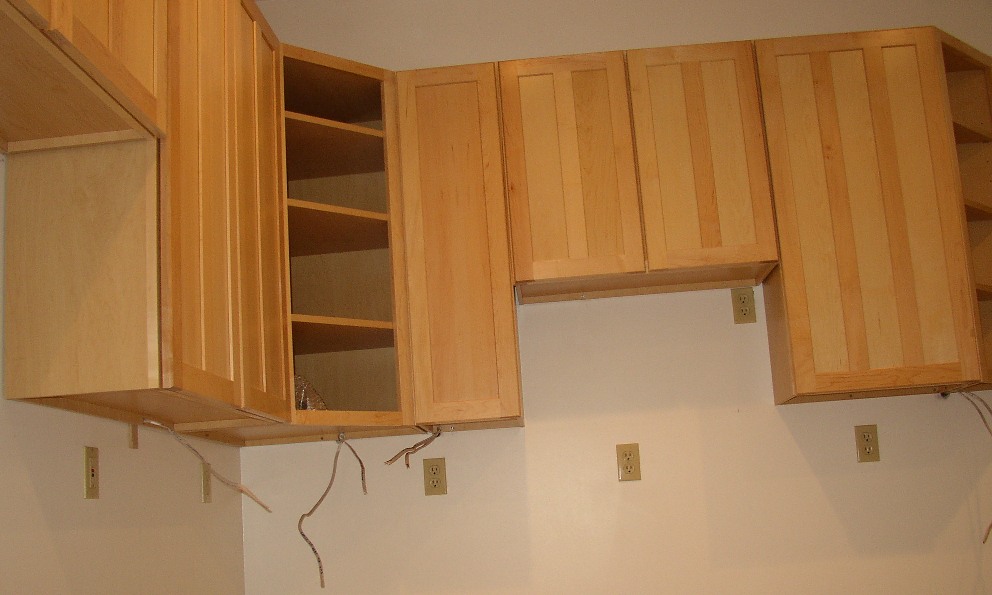
If you’re able to go the hard-wired route, a little planning is required. You need to know the exact height of the upper cabinets. Most cabinets have a recessed area about an inch deep under them, and your goal is to have the wiring for the lights extend through the back edge of this recessed area, and then straight into the back of the light fixture.

Most fixtures have one or two knockouts on the back, where you’ll want to install a cable clamp to protect the wiring as it enters the fixture. (Some fixtures will come with the clamp; if not, any hardware or home center will have them). If you don’t, somewhere down the line the interaction of sharp edges + live wires may earn you the nickname “Sparky.” If neither of the knockouts is where you want it, just drill a hole the same size anywhere along the back (making sure it won’t interfere with any of the guts of the light when it’s reassembled), and make sure to use a cable clamp.

Making the Connections
Wiring is pretty straightforward on these fixtures. Generally, they’ll have a white (neutral) wire, a black or red (hot) wire, and a bare or green (ground) wire. These wires will match up with the same color wire coming into the fixture. If you have several lights, all of which will be controlled by the same switch, you’ll be running two pieces of cable into each: one from the light switch or previous fixture, and one out to the next fixture. The cable going out to the next fixture gets wired together with the current fixture, again matching colors, and should exit the fixture through its own cable clamp, as the clamp on many low-profile fixtures is too small to accommodate two pieces of Romex cable.
Screw ’em Up
After running the cable into the fixture, the fixture can either be attached to the underside of the cabinet, or left dangling onto the countertop below. Most spouses of my acquaintance are not amused by the second option. The majority of fixtures mount with two screws, using a keyhole setup. Normally, you’ll want to center the fixture under the cabinet; to do so, first mark the center point under the cabinet. Next, measure the distance between the two mounting holes, and divide it in two. Mark that distance to either side of the center, after dry-fitting the fixture to see how far out you want it from the rear wall. After double-checking the spacing on your mounting points, drill a shallow pilot hole, being careful not to protrude into the cabinet (another area of spousal non-amusement), and screw the mounting screws about two-thirds of the way in. Slide the fixture over the screw heads and push it back into the narrow portion of the keyhole, and securely tighten the screws.

Most plug-in fixtures use the same mounting procedure. One thing to keep in mind when installing plug-in lights is to orient the fixture with the cord exiting the fixture as close to the outlet as possible. (Some fixtures allow you to choose where the cord exits, some don’t). To protect your dangling cord from flashing Ginsu knives, it’s a good idea to secure the cord under the cupboard using properly-sized cable clips.
Go Wireless
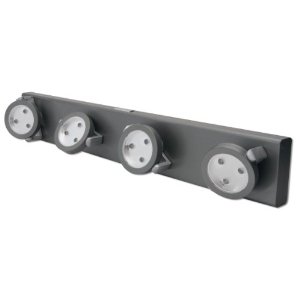
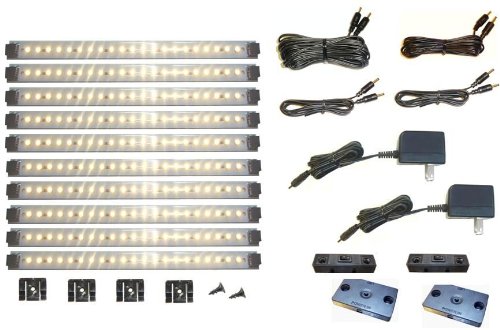
If you don’t want to rip your house apart to install hard-wired lighting, and you don’t have enough outlets (one kitchen I worked on had ONE), the remaining option is battery-powered lights. Most of the newer models make use of LED lights, so you won’t have to replace batteries every day. There are many options, from this Energizer Hard Case Professional 3-LED Puck Light single light unit to 12-LED Under-Cabinet Track Light
, available from the big box retailers, or online from Amazon and many others.

So whatever your goal, be it to banish the creatures of darkness or to better focus on your food prep and beer can disposal, adding under-cabinet lighting is a relatively quick, easy, and inexpensive way to accomplish it. Take a ride to your local home center and peruse the various offerings; most have displays set up so you can compare the various types of lights side-by-side. Bring ‘em home, hook ‘em up, and find YOUR G-spot!
I just found this web site and foresee it being a favorite of mine soon!
Hi, Joe-
Welcome aboard! Glad you’re enjoying the site. We recommend deleting all the other Favorites from your browser, and spending at least 5 hours a day on HomeFixated. Soon you’ll be the envy of all your DIY and tool-using friends!
Best regards,
Phil
Ikea is a great source for LED strips that are very DIY friendly.
Hi, Chuck-
Thanks for the suggestion. I just looked at their web site, and they do have some nice options for the plug-in type lights, including some that can be installed in groupings of up to ten units. One thing to be aware of, if you’re planning to string them together: they show units connected end-to-end. Most kitchen cabinets have a 1″ lip under each cabinet, that separates them, which would make that type of mounting a problem. The pictogram instructions seem to show a short cord, though, that could be used to bridge the barrier. Also, be sure to buy a power cord, as it’s not included! Thanks for the input–always nice to have more options!
Cheers-
Phil
hi Phil!! Any experience with the newer LED strips/tapes?? These come in various colors/shades of white and I have just discovered the edge-lit models online. In theory, these could be unobtrusively attached (via the self stick tape they are on) to the inside of the cabinet lip. I’m also considering a row under my countertop overhang and/or under the toe kick at the floor (to show off the new stranded bamboo floor). The current draw (and heat!!) is so low on LEDs I think they can go almost anywhere (boats!! cars!!) The tapes need an AC/DC converter of 12-24V depending on the tape. I also have some of the 110ACV LED rope lights but they are a bit too bulky for some areas; good for outdoors though!
Complaints i have with halogens (my current setup): 1. those bulbs are NOT cheap!, 2. they are HOT, HOT, HOT (i have melted things…uhhhh, rephrase; things have melted that got parked too close to the light fixture; destructive AND dangerous!) 3. they are sensitive to cabinet door closure – if you let a door slam while the light is on, the vibration will blow the bulb… at 4+ bucks a pop, you will begin to close the doors gently; as the spouse prefers anyway. Spousal harmony and bulb preservation… ahhhh.
A relative did some decorative lighting with LED tapes – blue backlights of gigantic flatware in dining room… execution was very nicely done. Motive and design was questionable…
billw
Hi, Bill-
I hadn’t come across the flexible tape LEDs; they’re pretty cool! Seems like it would be a great option for a LOT of installations; it’s available in various lengths (a 16′ roll at Amazon is only $10), and it can be customized to whatever length you need, as you can trim it after every 3 LEDs without damaging it. There’s a dimmer available, connectors to string them together, and waterproof versions for outdoors (build your own landing strip??!)
Regrettably, we have no gigantic flatware to illuminate. I do, however, have quite an impressive collection of hot sauces that might go nicely with a red LED strip, and several power tools I’d like to highlight…ever cognizant of spousal harmony, though (happy wife, happy life), I’ll get back to you on the actual implementation.
Thanks a lot for a great tip!
Best regards,
Phil
I have used the led ribbon lights. They are great. My cabinets are flat on the bottom and I routed a shallow (1/16″ to 1/8″ dado) to hide them in. You can solder the connections, or just use the cheap connectors. Thermostat or bell wire works well for long connections.
I am actually considering some in my really old garage because the ceiling is so low. I can just stick the to the rafters and go.
Hi, Tom-
Do the lights you mounted under the cabinets provide pretty good, even task lighting? This stuff seems pretty slick, and like it would be useful in a lot of different applications, as you and Bill have mentioned. I’m thinking of putting some above the kitchen cabinets in my daughter’s apartment, to provide some low indirect lighting for night-time use. Her current setup (bright recessed lights) is great while she’s creating culinary masterpieces (which I’m sure will happen soon), but pretty harsh the rest of the time. (A dimmer switch is in the works, too).
Thanks for your input, and let us know how the garage lighting works out!
Cheers,
Phil
Phil!! i just discovered the double density tapes – 600 LEDs per 5 meters! If you were worried about not enough output…
i am definitely going to be using these; soon i hope. Other mundane projects (ceilings/floors/walls) are lined up ahead of any bling factor i want to add. Did you check out those edge lit tapes? I’m pondering an installation site for those too. Other than on my buddies boat… hey some people LIVE on boats! Doesn’t that qualify as homefixated?? B-)
billw
Hey, Bill-
This is one of those products that fires up the imagination, trying to think of cool ways to use it. I checked out the double-density strips, and even found a video comparing single to double density: http://youtu.be/tCWUEkk3mYE
The light from the double is brighter AND more even (by virtue of twice as many led’s in the same space), and a couple of reviewers said it works great for under-cabinet lighting. Some other buyers used it for lighting up the interior of their gun safes, home theater lighting, and pimping out their rides. (I’m thinking maybe some pulsating pink lights on my wife’s Subaru would earn me some Valentine’s brownie points…or maybe not).
If you DO deck out your buddy’s boat, send us a pic of how it turns out. Boats definitely are part of the HomeFixated universe; I know that with what my sister and her husband have spent keeping theirs afloat, they could have bought another house!
Thanks for the info, and good luck with your ceilings/floors/walls; I can relate.
-Phil
Phil!! funny you should mention flashing pink leds… at Costco now!! >> http://slickdeals.net/f/5643686-Sylvania-Mosaic-Flexible-LED-Light-at-Costco-for-29-99 <<<although i couldn't make the Costco site find this. i bought a couple of these, $30 apiece, and my boat buddy promptly made off with them before i could install them anywhere. They do all kinds of things in 16 colors… fade, flash, dim, change colors, by remote control. Four 2 foot tape strips. comes with 12 volt ac/dc adapter but could hook straight to the Subaru!!! not sure what part of the country you are in but i will be watching out for "flashy" Subes!!! of any color.
billw