

As a builder who’s had the privilege to construct 1,000’s of custom homes and commercial properties across the U.S., I’ve run across some pretty weird stuff. From know-it-all subcontractors to wannabe carpenters, I’ve got a million construction stories that might make you laugh, cry or wince in pain. But out of all the horror stories and troubled times that I’ve run into, nothing takes the cake more than a homeowner who thinks they are an expert painter. While painting might seem like an easy job that any numb-nuts off of the street can perform, it’s not as simple as it seems. Read on for ten interior painting tips to help make your next paint job a success.

Master painters are masters for a reason – they’ve had plenty of experience making mistakes. I always try to talk homeowners out of large painting projects simply because after all of the hard work I put into a job, I hate to see it ruined with an inferior paint job.
Whether you’re a master painter or a master debater (I thank you), don’t make the following ten painting mistakes and your paint project is sure to go off without a hitch (maybe).
Let the Painting Tips Begin – Clean Up First
When you’re repainting a room where multiple hands often touch the walls, you’ll need to use a pre-painting degreaser. Just like an old car, you don’t want paint over the old rusty spots or the paint won’t stick. The same is true with a greasy wall, whether it’s in a kitchen or a living room.
Canvas not Plastic
Drop cloths are essential to keeping drips and paint spills from staining flooring materials for good. While plastic drop cloths work alright for covering walls, windows and doors; they work horribly for floors. They are slippery, easily torn and don’t absorb paint like a canvas drop cloth does. Because wet paint dribbles don’t absorb into plastic, they can easily transfer to your shoes and get tracked all over the house. Tape down some rolls of rosin paper over wood, vinyl and tile floors to prevent canvas drop cloths from being too slippery. The extra layer also helps prevent any little spills from soaking through to the flooring.
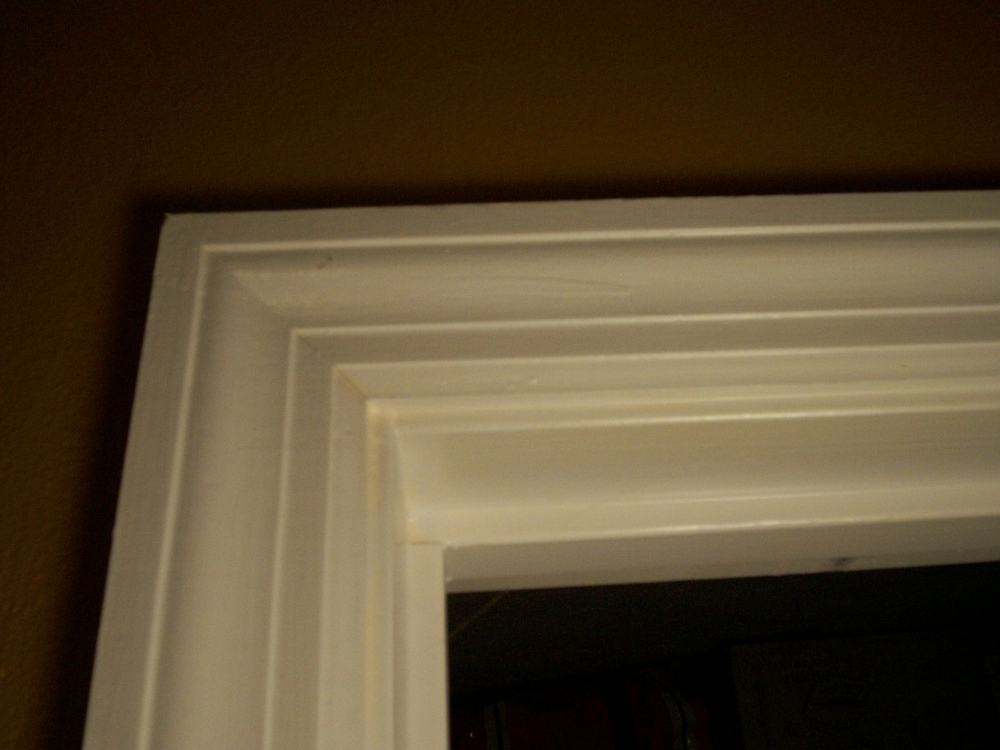
Sand that Trim
When wood trim is painted with multiple coats; it exhibits a grainy texture that looks like crap. Be sure to use a sanding sponge to sand wood trim between coats to keep a smooth finish. Wipe away any excess dust before painting successive coats.
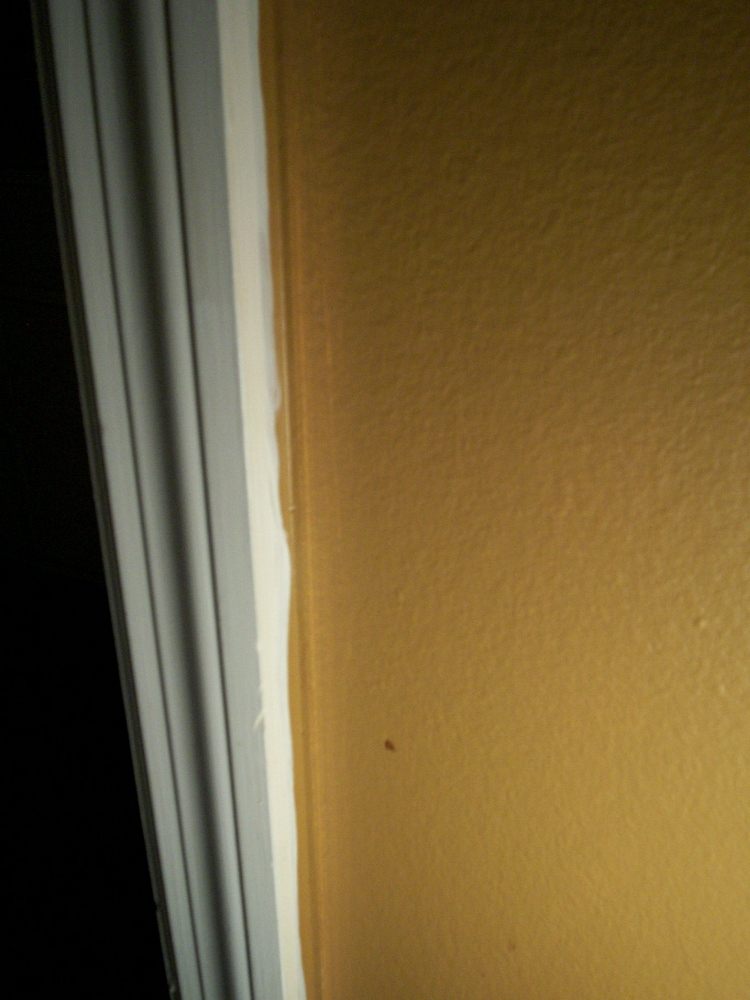
Cut the Tape
Blue painters tape is used to cover trim and other materials from over-painting. But after they’ve been applied, I don’t know how many times I’ve seen this mistake: peeling off the tape without cutting it. Use a razor knife to lightly score the edge of the tape to separate it from the paint or else you’ll peel off your new paint with the tape.
Avoid Flashing
Flashing is when light reflects against a freshly painted surface to create a shimmering “flashing” effect. This happens because of two reasons: one, a drywall patch wasn’t textured to match the rest of the wall. Two: because a quality primer wasn’t used first over freshly applied or textured drywall.
Box It
No, don’t punch your paint. Boxing is when you mix the same colored paint together in a five gallon bucket. This ensures that the slight color variations that occur between multiple paint cans doesn’t end up halfway on your wall or ceiling. Boxing also allows you to easily paint without the need for a messy roller tray. Just drop in a roller screen and dunk your roller into the bucket for a mess free paint project.
Cutting In
You can’t get close to trim, base or windows without cutting in. Painters tape is a must when you’re cutting in close to these areas, but that’s not the only thing you need to be for an awesome paint job. Many people use an angled trim brush to cut close to these hard to paint areas, and that’s ok. But the problem is that this leaves brush strokes and lines behind. Once you’ve cut in with a brush, follow up with a small 3” roller. Use a roller cover with the same nap as the walls and remove any lap lines for a smooth finish every time.
Roll the Full Height
I’ve heard some painting advice that tells you to paint in a “W” pattern on a wall. I disagree. Paint the full height from top to bottom. Keep plenty of paint on the roller (no less than half loaded) and face the open part of the roller towards the recently painted section. This will create less pressure on the roller and cover any lap marks with fresh wet paint.
Feather the Edges
When you’re painting ceilings or extra tall walls; feather the edge of the paint. Because you can’t keep a continuous wet edge on large areas, you’re going to get a bunch of lap marks if you don’t feather the edges with a mostly dry roller. Once you’ve completed a section the entire length (or width) of the area, reload the roller and paint over the feathered edge. Go in the opposite direction with your second coat and you’ll be sure to have a lap line free finish.
Follow the Order
There’s a particular order to painting any home’s interior. First paint the base and trim. After that the ceiling should be painted next. Once the trim is dry (after 24 hours), you can tape it off with easy release painters tape. Finish the job by painting the walls last.
Have any painting tips of your own? Share them in the comments below!
When I’m painting a wall do I do the cutting around the ceiling, door and baseboard first, then begin painting the walls or paint walls first and then cutting and then repeat…..
Question- I’m in the middle of a painting project and need some advice. I just painted a large open multi room common area with flat ceiling paint. The house is right on a lagoon, so there’s plenty of light reflection off the water onto the ceiling making it so you see every deflect in the ceiling. I put three coats of paint on the ceiling because I thought I was getting flashing, but there isn’t any. I paint the ceiling in this order perpendicular, vertically and perpendicular to avoid lapping issues. When I stand with my back to the windows the job looks perfect. My guess is that the previous painter did a poor prep job causing noticeable defects with light hitting a certain angles. Any advice on how to address this? Thanks bob
Nice opinion. Thats all it is, opinion.
I think you have your order wrong, As an experienced painter I would do ceilings first, then trim, then walls. Why would you want to get ceiling splatter on your freshly sanded and painted trim?
Remember to let the baseboards/trim dry for 24 before taping or you will peel off your freshly painted trim!!
I do ceilings walls trim, but I agree the order they say leaves there possibility of drips, top down, always top down
Thank for these great tips here! It’s really better to hire professional painters to do the paint job well.
Very good tips, I’m impressed! Here’s another,once you tape your trim,take the trim paint and run over the wall edge lightly,just enough to seal your tape. This allows the only color to bleed through to be the trim color. Then use a razor knife to remove your tape. Nothing worse than spending all that time raping and when you remove it,finding wall color all over your trim!
Hi, we had a good portion of our house interior painted, and had the great room ceiling done in flat sheen to
hide imperfections, and have less reflection of light. Around the ceiling fan some dark spots came through
which must have been WD40 from the previous owner. They didn’t appear when the ceiling was shiny. The
painter came out and put extra paint over the spots. I had to call him back because they reappeared. This
time he forgot to bring a shellac based primer to seal oil spots so he just lightly sanded them and painted
AGAIN. Spots came back third time so he was not happy, but I got him to come out with the shellac primer.
It took him many weeks to get back to me so the rest of the ceiling paint had cured by then. He put the
shellac primer, used a hair dryer to dry it so he could paint over shellac. This time the oil spots went away,
but not too long afterwards a larger area of flashing is showing up. This I guess is due to his putting so many
fresh coats of paint without the shellac, and this made the paint in the area thicker. I had to twist his arm to
get him to check out the flashing, but he said if he thins some paint to go over the area and it looks worse he
will NOT come back again. I have tried to overlook it, but it is in the middle of the living room so it can be seen with the bright sunlight. Is there any hope of getting this repaired or do we have to hire a new painter
to go over the entire kitchen/living great room? Any advice would really be appreciated! Cheryl
When you use alcohol based shellac to spot prime a ceiling, it dries very fast and doesn’t soak in like water based paint. The surface of this area is smoother and no longer porous like the rest of the ceiling. When you spot prime/seal with this type of primer and then apply a top coat of latex paint to the entire ceiling, the latex paint soaks into the old latex paint on the ceiling and where the ceiling was spot primed, the paint lays on the surface to dry. This creates a different surface texture between the areas that were spot primed and the rest of the surface and thus reflects the light differently. This is called “flash”.
I like painting my own house. It’s a big job but it is something I enjoy. Although I can afford to hire people to do it I would rather do it myself. It’s hard work though and my body hurts afterwards but it is very rewarding. I own a 4000 sq ft home and between me and my husband we painted at least 7 rooms and hallways. Unfortunately I got 7 more to go and I’m not sure I’m up for it. Too much work. Maybe I should just fork that money and hire somebody. But then again, I’m too cheap.
Great tips. Also, take your time and plan on taking a couple of days to complete the job. Any paint job can take all day and sometimes into the night. Since I like to have a beer or two in the evening, things can start to go badly in short order. Set a time to quit, clean up and relax. Start fresh the next day.
Also, when the wall and ceiling are not the same color, lap the wall paint across the angle and very slightly on to the ceiling. Otherwise the ceiling color will show up as a thin line at the top of the wall. You won’t see this overlap unless you are right next to the wall looking up at the ceiling.
Thanks for all your handy tips Dennis (on this article and the others you commented on as well)!
Some great tips here! Wish I’d come across them earlier, before the last paint session.
I hate painting! My advice is too avoid at all costs and let someone who likes to paint do the work. The difference will be between a job that looks rushed verses one where the painter was enjoying their work.
I feel your pain Todd! Hiring can be surprisingly rewarding for some projects!