

I was going to be a lumberjack until the foreman told me I couldn’t cut it and gave me the axe. Trust me, it’s better this way. Logging is hard work! This crafty little birdhouse will kindle that pioneering spirit in a way that even a beginner can appreciate and take pride in. Stick around to see how you can build your own log cabin birdhouse with only a few basic hand tools, sticks from the yard and glue; no joinery, fasteners or heavy equipment required. It’s fun to make and you won’t even break a sweat.
Trim The Hedges
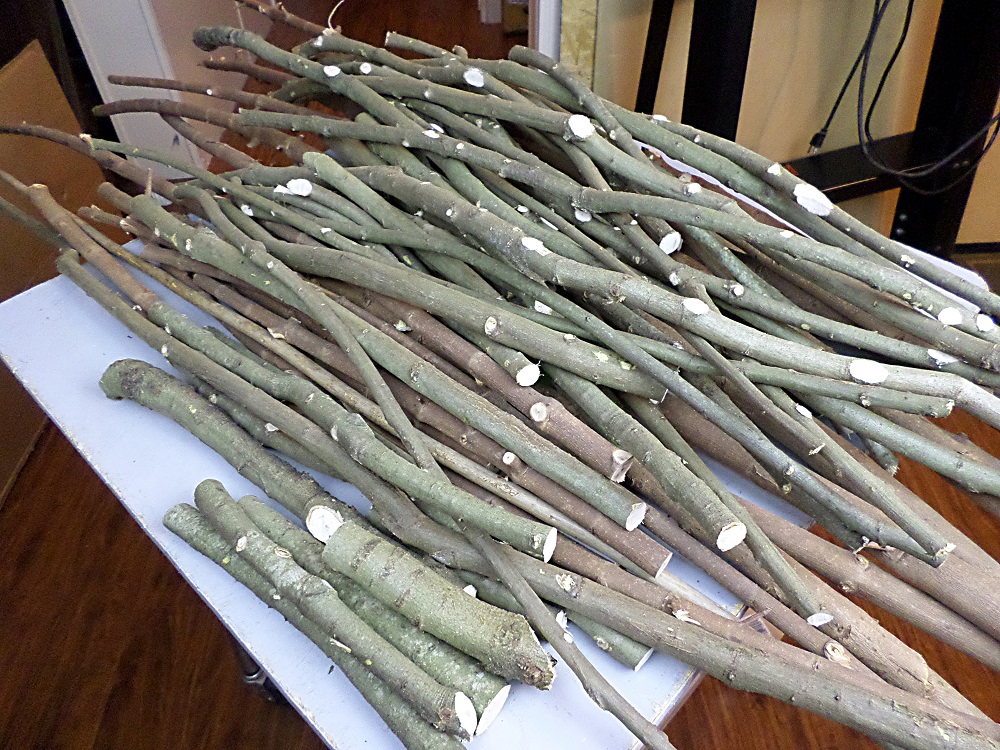
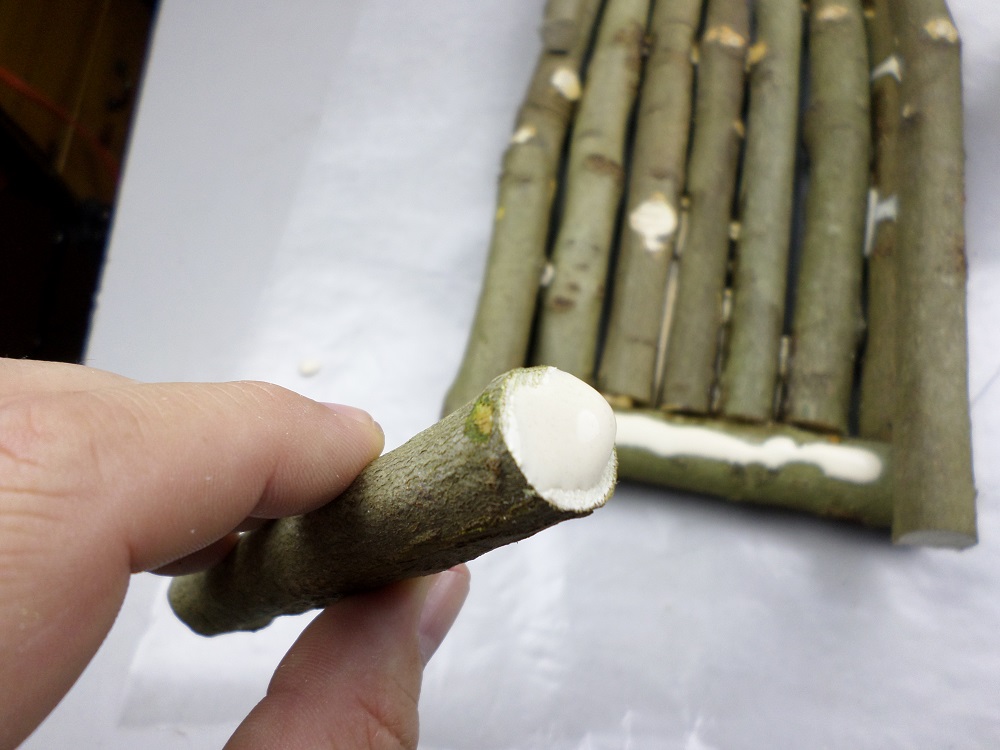
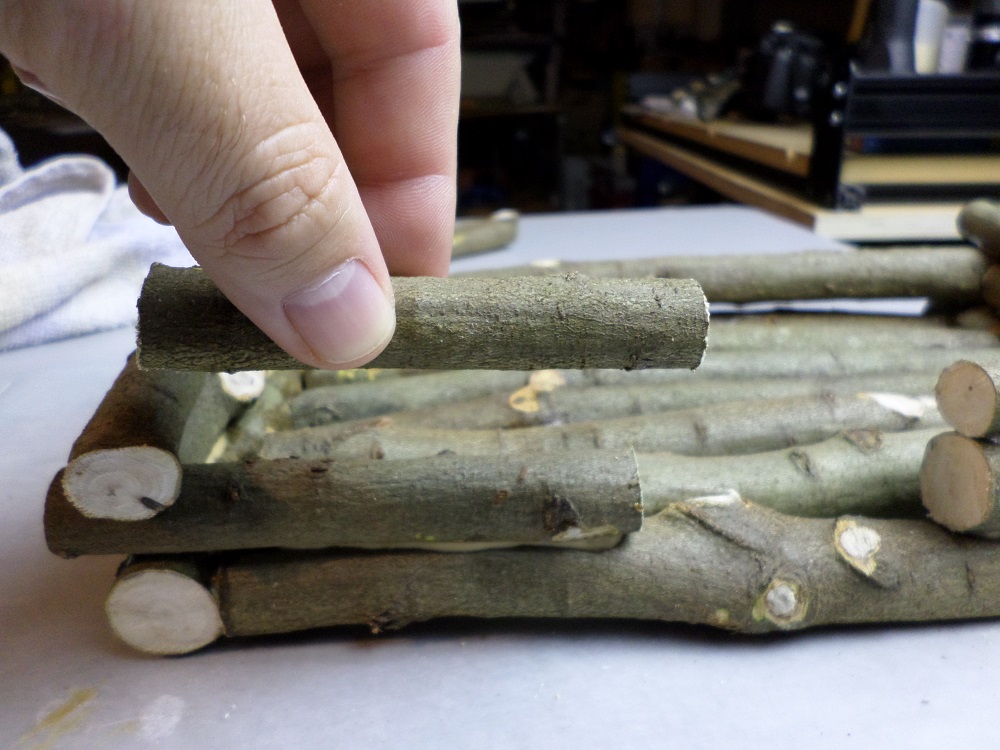
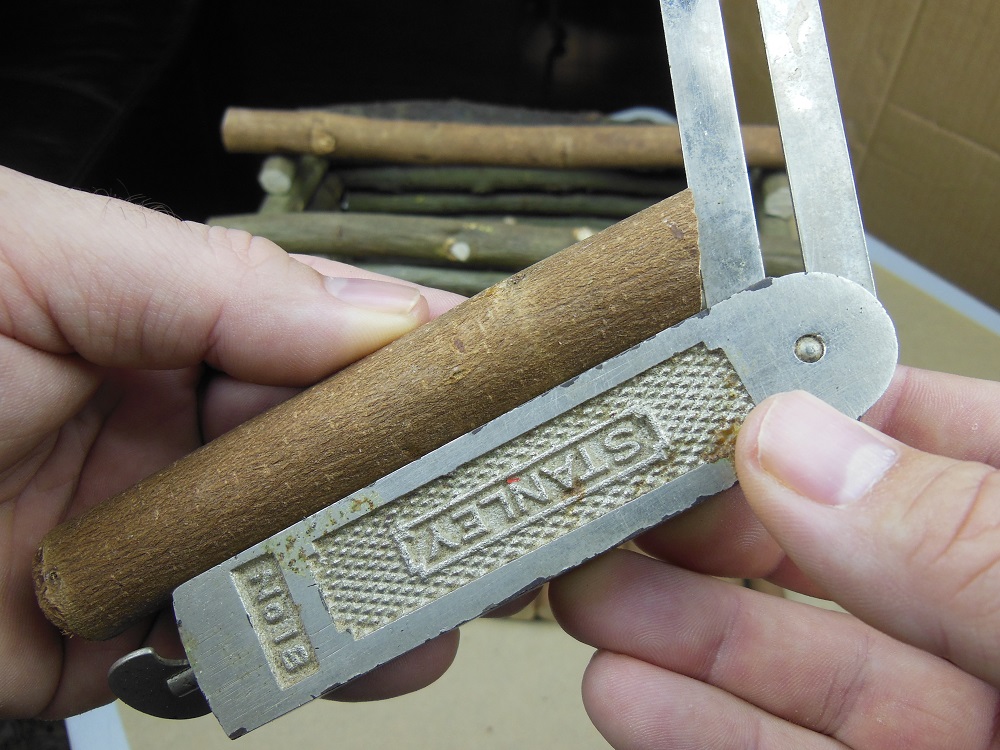
I make these log cabin birdhouses out of small branches trimmed from trees and bushes in the yard. I prefer sticks ranging from about 5/8”-7/8” in diameter but the exact dimensions are not at all critical. In fact, every aspect of the design can be tweaked and tailored to your liking. Your pieces don’t even necessarily have to be very straight.
After gathering your material, take a little time to prune away all of the smaller offshoots, leaving only the main branch pieces.
Floored
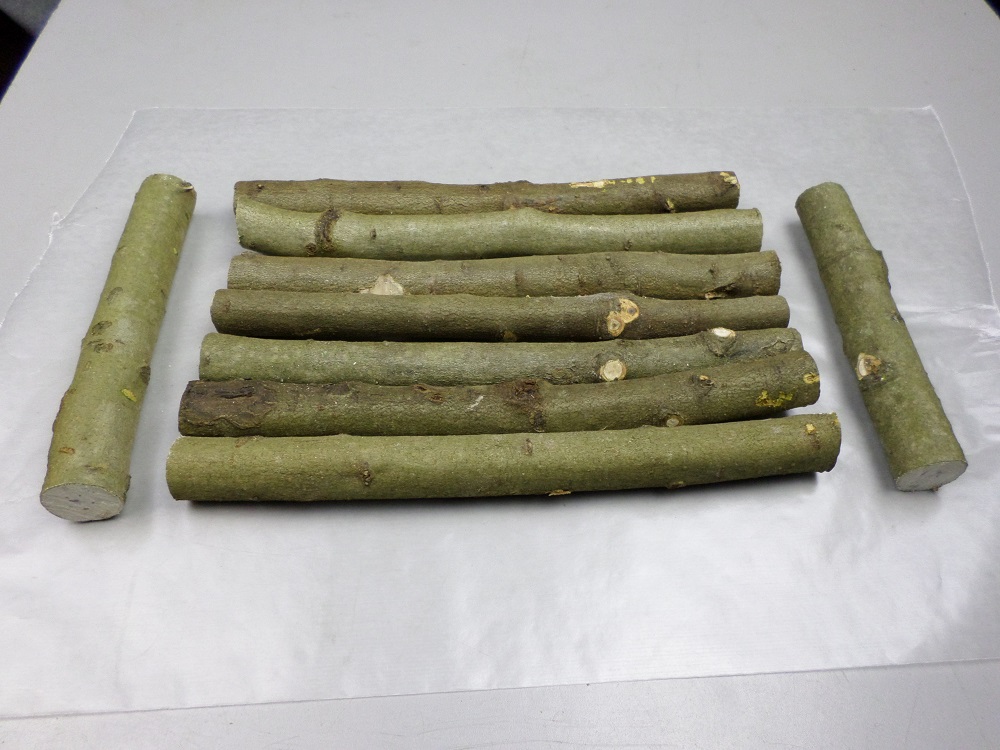
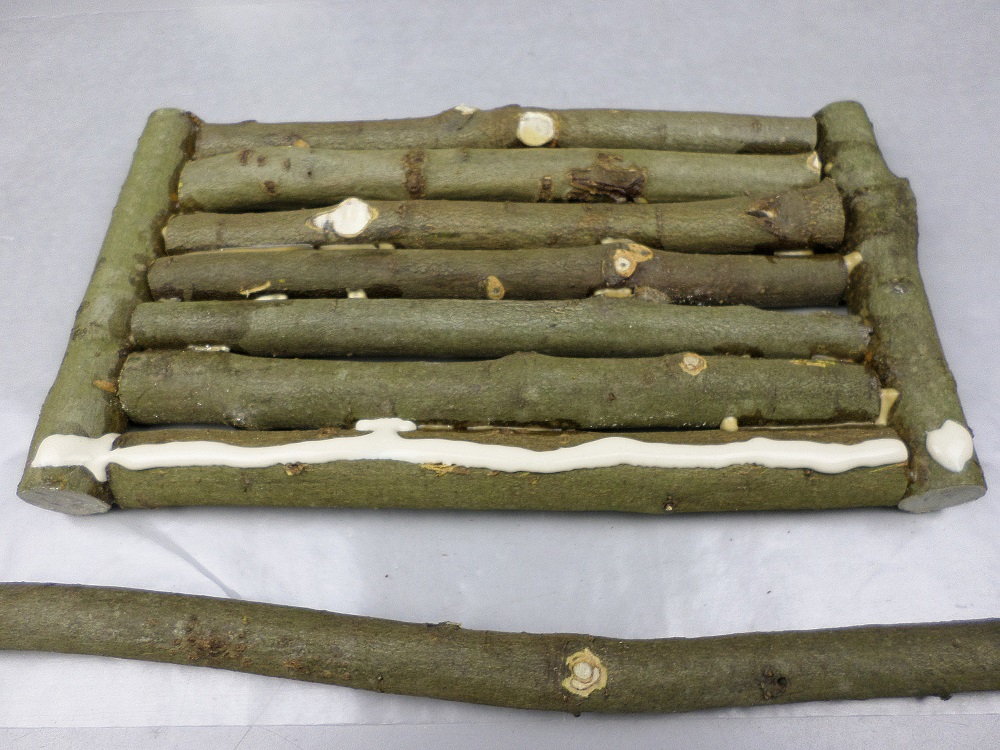
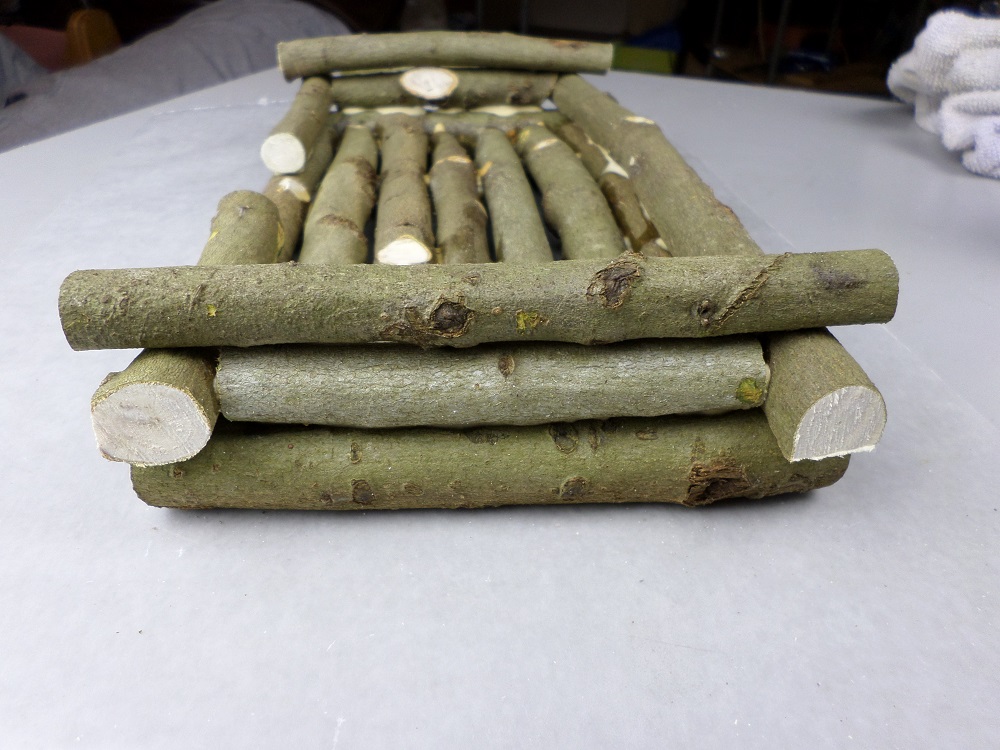
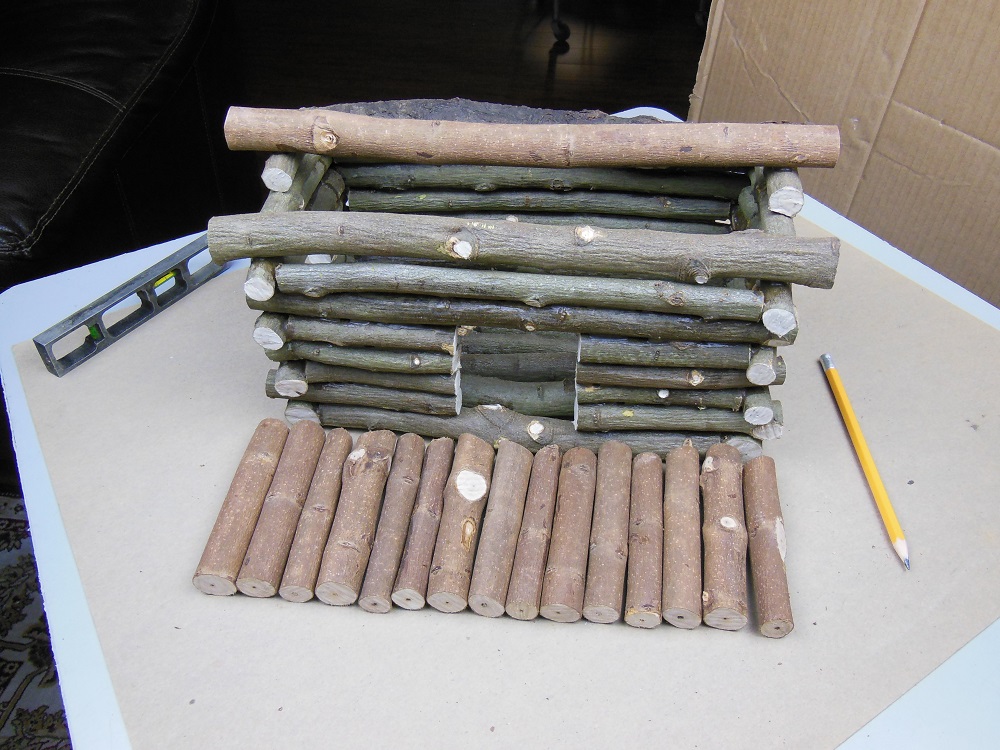
Decide how large you want your floor to be and cut pieces to fill the area you’ve chosen. In this case, 11-1/4” x 6”. Span the longest dimension and cap the ends with shorter pieces.
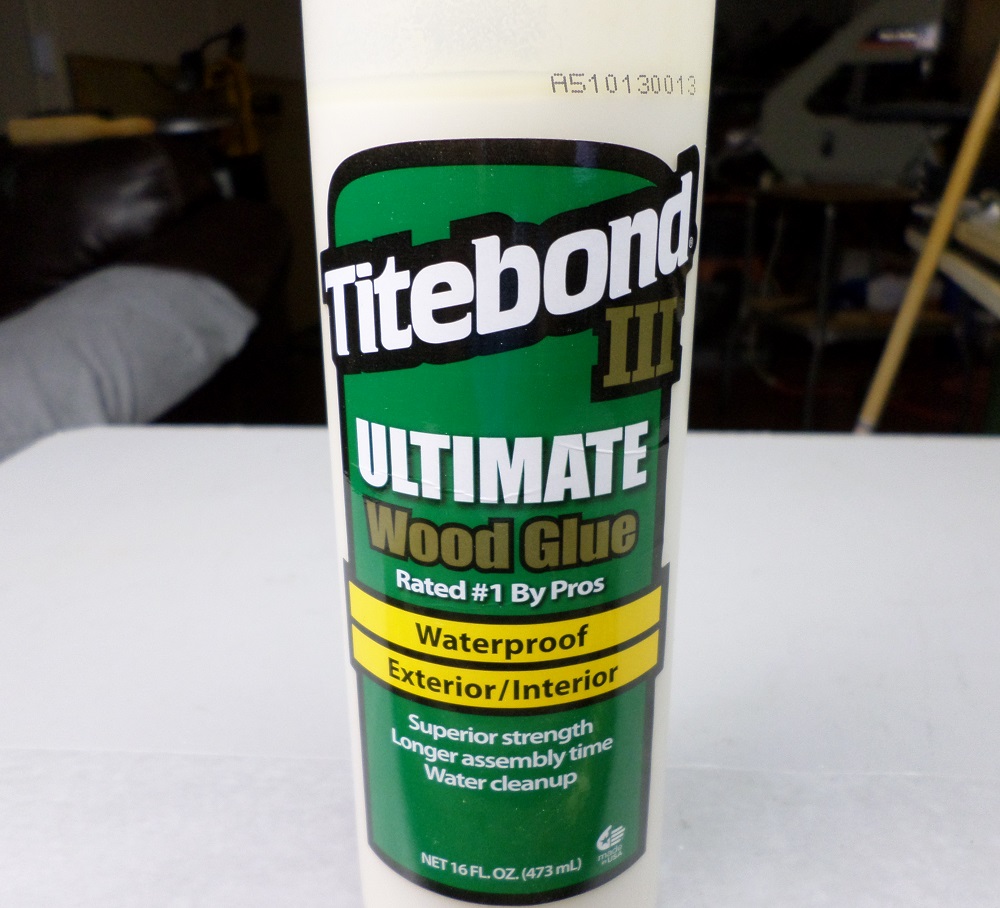
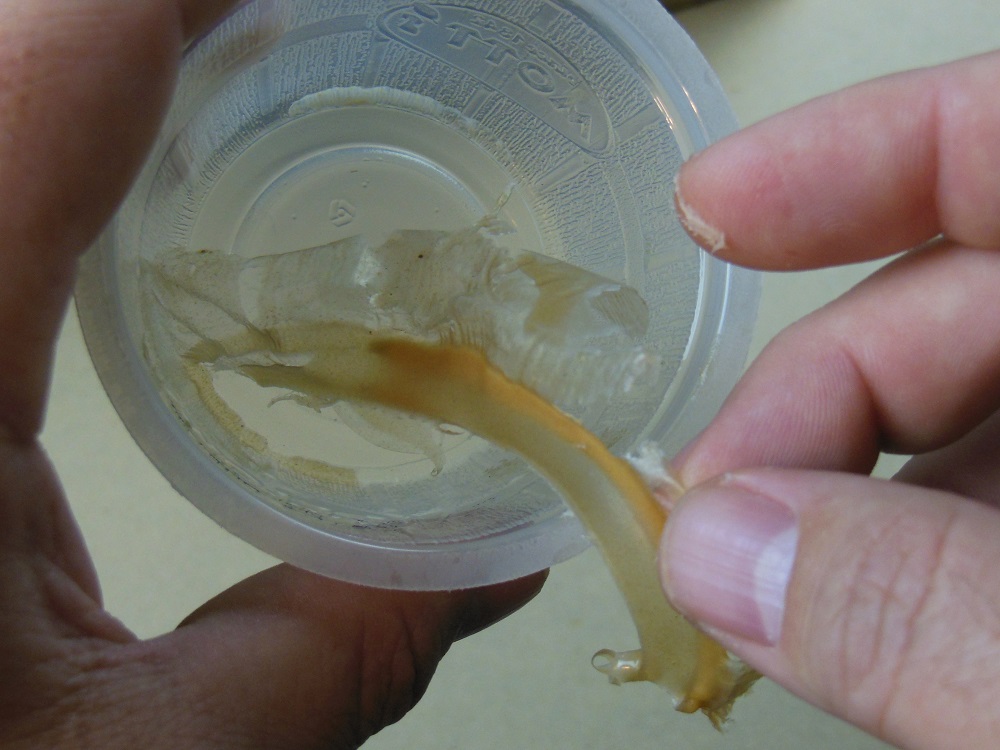
I use Titebond III when making these log cabins and there’s four good reasons why:
1) It’s extremely strong. For a project that employs no mechanical fasteners or joinery whatsoever, a good glue is essential.
2) It dries to a caramel brown, an excellent color to compliment the sticks.
3) It’s waterproof. This is especially important if the project is used outdoors as a birdhouse.
4) It’s good at bridging gaps; and this project is riddled with gaps.
Laying The Groundwork For Your Log Cabin Birdhouse

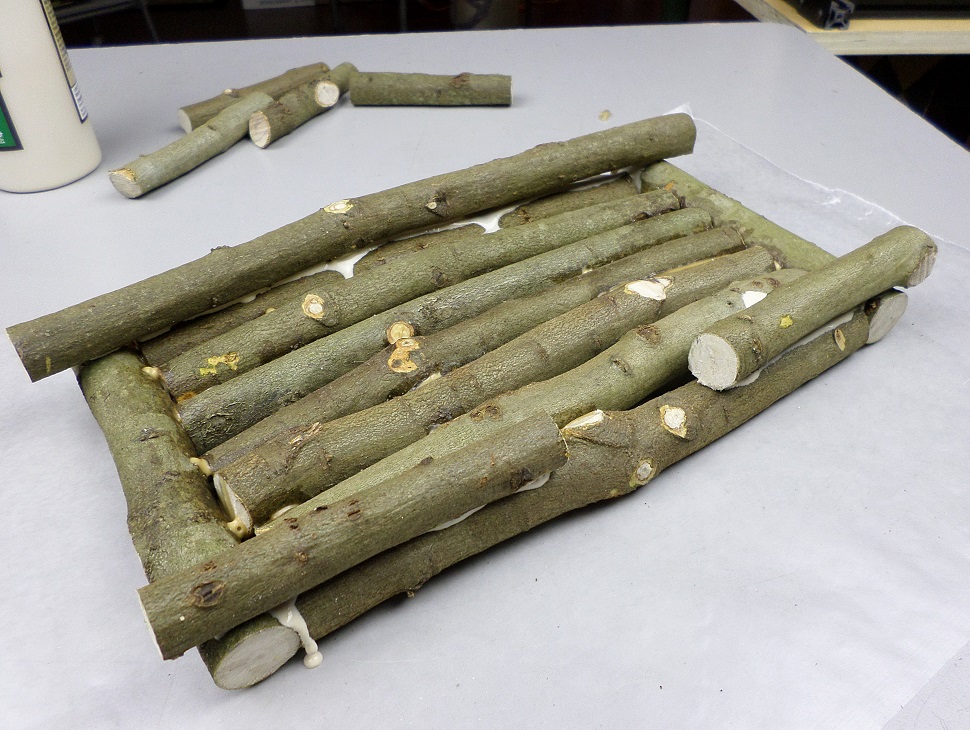
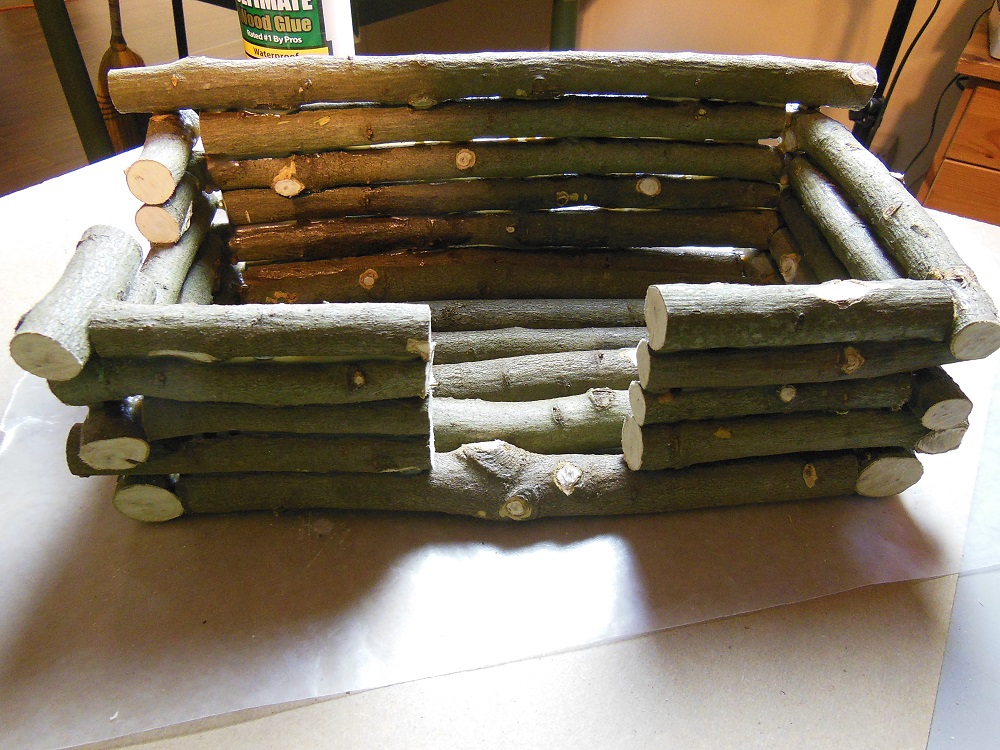
I strongly recommend covering your work surface with a sheet of waxed paper. Start construction by situating the long floor pieces as close together as they will go. Next, apply a generous bead of glue to each end cap and press them onto the ends of the long pieces.

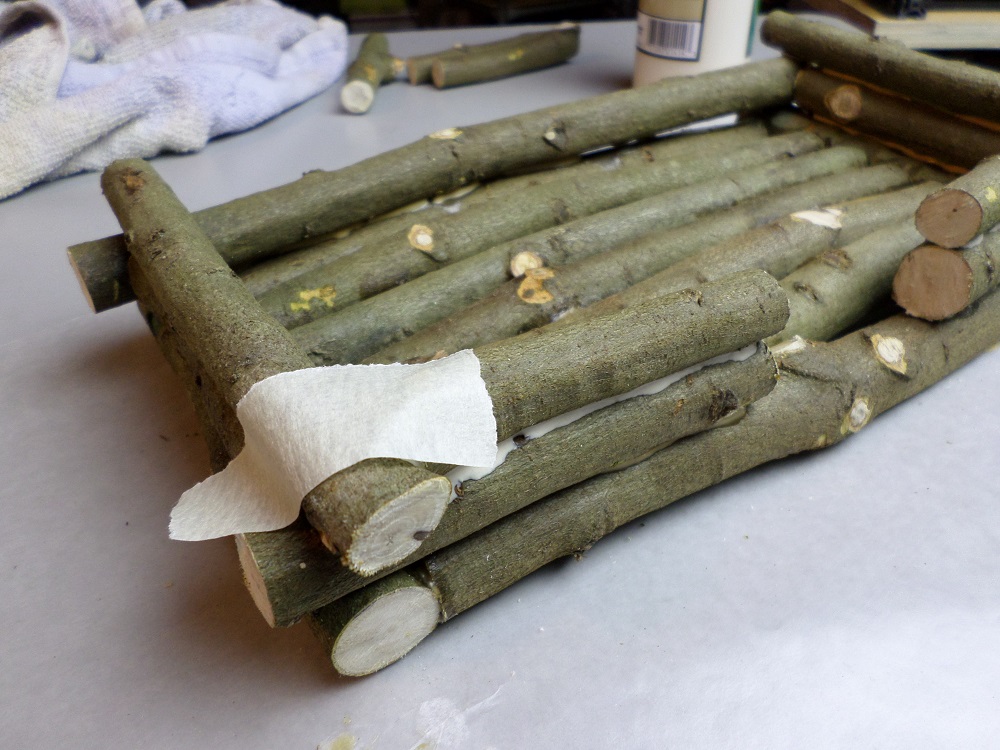
Once the glue is firm enough that you can gently peel the floor away from the waxed paper, go ahead and do so. Use a rag to wipe away any puddles of glue on the bottom of the floor assembly. Wipe away any puddles on the waxed paper (or replace it with a fresh piece) and set the floor back down to dry some more, this time with the bottom side up.

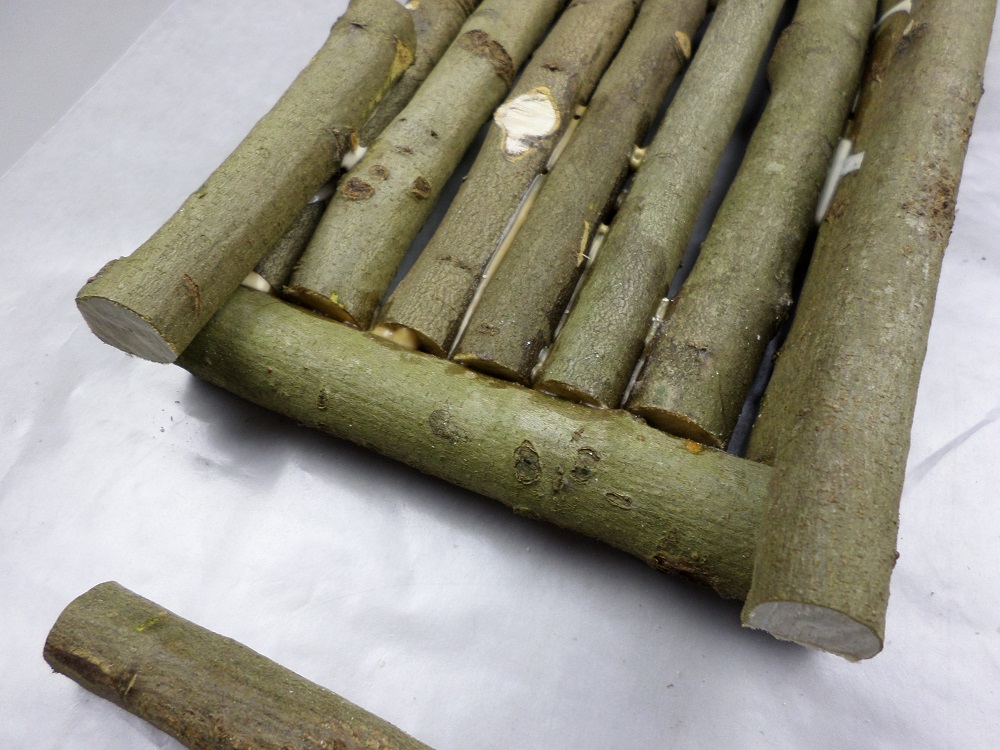
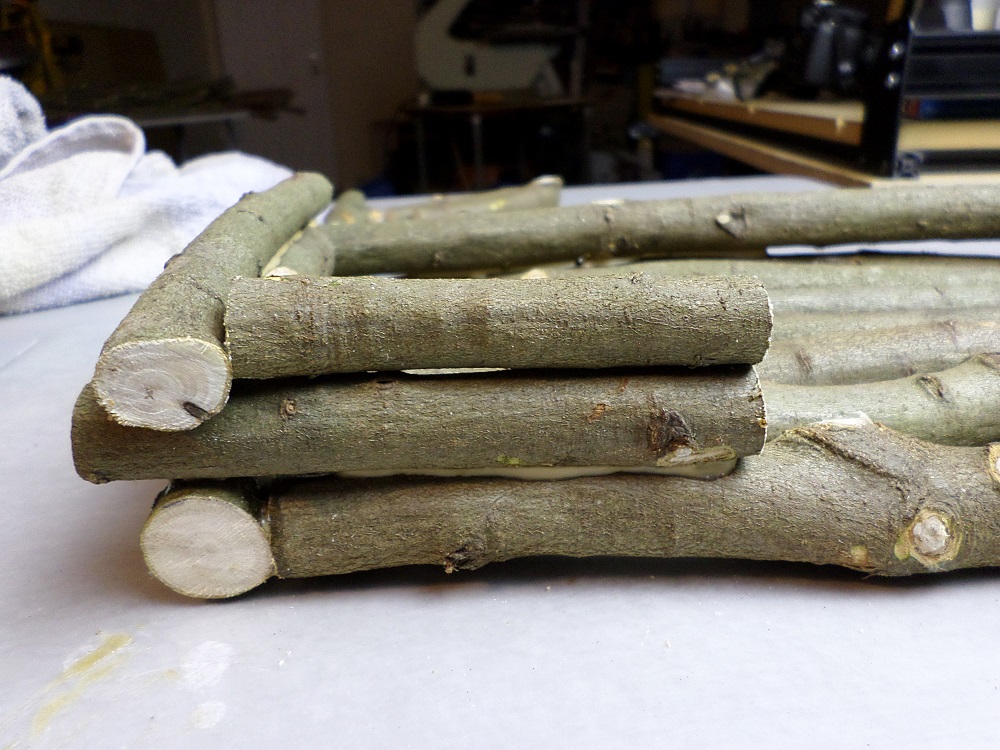
Now that the glue has had a good hour or more to firm up on each side, go back and put more glue into the gaps at both ends of each long piece. At this point, you can also bridge the narrower gaps along the length of the long pieces.
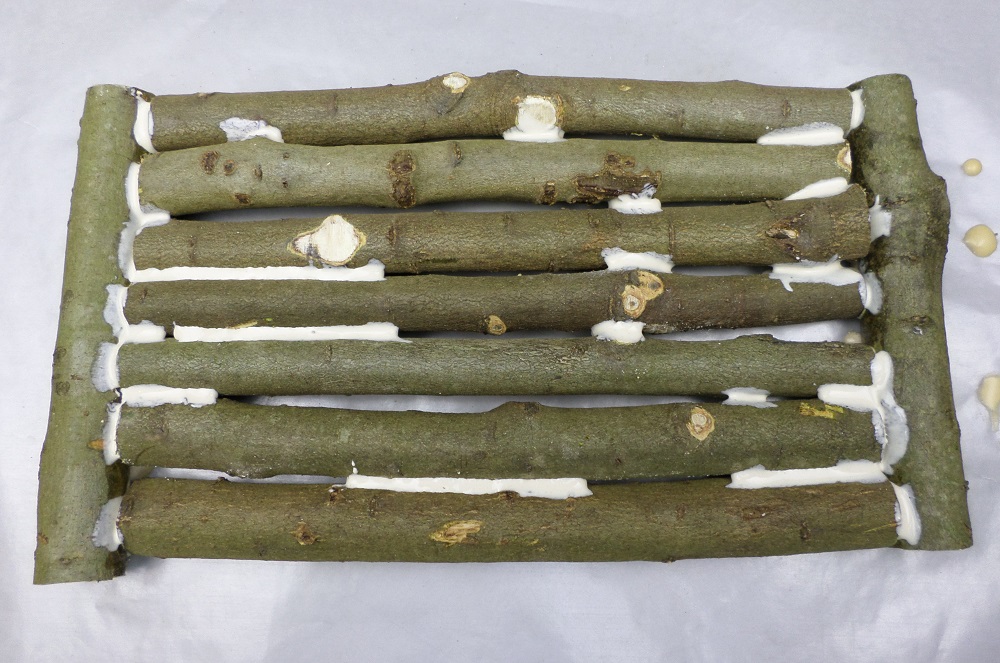
It’s OK if you can’t completely fill the gaps. The finished project will still be surprisingly strong and the remaining gaps will allow rain water to drain away. It’s not a design flaw; it’s a feature!
Building The Log Cabin Walls
Assembling the walls is just as easy to do as the floor. But there’s one rule to keep in mind as you progress: be sure to stagger your joints. The seam where two pieces meet at a corner should always be covered by “spanning” logs in the next layer. That way, each new layer reinforces the one below it. I also like to cut my spanning logs so that they have a little overhang at each end.
By this point you should have decided where your doorway will be located. Mine will be in one of the long sides of the cabin. Notice how the first log of my rear wall spans across the two glue connections in the floor and overhangs a bit at the ends. I used shorter pieces to create a doorway in the front wall.
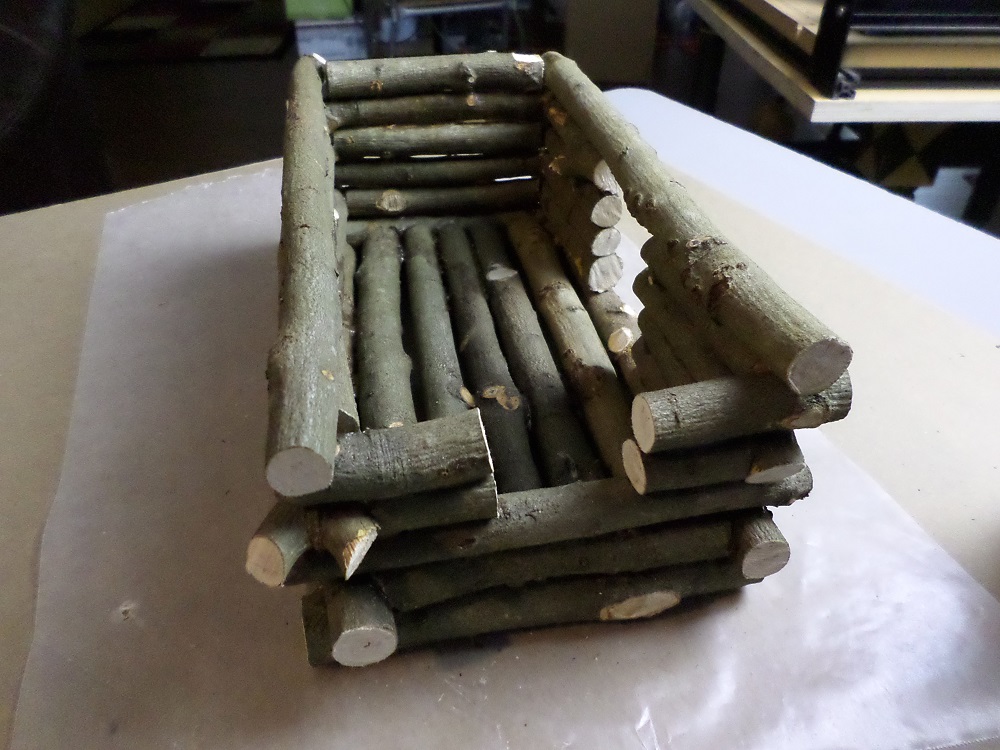
Wooden Fillers
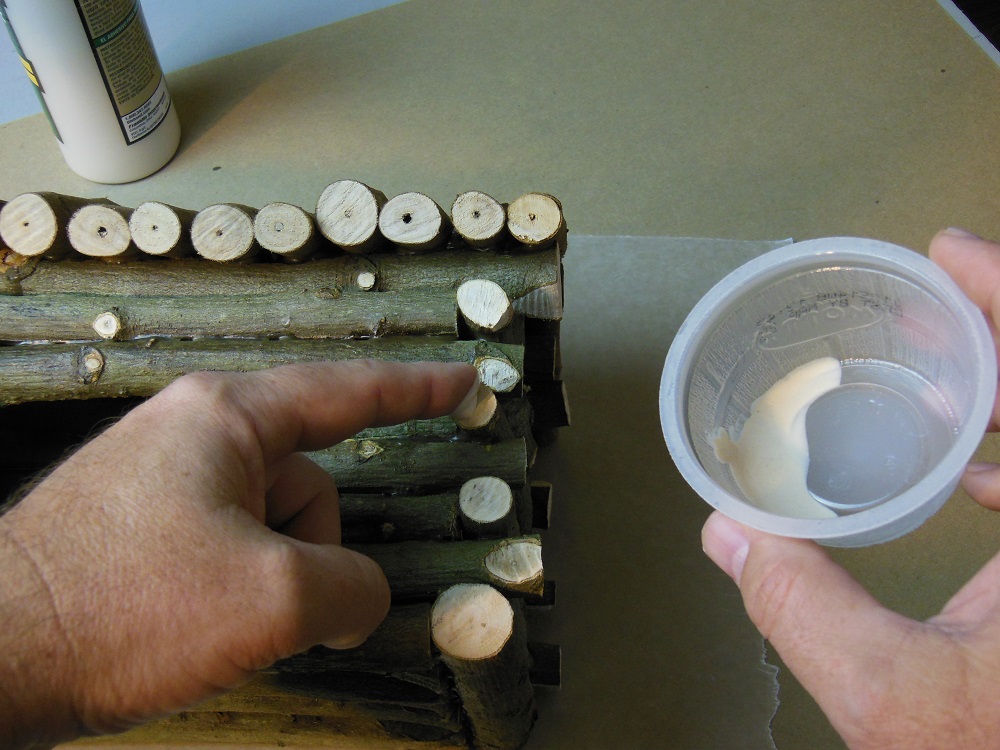
With each new layer, first install the spanning logs that cover the corner joints of the one below. That leaves you with spaces to be filled by what I’ll call “filler” logs.
To attach the filler logs, apply glue to the log upon which it will rest. Then put glue on both ends of the filler log and set it in place. Give this layer a little time to tack up before proceeding. You do not have to let a layer completely dry before moving on to the next. Just be aware that the less time you give it, the more fragile the previous layer will be (until the glue dries, or course). So proceed with caution.
Second Wall Layer
With each new layer, the spanner and filler logs will alternate. On my second layer, I begin by spanning the ends then filling the long sides.
When placing wall logs, it’s best to first find an orientation where it balances without falling off.
Then lift it straight up, apply your bed of glue to the log below it and – if it’s a filler log – put glue on the end that butts up against the spanner.
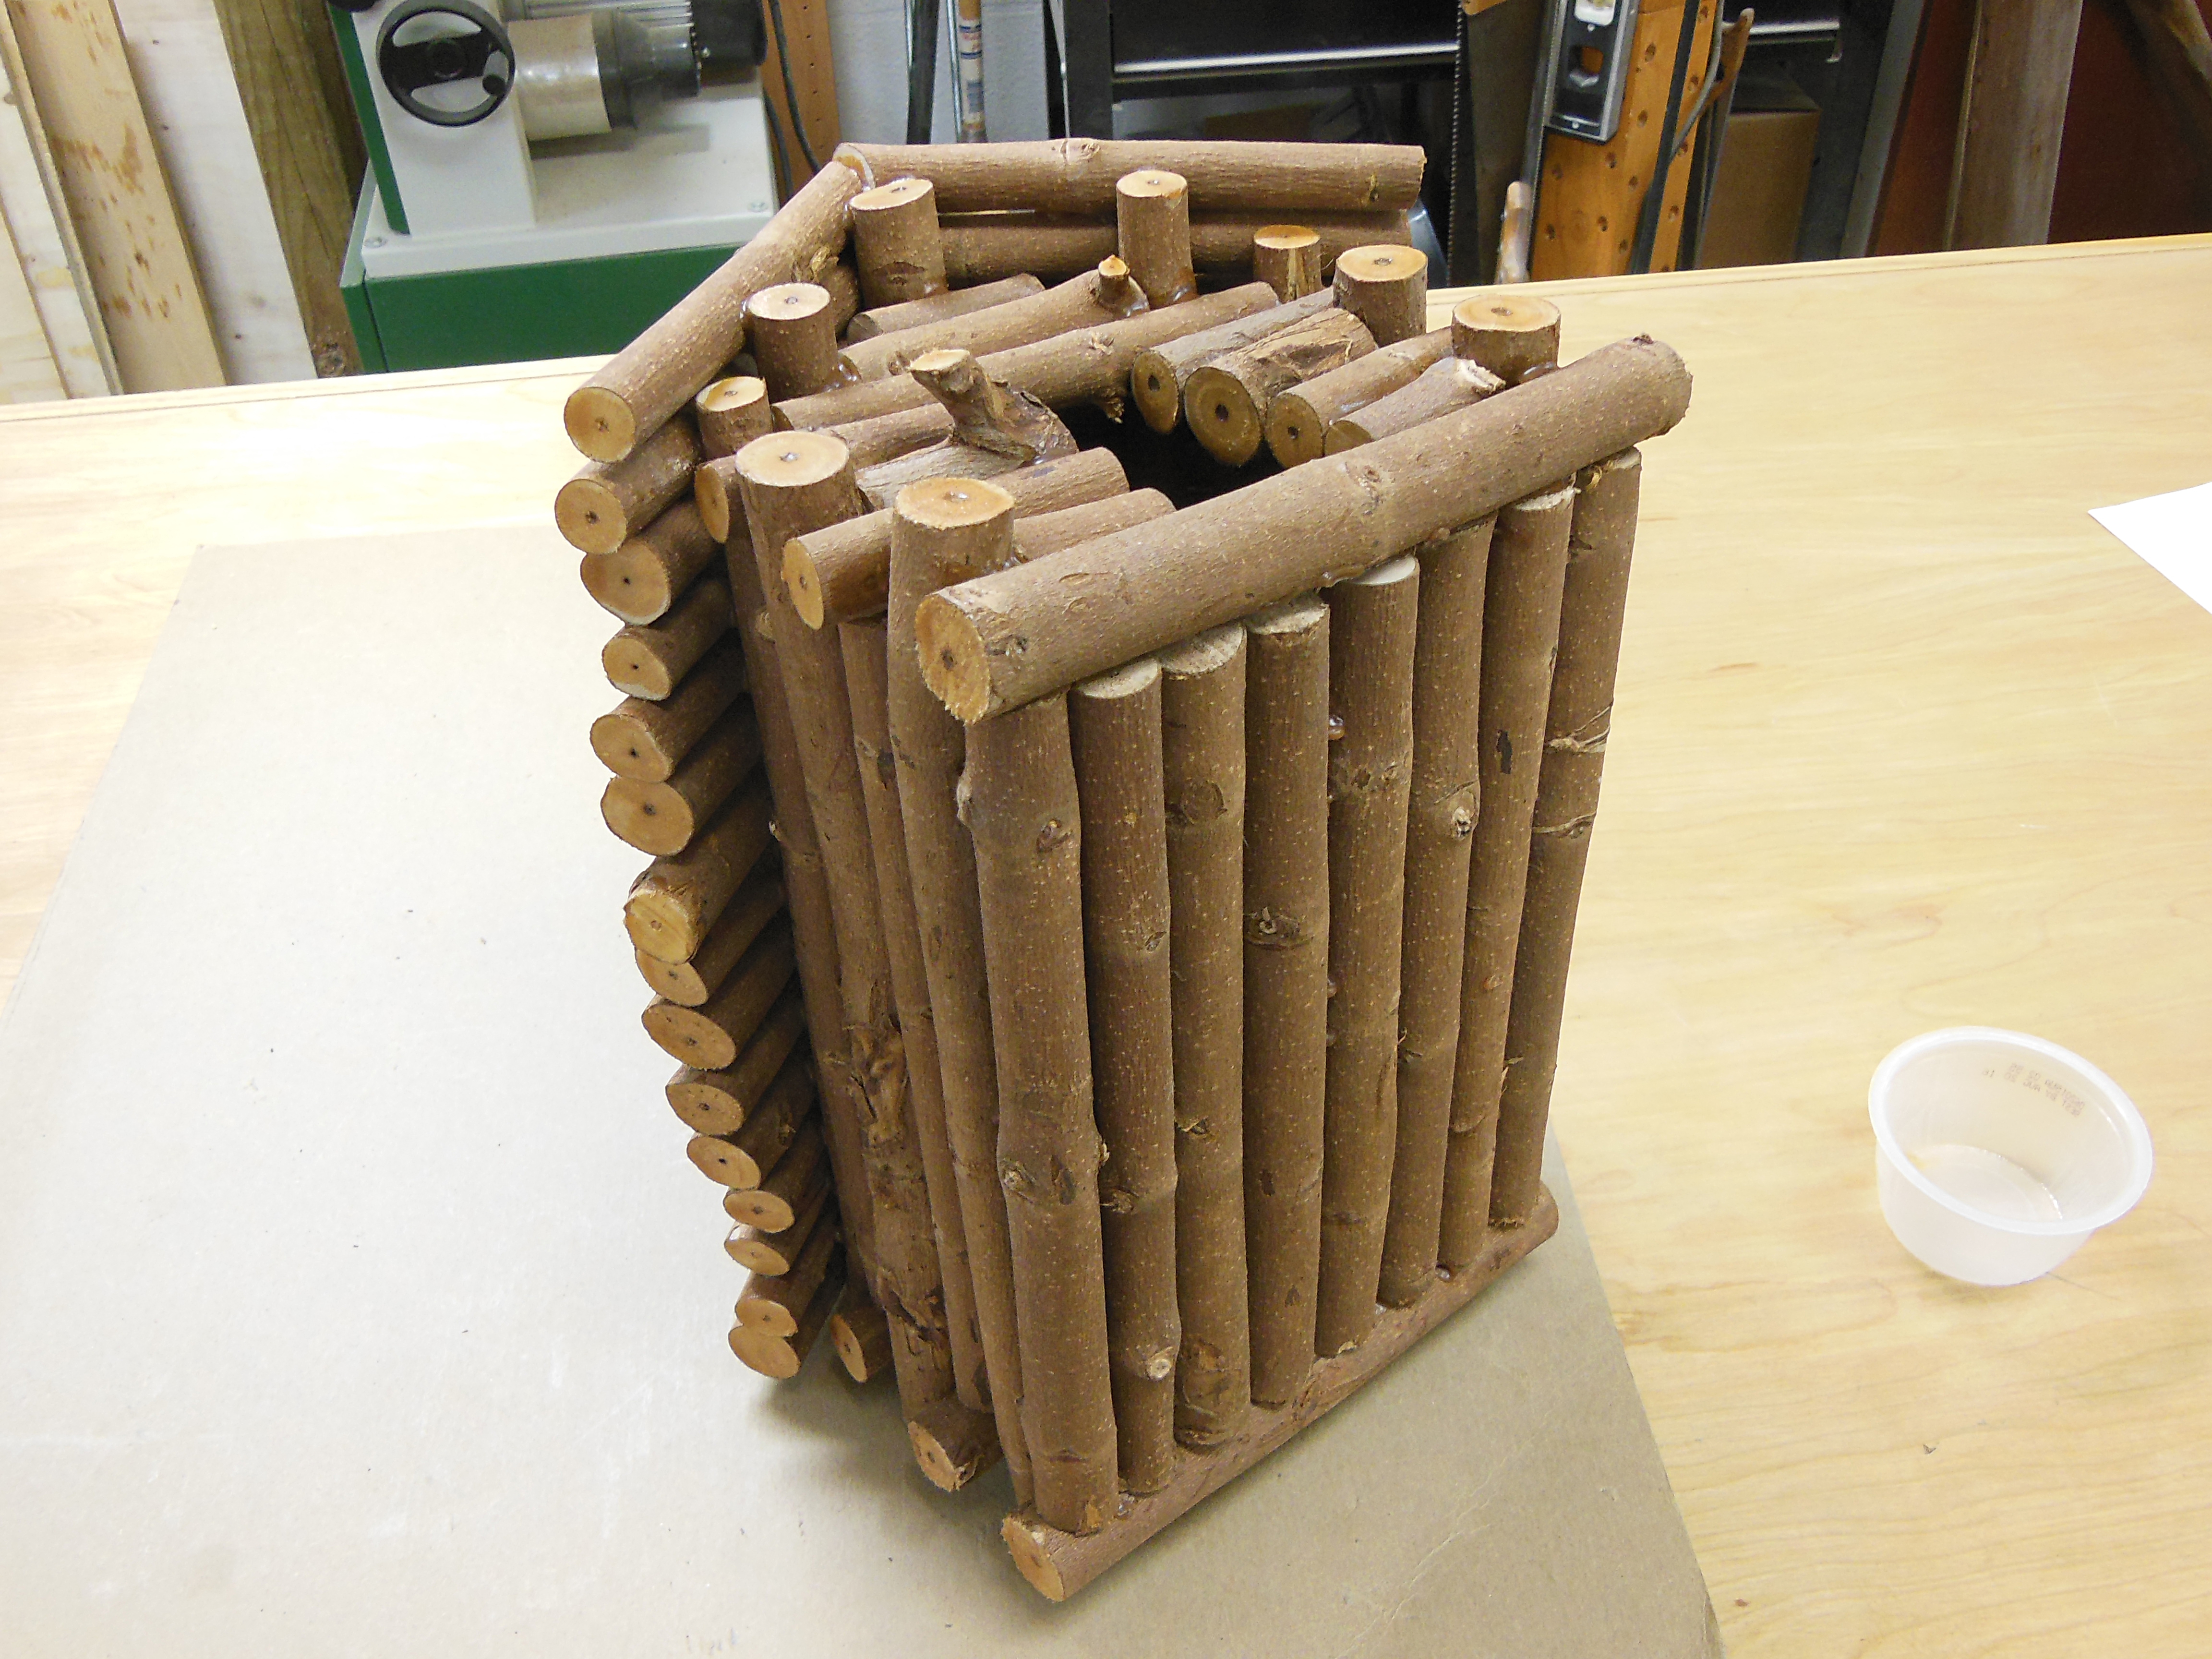
Finishing The Walls Of The Log Cabin Birdhouse
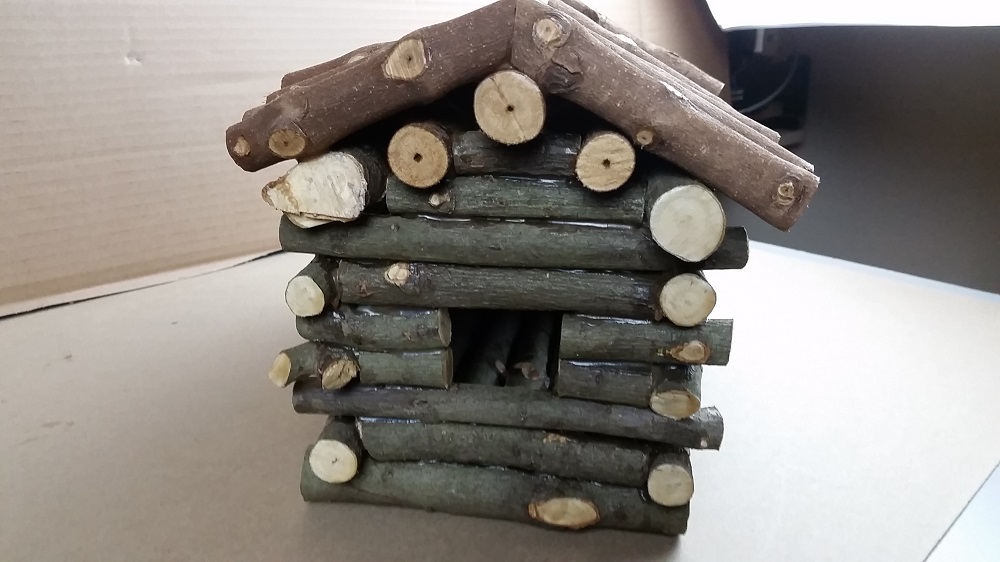
My doorway is 4 logs tall. The window is 2. The next two layers will bridge all the way across the openings.
Raise The Roof
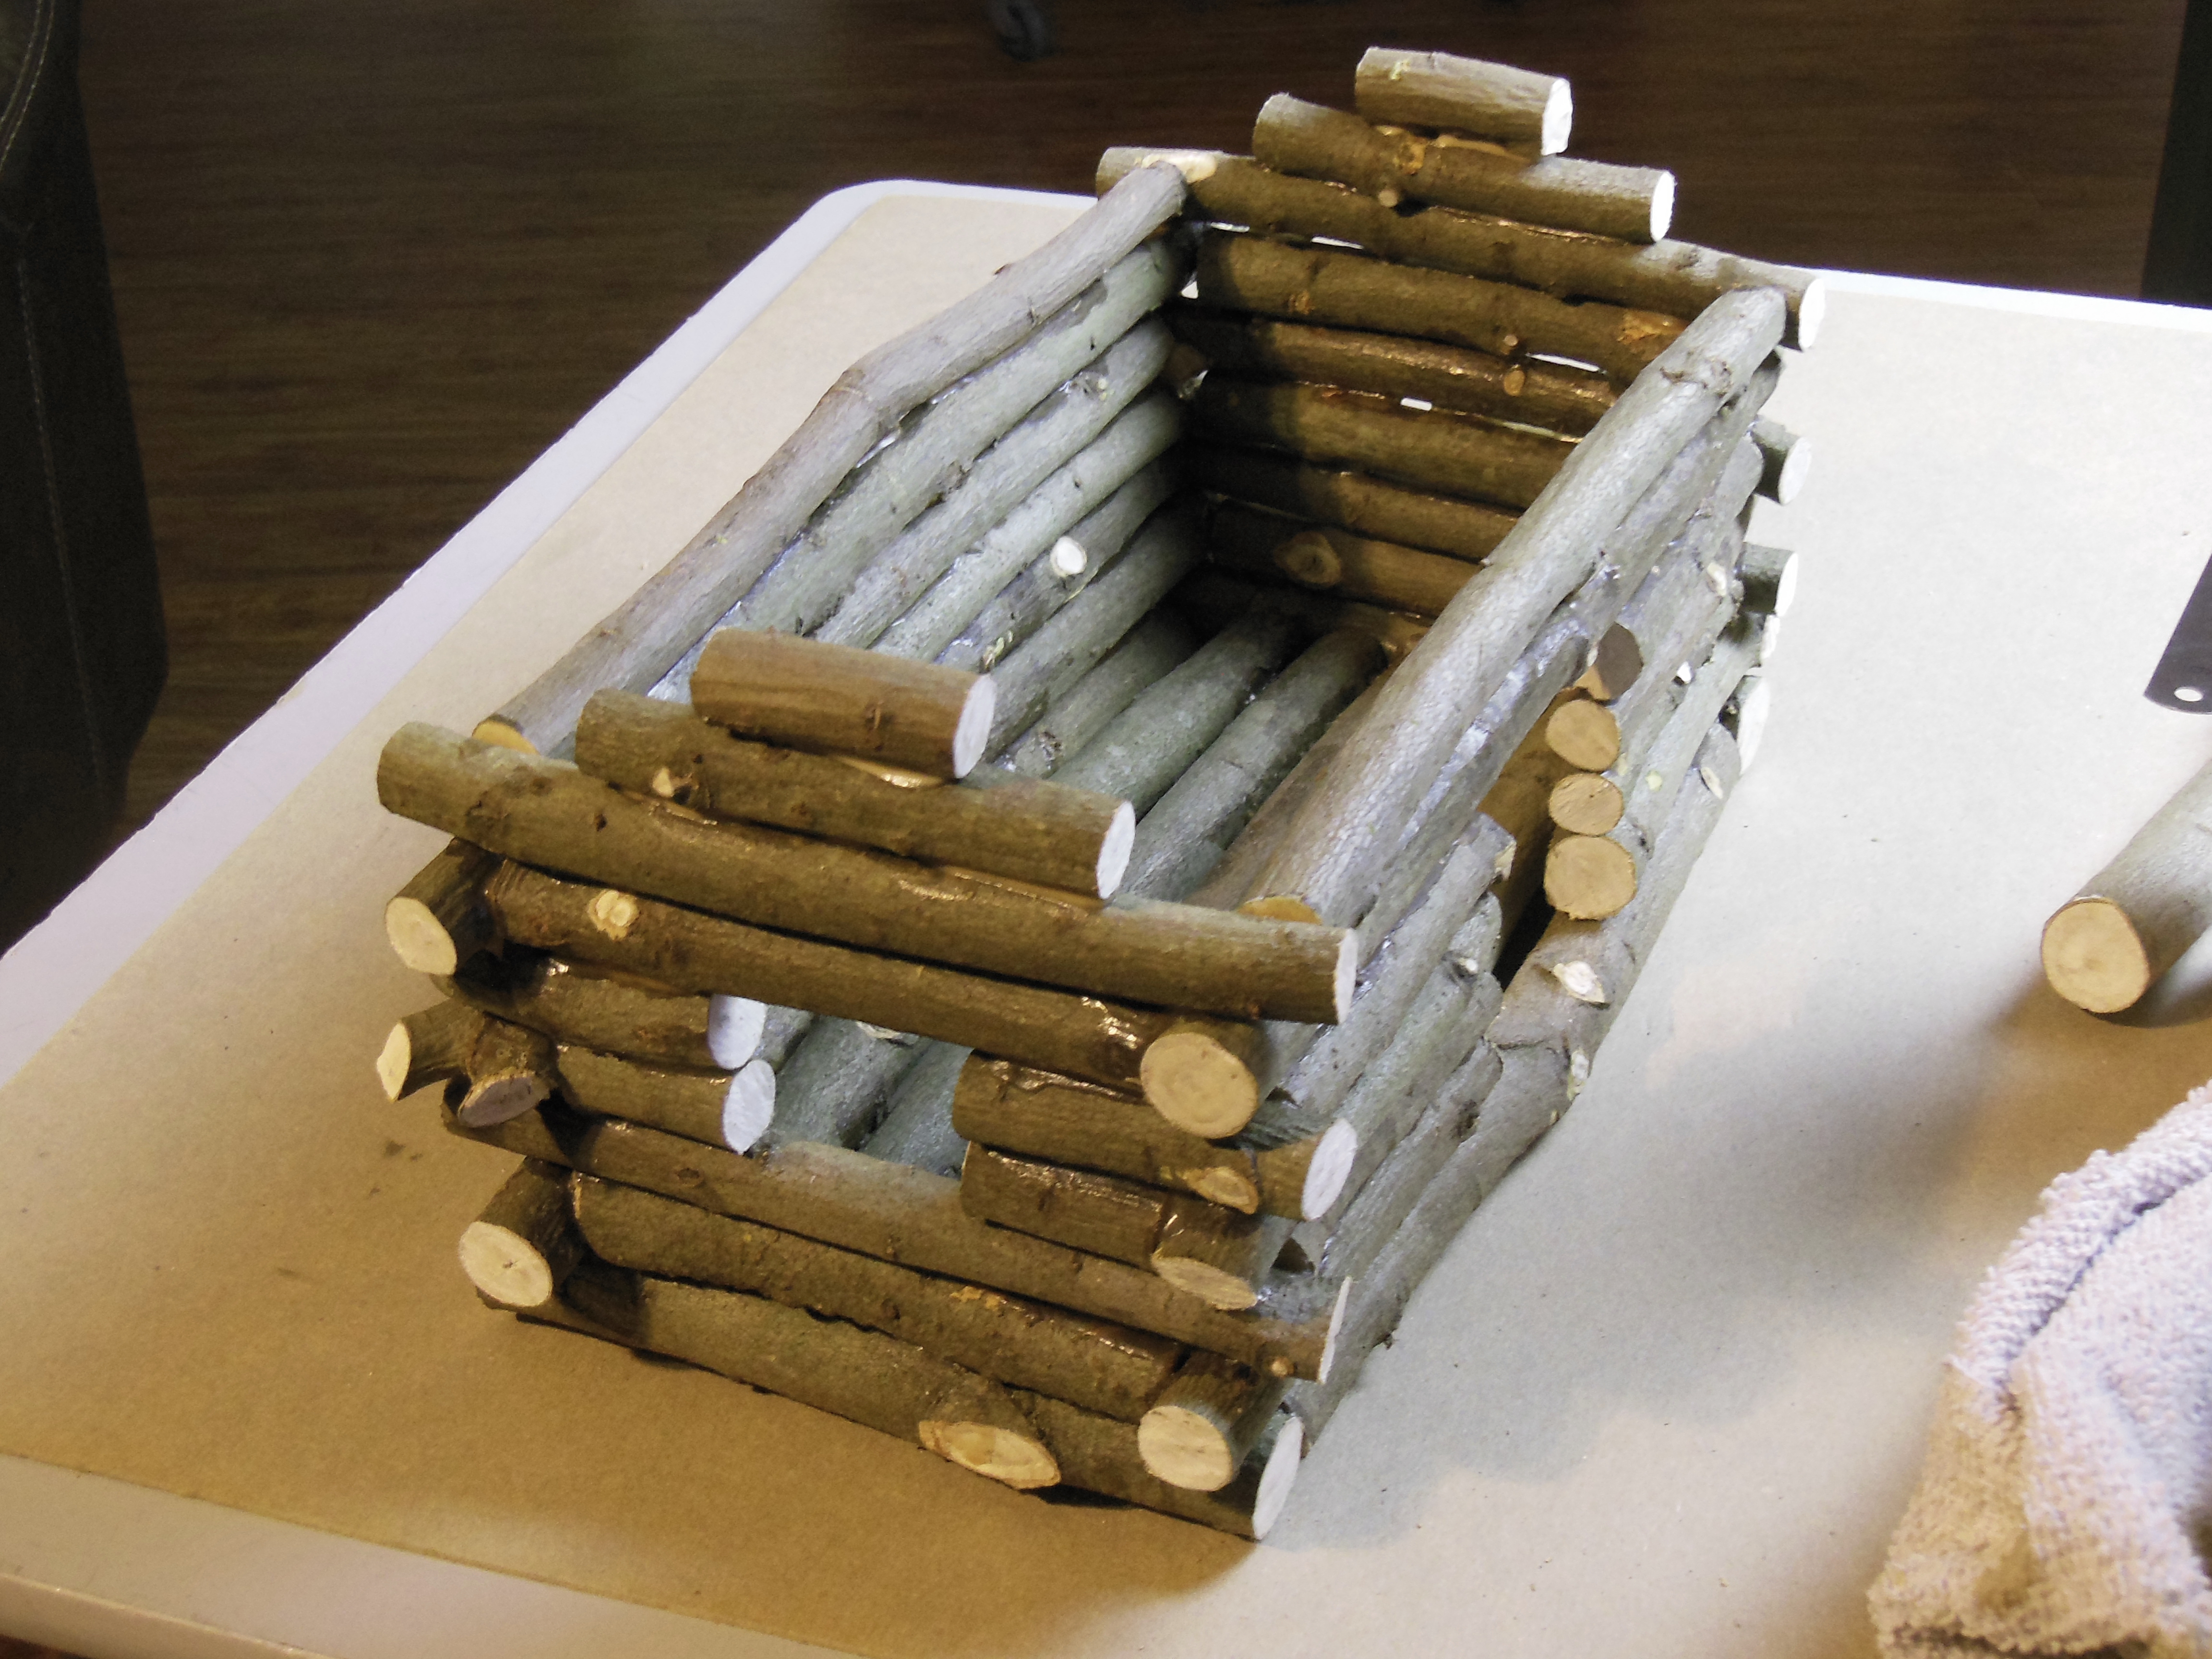
Continue building the walls until you’ve reached the desired height. In this case, I put two header levels above the door and window. Finish up by adding shorter pieces to the end walls, creating stepped peaks.
Support Group
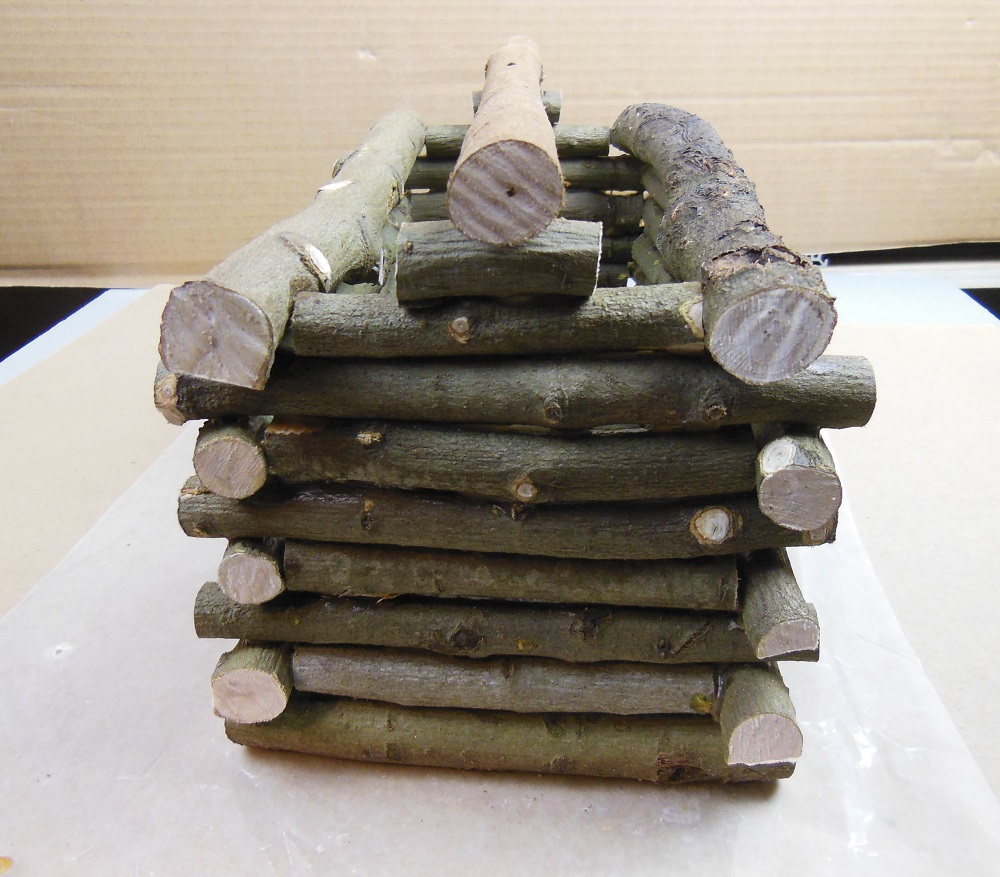
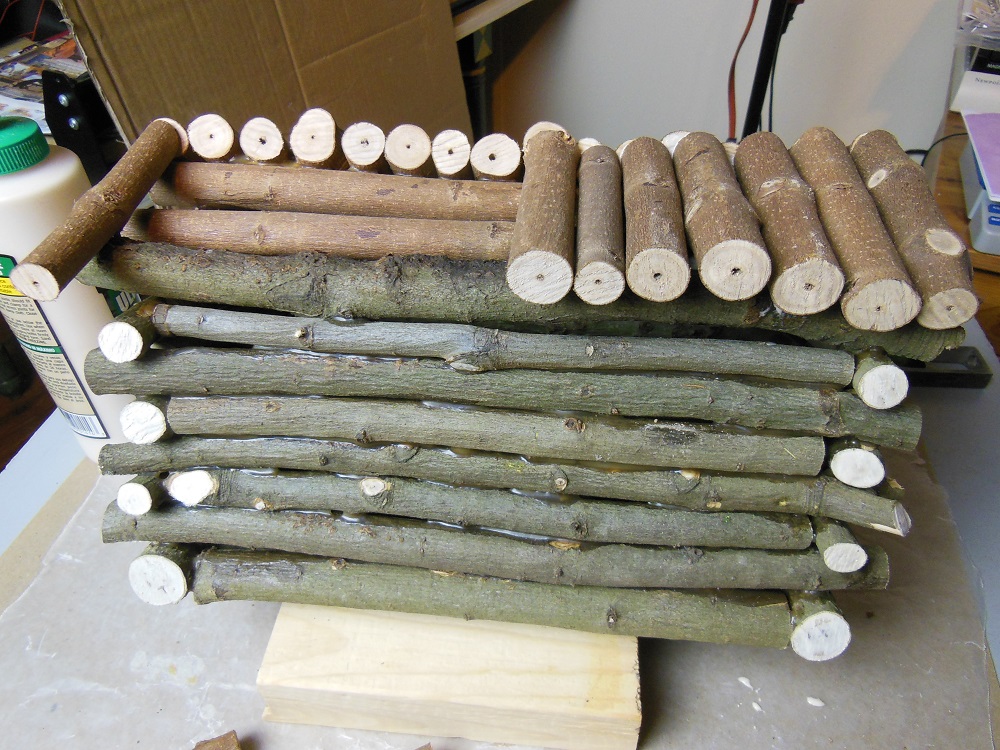
With the walls erected, we can install the roof support beams. It’s up to you whether you use three or five. I’ve made these log cabins both ways. When the support logs are on the “fatter” side (7/8” or so), I use five to eliminate large, unsightly gaps. The above photo shows the first three roof beams in place.

You want to be able to lay a straight edge from the peak of the roof to the lowest support beams. So if you use five, make sure the height of the two middle ones don’t interfere with this line of sight.
We Don’t Need No Water Let The Mother F’er Burn

So far, this has been a very simple build. The roof is only slightly more difficult. First, use an adjustable T-bevel in conjunction with a square to find the slope. This determines your cut angle for the top end of the roofing pieces.
You may have to adjust the angle from time to time if the support beams taper in thickness or aren’t parallel/straight, but don’t let minor fluctuations stress you out. This is a very rustic project; close enough is good enough. Preferable even.
Roofover

Before going any further, make sure you’ve allowed a full day for the glue to dry on all the walls and roof supports. In this step you’re going to stand the birdhouse on edge for about a day. So you want to avoid any potential for the walls to sag and distort, which can very well happen if the glue is still soft. While it may take several days for the thicker areas to dry completely and achieve full strength, a day is plenty for roofing purposes.

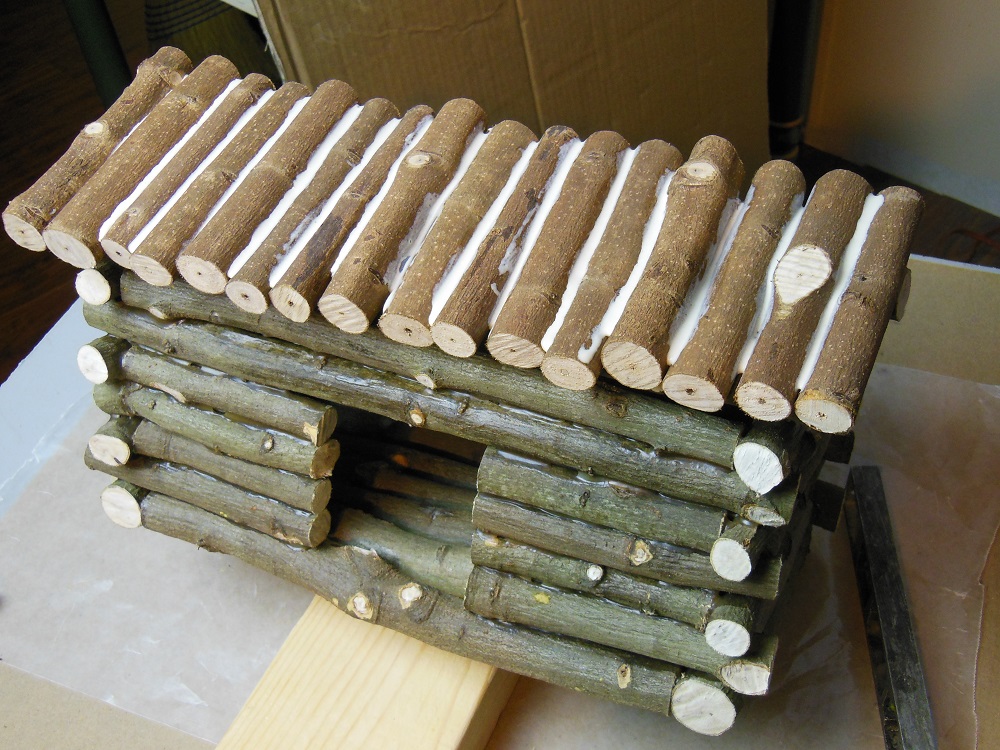
On to the roof: Use a piece of scrap wood to prop the birdhouse on edge. The idea is to get the roof support beams level so that the roof pieces won’t slide around on the wet glue, which acts more like a lubricate than an adhesive.
Before gluing any of the roof pieces, arrange them in a pleasing manner, mixing the thicker and thinner pieces and closing the gaps as much as possible.
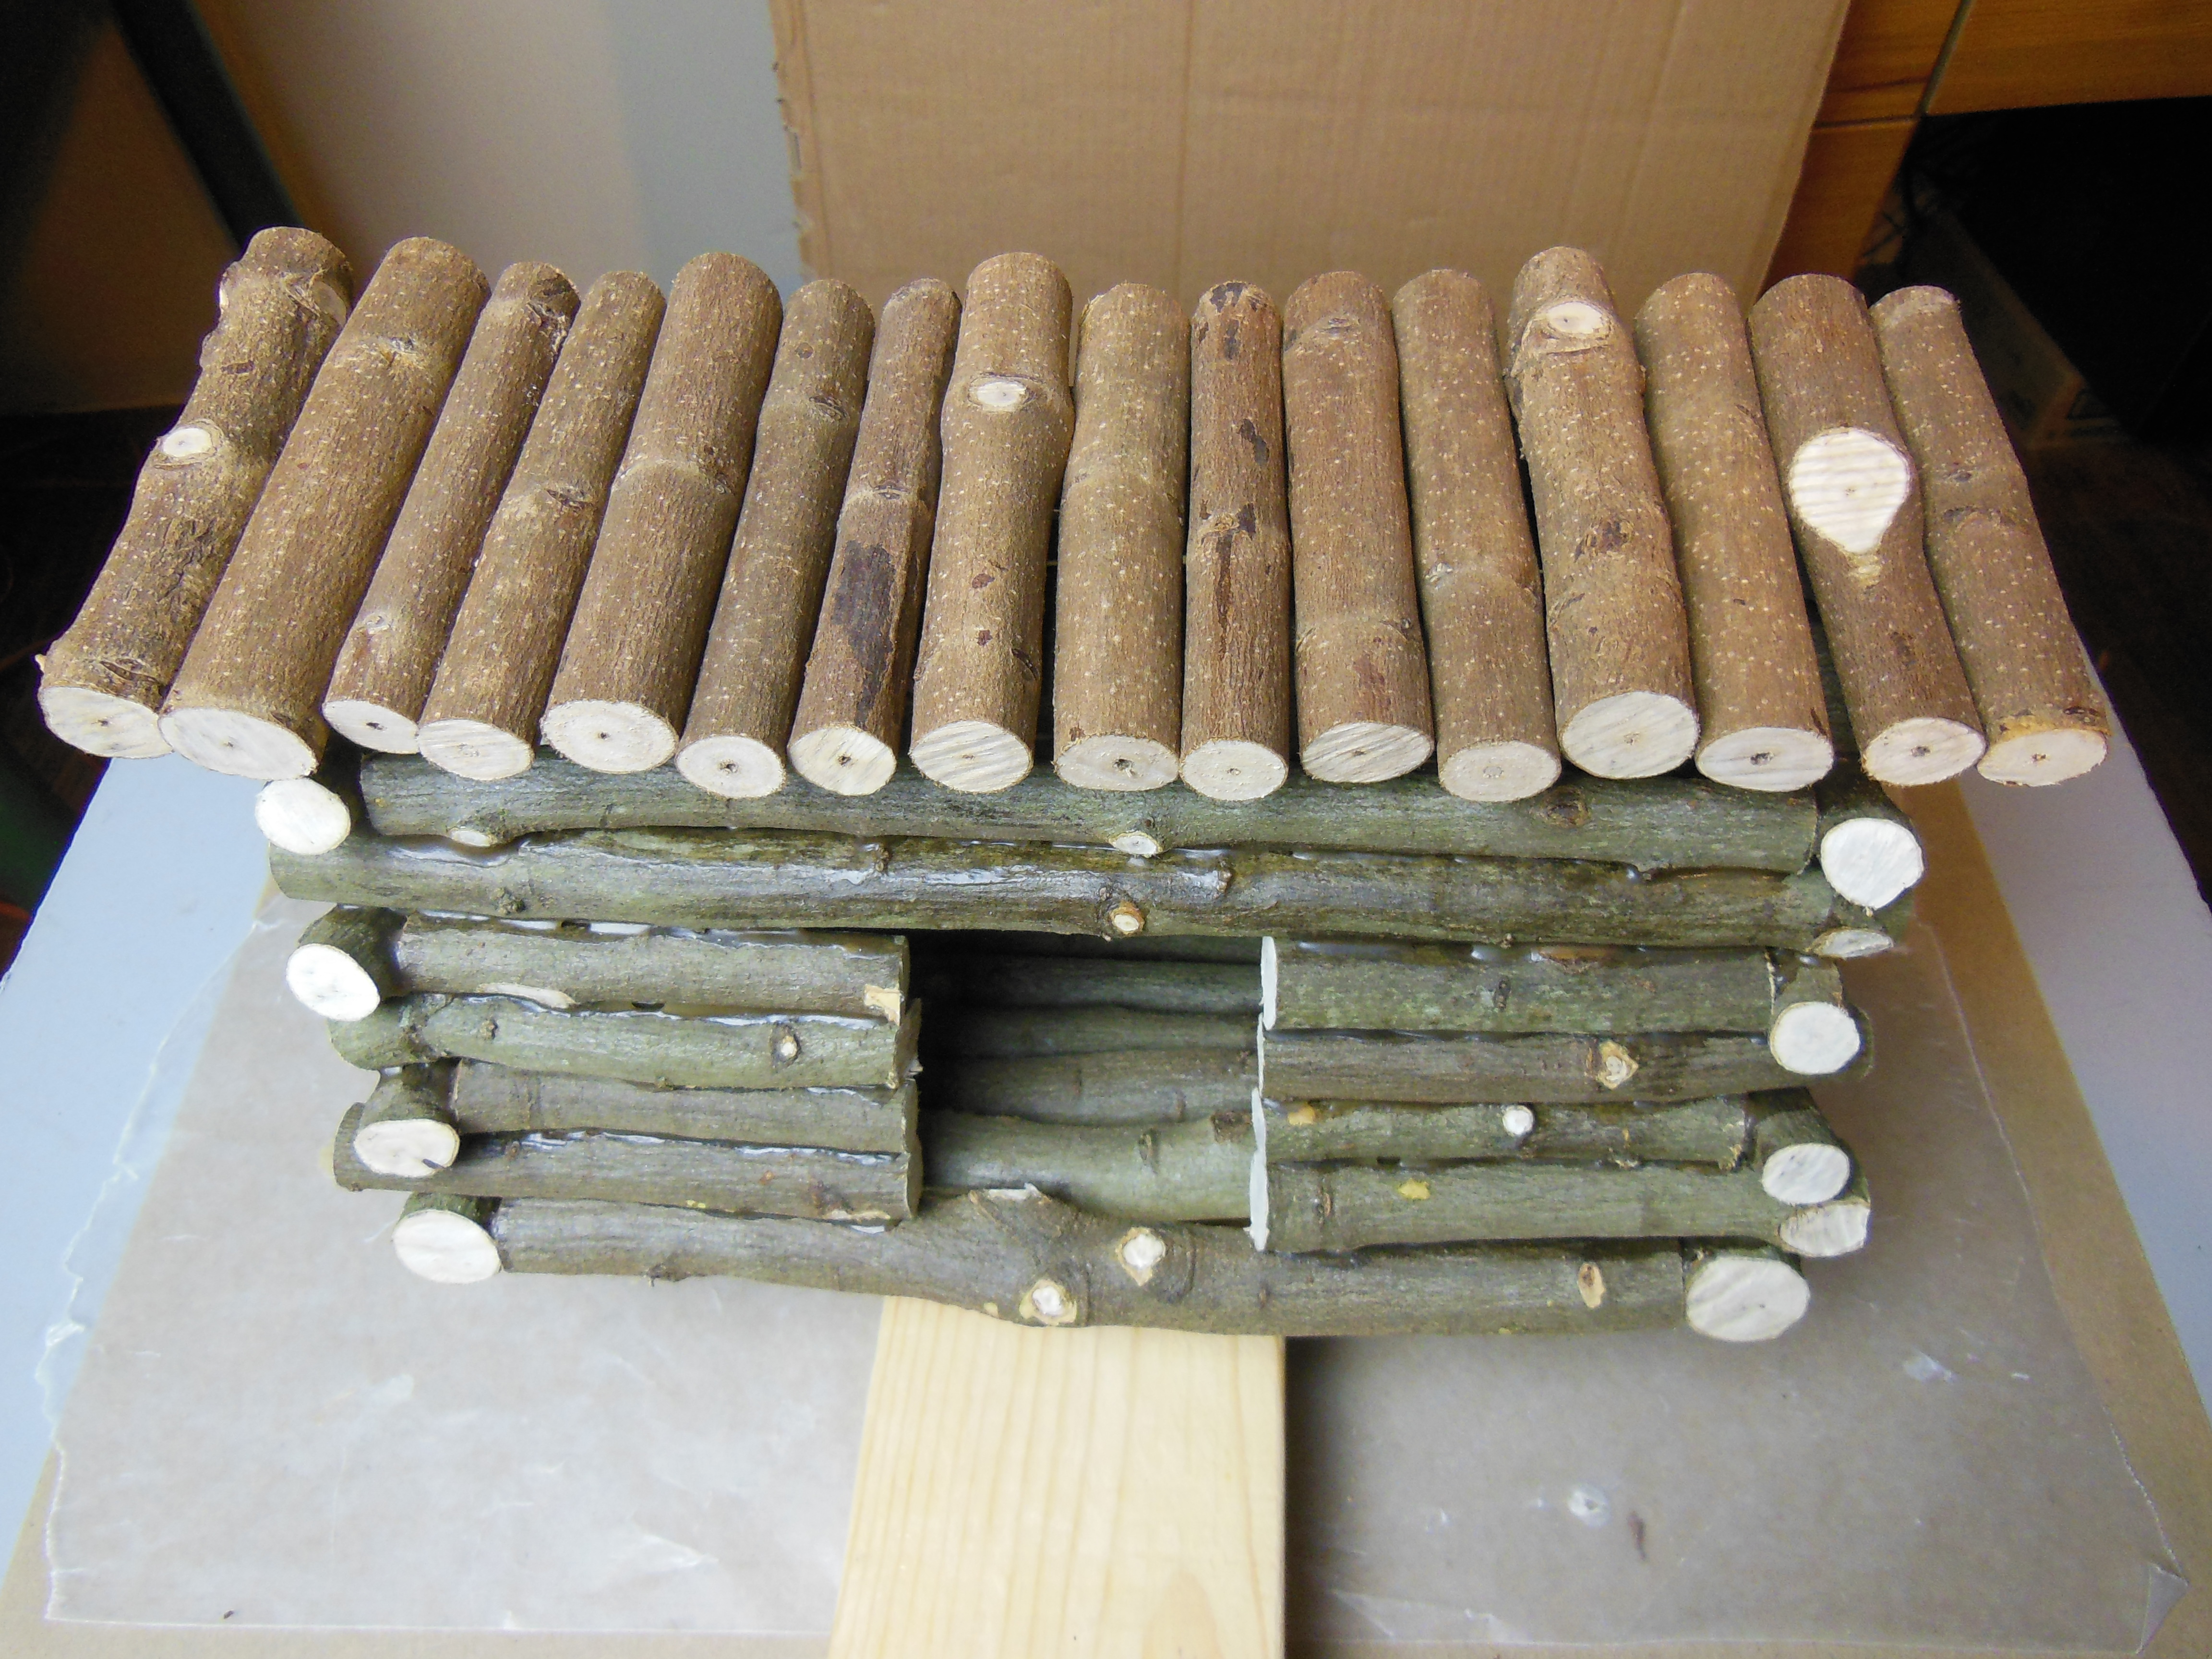
Once you have them arranged how you want, lift off a section of 5 or 6 pieces and set them on the table, taking care to keep them in the same order. Apply glue to the support beams then replace the pieces one at a time. Be sure to keep the angled cut pointing in the right direction. Continue until all pieces are glued in place. Again, allow the birdhouse to sit undisturbed for a full day before moving on to the other side.
The Other Side Of The Log Cabin Birdhouse Roof

The other side of the roof is done just like the first. But this time you’ll reference your angle to the roofing pieces on the first side.
Cabin Fever
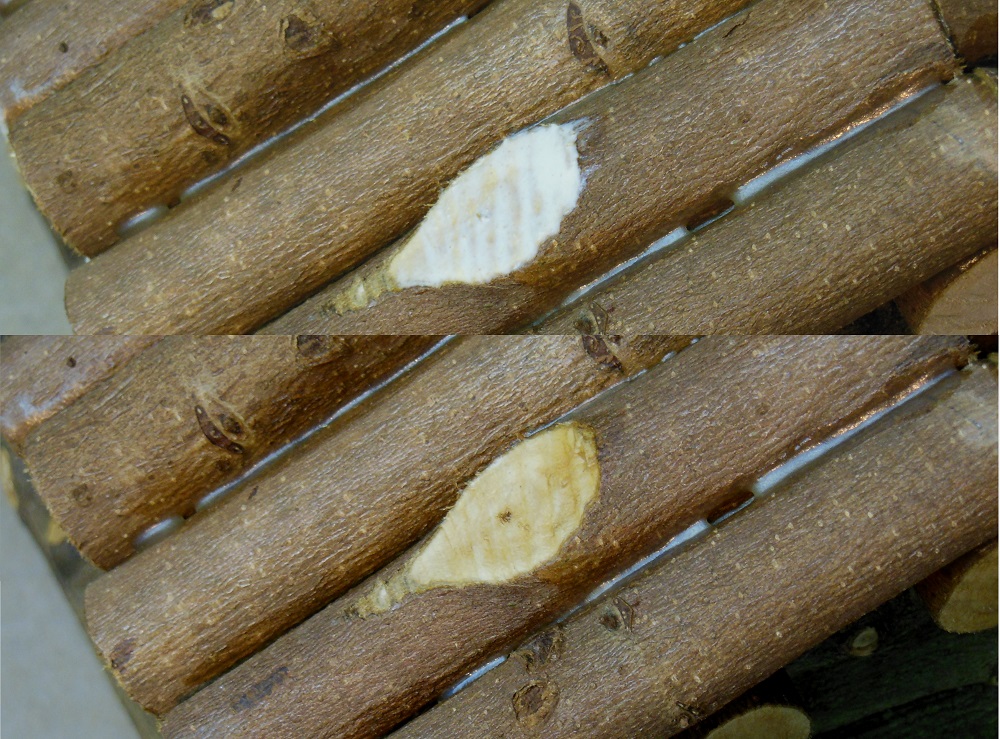
At this point, the actual construction is done and you could go ahead and put a fork in it and call it done. For my taste, the white of the wood is too bright in contrast with the darker color of the bark.
To darken the exposed wood, dab on a thin coat of glue. The more coats you apply, the darker the color will become. If the cabin is going to be used outdoors, I’d recommend doing this step even if you are happy with the color.
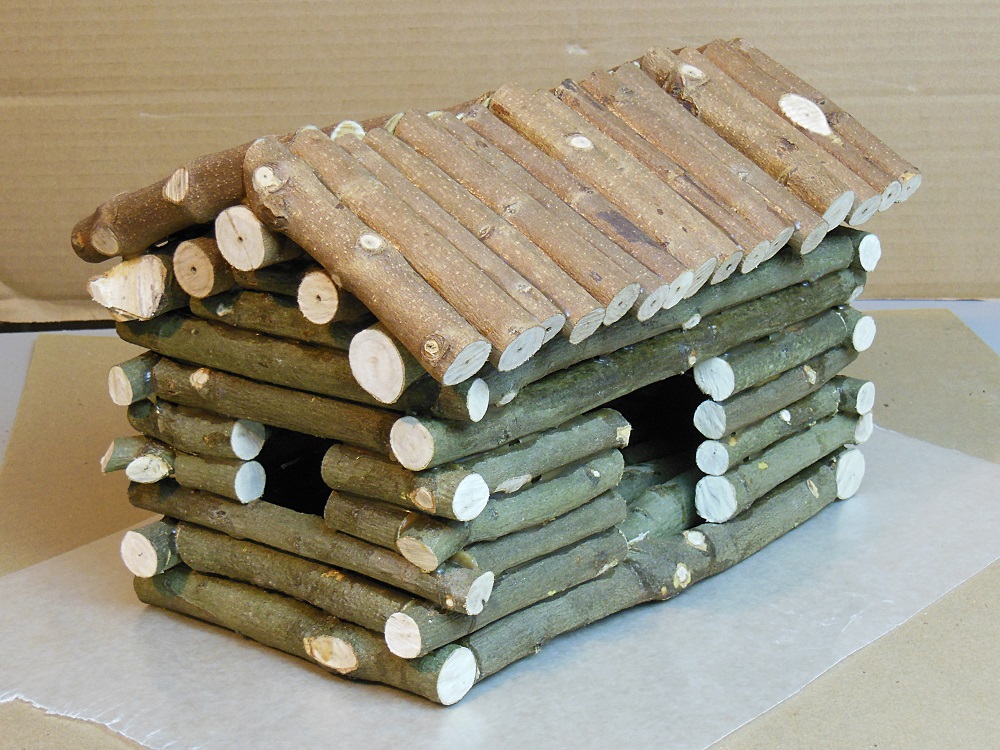
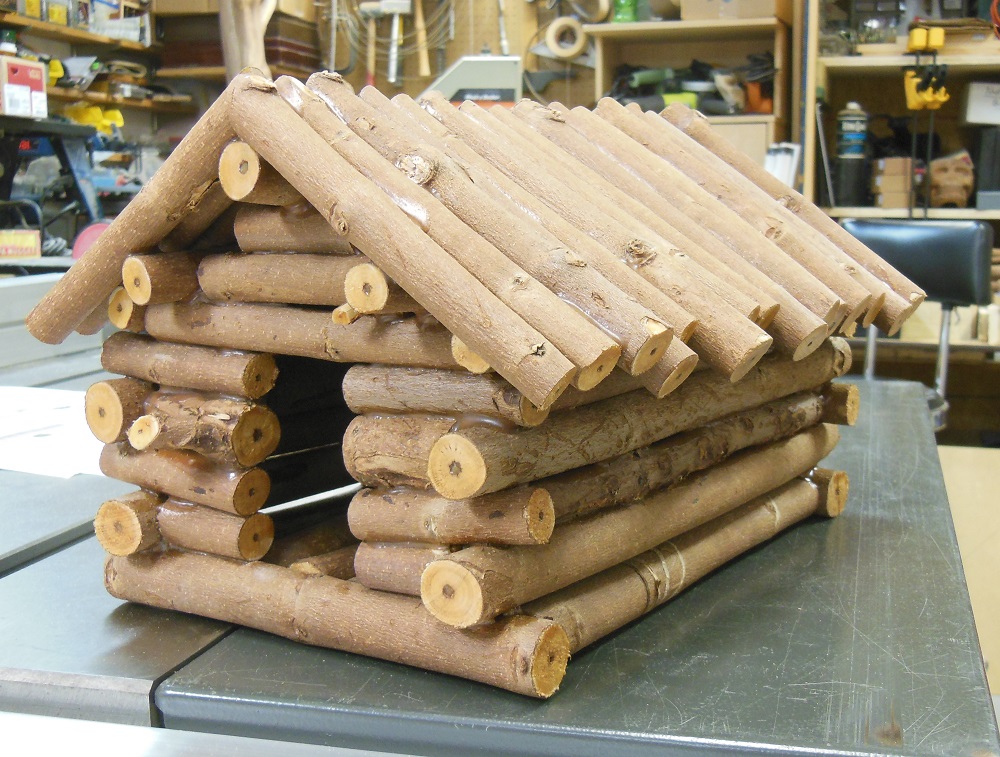
A Cabin Fit For A Fine Feathered Friend – Or In-Home Decor
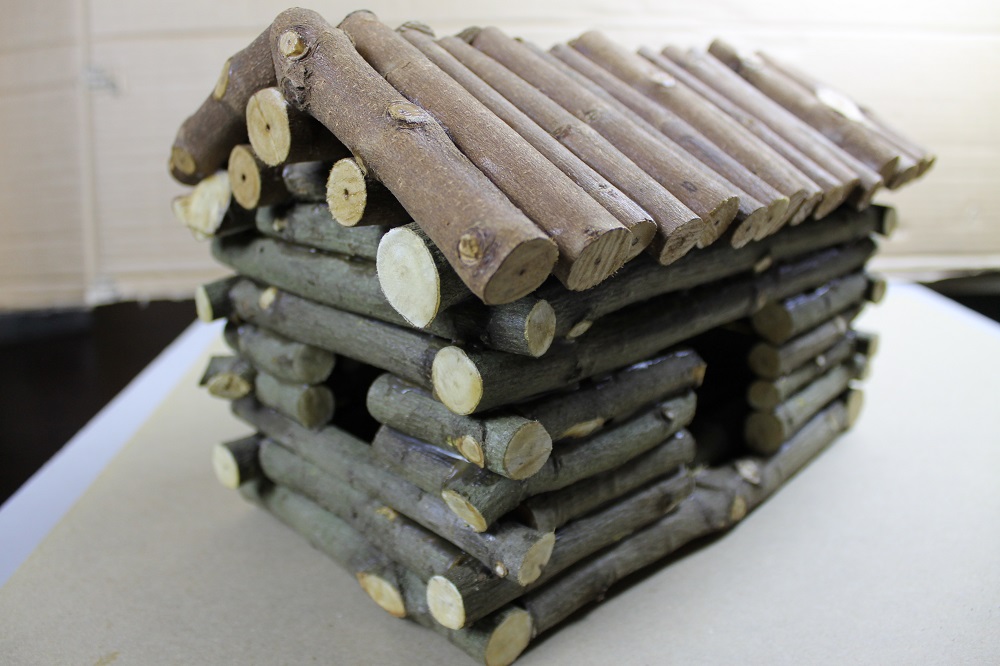
There you have it, a cool looking birdhouse that even a beginner can make and be proud of. Have fun with it, be creative and don’t be afraid to modify it and make it your own. Of course, yours doesn’t have to become a birdhouse. They look just as cool sitting on a shelf.

If you’d like to see the build process in action, you can watch me build the one pictured above in this video:
[youtube https://www.youtube.com/watch?v=7UAYt_kYWjA&w=560&h=315]
Okay, So I made this and it’s gorgeous. BUT there is no way you did this in one day! I got the recommended glue, but that glue is way too slippery and the logs slide around. It took four days because I had to let the glue dry more than once. I recommend getting some flex seal for this type of work. They make a paste as well as a tube. I’ll be making several more of these with different designs. Thanks for sharing!
Thank you very much for showing how you made it. I’m going to use this information to make Baba Yaga hut on chicken’s legs, not sure how to do them yet though.
We love to attract birds and this project is amazing! You’ve provided an easy idea the entire Family can make together and then enjoy the reward of their efforts.
Looks like a fun project for anyone at any age. Thanks for the well laid out guide and detailed images. I plan to share this with my sister’s kids as a fun winter indoor activity in prep for spring!
Thank You! I’ve been wanting to build a bird house like this with my daughter. Your instructions are so easy to follow. I’m sure she’ll build more than one to give as gifts.
I appreciate the feedback, Kristin. I hope you find it useful. Thanks for following along!
NICE JOB!!
Thank you, Marla!