

Unlike California and much of the southwestern United States, here in western Pennsylvania we have no issues with drought. Actually, with abundant rainfall and rivers up the wazoo, we tend toward the opposite end of the moisture spectrum: flooding. Our home is at an elevation where we’re safe from floods (brief pause to knock on head), but frequently the rainfall is so heavy that all the gutters do is slow the water down. This results in much of the water spilling over the edge of the gutters, and ending up right by the foundation, usually followed by a minor lake in the basement. After a recent episode of sogginess, I decided it was time to add a downspout, to try and divert some of that agua somewhere it would be less harmful and more useful – Texas, perhaps?
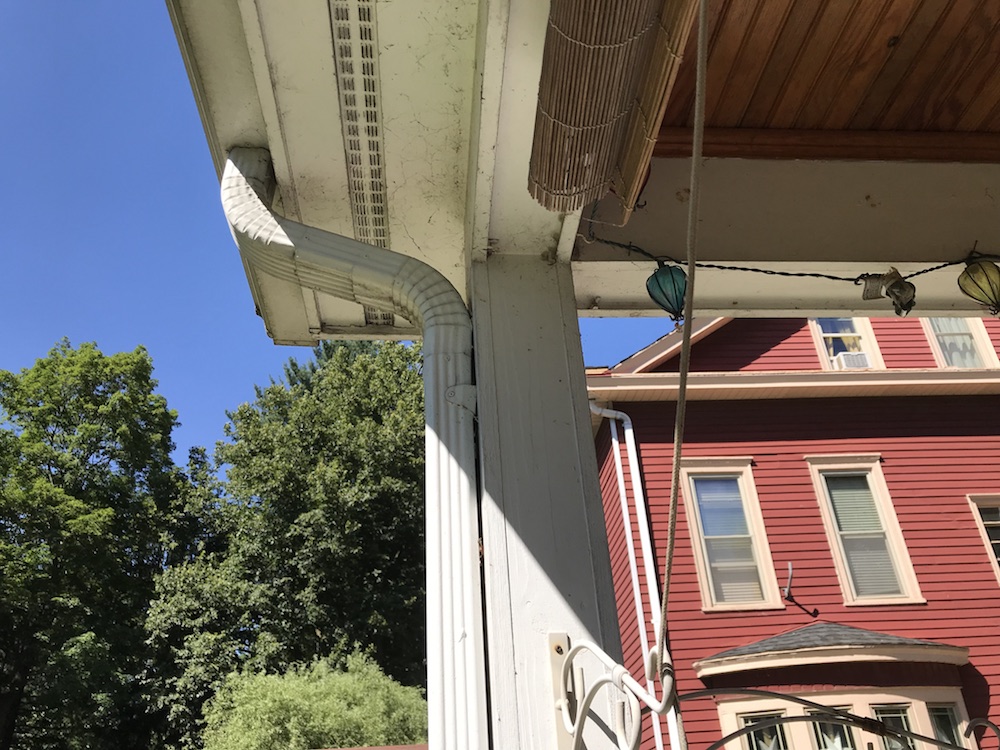
The process used to add a downspout is similar, whether you’re putting up a whole new gutter or just supplementing what’s already there. In our case, the gutter spans the entire rear of the house. The 32’ gutter has a downspout at each end, but at only 2”x3” each they’re not nearly up to the task of handling all the water coming off the large roof area, as evidenced by the above video. To make matters even worse, two downspouts from the large upper roof also drain onto the lower roof. Those puny downspouts don’t stand a chance.

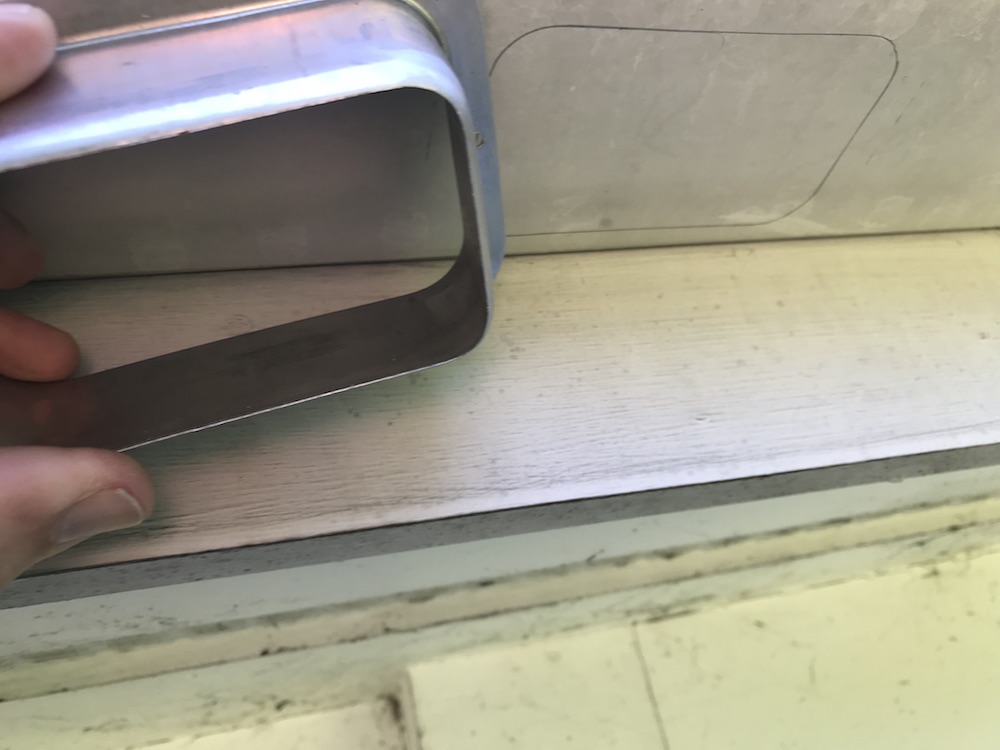
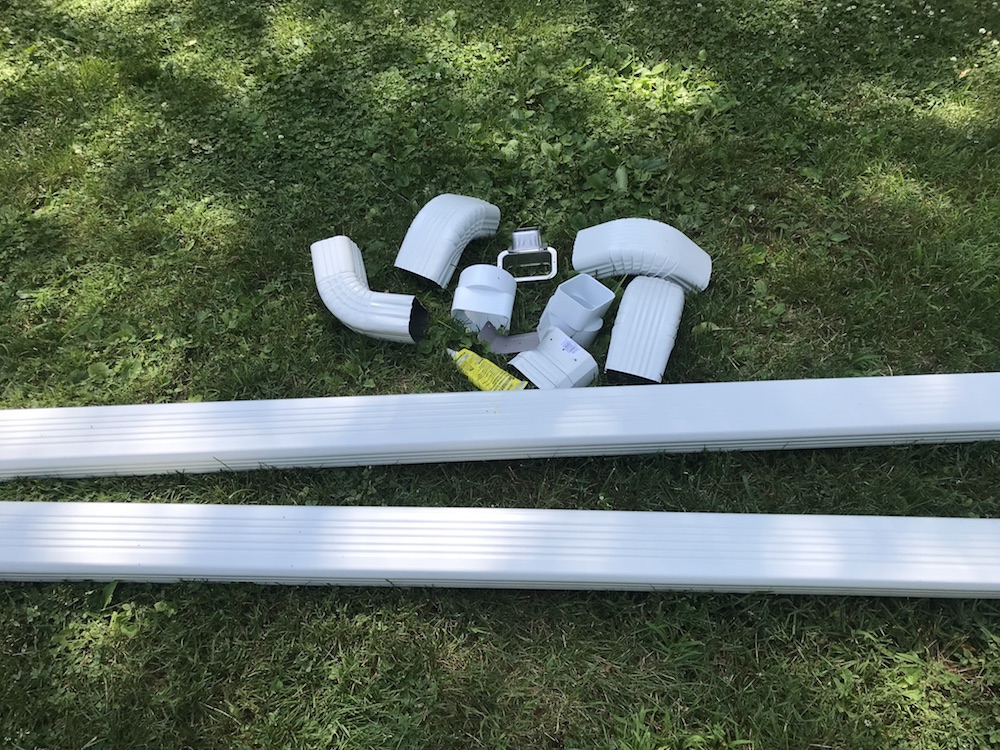
In a recent post, we took a look at how to fix some of the damage that can be caused when water gets in where it shouldn’t. In this case, it was caused when water overflowed one of our gutters over a period of a few years, resulting in a badly rotted window sill. Since preventing damage is preferable to fixing it, let’s take a look at the parts and tools you’ll want to round up to add a downspout, and get to work!
Your “Add A Downspout” Shopping Guide
When you’re compiling your shopping list, the number one item is, of course, the downspout. They’re normally sold in 10’ lengths; make sure you have enough sections to reach the ground. Keep in mind that if you have a deep roof overhang, you’ll need two elbows at the top, to reposition the downspout against the siding. Make sure you’ll have enough downspout to cut a piece to span the gap between the fascia and the siding, if needed. Most home centers stock downspouts and other gutter components in white and brown. Too mundane? There are a LOT of colors available by special order.
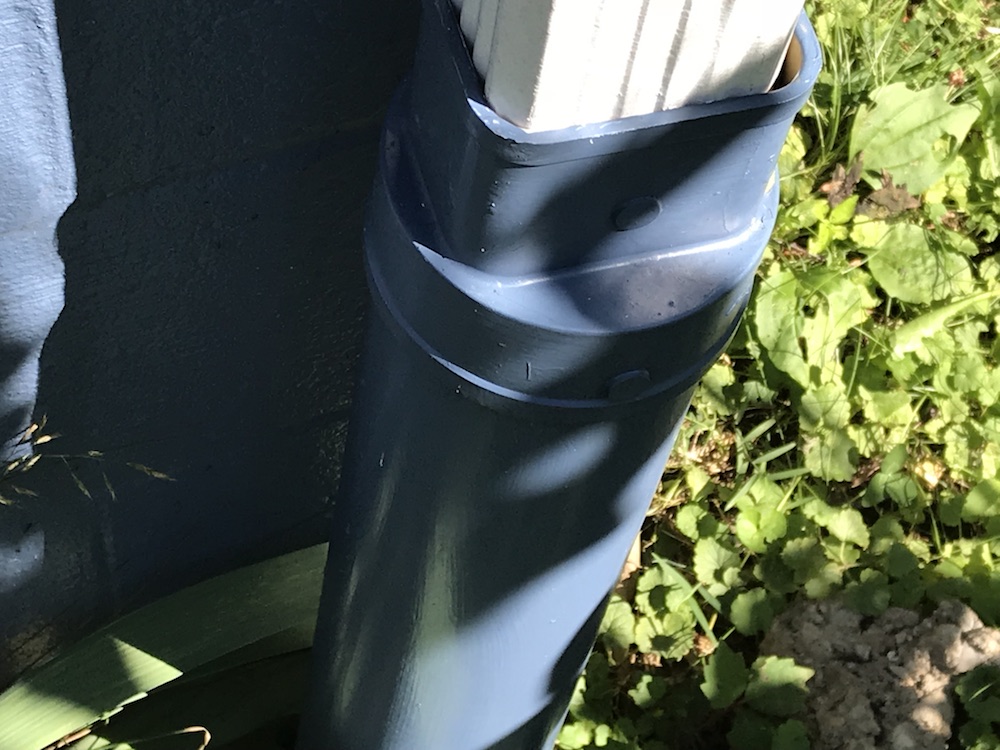
Another elbow may be required at the bottom of the downspout, to direct the water away from the house, unless the downspout will fit into a receptor connected to underground drain pipes. In that case, you can buy an adapter that fits perfectly on 4” plastic pipe, and has a slot perfectly sized for whichever size downspout you’re using.
You’ll need another adapter to connect the downspout to the gutter. Get a downspout outlet to match the size downspout you’ll be installing, either 2”x3” or 3”x4”. You’ll be cutting a hole in the gutter and dropping the outlet in, so you’ll also want some seam sealer to go around the flange to help seal the connection.
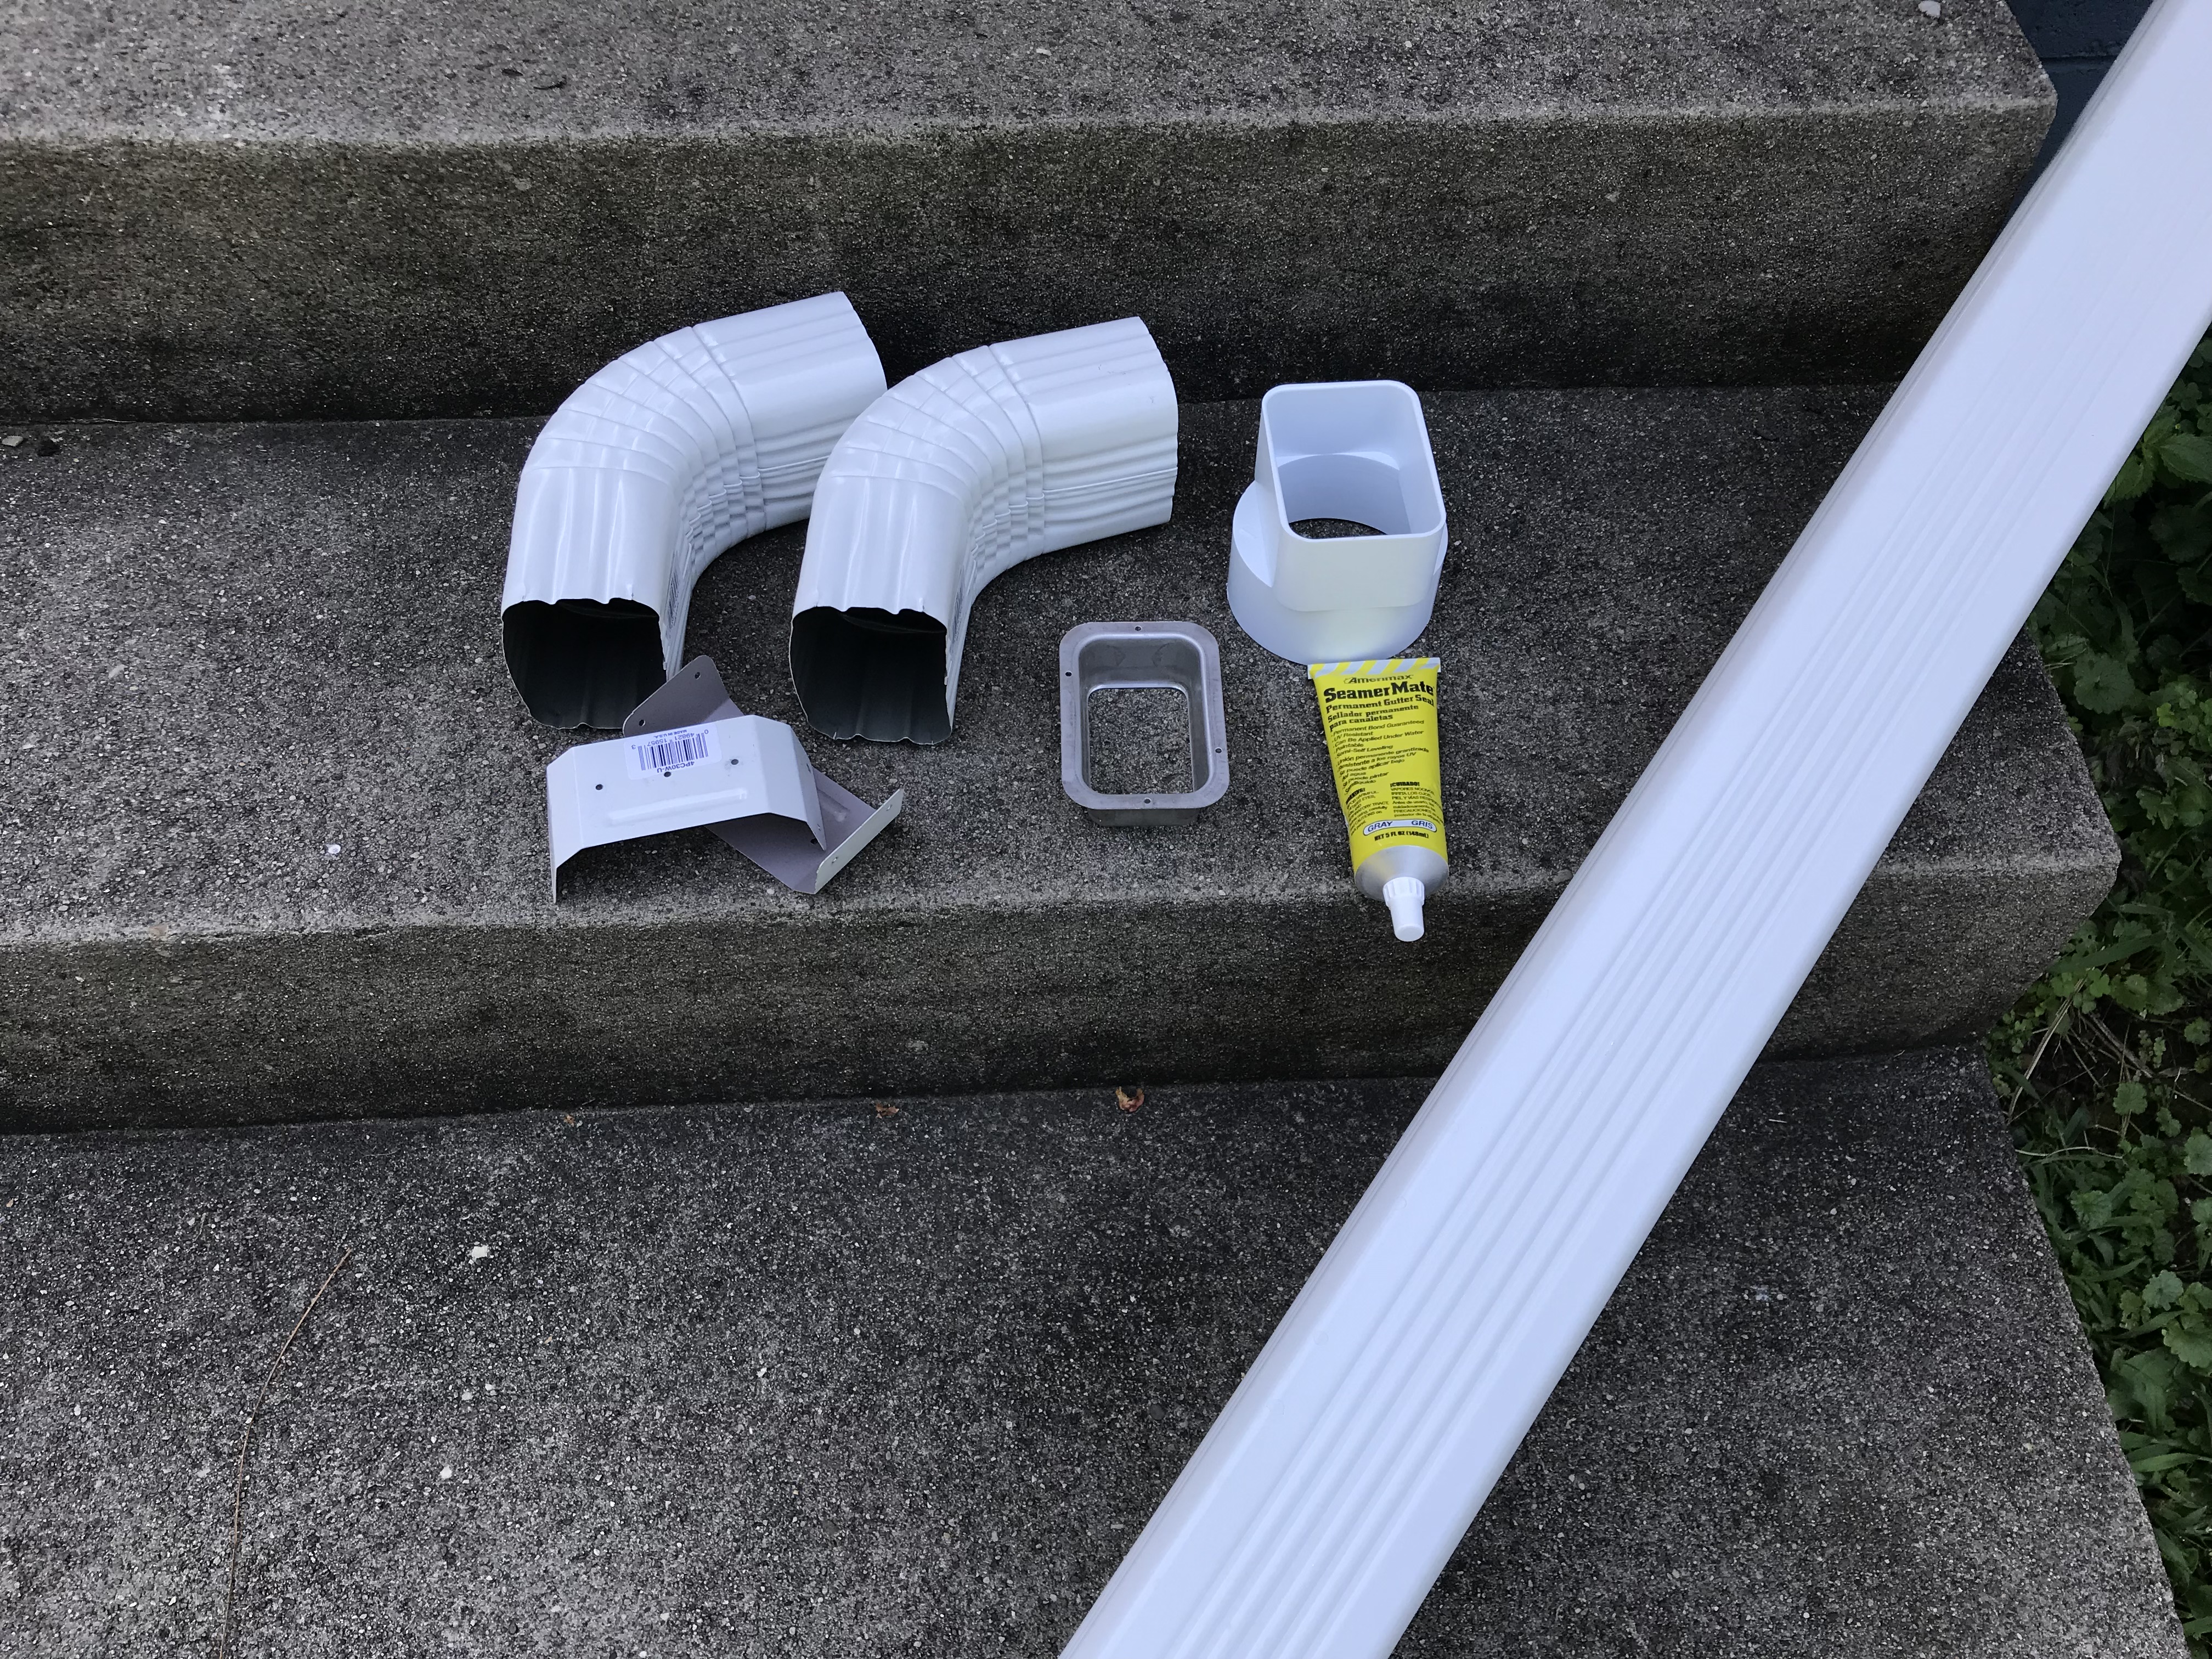
You’ll also need mounting brackets when you add a downspout, to secure it to the house. Normally you’ll use two for each 10’ section. Next, make sure you have what you need to get everything connected. If you have a rivet tool, that’s the ideal way to make your connections. I have a fancy-schmancy Milwaukee M12 rivet tool, but a manual one works just fine, and you can pick one up fairly cheaply at the home center; it’s a handy tool to have around. You can also use sheet metal screws. Rivets and screws are usually found in the same general area as the downspouts. And to help you make a fashion statement when you add a downspout, they’re usually available in colors to match your big parts.
As I mentioned, downspouts are commonly available in two sizes: 2”x3” and 3”x4”. With a small roof and a short run of gutter, you can probably get away with the smaller downspout. The way I see it, though, if you’re going to all the trouble to add a downspout, spend the extra few bucks and go big. They don’t seem that much bigger, but a 3”x4” downspout has twice the capacity of one that’s only 2”x3”. An oversized downspout won’t give you any reason to regret your decision during the next torrential downpour; an undersized one might. Just make sure your gutter is wide enough to accept the larger downspout.
DOWNSPOUT / GUTTER PARTS LIST:
- A downspout!
- Mounting brackets
- Elbows: number varies by setup
- Downspout outlet
- Gutter seam sealant
- Rivets to match color of downspout
- Screws to mount bracket to house

TOOLS:
- Drill, drill bits, screwdriver bit
- Hacksaw to right-size parts
- Rivet tool
- Tape measure
- Pencil or Sharpie for marking for cuts
- Ladder
- Tin snips or straight hacksaw to cut hole for outlet
Location, Location, Location: What To Consider When You Add A Downspout
The first step as you get ready to add a downspout is to pick a good location. If you have a stretch of gutter with only one downspout, the best bet is likely to add the new one at the opposite end. Just be aware that if the gutter was hung correctly, it should be sloped slightly toward the existing downspout. You’ll want it to be sloped toward both ends, and higher in the middle. Depending on the gutter hanging system, this task can range from fairly simple to a big PITA. If adjusting the slope is too difficult, you may want to just add the new downspout somewhere near the center, so it will drain the first half of the gutter.
For aesthetics, if you can pick a spot where there’s already a piece of vertical trim, your new downspout won’t stand out as much. Try to find an unobtrusive spot, but worst case, you can always paint the downspout to match the house color, and that will help it blend in a bit.

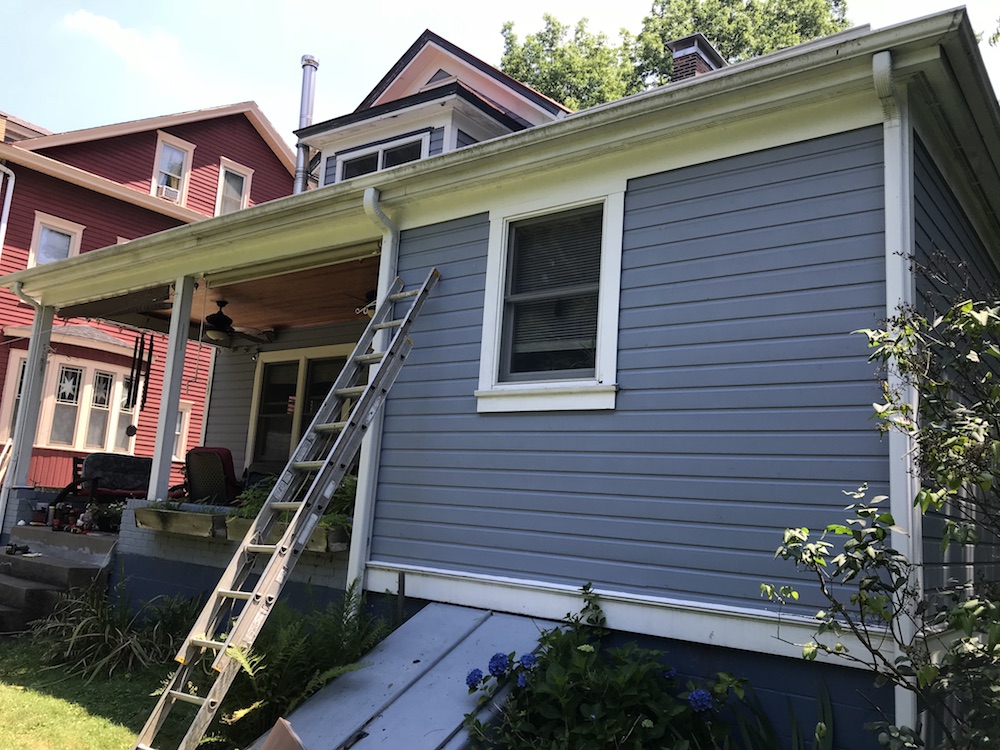
As I mentioned, our roof had downspouts at either end. Ideally, the new downspout would be centered between the other two. I decided to add a downspout a bit off center for a couple of reasons. The primary reason is that if I had centered it, the downspout would hang right in the middle of an open space between a column and the corner of the house. That would be a bit odd. I located it at the corner of the house where it meets the porch, which worked out well because that section of the lower roof is larger, and it also gets more of the drainage from the upper roof.
Get Your Mind Out Of In The Gutter
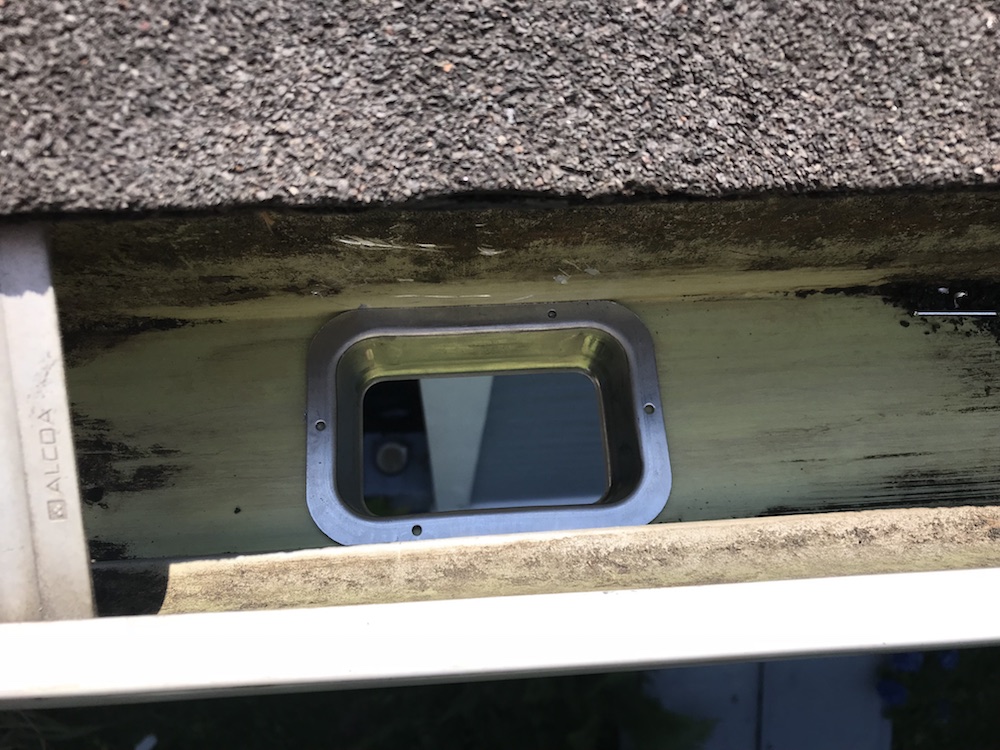
Once you’ve gathered up all the parts and tools to add a downspout, the hardest part is done! At least mostly. The only remaining step in the process that might be considered mildly strenuous is making the cutout in the gutter for the outlet to fit into.
This portion of the festivities would be MUCH easier if a paper template was included with the part. Most outlets taper slightly toward the bottom, so you can’t use that end. The top has a lip, which makes it awkward to trace an accurate cutout. Note to the outlet makers: Spend two cents and give us a template, dammit!
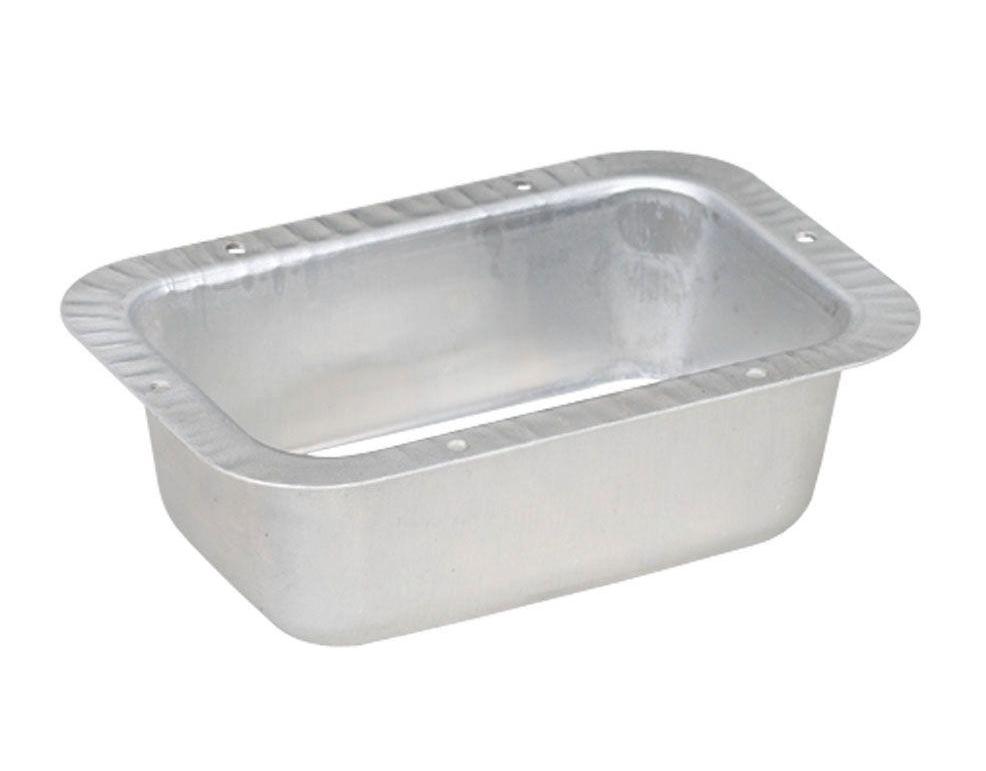
To make sure you get a good cutout, spend a couple of minutes and make a template out of a thin piece of cardboard. Place the outlet upside-down on it, and trace around the inside. Cut that portion out, and see how the outlet fits. Adjust the opening until the outlet fits smoothly. Don’t make the opening too large; remember, the flange needs enough metal under it all the way around to get a good riveted attachment.
Once your sporty template is ready, use it to trace for the cutout onto the floor of the gutter. Do it on the top or bottom, whichever you’ll be making your cutout from. Make sure it’s centered front to back, so the flange will seat properly in the gutter. You should also clean the inside of the gutter in the area of the outlet, so the sealant will have something more solid to stick to than the remnants of your gutter garden…
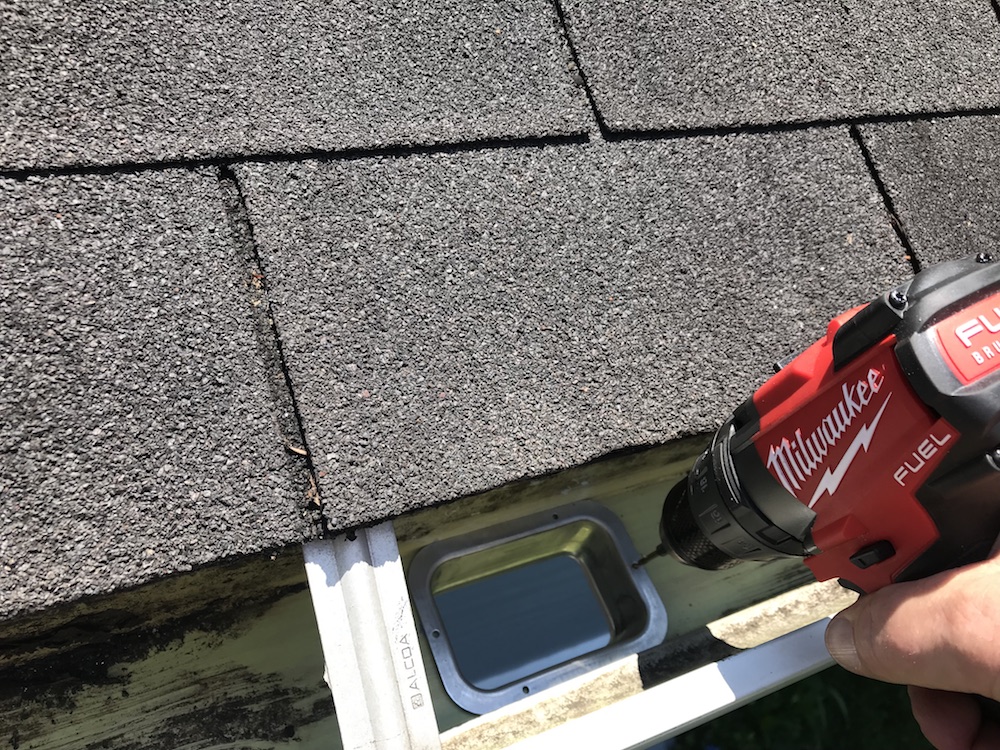
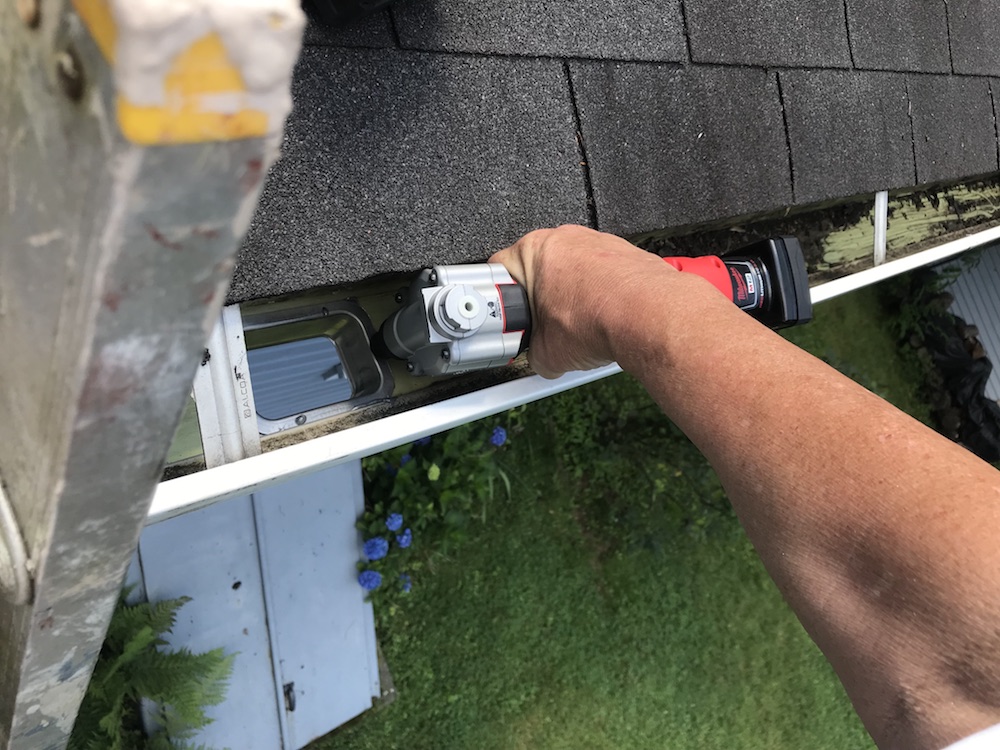
Now we get to the only semi-difficult point in the quest to add a downspout: Cutting the hole. It’s not really that bad; aluminum is pretty easy to cut, and it’s not a very big hole. The easiest way to accomplish it is to drill starter holes at all four corners of your cutout area. Make sure the hole is wide enough to fit your tin snips, hacksaw or jigsaw blade into.
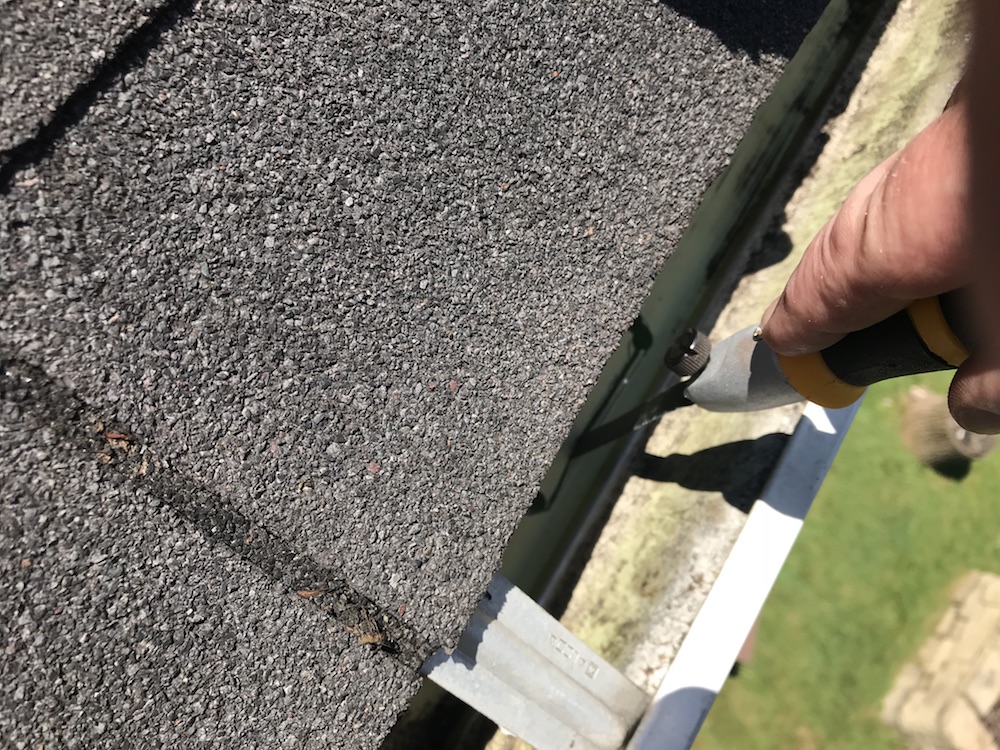
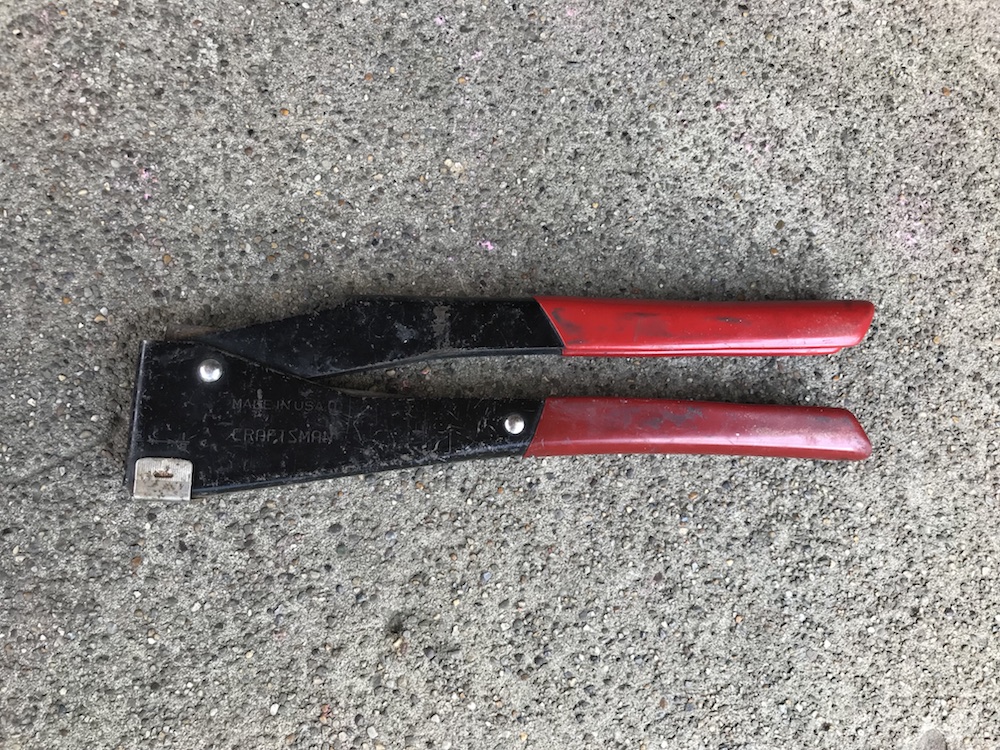
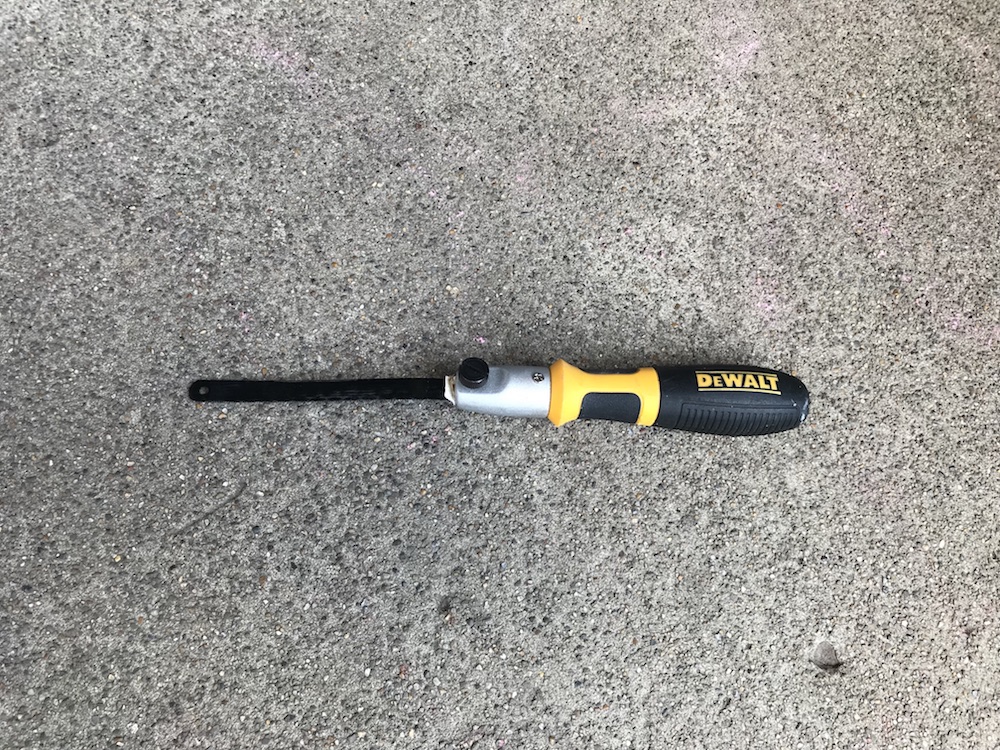
Now just follow the lines from hole to hole, until your opening is complete. Be careful; the cut edges are likely to be jagged enough to open up an unappealing gash in your hand, so you may want to don a pair of gloves. I had originally planned to use a jigsaw, but there wasn’t room to maneuver it, so I used a hand tool with a hacksaw blade extending from it. Similar looking mini-hacksaws are available for a few dollars.
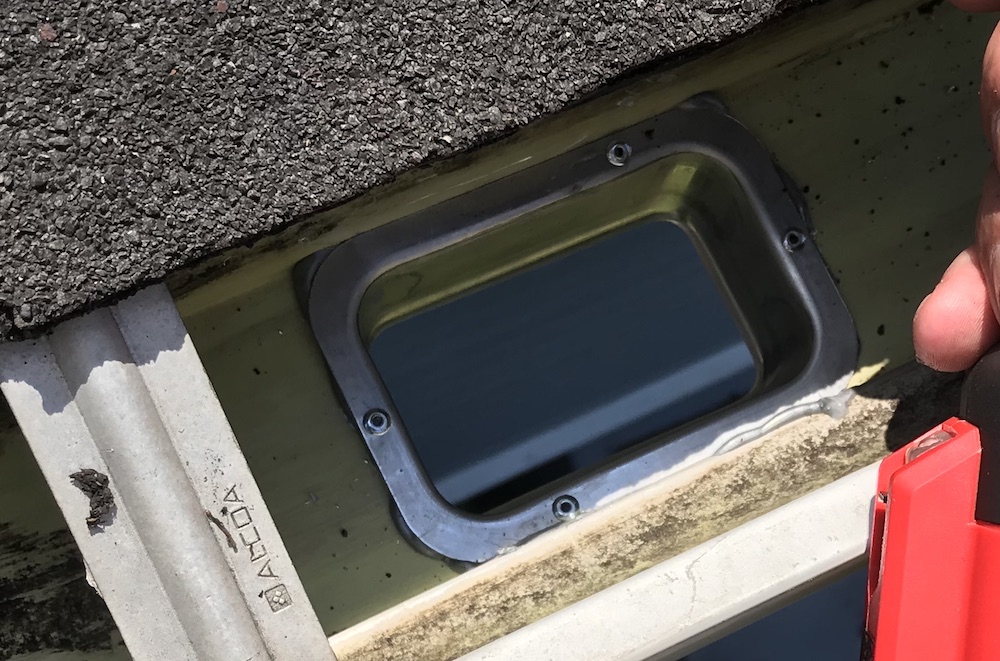
Once you have your hole, drop the outlet in to make sure the fit is good. If it needs to be expanded slightly, use a flat bastard-cut file. Now drill holes for the rivets, through the existing holes in the outlet and through the gutter.
Take the outlet back out, put a healthy coating of seaming goop all the way around the edges, and press the outlet firmly into position. Grab your rivet tool, and pop a rivet into each hole. NOW the hardest part is finished!

Gimme Some Elbow Room
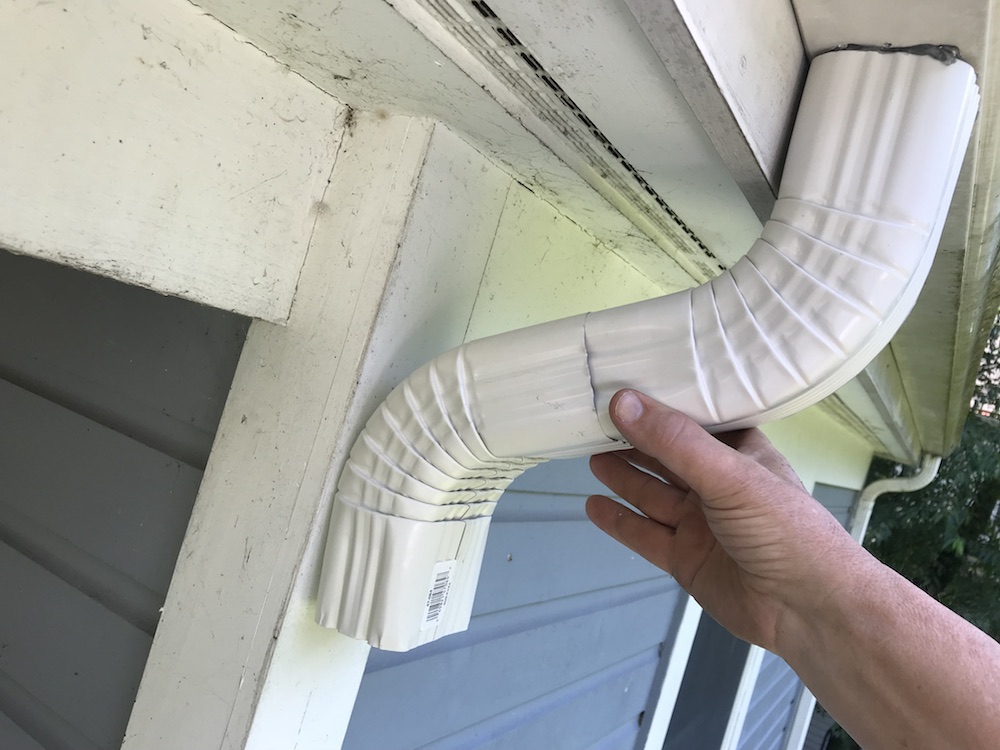
If you are fortunate enough to have a straight drop from gutter to ground, congratulations! You can skip this section. Most roofs have some amount of overhang, though, so to add a downspout, you also have to add a couple of elbows.
Elbows are available in two types: A and B. Type A elbows are not necessarily smarter or more aggressive than type B; it just refers to the direction of the bend. Type A bends with the wider section coming toward you, type B bends go off to the side. We’re using type A elbows.
Now that your outlet is in place, connect a couple of elbows together and head for the gutter. Place the larger end of the connected elbows over the end of the outlet, and check the fit. If it’s very close, you can tweak the fit a bit by forcing the elbows a bit tighter, or by backing them slightly apart. Just make sure there’s a good inch or so still inserted, so the rivets will be able to make a good connection.
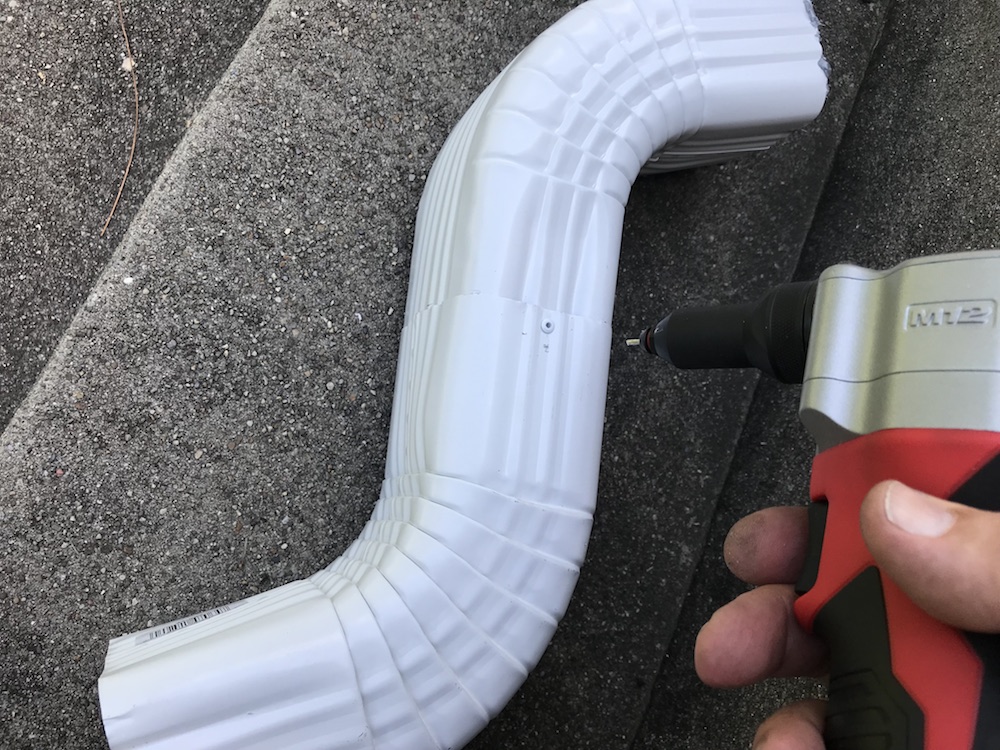
If the overhang is fairly deep, and there is a gap, detach the elbows. Keeping one around the outlet, place the other against the side of the house, in line with the other elbow. Measure the distance between the two ends, and add 3”. Cut a piece of downspout, and use it to connect the two elbows together. Note: When making all your connections, the higher pieces should ALWAYS go inside the pieces beneath, so cut your connecting piece from the tapered end of the downspout. Alternatively, you can use a piece with a full-sized opening at each end, and make some cuts about an inch up the length, to allow you to bend the tabs inward and fit them into the larger opening on the bottom elbow.
There’s another option for wide gaps, which also works well for tighter gaps, where two elbows won’t fit. You can get a flex elbow that can span gaps from 8” – 18”, and save yourself a bit of aggravation.
Once your elbows are ready to install, connect them together, along with any extensions, before going up to make the connection to the outlet. It’s a lot easier drilling holes and popping rivets on terra firma.
So Let’s Add A Downspout, Already!
Now for the moment we’ve been waiting for: It’s that portion of the festivities where we actually add a downspout! It’s pretty easy peasy from here on in.
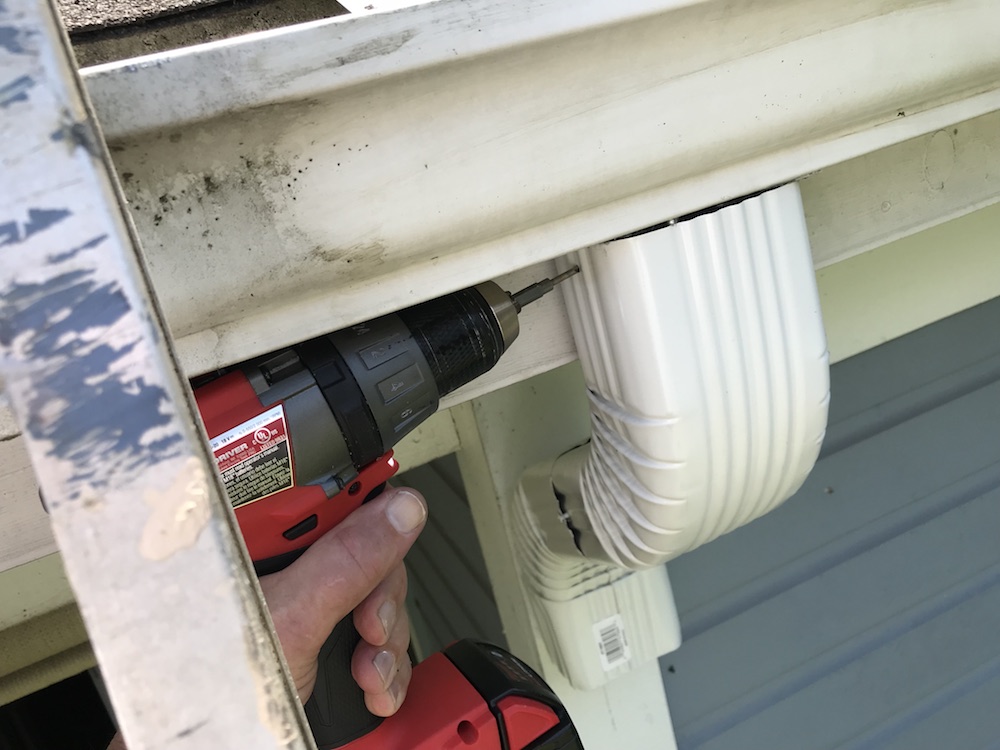
First, install your mounting brackets. Screw one in about 12” from where the top of the downspout will be, and the other about 18” up from the bottom. Make sure they’re lined up with your outlet opening. Attach them securely into the siding; if you’re mounting to brick, use Tapcon screws or concrete anchors.

Get up on that ladder and install your elbows, if you’re using them. Make sure you put them in with the crimped side facing down. Drill a hole in each side, and insert a rivet or short sheet-metal screw to attach them to the outlet.
Now measure down to the ground. If you’re running straight down from the gutter, measure from the bottom of the gutter. If you have an elbow, measure and add an inch and a half to allow for insertion of the elbow into the downspout. In either case, set an elbow on the ground, propped up where the downspout will end, and measure to the top of it.

If your total distance is less than ten feet, trim the downspout to length with your hacksaw. If it’s over ten feet, cut a piece from the crimped end of another section of downspout, and connect the two pieces with rivets or screws. Connect the elbow to the bottom of the downspout, again using rivets or screws. Now get your downspout into position under the outlet or upper elbows, and slide it up, making sure the upper portion is extended well into the downspout. This will be much easier with a helper on the ground to support the downspout.

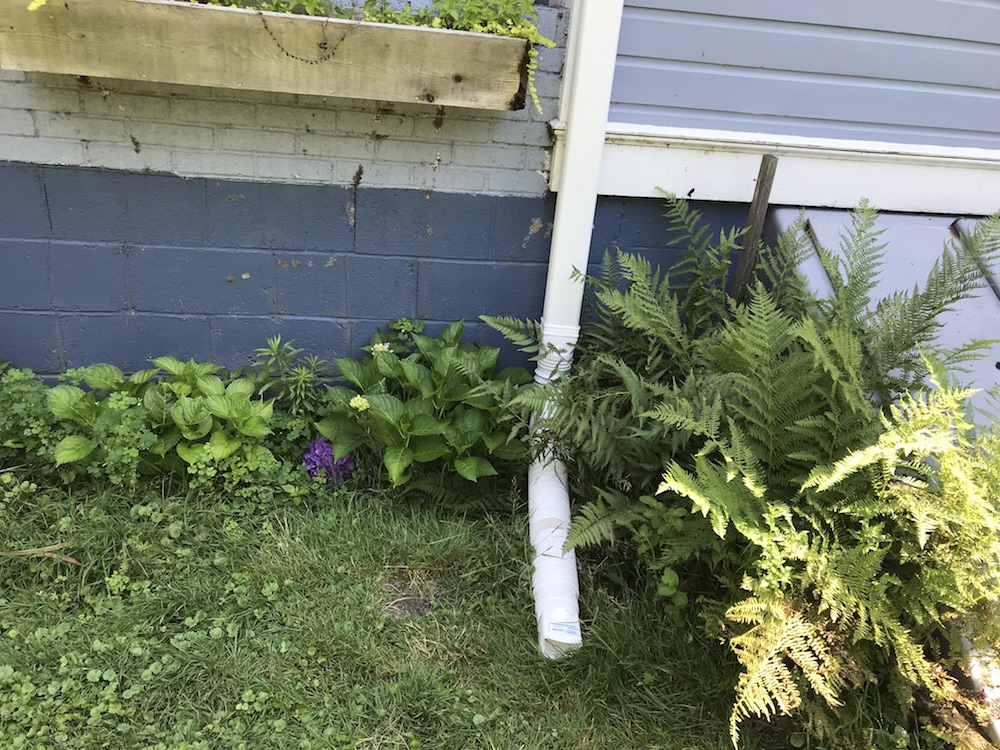
Now connect the top of the downspout to the upper elbows or outlet with rivets or screws. Slide the downspout into your support brackets, and attach the downspout to the brackets. And that’s it – your shiny new downspout is all installed. Go do a rain dance! As for me, I bought the materials to replace the two 2”x3” downspouts with the big stuff…back up on the ladder I go.
A couple of final details you may want to consider: Add an extension to the elbow at the bottom of the downspout, to get the water as far as practical from your foundation. You can add a section of downspout cut to length, or add a flexible plastic extension. There are products available that automatically roll out when full of rain water, and retract when it stops.
The last item is a mesh guard, to keep leaves and other debris from clogging up your downspouts. Now let it rain!


My neighbors garage has a round down spout outlet, about 2 1/4 inches. The elbow fell off with a fence extension last week. What connects to a round outlet. I’m guess I need something very flexible to fit.
Pretty nice of you to fix your neighbor’s garage! If the elbow that fell off can’t be reattached, you may be able to get a standard 2″ x 3″ elbow, and squeeze it into shape to go around the outlet, then use a piece of 2×3″ downspout to finish the job. You could also try an online search for “round downspout parts”, to see if anything is available. Good luck!
I’ll re-do a project tomorrow that I just completed today. Adding the downspout connector (templating, drilling) is quite well explained, and much better than adding a pre-attached connector and sealing the seam poorly. (I won’t send pictures)
Glad it was helpful – sorry about the do-over. And believe me, I’ve had plenty of projects where I’d prefer there was no photographic evidence of the finished product.
Thanks for the detailed instructions and pics.
You’re welcome, and have fun!