

I’ve got a revolt in my house. The servants have become the masters and without a stern correction they will continue to swing whichever way the wind blows. My doors are out of control and swift action must be taken! Their days of free swinging in my house must come to an end. Who wants to wake up to a slamming door at 2 am when the heater kicks in? The revolt is over and the uprising will be squelched. With the help of a few scraps of hardwood and a couple hours of time you too can quell the rebellion in your own domain with some killer lathe turned door stops.
I received some free hardwood cutoffs from my neighbor (no, you cannot have his number) and decided to finally address my aforementioned door issues. To start I needed to glue up into a blank that would be turned on the lathe.
Making the Blank
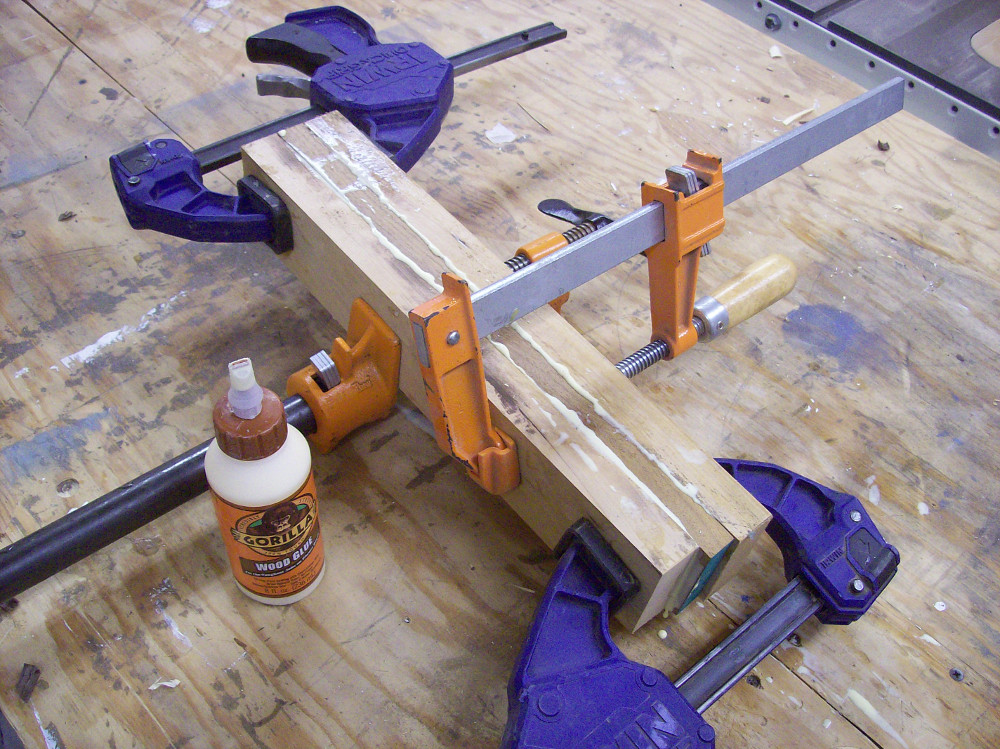
I decided I wanted larger stops, they add an element to the room, in addition to stopping the door. The kind of thing suburbanites gravitate to at Pottery Barn. So, I laminated 2 pieces of ¾” cherry and 1 piece of ¾” walnut. I used wood glue and left it in clamps for 3 hours. In the end I had a turning blank that measured 2 ½” x 2 ½” x 15”.
Prepping the Blank
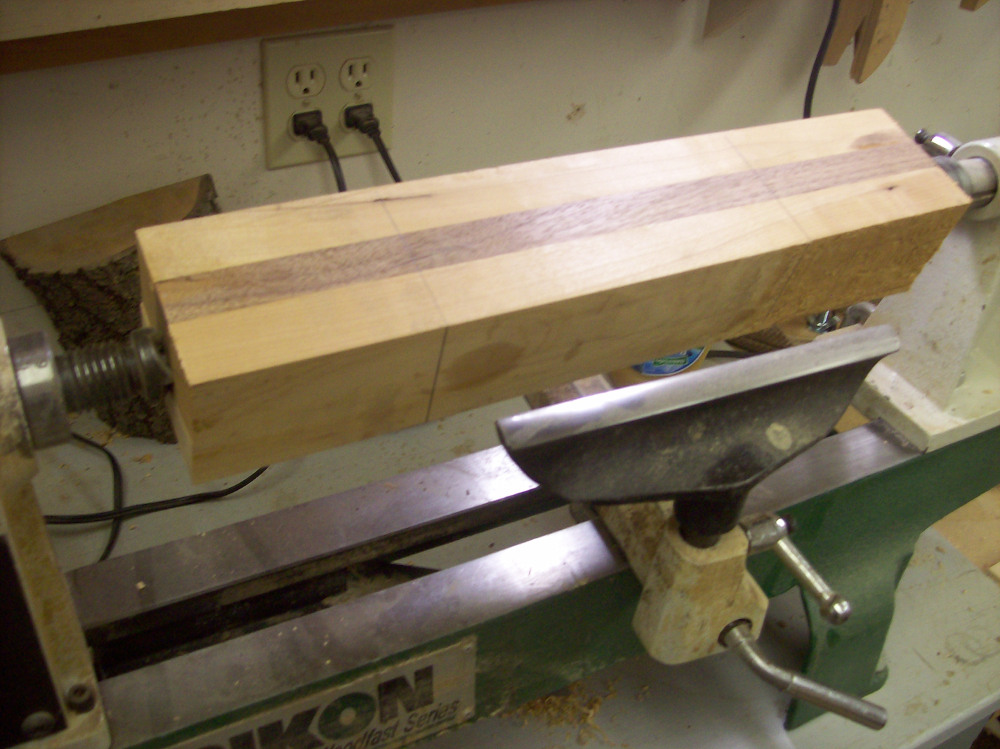
Once that is dry, remove it from the clamps and then square up the ends on your miter saw. Next you want to mark center on each end for mounting on the lathe. This will allow you to get a well centered piece which is important as you will not be turning the middle of this blank.


To Every Season – Turn, Turn, Turn
I marked in 4” from each end for the handles. Then began roughing. I had the lathe at about 1200 RPM during this project. And don’t forget to wear your face shield unless your significant other prefers that toothless hockey player look, and expensive hospital visits.
The Pommel
The transition from square to round is called the pommel. The cleaner you make this cut the better. I used my gouge for his, but a clean cut with a sharp skew would have required less sanding.

Shaping the Handles
Now its up to you to shape the handles. I went with a large knob, but anything will work. Have fun and experiment. There are no rules on how this should be shaped.

A Little Careful Sanding
Once it is to your liking, sand the turned sections. Avoid the square section of the blank. It hurts if you hit it. Don’t ask me how I know that… 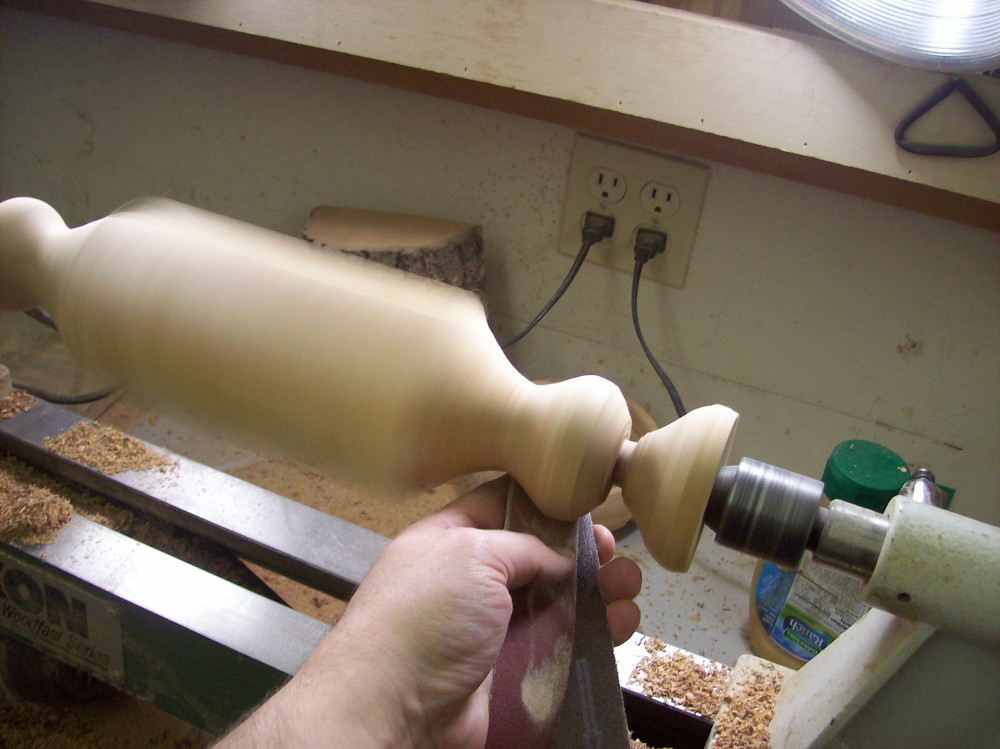
To the Band saw!
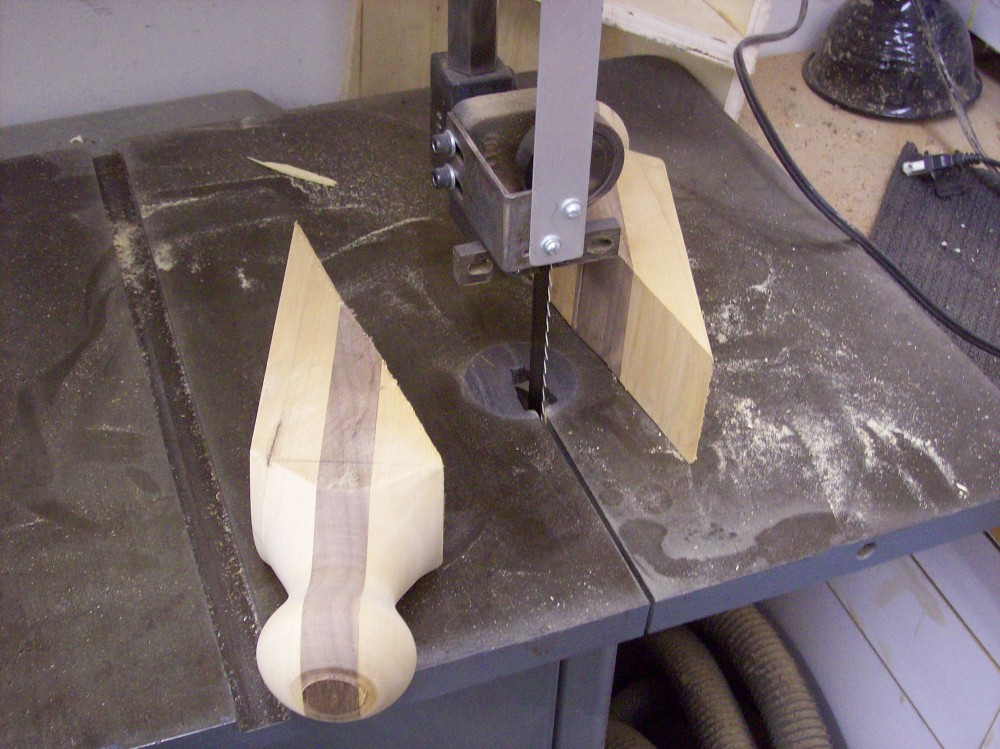
Power down the lathe and remove your project, it’s almost completed! Now to the band saw. First cut off the end waste and then slice the blank on a 45*. Take your time with this cut, the more your blade wanders the longer you get to sand!

More Sanding
It seems that every project is a sanding project! Take your time and get it very smooth. 80, 120, 220 is a good regimen.

The Finishing Touch
Lastly on to the finish. Now a door stop shouldn’t be too shiny, or it will not be terribly useful. I used shellac, as it really pops the grain on walnut. Any oil based finish would work great too. 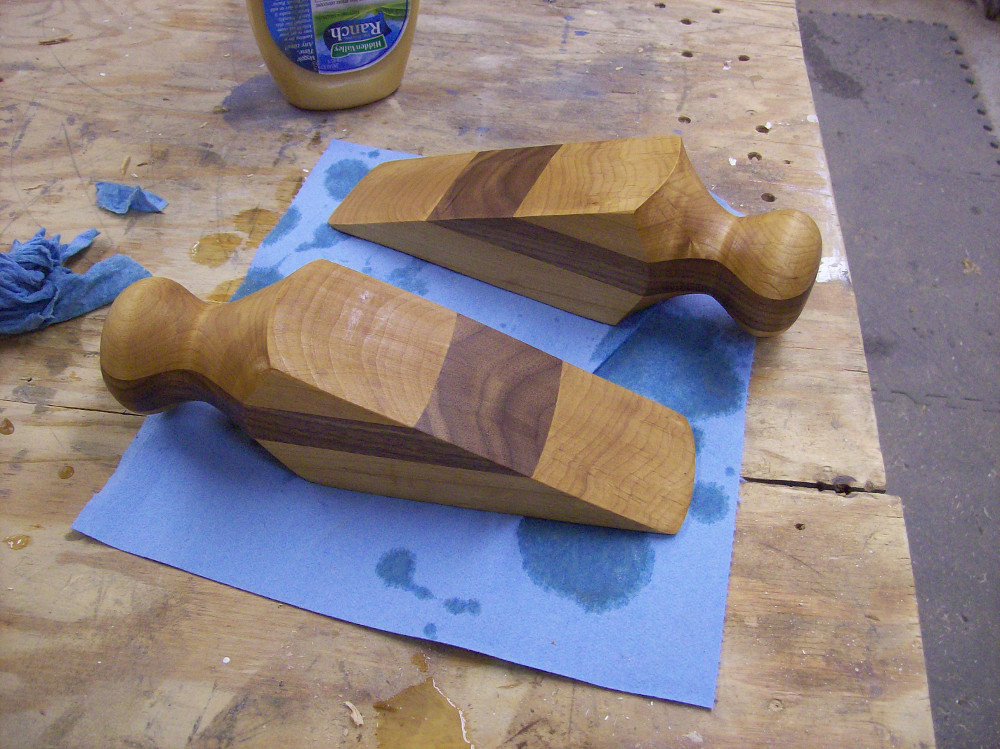
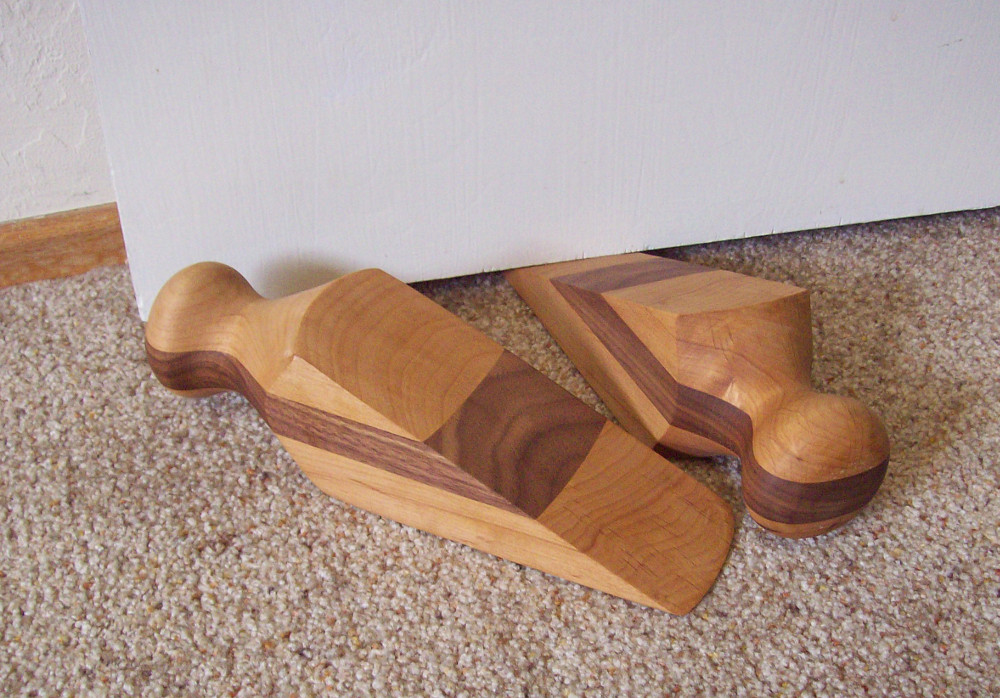
And there you have it. A nice new set of designer door stops for just a couple hours of work. Here they are, doing their job, holding back the doors. Victory!
Beautiful! And a clever way to make them too.
Thanks! Glad you enjoy it.