Bear with me here. While this doesn’t look like typical HomeFixated how-to material, you might be surprised. Looking for an original jewelry idea for the person that has everything? How about a denim bracelet made from a recycled pair of old blue jeans, created with tools and techniques a woodworker knows far better than a jeweler would? Denim micarta is a material made from several layers of denim all glued together with epoxy. It’s very easy to make and is workable with common woodworking tools. Add in the cool factor and the advantages of upcycling rather than tossing old jeans and you’ve got yourself a pretty sweet weekend project!

Making Micarta
First start by cutting up your denim into 4” squares. I started with scissors and ended up using a razor blade. They don’t need to be perfect, but you’ll want to make them as uniform as possible.
Next, you’ll need a form. I used some plywood I had in the shop, but I won’t recommend it. I think a cardboard box lined in wax paper would be the best choice (I’ll show you why in a minute)! I put in about 2-3 squares at a time and poured a small about of epoxy over them. I repeated the process till the mold was full. I used about 20 squares in total.
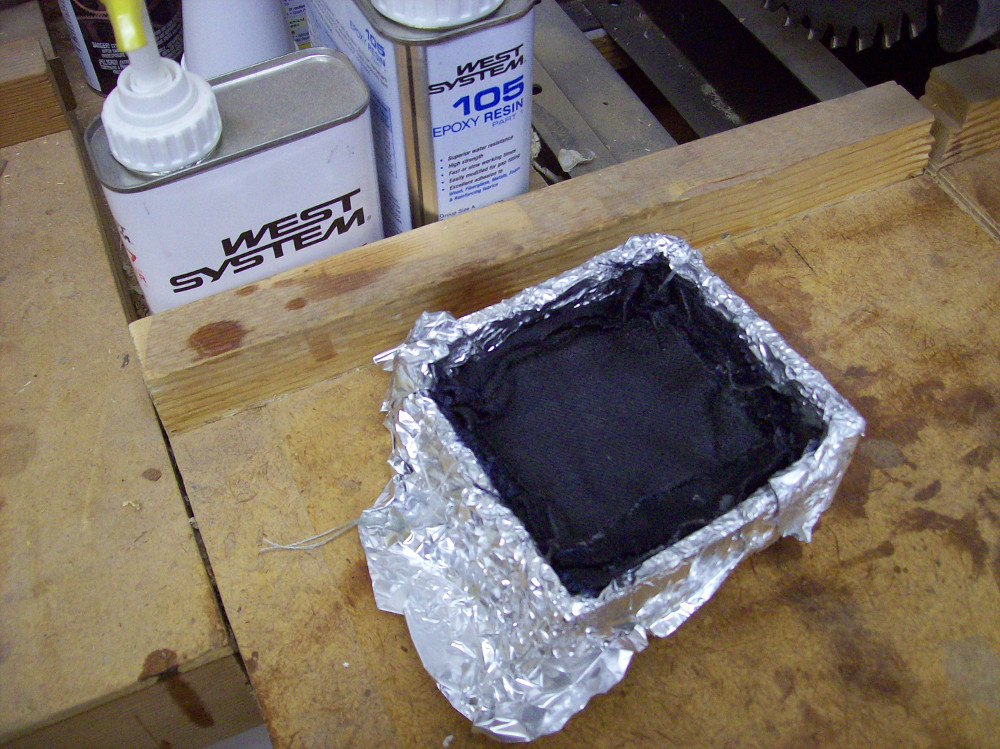
The epoxy used here is West System epoxy. It’s a two part epoxy from the hardware store. This 1 quart setup was about $40 and should last me a good long time. You can get it in much smaller amounts too. I think I ended up using about ¼ cup or so total for this project. Just make sure you get enough to completely soak your denim.
Now we wait. I left this overnight and came back out to the shop the next morning. I had a very difficult time freeing my micarta from it’s mold. Since then, I’ve learned that paste wax, parchment paper and even packing tape are all better choices to line the mold with. Lesson learned.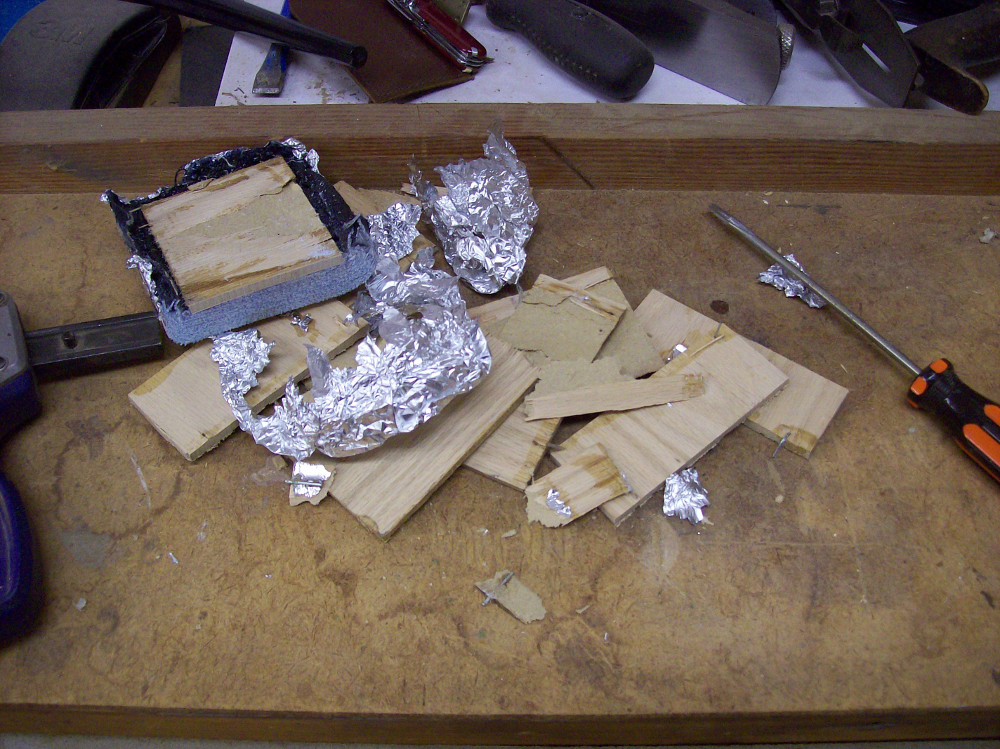
Drilling The Blank
I took this to the drill press and used my largest forstner bit to remove the material and form the inside diameter of the bracelet. Here I’m using a 2 5/8” bit. It took a bit of time to drill though this much glue and denim. Take it slow and try to keep a steady feed rate on the drill press.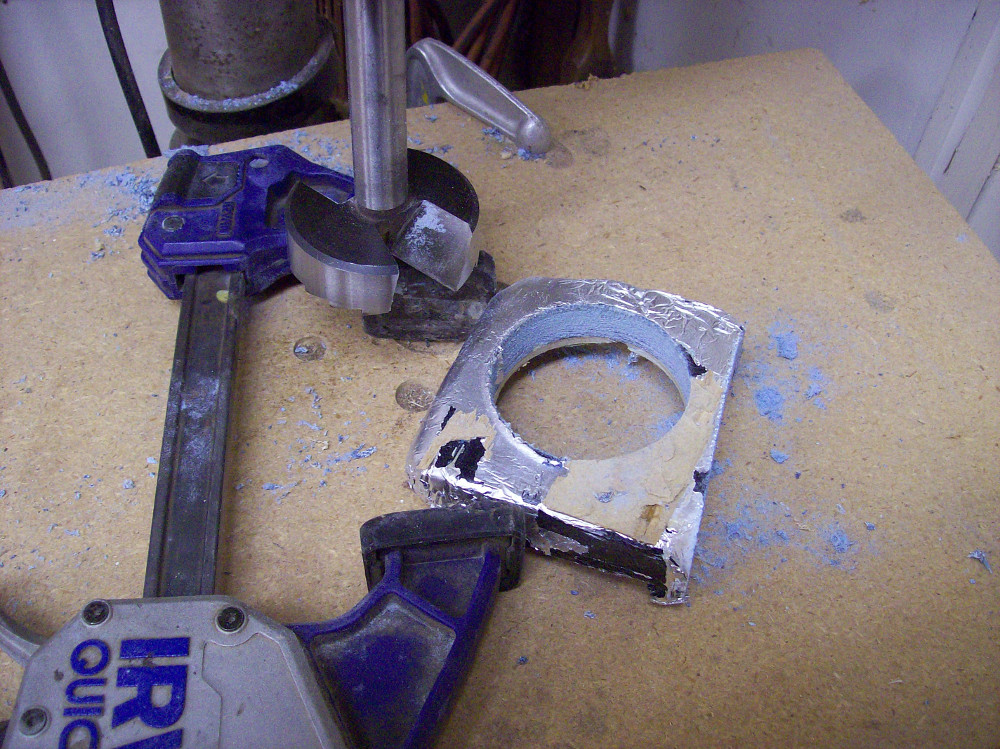
Now For The Fun Part, Turning Cotton Denim
I mounted this on a jamb chuck. A jamb chuck is simply a piece of wood with a tenon sized to match the hole in the piece. I’ve turned many bracelet on this, but never one from jeans! If the jamb chuck is too tight, simply turn a bit of the tenon down. If it is too loose add a couple layers of masking tape. It works like a charm.

This material turned just like wood. I used my bowl gouge to turn it down to size. You have to turn one half at a time. Taking care to try and match the curve on both halves. Once one side is done, take it off the jamb chuck and flip it around. Then turn the other side.

To Finish or Not to Finish. That is the Question
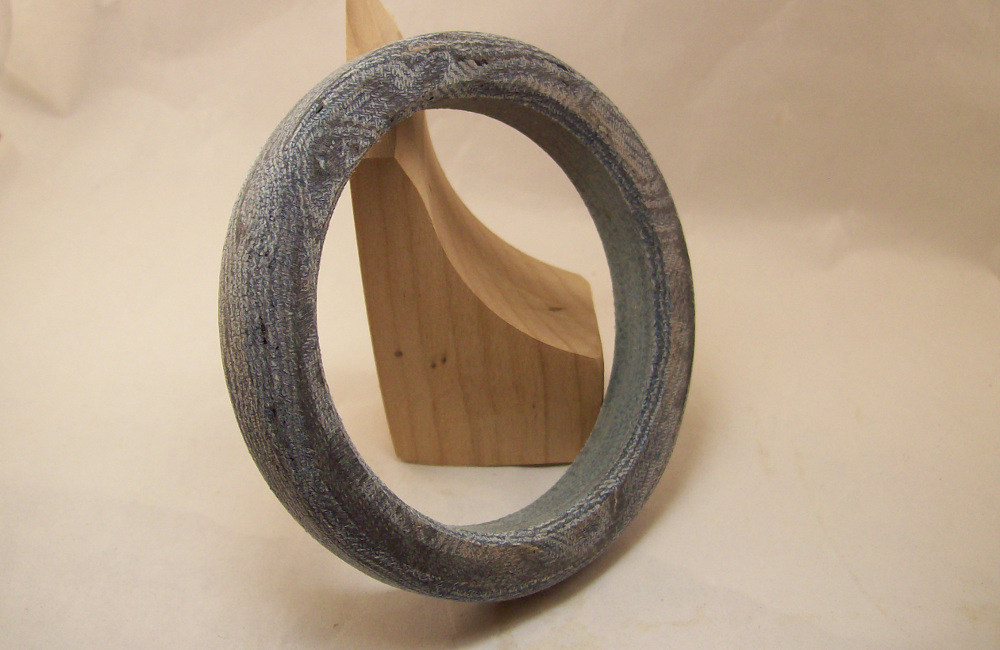
In this case I did very little sanding, and no finishing. I used 120 grit to get a uniform surface but much more than that on this material is unneeded. I left mine without a finish.

So for an hour or so of work, this was a pretty cool project! An upcycled and very unique fashion statement!