

One of my favorite things about the construction industry is that there’s always an endless supply of new things to try. And being adept at concrete work, I figured I’d be an old hand at pouring concrete countertops, even though I’d never attempted it before in my life. Once I got the form work done, the concrete mixed and the slab poured, I suddenly remembered why I don’t really like concrete work that much: because everything is so damn heavy!
The How to Build a Vanity with Character – Part II
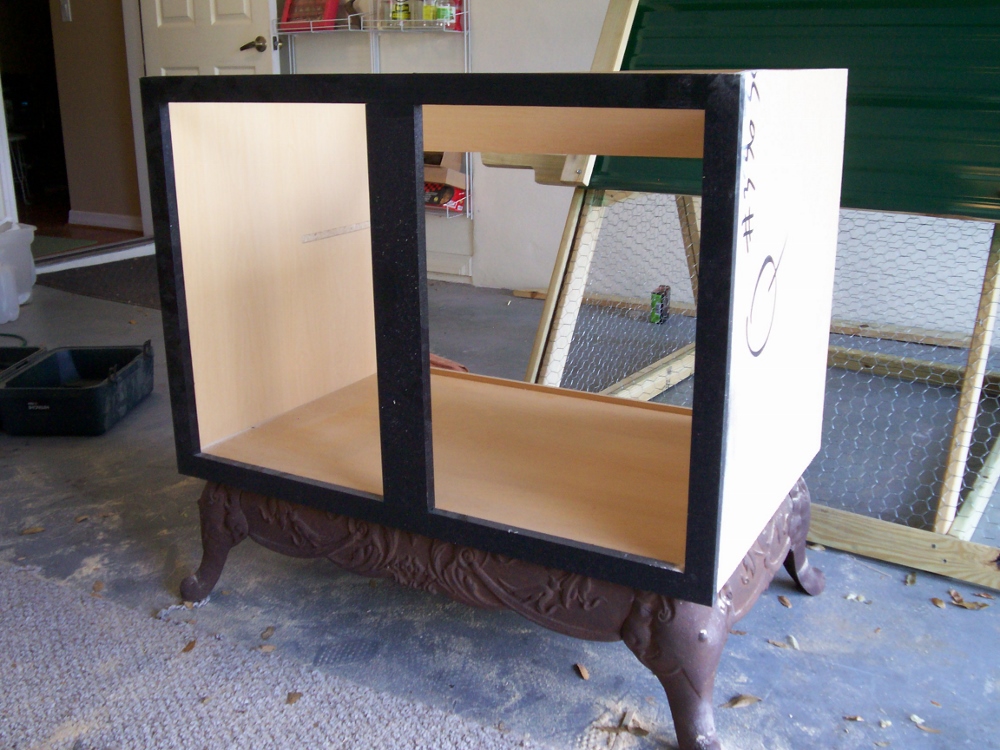 In the last installment of how to build a vanity blending old and new, I attached the wrought iron base of an antique Franklin stove to a new bathroom vanity. It was quite the job and my team and I were feeling pretty proud. This time around it’s no different, and we jumped at the chance to drink some more beer in my man cave-garage after pouring the tiniest concrete slab of our lives. Here’s how we did it.
DIY Concrete Countertop
Since I already knew the countertop was going to be heavy, I tried to get the thinnest slab I could get. I also wanted a one inch overhang around the front and two sides of the vanity. The back of the vanity is designed to sit flush against the wall with a backsplash installed on top.
 After a short trip to the local Lowe’s, we found an 80# bag of 5000 PSI mix. We wanted to really get a strong slab, so we went for the higher test concrete. We bought two bags for our 25” x 38” concrete countertop. Once I picked up both of the bags, it dawned on me that I was in for some serious work and heavy lifting. DIY concrete countertop projects aren’t for the bicep-challenged. Even though this slab wasn’t much bigger a couple of large concrete pavers, it weighs as much as I do (175+ lbs.) and no, I’m not fat. I’m just really overweight for my height.
How to Make the Concrete Form
Creating a concrete form is a work of art to me and it’s something that I’ve always enjoyed. The mix between the carpentry and the gamble that the concrete might result in a spectacular blowout has always allured me. Not to say that I’ve had a lot of blowouts in my form work, but it has happened. Let’s just say, I’ve blown out other things more often than I’ve blown out a form with concrete.

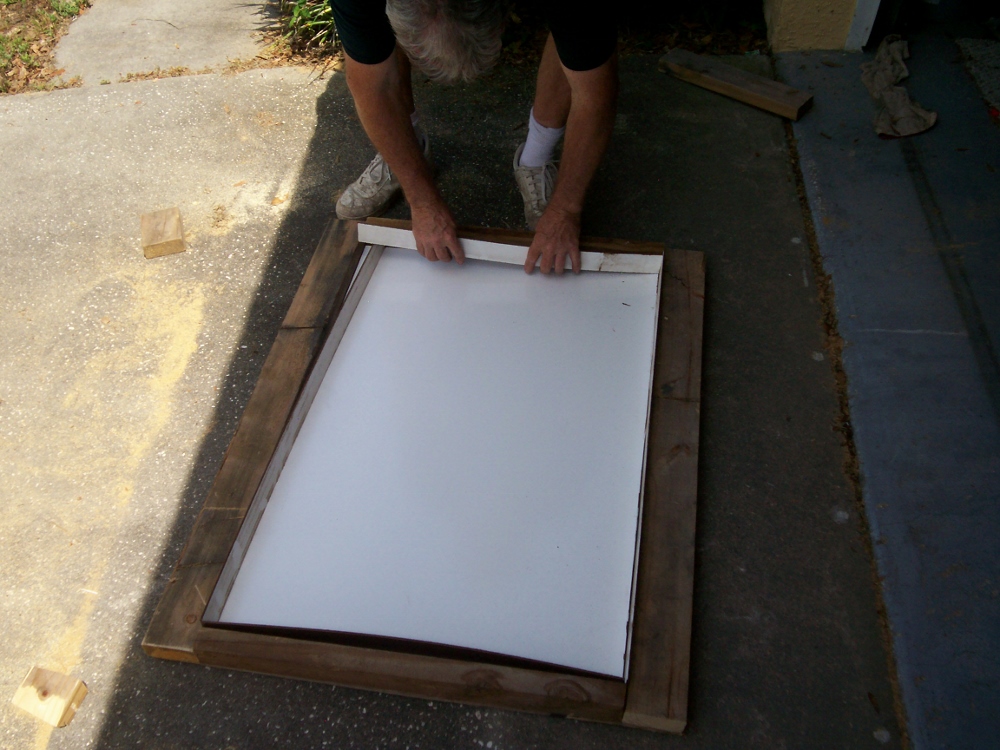
It’s about an 1/8-in. thick and it’s easy to rip down on the table saw as long as you manage the flop of the board. Since we already had an old piece of plywood and a few studs, we could get away with the flimsy stuff as a backer board against the true form. Now we were ready to form the mini-me slab!
We used some leftover drywall screws to attach our 2×4’s to the plywood so we had a ¼-in. extra space bigger than our slab width and length. Then we cut out the base of the form (which is really the top of the form) using the white laminate. We glued it in place with some leftover bathroom caulk we had lying around. For temporary work like this, sometimes inelegant improvised solutions are the way to go. We had to set a brick on top of it so it would lay flat in the slightly warped plywood sub-form. After it set for a few hours/beverages, we ripped down the last four pieces on the table saw at 2” and glued them against the 2×4 sub-forms. After we were satisfied that the form was level, square and true, we let the caulk dry for a bit more. Next we caulked the inside of the form so that all of the joints were sealed and smooth. After it dried for a few hours, it was ready to go.
Concrete Finishing Touches
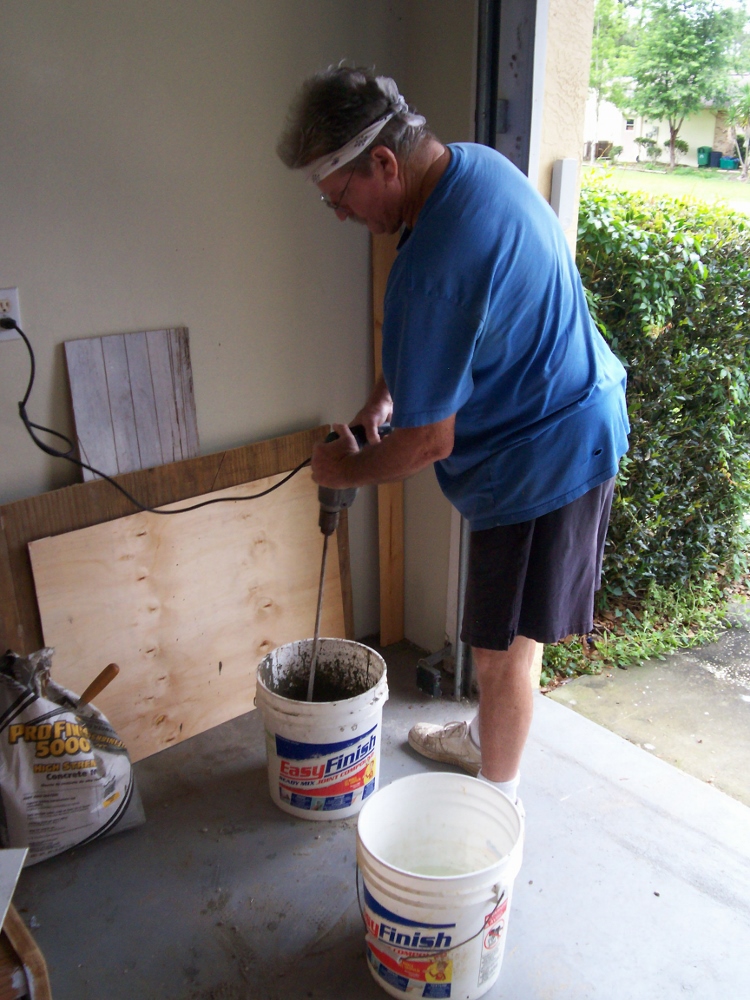
Remember when I said I’ve blown out “other things” more times than I’ve blown out a form? Well, I wasn’t lying. After lifting the two 80 lb. bags of concrete and pouring concrete into the mixing bucket, it felt like I was herniating my hernias. This DIY concrete countertop was no lightweight task and I was ready for this project phase to be over with.
We used a plastic 5 gallon bucket and an old ½” drill with a thinset paddle mixing bit. Since we wanted our mix to be relatively dry, (I’ll tell you why in the next installment), we mixed little increments at a time. This also helps to break up the monotony of the slab and will eventually create one-of-a kind patterns in the concrete finish.
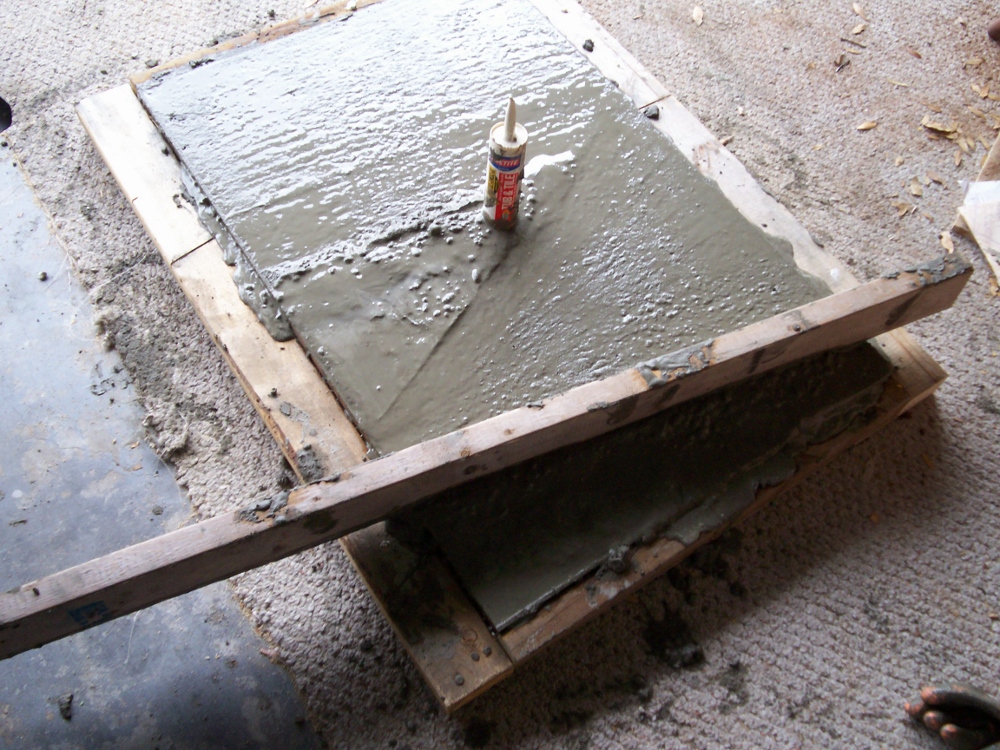
After we filled the form to the top, we used a 2×4 screed to finish the top. Keep in mind, the “top” is actually the bottom of the concrete countertop. After it cured for a bit, we finished it flat with a concrete mag float. Once it was tacky to the touch, we fine finished it smooth with a rounded edge concrete trowel. Then of course, I had to add the finishing touch — my name and the date.
Read the rest of the continuing saga and watch this Frankenstein furniture unfold. Look for part III and the finished project next week!