

I had the girl and I had the ring, the two most important parts of the process were already done! The hard part was going to be actually getting the courage to drop the question, but before that, there was some light woodworking to be done! Using a standard engagement ring box during a proposal would lack personal touch and character that the big moment deserved, so I decided to make my own ring box. There are plenty of designs out there that range from simple to ornate, I had always wanted to understand the underlying mechanism of this type of engagement ring box. There is a little piece of origami built into the slim design box that allows the ring to sit flat when the box is closed, but when opened, the ring unfolds and sits upright. A very cool design that seems incredibly simple! The various makers of this type of box charge an arm and a leg, plus making it myself was the goal here, so I used as many reference photos of boxes like these “pirouette boxes” and figured it out. This will be a high level guide of how I designed my version of this unique engagement ring box.

First, the wooden shells. I think it’s easy to say that my favorite species of wood based just on the look of it is black walnut. It’s always stunning, so that decision was easy. I wanted the wooden halves to be about 1/4″ thick; In the past I’ve done some resawing on the bandsaw, but I wanted to try to technique on the table saw to “resaw”. Basically you take your thicker stock and keep nibbling away at it with multiple passes, flipping the piece end-for-end until the cuts meet in the middle. Some techniques just cut clean through, but some people leave the two pieces BARELY connected.

The latter seemed safer since it was a taller piece of stock and I was not sure what the offcut side would do; a kickback injury this early in the project might have made me just go buy a ring box and call it a day. After getting the two pieces almost there, I knocked them apart using a hammer and chisel and then cleaned up the center line with a pass through the planer. After having these long strips available to cut my blanks from, I ripped and chopped them to their final dimensions of 4″ x 2.75″

It’s difficult to paint a word picture for the next step, but I’ll do my best. I created a jig that allowed that wooden blank to sit flush on one side (so the jig and the blank could lay flat and securely on a work surface) and expose a portion (2.125″ x 2.625″) of the other face on the other side (so that a plunge router could hog out a recess into the blank).

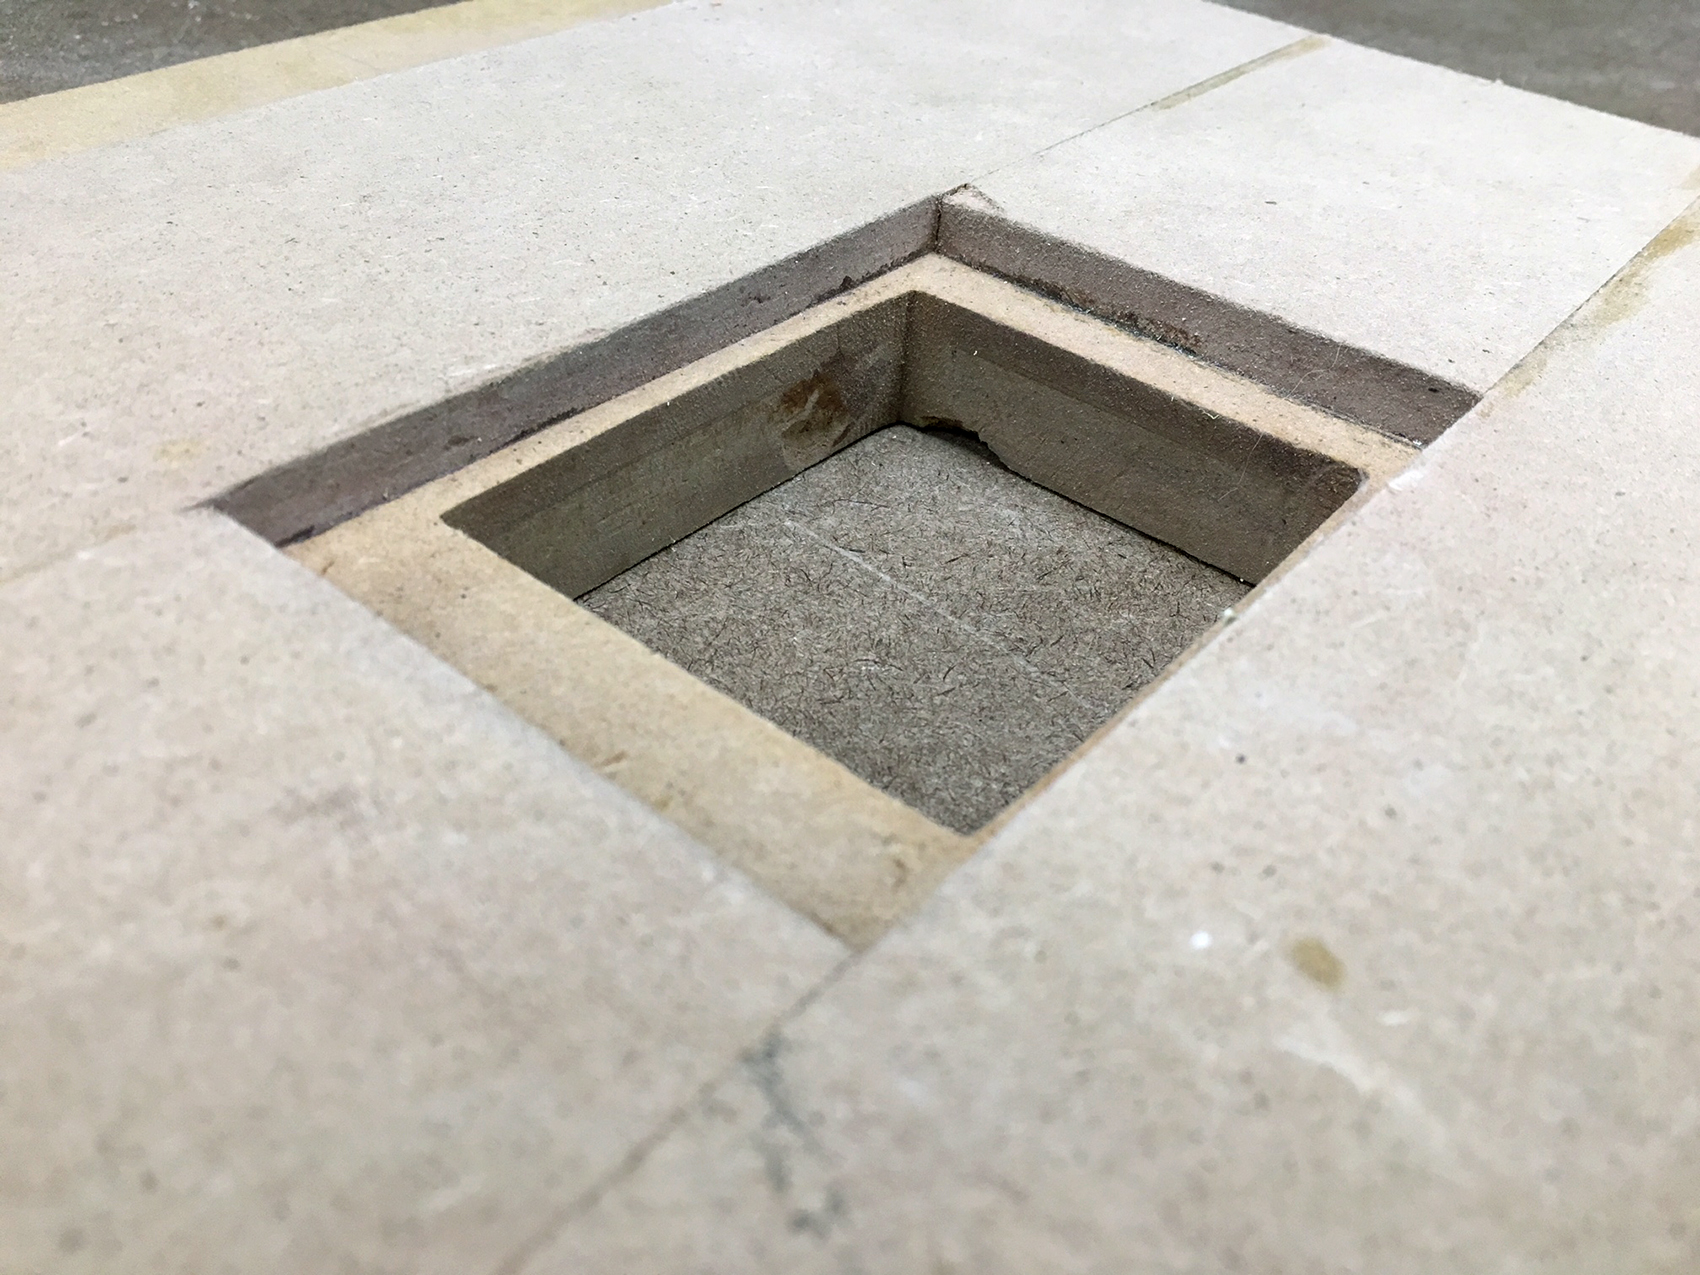
I loaded the blanks into the jig and clamped them both down to the table, with the window face up. A plunge router with a guide bushing allowed me to plunge out a 1/8″ deep cavity in the blanks.

I routed out the notch into the tops of each half using a 1/4″ cove bit and some stop blocks on the router table. I also drilled some holes for magnets that would keep the box closed. A 1/4″ bit fit the 8mm x 4mm magnets perfectly. After sanding down to 400 grit and a couple coats of poly, the woodworking portion of this project done!

Now for the hinge mechanism. The idea was to avoid using standard types of hinges and instead just use a piece of fabric that would act as a hinge. I chose this approach because affixing a standard type hinge would be bulky and it would have to attach to the end grain (which meant screwing it in would tend to split the wood). As a core for this fabric hinge, I used some 65lb cardstock that was cut to match the layout of the wooden housing. Exact measurements follow the same as the wooden housings themselves, but it was just as easy to mark the layout holding the card stock next to the wooden parts. Putting the card sandwiched in place between the wooden halves allowed me to trace out the notch exactly and cut that out from the tracing.
To apply the cloth to the paper backer, I used some good old 3M Super77 (never leave home without it)! I cut in relief angles to avoid overlap (and thus avoid unnecessary thickness to the final hinge piece) and then I folded the cloth over to affix it to the card stock backer.

I glued the hinge to both sides and let it dry overnight. Now I had to re-reveal the routed out sections; simply cutting into the section with an Xacto allowed me to fold the fabric in and glue it down. This section didn’t need to be pretty, it was going to be covered up with the origami mechanism anyway.
Man, the magnets give it such a satisfying “KLLLLP!!!” sound when it closes.

Here’s an example of the mechanism that all of the ring boxes use that perform the “pirouette”. It’s just a simple paper fold (I’m sure it has a proper name, but that fold you make when you make the front half of that hopping frog origami). This ABC3D book has a lot of neat and clever paper mechanisms that might be useful, I urge you to check it out and have it on hand just for inspiration.
I didn’t want to just replicate what was already made; if that was the case, I could’ve just supported the makers of other boxes and bought one. Instead, I took it a step further and inverted the mechanism. Rather than affixing the ring holder to the CONCAVE portion of that fold, I flipped the fold and affixed the ring holder to the CONVEX side. This made things more challenging; the concave method (shown in the book) allows you to hide the mechanism more easily. However, the convex method, just by the nature of the fold, allows the whole ring holder to be lifted and lowered as you open the ring box.

To make the engine that powers the twirl, I added the side flaps that will serve a couple purposes: a.) to hold the mechanism in place once glued down, b.) to hide where the fabric hinge is glued down and c.) maybe to write some romantic messages with a gel pen?
The exact measurements of this piece from side-to-side are 2 5/8″ for the side flaps, 1/8″ for the rise and 1 5/8″ for the center X fold. It was necessary to make the X fold portion slightly less wide just to clear the rounded corners of the recessed sections. Those width measurements are 2″ for the side flaps and 1 5/8″ for the rise and center X fold section. I scored the folds with the back of an Xacto blade and folded to create the mechanism. A test fit helped find any small slices I needed to take off of the edges to get it to fit just right!

Creating a little linkage that will connect opposite faces of the X fold is the secret to converting the linear motion of X fold to a rotational motion. So i created a linkage with a bit of a rise and width to it to accommodate the addition of a decorative cover and the insertion of a ring. A lot of this will be hidden by the decorative cover so it was okay just slap on some superglue and glue the linkage in place. I also cut in a slit that will hold the ring in place.

A decorative shroud was created to hide the moving bits. I could’ve been a little more creative and artistic here, but I think the half circle works well with the simple aesthetic of the box itself. The width of the shroud could be no wider than the routed out cavities, so I made it just shy of 2″ in diameter. I used the same technique of scoring the folds and cut out a larger slit to accept the ring. Some dabs of glue held it onto the mechanism, and some more glue to hold the flaps into the box finished off the project!

If you’re interested in trying it out, we’ve got a Origami Layout, cut out, fold and glue up diagram just to sort of get the gist of what I did. You can print out on a 8.5″x11″ page.
The idea is not original, but my execution of the idea is original. My issues with the products already out there include price, the ability to open all the way, choice of wood, exposed hinges, but my main issue is that it wasn’t made by me. Proposing was a big step and I wanted to have a hand in as much of it as possible. Even if it wasn’t a perfect rendition of the idea, it was still made by me, for us. Oh, and by the way, she said yes!
How high does the linkage have to sit in order for the ring to sit in it? Or do I cut a slice in the fold under the linkage? Help lol
Very nice. I’m about to get married myself (in under 2 weeks). But my ring box wasn’t nearly as cool.
Eric for the Win! Beautiful concept for a labor of love. Nice!
Amazing. i love it. I may want to try your design the next time I give my wife a ring.