

We don’t get an awful lot of free time on the farm, but when I do settle in for the evening I’ve been known to burn my free time up perusing the internet. It’s pretty easy to get sucked down one rabbit hole or another, but the ones that have captured my attention are the DIY projects that go from start to finish in about 3 minutes and 28 seconds. If only, right? When I saw one that required a chainsaw and a welder to build a live edge table I was intrigued. I happened to have a big maple log down in the woods and a pile of steel tubing in the shop – both perfect for the job. Coincidently the video appeared on the same day I received a couple samples of IMI magnetic welding squares to test for Home Fixated. It almost seemed pre-ordained.
To give credit where credit is due, I decided to include a link to the video that inspired this project, (our editor would like to note that we do not recommend relying on leg hair as a substitute for protective chainsaw chaps – more info at the end of our recent article on PPE). Given my level of welding and woodworking skills, any similarities to the look of the final product is purely coincidental. So, without further ado, let’s learn how to build a live edge table.

What is Live Edge?
Live edge or natural edge is a style of furniture where the furniture designer or craftsperson incorporates the natural edge of the wood into the design of the piece. … Some leave the natural holes and cracks in the wood while other artists fill them with resins. For purposes of this project, I intended to leave the wood in as natural a state as practical. I ultimately ended up removing the bark as it was partially rotted. The log had been on the ground for some time apparently.

The Log – The Soul of our Live Edge Table
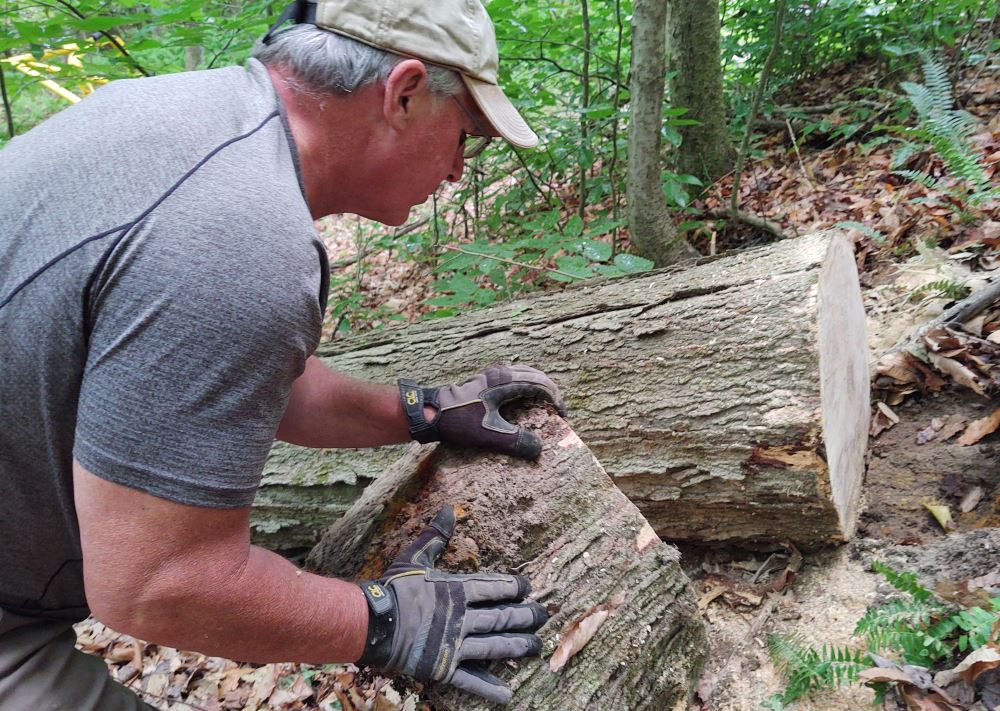
I was faced with the age old chicken or the egg dilemma early on in this project, where to start. Ultimately, I decided the size on the wood cutoff would determine the size of the metal base. The log I had intended to use would come from a large maple tree that had been felled by loggers at the behest of the previous owners, but was left to decay because it’s location made access difficult at best.
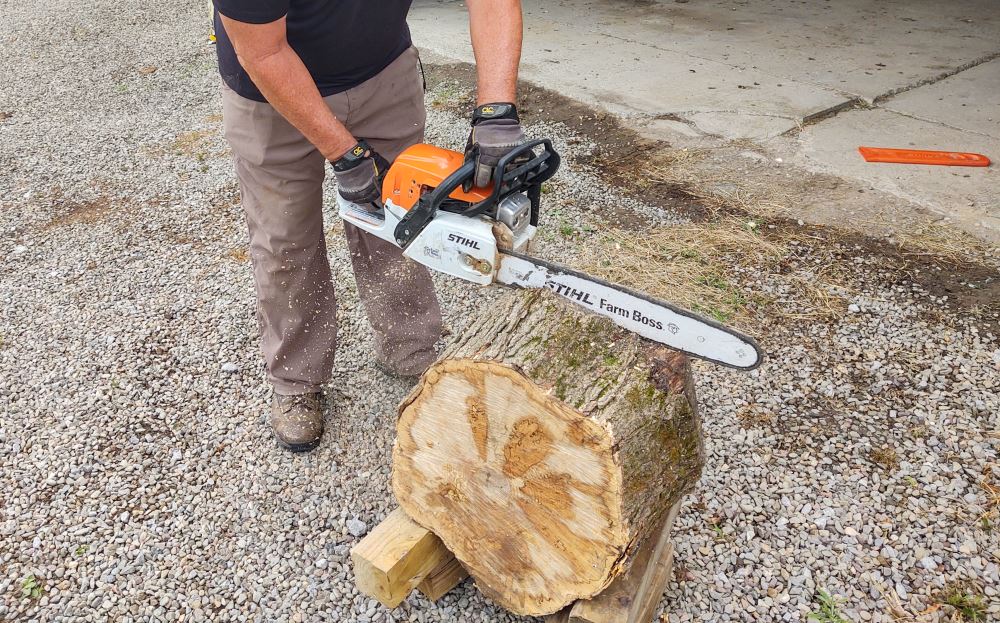
When I detailed my plan to retrieve the piece I wanted my wife was almost able to conceal the roll of her eyes, but gamely agreed to walk up to the site. She agreed to have the medivac helicopter on standby as I maneuvered the ATV close enough to get my chainsaw and myself close enough to cut the end of the log off and load it on to the ATV. I used my biggest saw to cut the uneven end of the log off and then cut about a 10” thick piece to utilize as the table top. Because of the awkwardness of working on a 30 degree slope, the cut wasn’t perfect. Having successfully procured the wood for this project, we retreated from the woods, glad to still be in one piece.

About IMI Magnetic Welding Squares
IMI is an industry leader in providing both permanent magnets and electromagnets for work holding, lifting, fixturing, conveying and magnetic separation. Their standard Magnetic Welding Squares are now made in the USA and are ideal for welders that need fast set-up and accurate holding of sheet stock or tubing. Ferrous stock can be securely held at angles of 30°, 45°, 60°, 75°, 90° and 180°. Mounting holes are provided for fixturing squares into jigs and are sized to allow fingers to fit in them to help with positioning. The two I received for testing were the copper plated models that resist weld spatter and reduce marks on work surfaces. You can see a complete line of their welding products at the “More Info” button at the end of this article.
How To Make the Live Edge Table Base
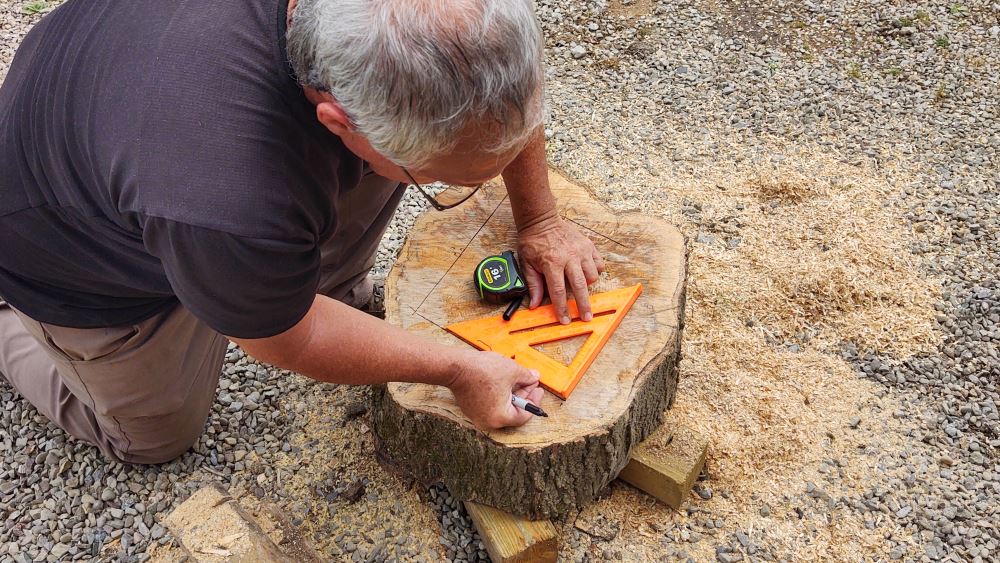
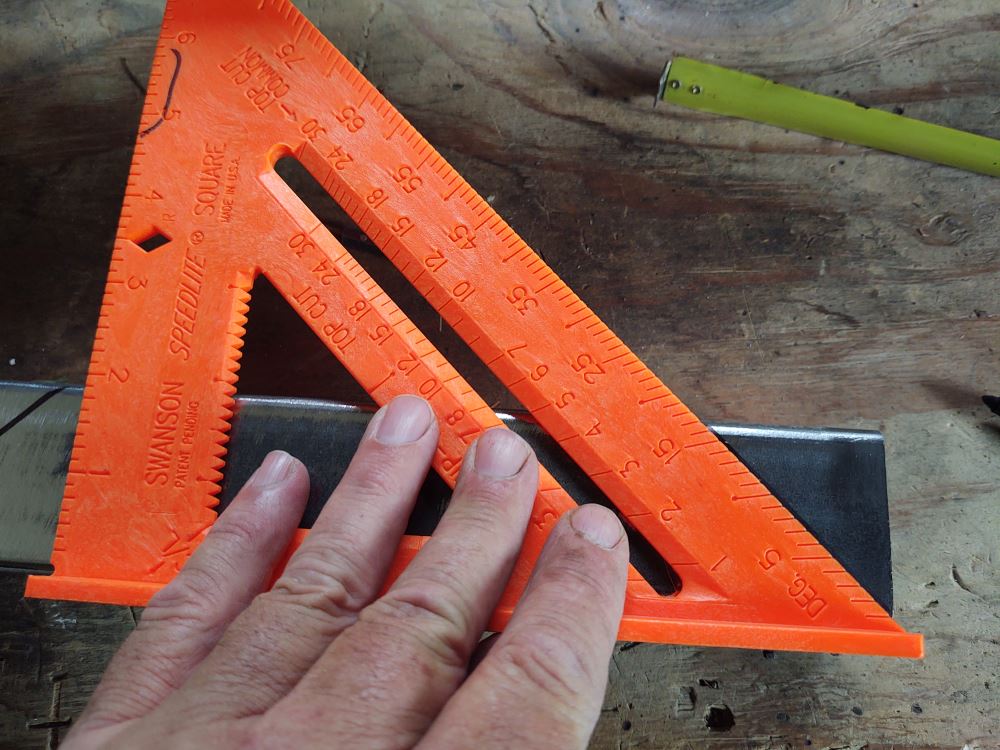
I have a pile of 2” steel tubing in the shop, leftover bracing from overseas containers that I was able to salvage a few years back. I decided this stock would be ideal, being free and available. I decided which side of my slab, or more accurately, cookie, would be the top and which would be the bottom. I found the rough center on the bottom and then, using a speed square, drew out the outline for the base, centering it and allowing for plenty of wood overhang all the way around. The base ended up being 10” square.
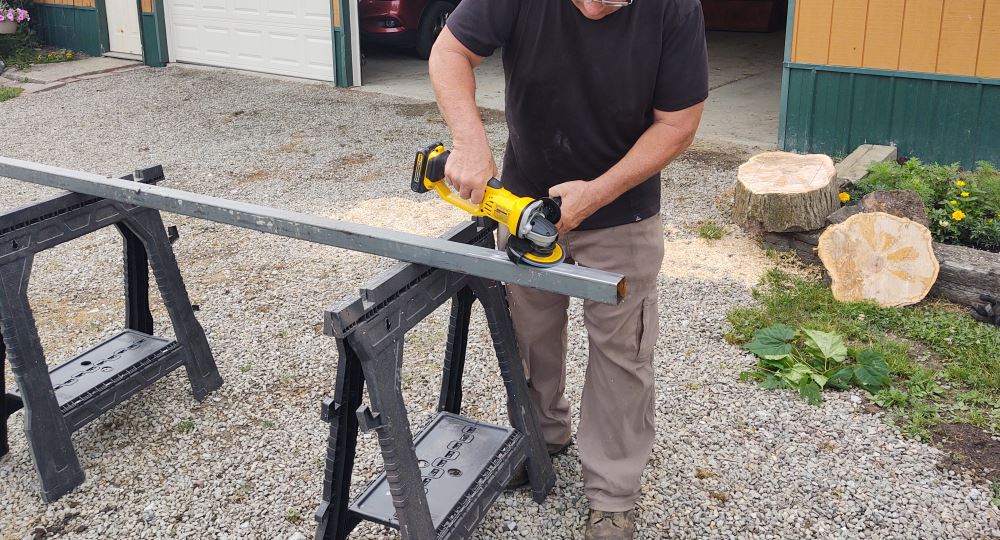
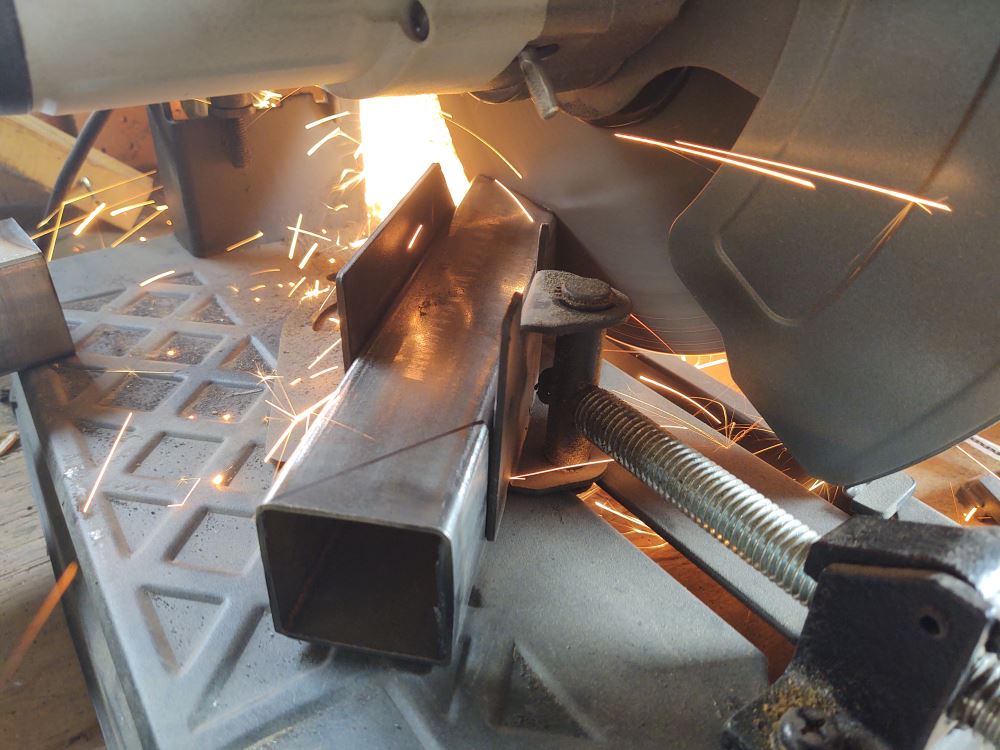
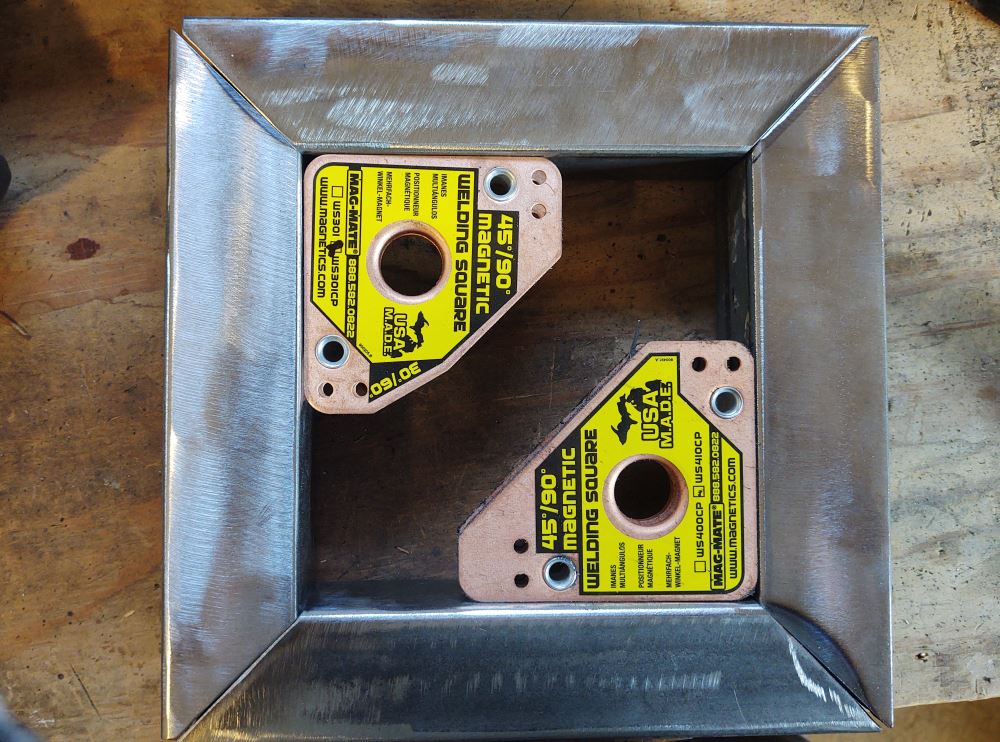
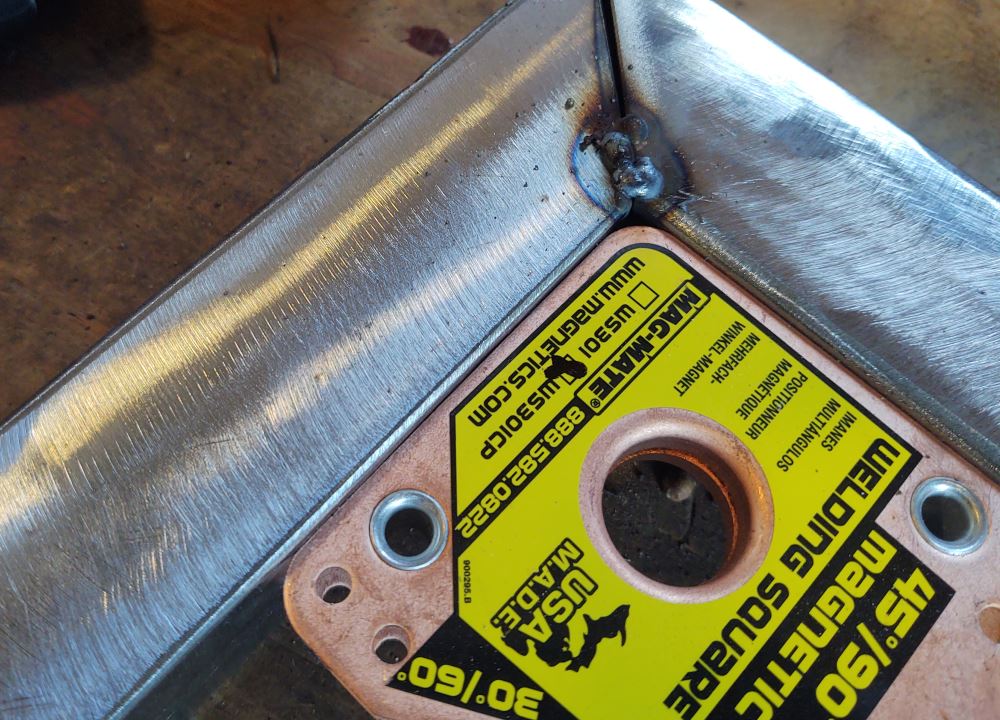
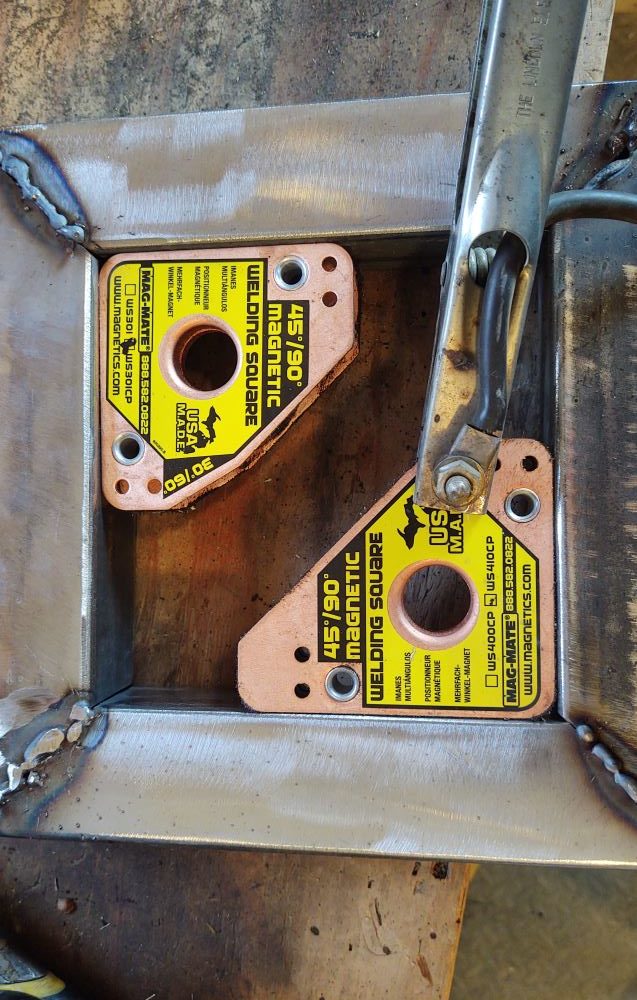
I cut 4 pieces of the tubing to 10”, then did my best to cut both ends of these pieces to 45 degrees. My chop saw is not exactly commercial grade, but the pieces fit together somewhat. I then used the IMI magnetic welding squares to position and hold the four sides of the base together while I tacked them and then welded the base together. The magnets provided a stable working template and held the pieces precisely where I wanted them. Once I had the square closed up I wasn’t able to attach the ground clamp to the base, but I was able to clamp in on one of the magnets, which was more than adequate. Once the base was welded together I used my angle grinder to smooth the welded seams.

This Steel Tubing Has Legs
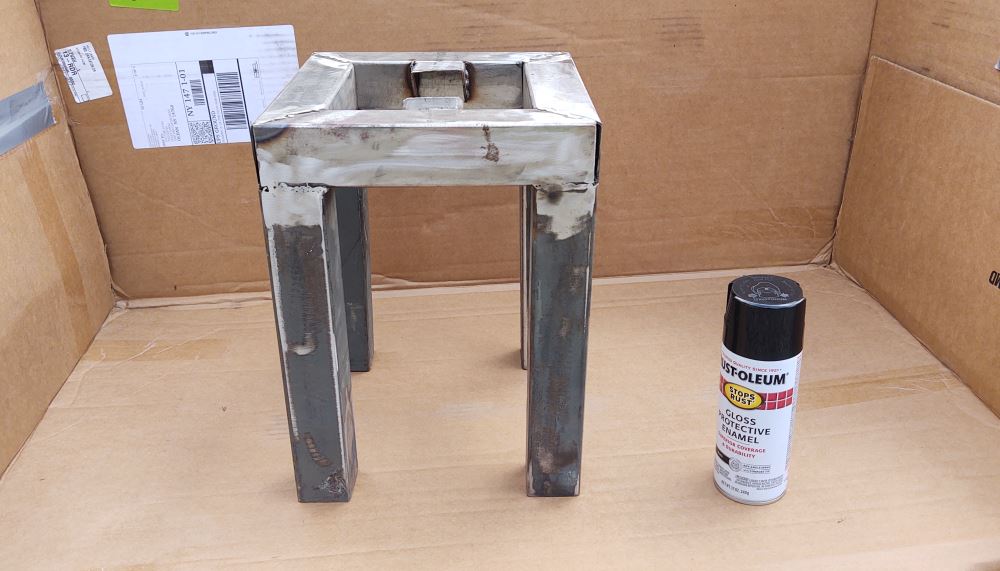
Still having a decent pile of the 2” tubing, and seeing how nicely it fit, it was the perfect candidate for the legs. The table was going to be used on the porch to support my cold beverages through the current heat wave we are experiencing, so that factored in to the leg length. I cut the legs to 12”, along with the 2” base and my finished working thickness of 7” on the wood gave me a table top height of 21”. Right in my range from the Adirondack chair on the porch.
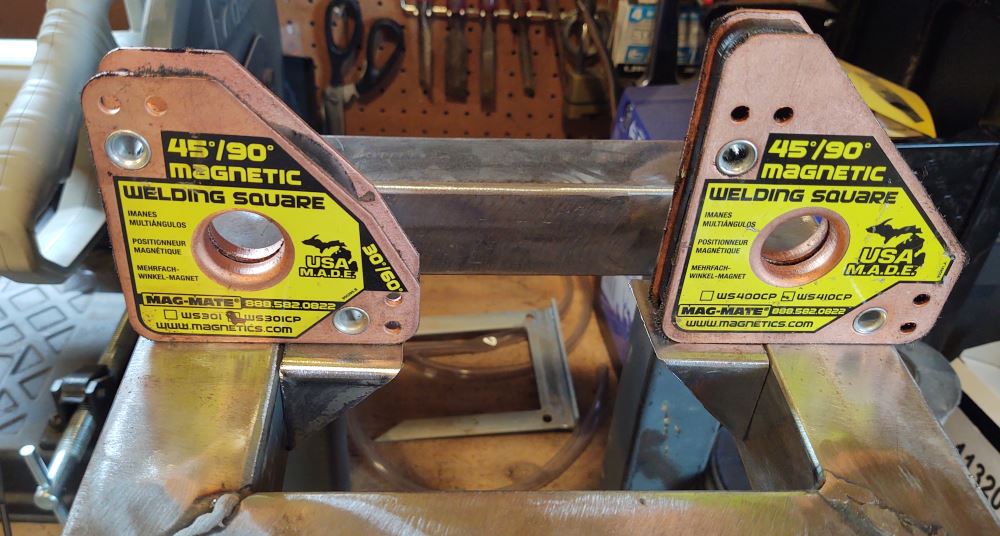
I again utilized the IMI magnetic welding squares to hold the legs to the base while tacking and welding them into place. These magnets are excellent as they firmly hold the stock in place, but also allow you to reposition the stock with firm taps of a hammer to move the stock into the exact position you want. After welding the legs into place I again used the angle grinder to smooth the welded seams.
Attachment Points for the Live Edge Table Top
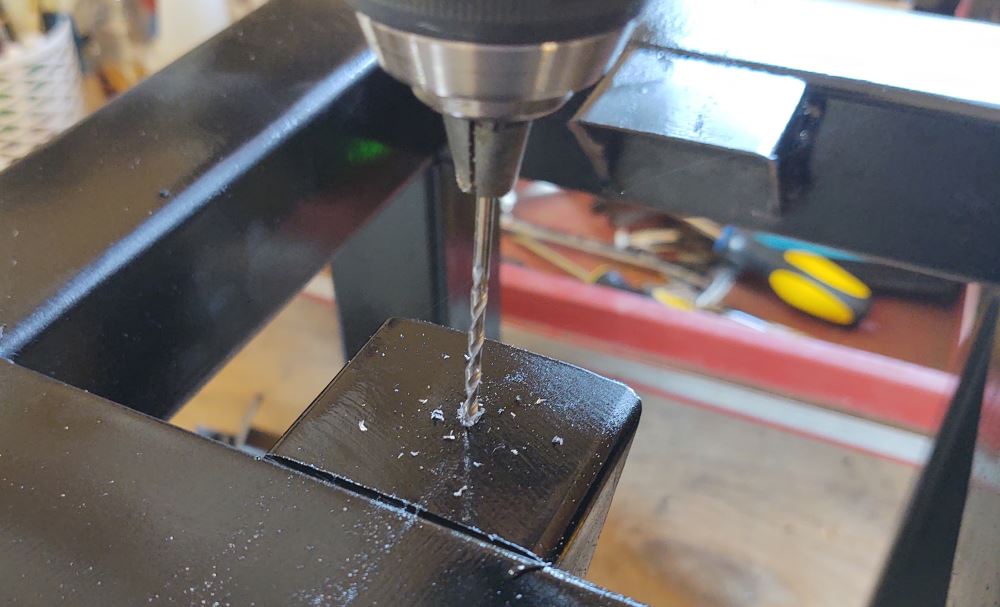
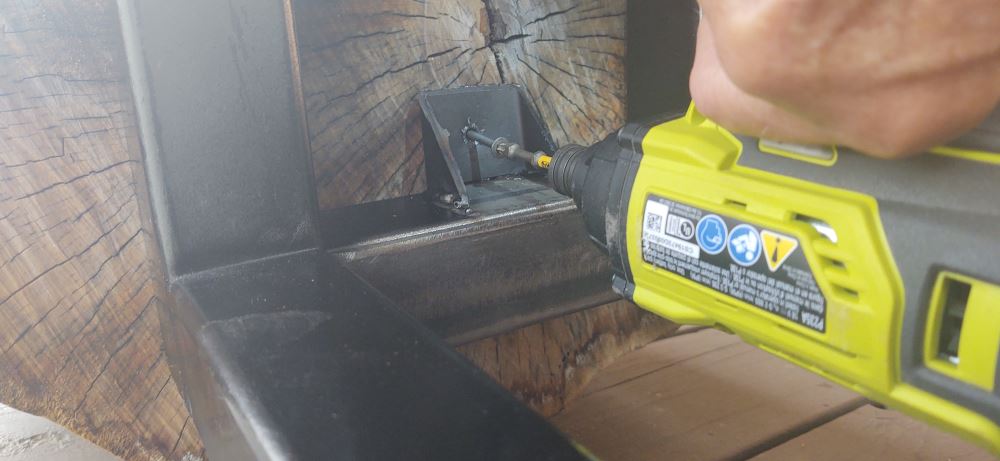
I still needed a way to secure the wooden top to the steel base. The inspirational video showed small pieces of angle stock being welded to the base to provide tabs to lag the base to the top. I still had the small angle ends I had cut from the stock for the base and decided these would be adequate to hold the two components together. I used the IMI magnetic Welding Squares to hold the tabs in place. Again, they proved to be the perfect tool for the job. I simply set the magnets on top of the base and set the tabs inside the base, held in place by the magnets. I then welded a couple of quick beads on each tab and was done. I then drilled holes through the tabs to screw through into the wooded top.
Finishing the Base
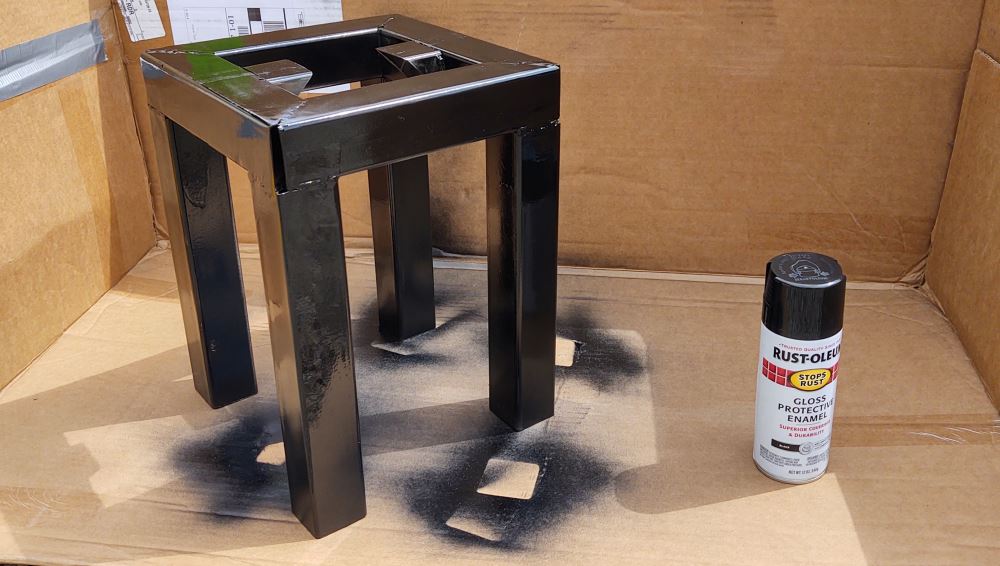
Just like in the video, I felt a glossy black paint would be the best finish for the legs and base. It should provide an interesting contrast to the natural wood finish of the top. I don’t have a spray gun, and have been happy with the results I get from a good quality spray can of paint. I applied two coats of a gloss black enamel and was happy with the finish.
My concern at this point was where the legs would contact the floor. I wasn’t happy with the raw steel sitting on the painted floor of the porch. I discovered that a cover for a 1 1/4” towing receiver fit perfectly on the ends of the legs and provided both cushion and stability. I attached these covers with a clear acrylic caulk, and they seem to be quite secure.


Finishing the Live Edge Wood Top
As I mentioned earlier, I struggled to get an even cut in the woods, so the thickness of the cookie wasn’t symmetrical. I ended up sacrificing some of the thickness to get the wood as close to level as I could with the chainsaw, and ended up with about a 7” thick piece. I had some very pronounced ridges and valleys in the surface for the top. I was after a pretty rustic look, but wanted to be able to set a glass on it without fear of spilling any of the precious contents.
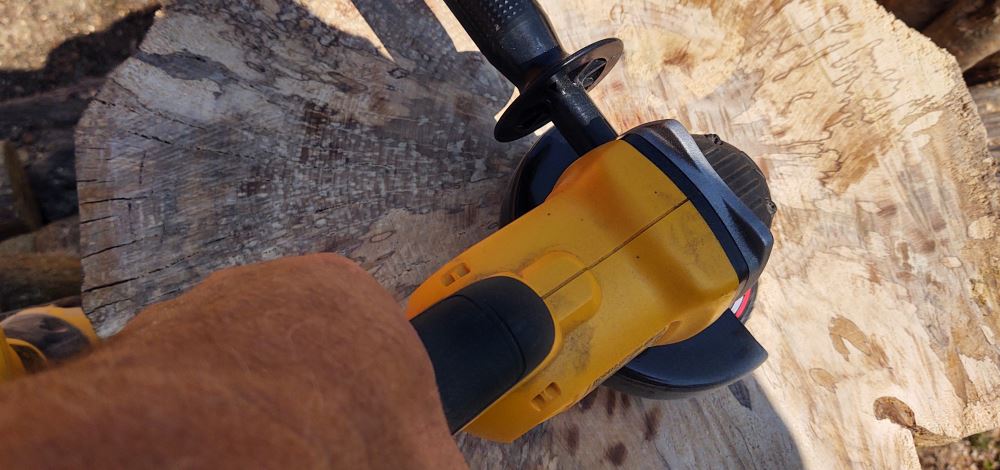
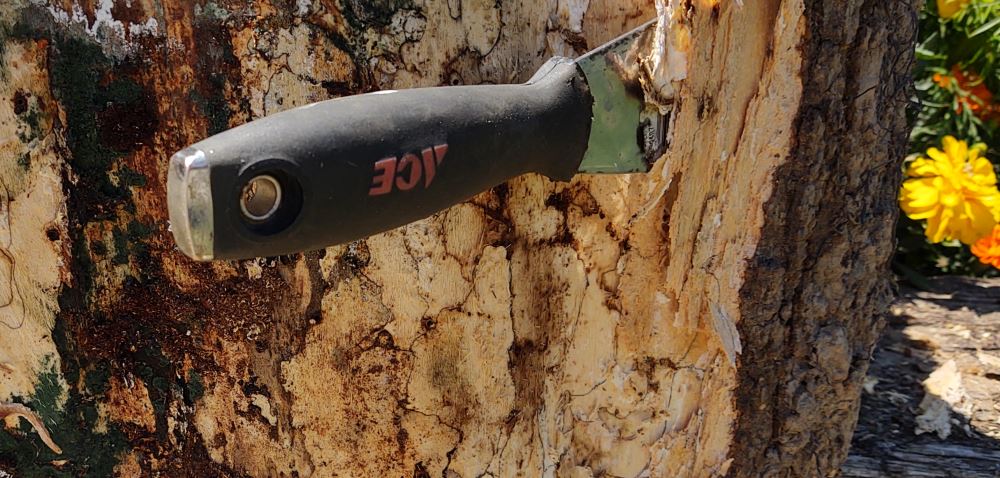
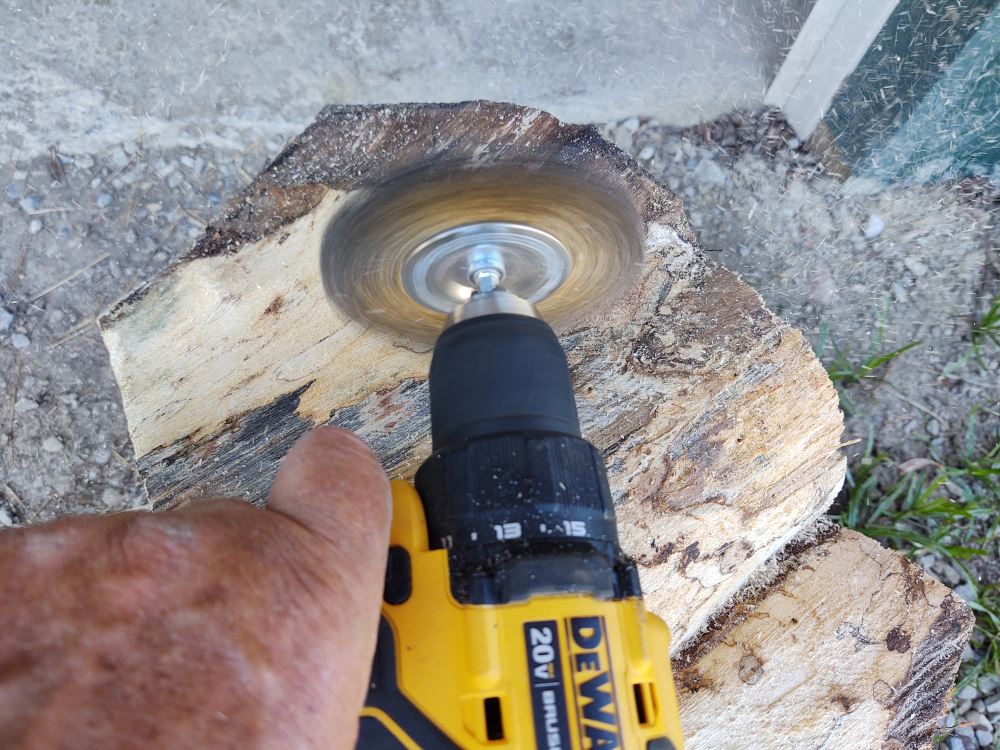
I used the angle grinder with an abrasive disc to take the worst of the deformations out and provide a relatively level surface, though it was far from perfect. I had also intended to leave the bark on, but ultimately ended up removing it as the structure of the wood underneath had been compromised by the elements and time. I removed the bark with a putty knife, and then hit the sides with a wire wheel to clean it up. I then used a random orbit sander with progressively finer grit to smooth the top and sides. Finally, I applied multiple coats of satin finish polyurethane sanding with a 400 grit paper between coats.
Attaching the Top
The video version of this project showed four lag bolts being used to attach the base to the top. That seemed like a bit of overkill to me, the top weighs a good 40-50 pounds and is unlikely to go anywhere. I am also limited in my ability to drill larger holes in steel, lacking a good set of bits. I ended up just securing the base through the two tabs with a couple of 3” #9 outdoor rated screws and it seems to be plenty sturdy.

Fini
I had intended this table to be a fixture on the front porch to compliment the two Adirondack chairs my wife and I settle into when the workday is done. It’s doing a fine job of keeping the cold beverages within easy reach, and looks pretty fine doing it. The IMI Magnetic Welding squares played an integral role in the construction of the base. They were accurate and easy to manipulate, as well as easy to clean up afterwards. The copper sides made a great conductor when I needed to use it for a ground, and cleaned up easily, with no welding slag sticking to them at all. They come in a variety of configurations and can be purchased via the link below. A two pack will set you back about $42 and please note that they have a $50 minimum charge, not including shipping.
I like this
Stephen,
Your table is beautiful! You could easily sell those here in northern MI. 🙂 Glad the magnetic welding squares were so helpful.