
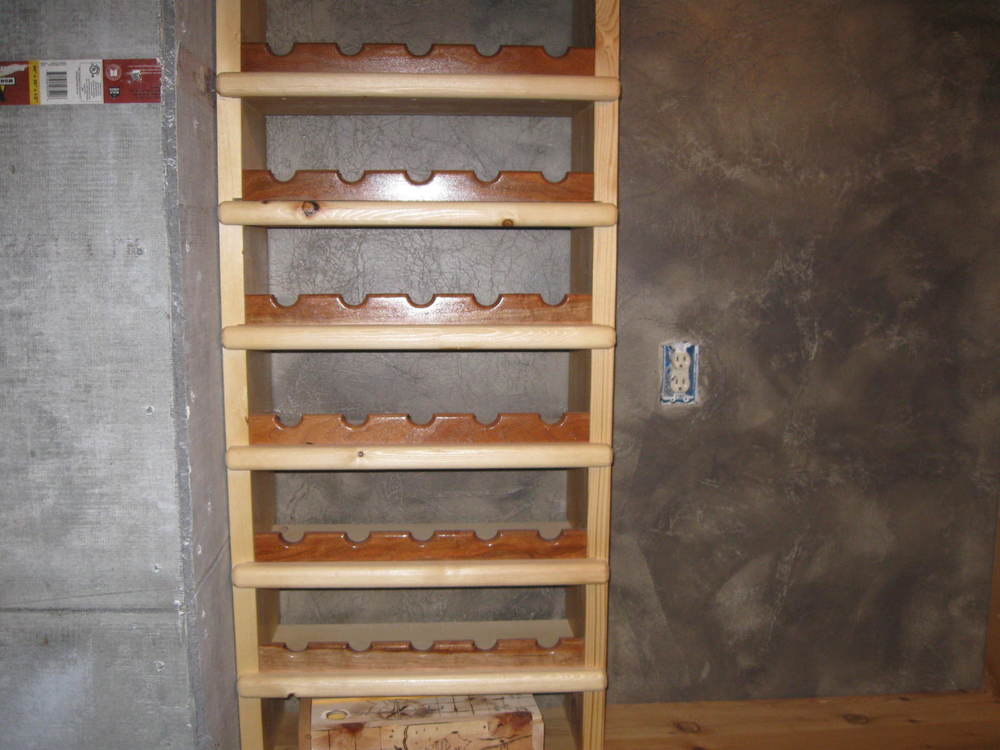
 This wine rack is made from salvaged 2×10 wood (pine for the shelves and upright supports and cherry for the wine bottle holders), left over from another project. Overall dimensions for this wine rack are 50½” h x 22″ w x 9″ deep, but you can adjust accordingly to accommodate the amount of salvaged material on hand.
Start Your wine Rack by Making the Shelves and Upright Supports
Using a bench planer, plane the wood to 1¼”.
Cut the upright supports to size. The number of shelves will determine the height of the unit — this one has six. Shelves should be 5-6″ apart.
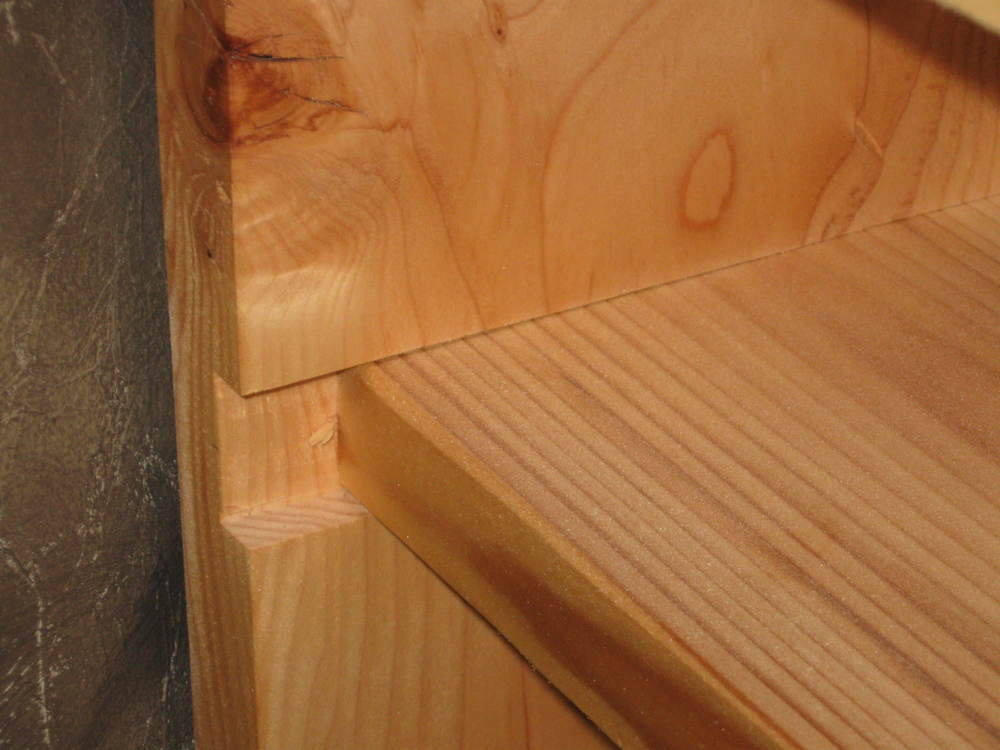
Mortise a 1¼” w x 5/8″ deep groove into the uprights to accommodate each shelf.
Cut shelves to size (inside dimension), leaving an overhanging “tab” on each end. This side will be the face of the shelf, which will extend to the outside dimension of the wine rack. This allows you to add a rounded, nosing detail, as well as hide the mortise once the shelf is in place. We used a router with a 3/8″ roundover bit for the nosing (optional).
Secure the shelves to the uprights with 3″ screws for added strength, ’cause the goal is for this baby to be super-stocked with wine bottles (which can get heavy).

Make the Wine Bottle Holders
Using a 4″ wide piece of wood, cut the length to the inside dimension of the uprights (about 19½” in this case), so it fits snugly.
This length allows for five bottles, spaced about 2″ apart. Make marks at these dimensions, along the center of the board. Use a drill press with a 1¼” bit to drill out the holes.
Rip through the center of the holes so you’re left with two inserts which will hold the wine bottles (necks). Go over the “scooped out” sections with a quick hand-sand until smooth.
Insert the bottle holders into the mortise.
Hand sand the unit and spray with two coats of shellac to finish.
Some Notes About the Wine Rack We Built
We were out of material at this point, so there is no back to the wine rack — it just rests against the wall. Also, the nosing detail on the face of the shelving unit creates a void of approximately 1″ in the back, so it’s not butted directly up to the wall. (We did this intentionally so that in the future, we can install some sort of back lighting to help showcase our awesome wine collection.)
This wine rack isn’t particularly fancy, but we’re not fancy people. It looks pretty nice in what will be our future wine cellar, and salvaging the wood this way was a lot better than tossing it into the fire or allowing it to rot behind the barn. If you’d rather buy than build, amazon.com has mucho wine racks to choose from starting at around $20.00.