

It has become trendy to repurpose items and materials. The facts are clear that it is actually fiscally and environmentally responsible. If you add the fact that it is also a lot of fun, well, now you just hit a 3 pointer. We recently decided to build an in ground basketball hoop, by resurrecting a fallen basketball hoop and supplementing it with some recycled and repurposed parts. Join us on this green project that’s a slam dunk!
Going Green and Saving Green – Hoop, There It Is!
Our little community has a social media platform for people to ask neighborhood questions, post items for sale or free, post about cats – there are a lot of posts and updates about cats. In the midst of another highly anticipated cat update, a young couple posted that their basketball post and hoop broke and fell during a storm. You can see where the metal weakened just above where the lower section of pipe was filled with cement.

They had a nearly 3-year-old daughter and simply wanted the tetanus hazard removed from their yard. It was free to anyone who would come and take it away. While I would like to say I was working from an altruistic concern for safety, that might not be completely accurate. I also saw an opportunity to reinforce, repair and install this set up at our house. To Recycle and Repurpose some materials – and have some fun in the process.
For the record, I did go back to remove the 2 foot section of cemented pipe that remained in their yard. Removing the jagged, rusted, metal/cement post was the right thing to do for our neighbors and their daughter. They were thankful to not need to pay to have it removed and I was thankful to have another project – I was running dangerously low on projects around the house.
Recycling Centers to Supply Parts for Your In Ground Basketball Hoop
There are ‘official’ recycling centers where you can take your aluminum cans, copper pipe, etc. and get money in return. Some of these centers will allow you to exchange your recycled materials for some of the other items in their yard. For example, you might take in a load of scrap and opt to take out some angle iron or box tubing in trade.
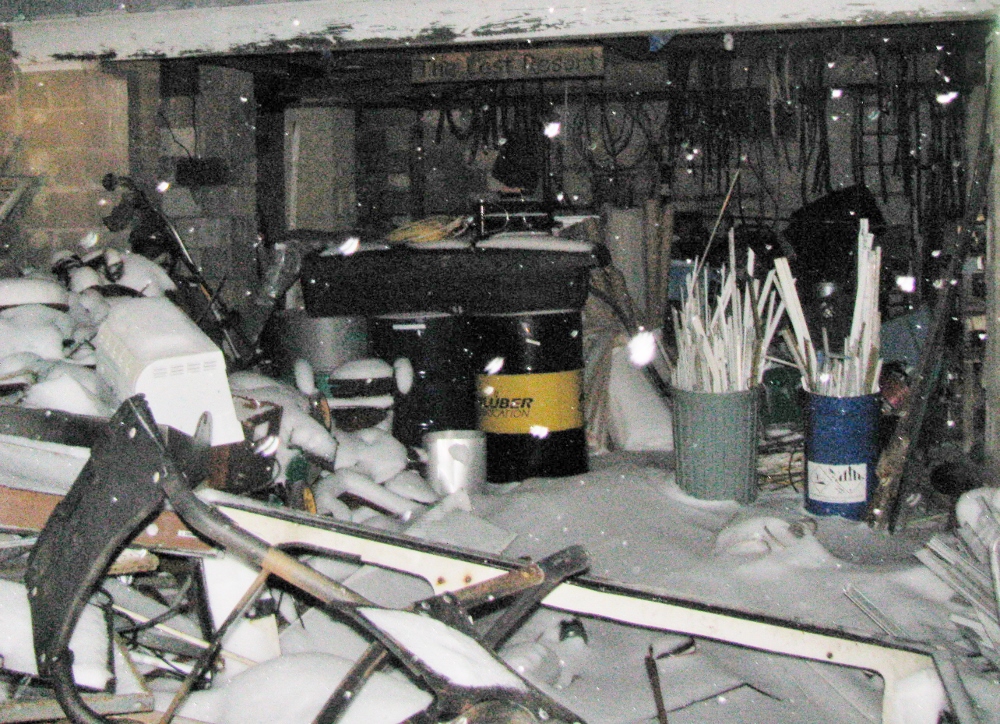
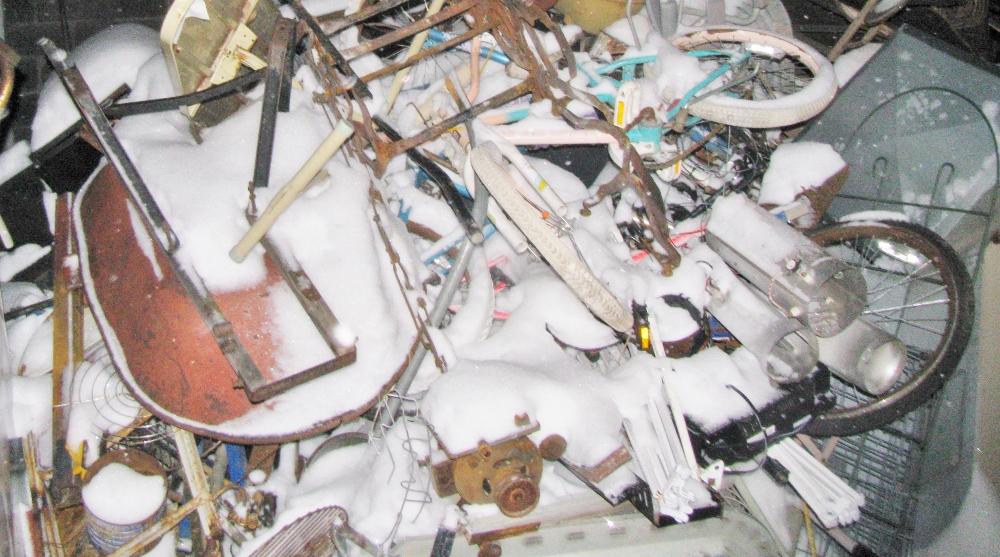
There are also ‘unofficial’ recycling centers, like my friend Henry. Henry is a retired doctor, current farmer, and compulsive scrapper/recycler. He will take anything metal that you have and he will separate the types of metal and recycle it. Henry made an appearance in the DeWalt Impact Driver review and this is exactly where I found the two pieces of round steel tubing that my in ground basketball hoop project needed.
Grinding and Prep is Essential
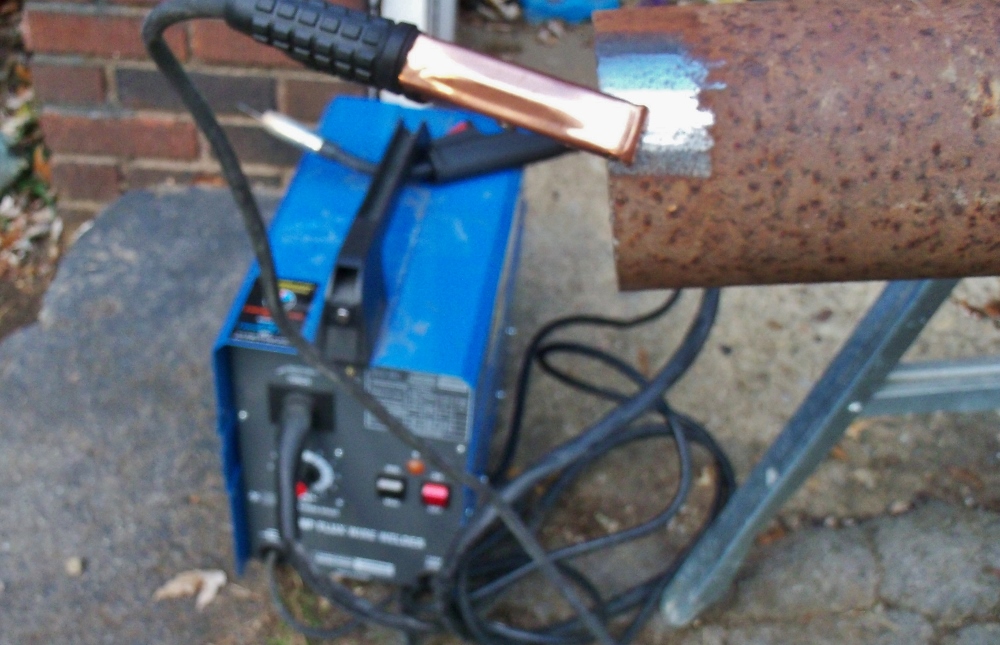
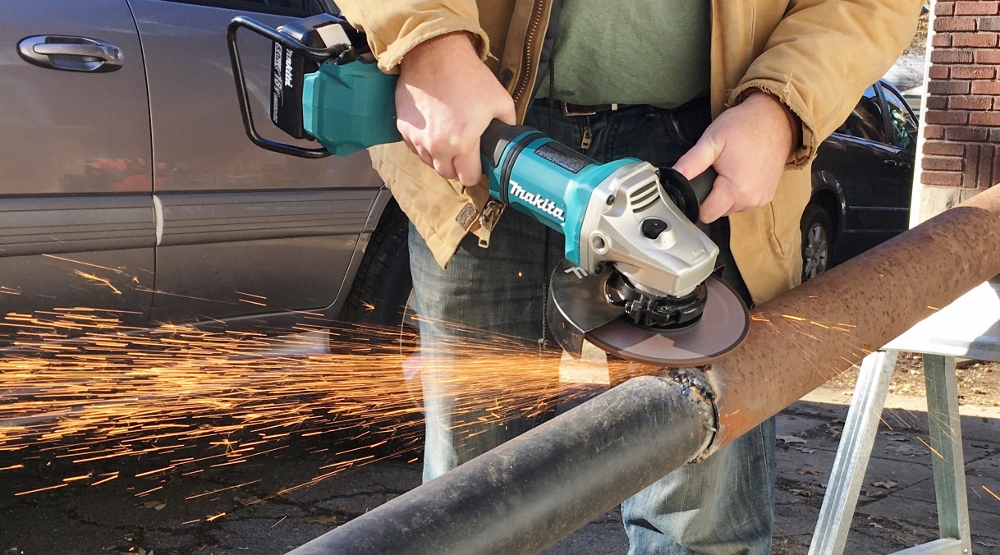
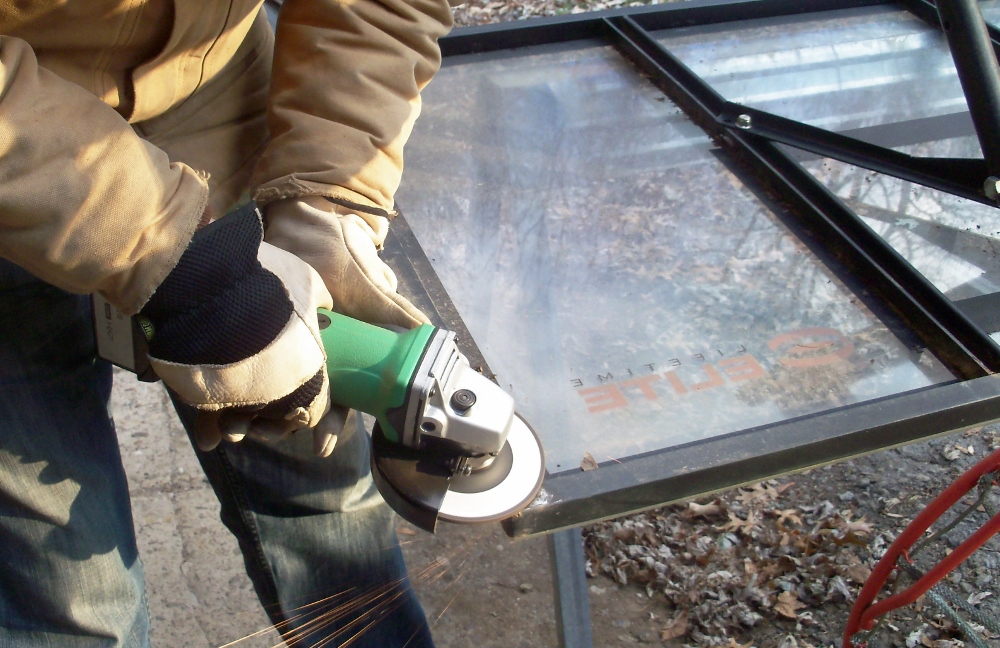
The ground-clamp is essential in completing the electrical flow when you bring your wire feed close enough to arc. The arc creates the heat needed to weld. If you aren’t grounded the electrical circuit is open, thus stopping the flow needed. If there are layers of paint or dirt, this will serve as a barrier to the ground contact and electrical path. So I use my Makita angle grinder to grind a spot of fresh, clean metal and attach the ground clamp.
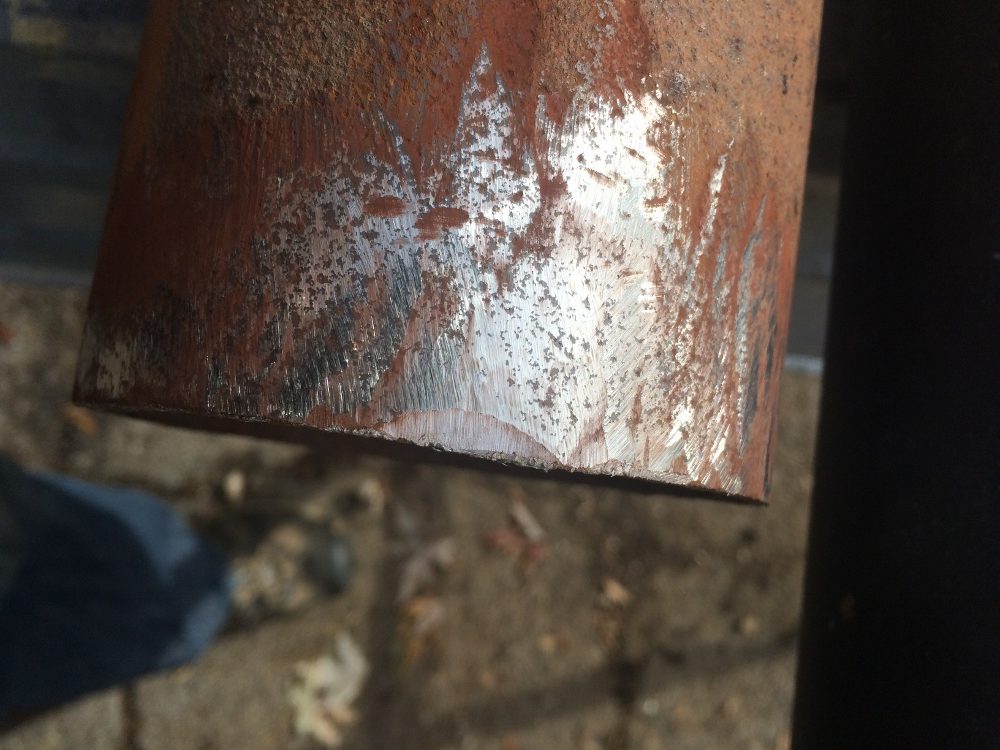

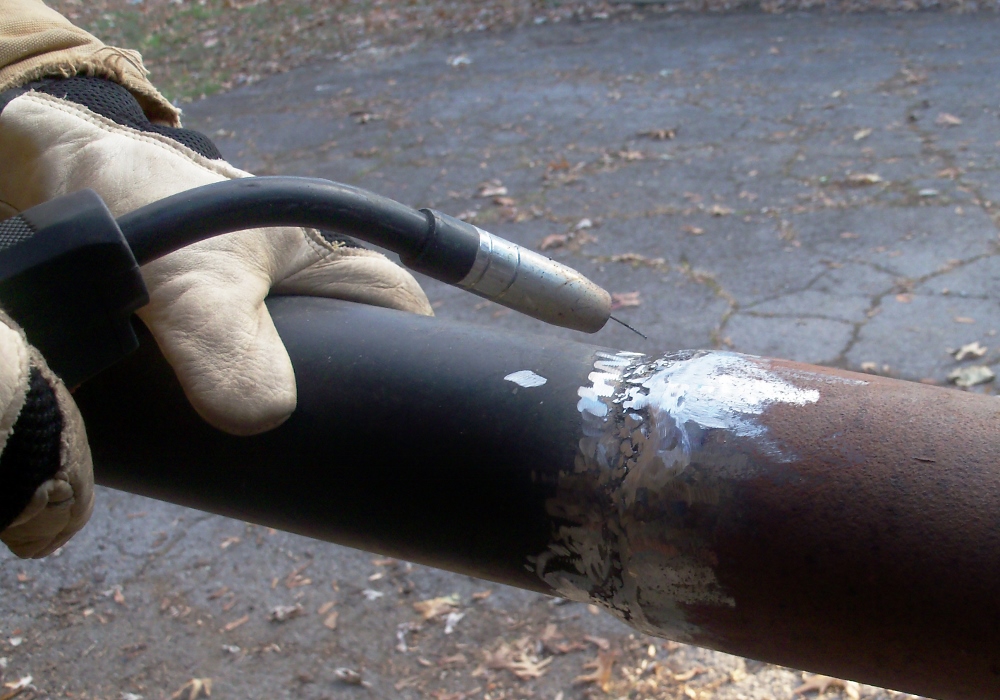
Just like the need for clean metal for a good ground contact, I need to grind the areas that I am planning to weld together. By grinding away any paint, rust, and/or dirt, I have reduced the amount of contaminants and created a better electrical conduit for the circuit that we are creating with the arc.

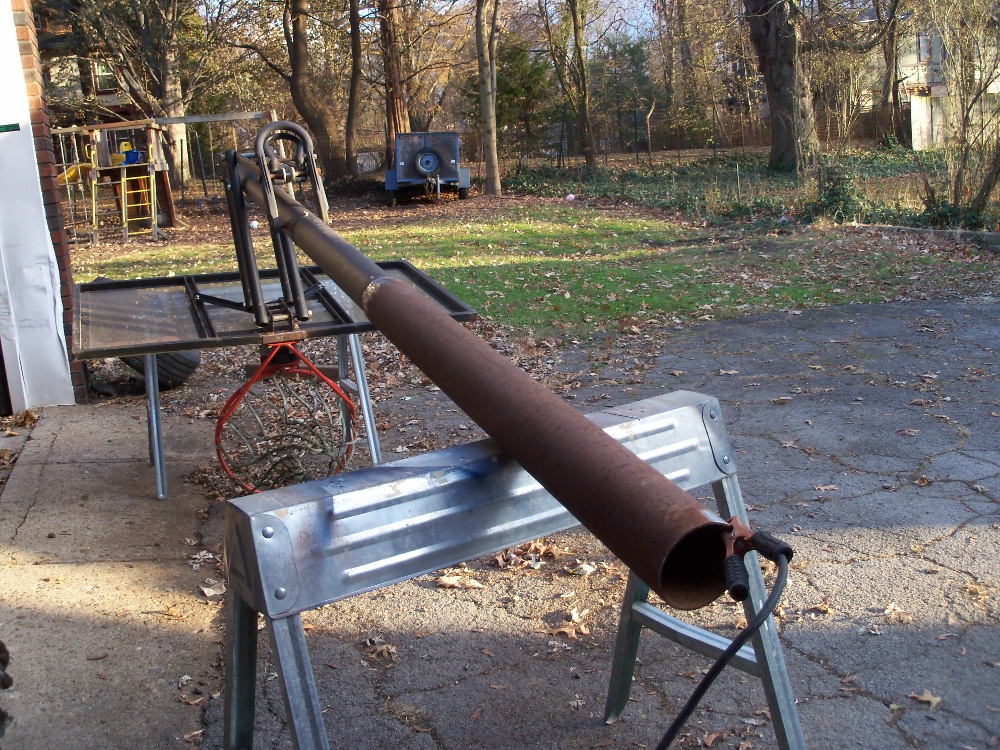
With the aid of two collapsing sawhorses, I put the work surface at a comfortable height for welding and grinding. For this project, I was happy to use the No Gas MIG welder and the repurposed sections of pipe to add both length and structural support to the base of the pole.
Welding Your Basketball Hoop Pole
Major tools like welders are items that only one person in your circle of friends needs to have. It is like an engine hoist, you don’t need an engine hoist every week, but you sure need a friend who owns one the time you do. I have a few welding connections of varying degrees. I have access to a 220 amp Arc/stick welder and two versions of MIG (metal inert gas) welders. MIG welders have a continuous feed wire that moves through the gun, creates spark upon contact, melts and creates the weld between two metal surfaces.
There are a wide range of MIG welders. Some have a bottle of gas, typically Argon, Helium, Carbon Dioxide or Oxygen, that is used in the process. There are No Gas MIG welders that utilize a hollow wire that is filled with a flux. This flux reacts similarly as the Arc/stick welding and eliminates the need for the gas.
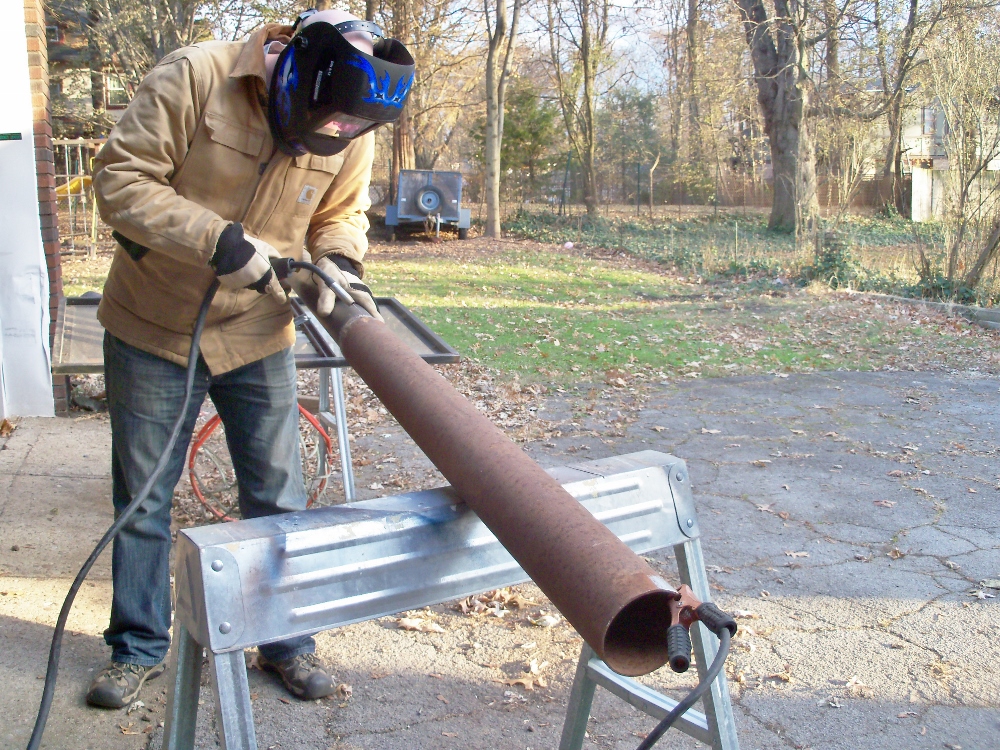
I used a No Gas MIG welder on this project. Proper safety equipment is essential – welding helmet to protect your eyes, gloves to protect your hands, and proper clothes and shoes to protect the rest of your body. While you are welding metal, safety is the first concern. In my opinion, the No Gas MIG welder is the hot glue gun of metal work. It is a very similar, while more sparky and hot, version of running a hot glue gun around a cardboard role. If you don’t have a friend with a welder, or you don’t have the expertise to weld safely (or both), your local fabrication shop would be happy to run two beads of weld for a nominal fee. The low end entry purchase price for a welder is around $200 but you can spend anywhere from $1,000-3,000 rather easily.
Grinding and Priming for Finish
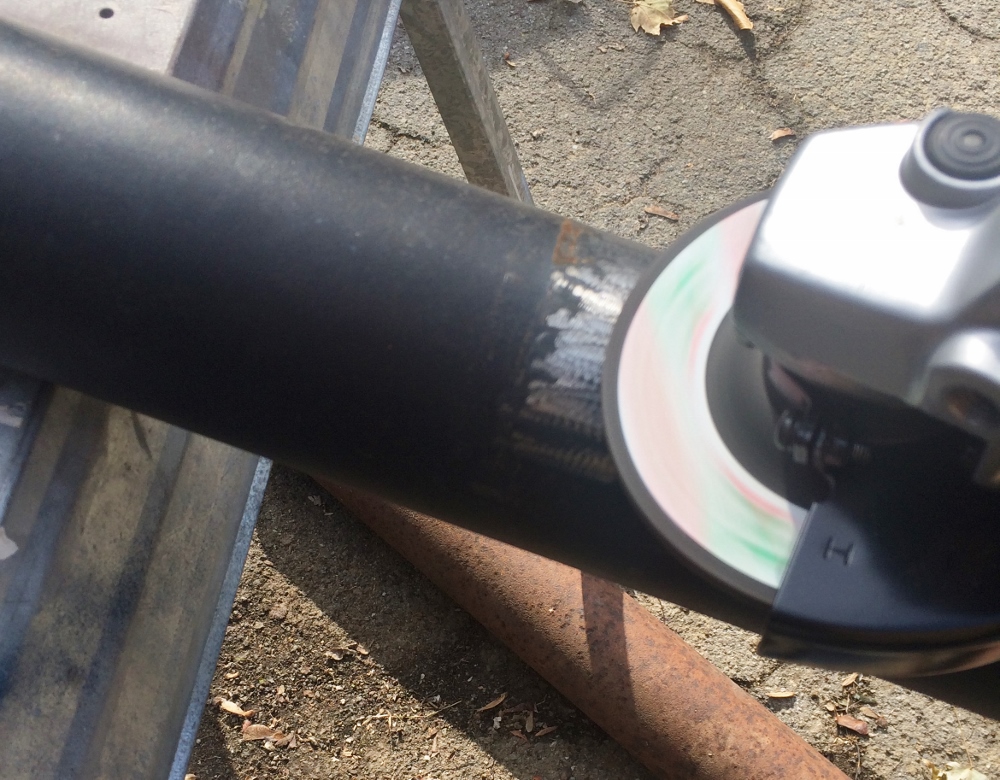
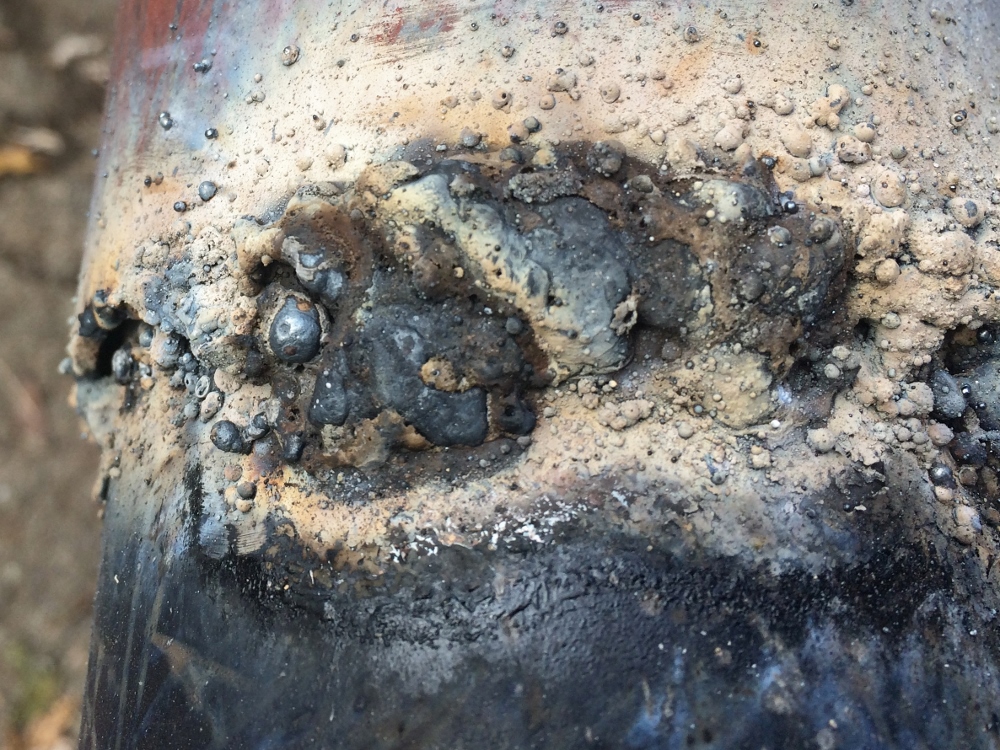
If you are new to welding, whether arc/stick or MIG, you will need some practice with the settings and speed that you move your hand and welder. The good news is that there is a universal eraser in the field of welding known as the grinder. The grinder is essential in the preparation of the materials but it can be just as necessary in the smoothing out of the welds you create.
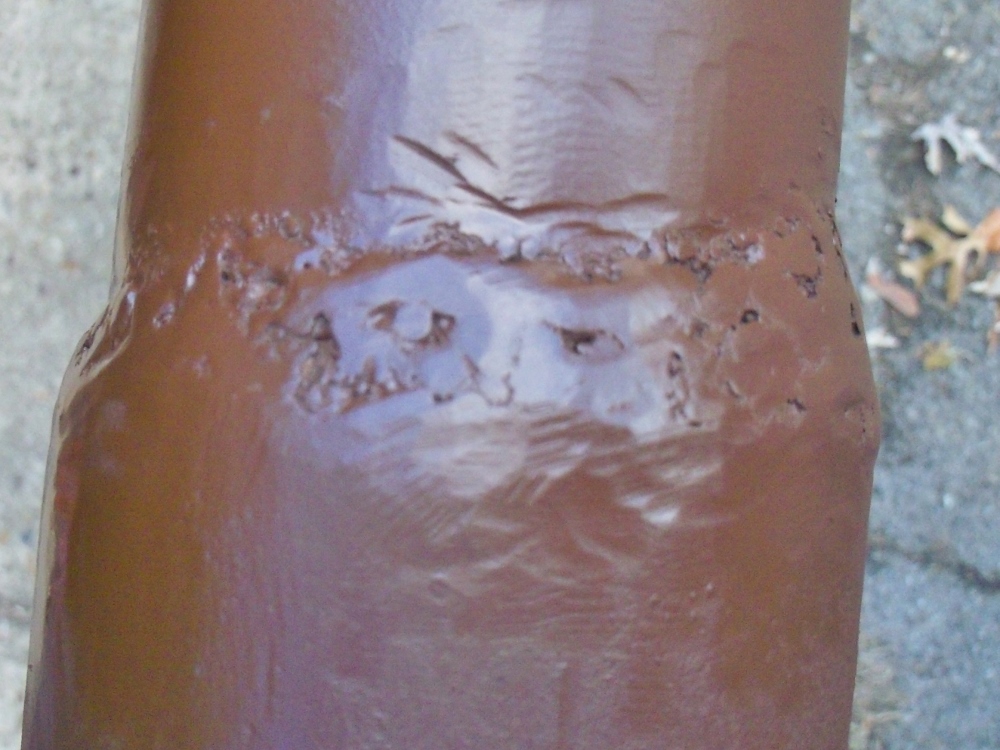
While there are times when I lay down a beautiful bead of weld that needs to be photographed and hung on the refrigerator, there are other times when I am so thankful for the grinder. VERY thankful for the grinder here on this in ground basketball hoop pole, but I was going for function over form here. That is also why I didn’t bother putting any bondo around the seam prior to primer and paint.
For added strength in the reconstruction, I overlapped the steel tubes by a solid 12 inches. This overlap creates added stability to the overall construction and takes pressure off of the welded seam. I overlapped again when adding a second, larger pipe, over the first grafted piece.
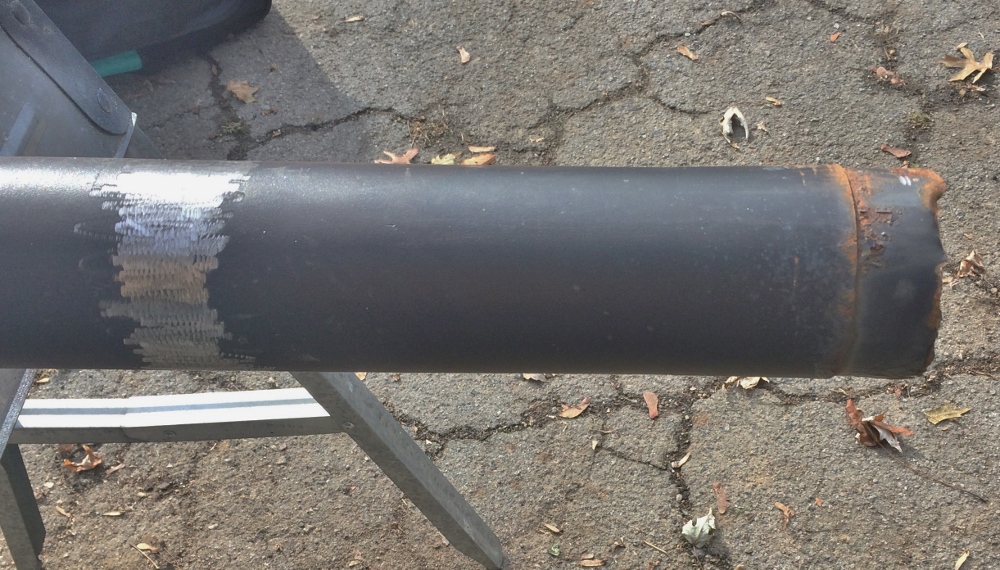
I opted for slight overkill in the way I used two steel tubes and scaled them up to make a wider, thicker base. The three different pipes nest in a telescoping way. This allowed me to overlap the sections more, for greater strength, and to add overall weight and length for setting the pole deeper in the ground.
Time to Get the In Ground Basketball Hoop Plumb and Secure
When you have a basketball pole, hoop/backstop, AND an added 75 lbs of extended steel base, it would be great to have a friend or two to help you set it in the ground. In theory, this would be really great. In reality, I did this by myself. This would be a perfect job for a magnetic level.
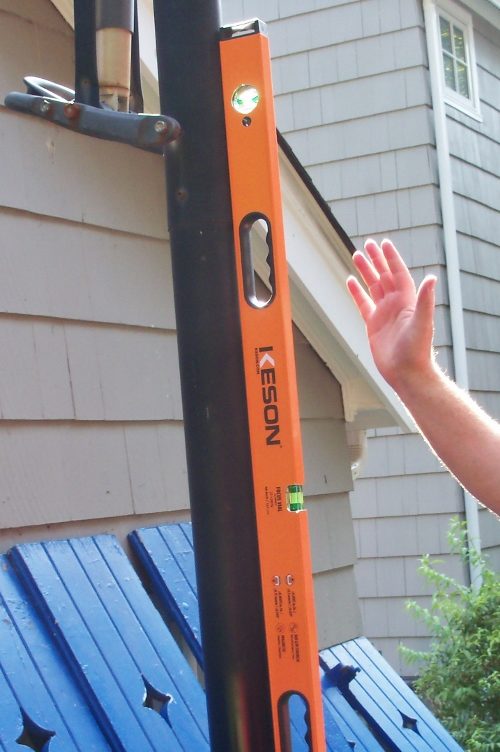
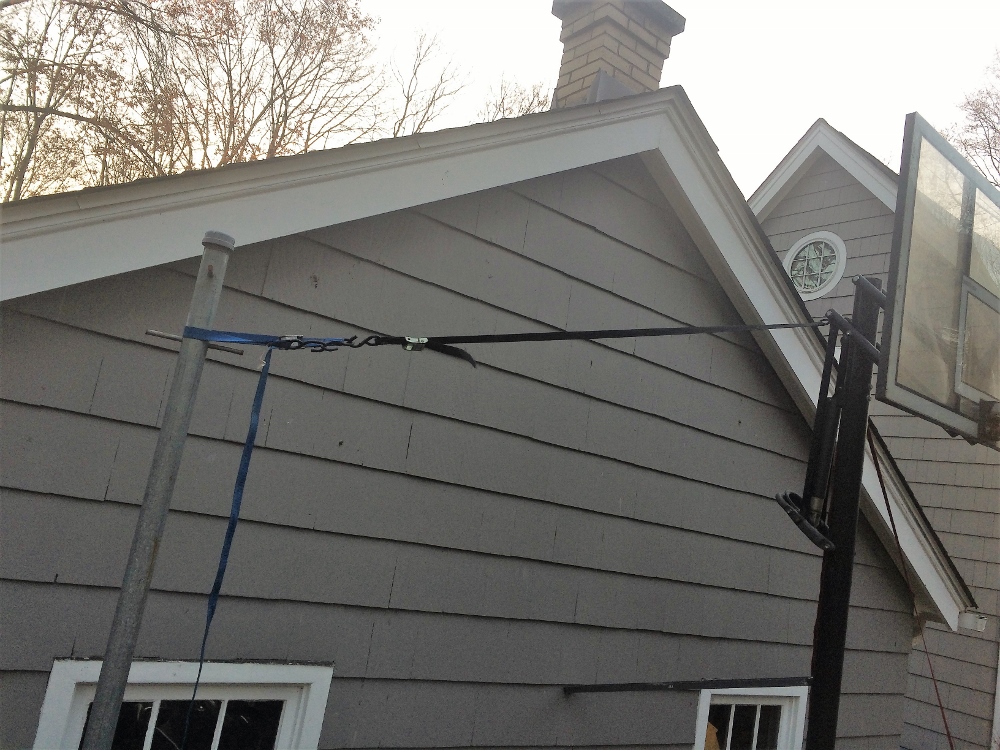
Plumb needs to be established on two axis – left to right and front to back. I stabilized the pole with a 2X4 under the hoop and tie downs pulling both left and right. I had a pre-existing pole to tie to on the left and drove in a temporary steel fence post to secure on the right.
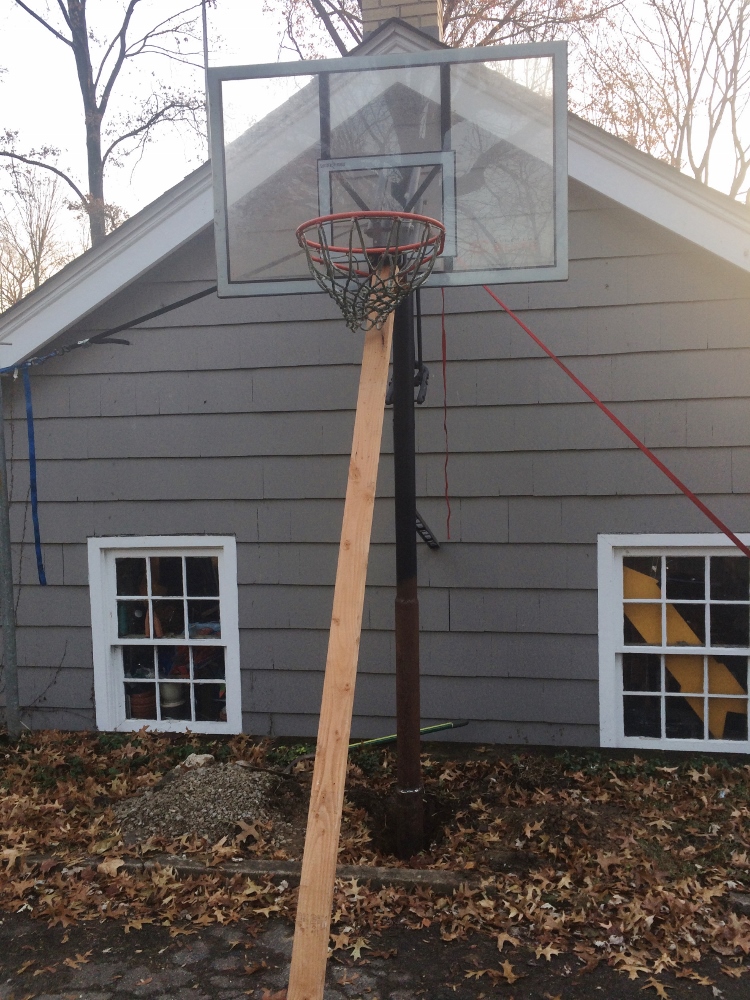
This particular hoop is adjustable, so I set it at the tallest setting and measured from the hoop to the ground to get the maximum height of 10 feet. With it stabilized, plum and at the necessary height, I was ready to mix the cement for the base of this DIY in ground basketball hoop.
Cement Shoes for the In Ground Basketball Hoop
It is possible to simply pour in the dry contents into the hole, cover with dirt and let the moisture from the ground saturate the concrete mix. As anyone who has gone for a bag of concrete only to find that it absorbed moisture and is now a sold block in the form of a bag knows – this WILL work.
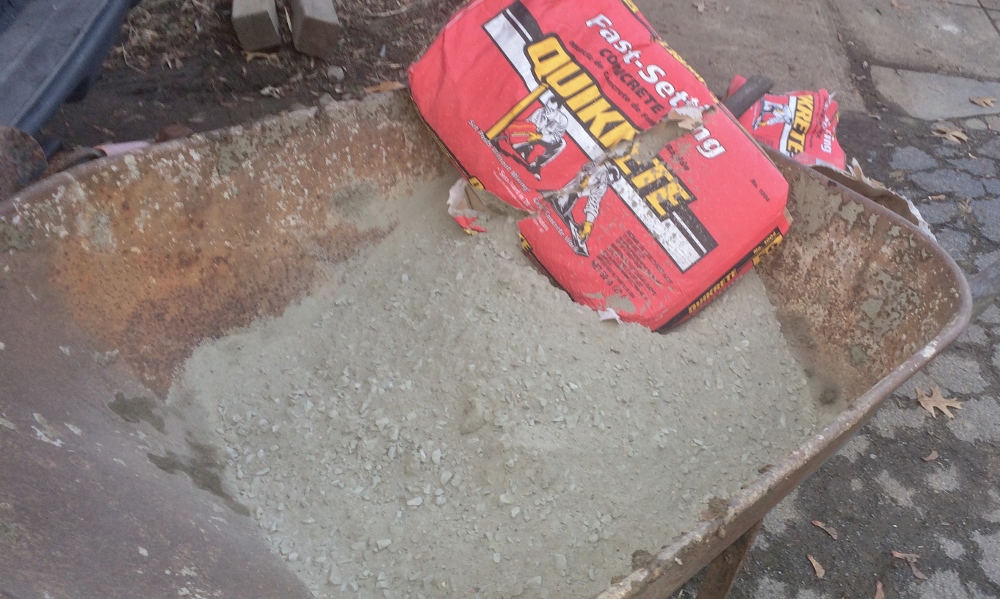
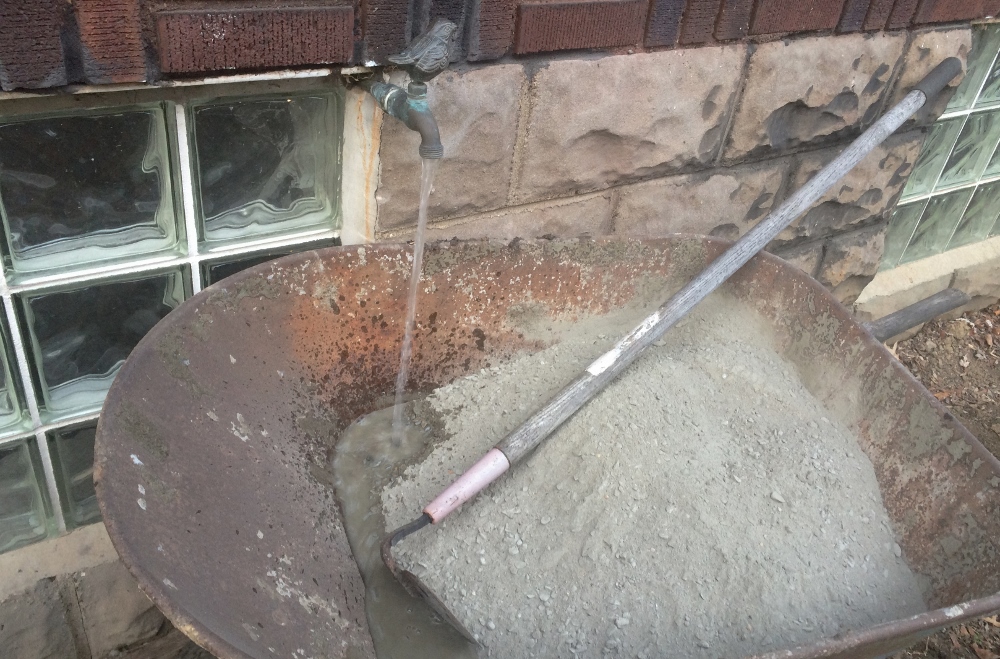
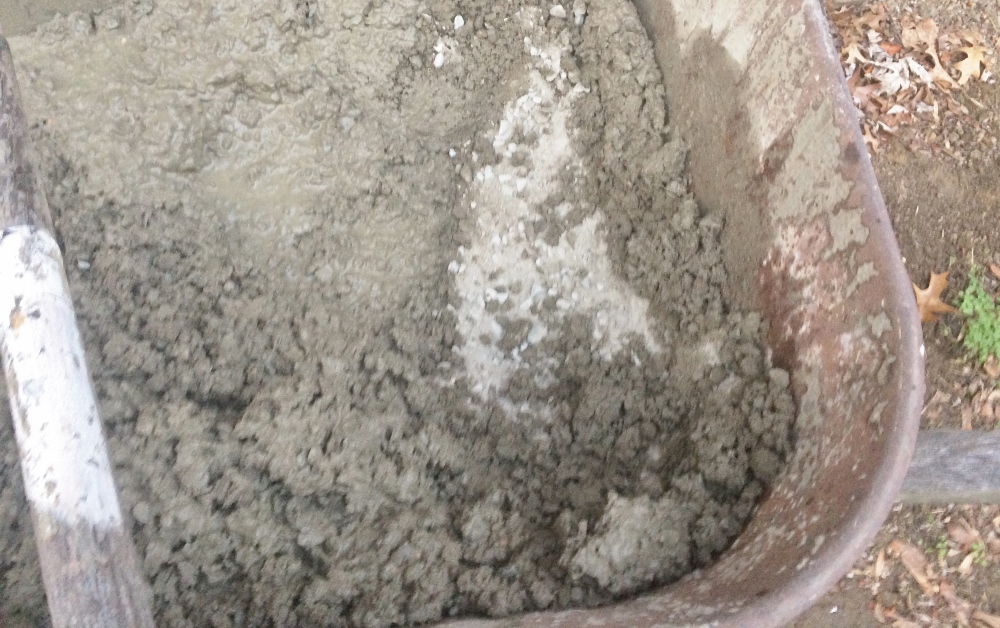
I chose to utilize the available wheelbarrow, my inheritance from dad, and a conveniently placed spigot to premix before pouring into the hole. You can mix one bag at a time to make the batches smaller and easier to maneuver and pour. The hole that I dug out held the post and 3 bags of Quikrete fast-setting concrete mix. I made sure to keep the cement below ground level so I could cover it with some dirt afterwards.
Finishing Touches To Make the In Ground Basketball Hoop Project a Slam Dunk
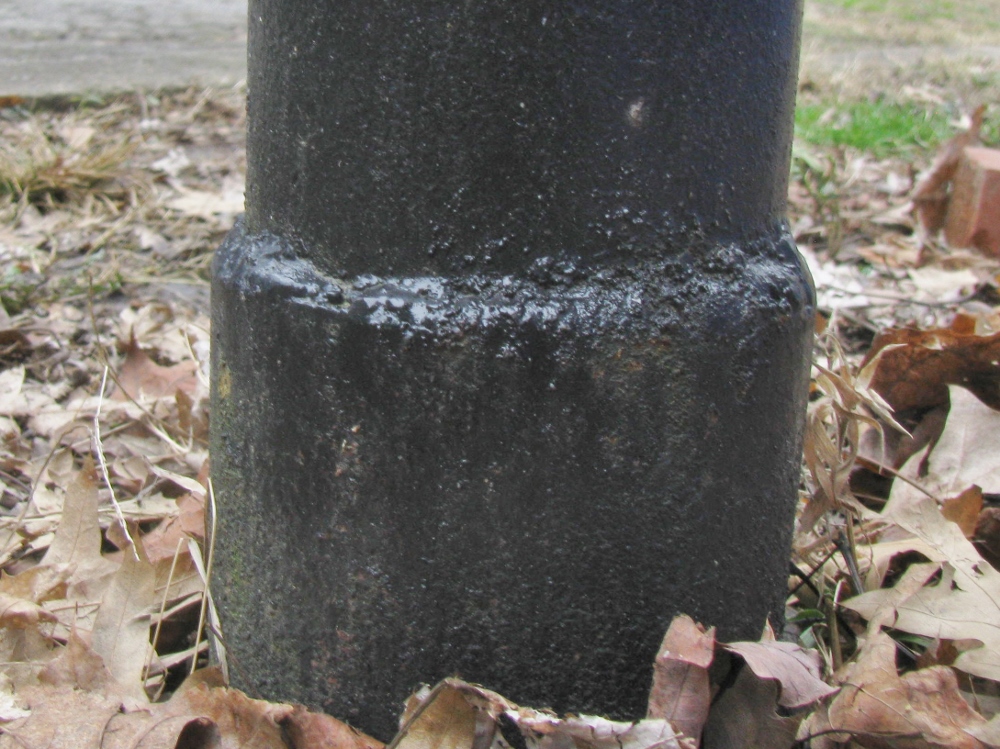
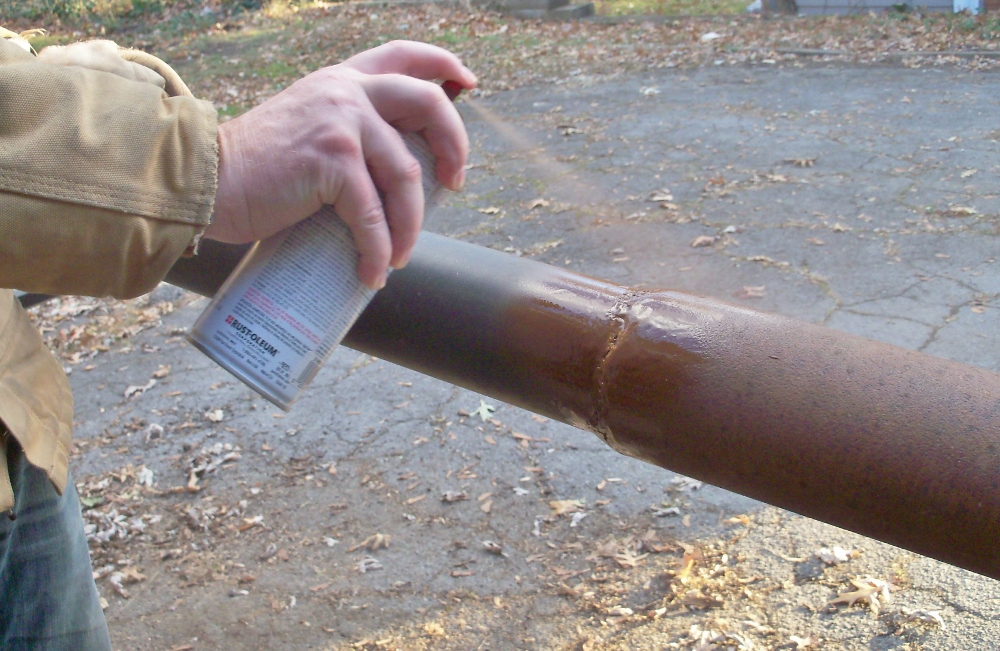
I used ‘rust stopping’ primer on all the metal that was ground, welded and unpainted. To finish it off, I used a simple black spray paint to unify the different parts of the post. And, at the risk of spoiling our children, I splurged on a new net for the hoop. The old hoop was close to becoming a literal basket – a rigid basket that could hold and carry goods.
With the cement cured, the paint dried and the new net in place, our “new” in ground basketball hoop was all set up for countless games of PIG and HORSE. This is our family version of March Madness. This all started with a neighbor posting that their basketball hoop had fallen. Now their yard is a better fit for their family and our driveway is a better fit for ours. . . well, almost.
Bonus Project
You may have noticed the two windows in my next-door neighbor’s garage. They are perfectly placed to ‘catch’ any missed 3-pointers or wayward passes. This was the one and only place that I could install the basketball hoop, so there was the added bonus of an additional problem to solve with this project.
There is a local antique/consignment/architectural/beatnick shop not far from my house. I noticed a stack of shudders leaning on the side of the building, so I stopped in to inquire. They were initially talking about $40 per shudder since they have the original hardware on them. I didn’t care about the hardware and really only needed one or two sets to protect the garage windows.

After some casual back and forth discussion, they offered me the entire stack of 11 shudders for $200. I would have had over three times that in lumber alone, so I agreed and trailered them all home. As a temporary stop gap, I asked permission to lean them against the garage. The second stage of the Shudder Fence will be to support them vertically on their own. But for now, the family and neighbors are safely shooting hoops, having fun and not breaking anybody’s windows.

Thank you.
for the wing of giving there is taking; for the wing of tears there is joy; for the wing of rejection there is acceptance; for the wing of judgment there is grace; for the wing of honor there is shame; for the wing of letting go there is the wing of keeping. We can only fly with two wings and two wings can https://payforessay.net/cpm-homework only stay in the air if there is a balance.
Hello you are sharing very good tricks, Once time i will try this. Because its very important for me. Thanks Gustavo Woltmann
Thank you. I tried and I succeeded.
The result looks very good! I want to do the same, my son’s basketball hoop is screwed to the house and he ruined the entire wall with ball marks.