

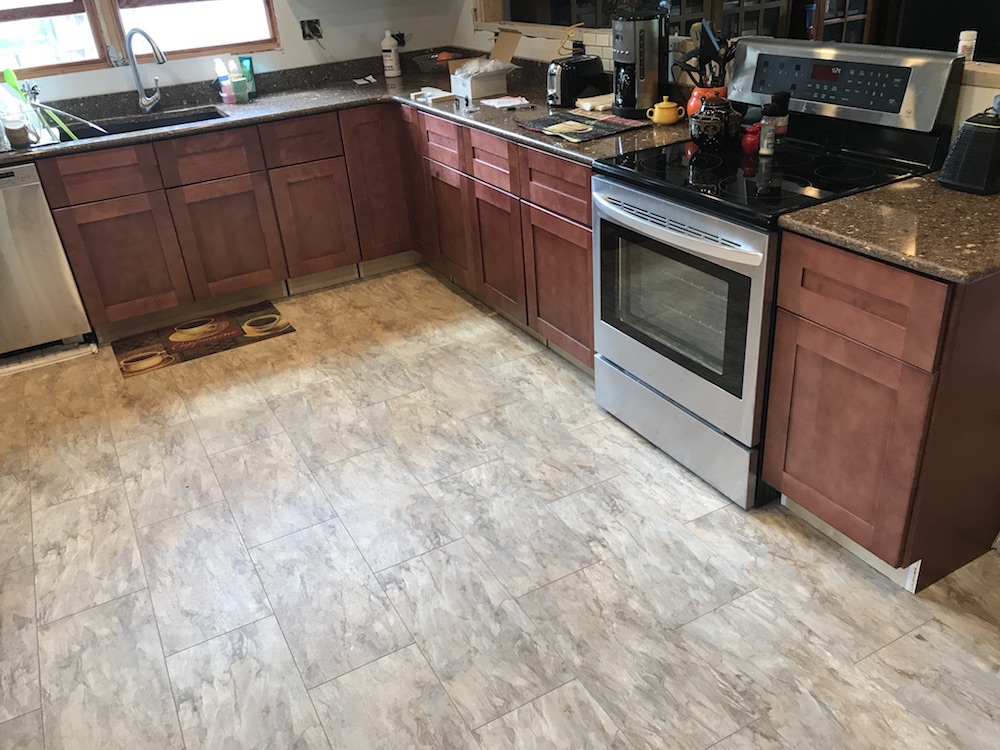
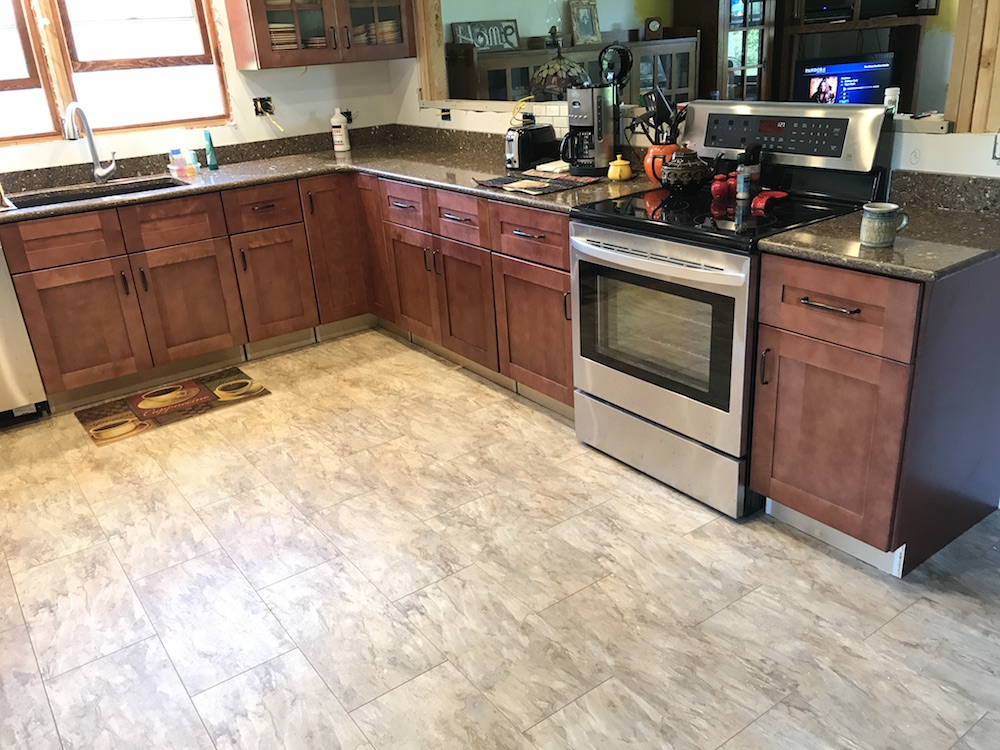
A few years back, we bought an old farmhouse that needed a good bit of attention. Slowly – and there are those, including my lovely wife, who might say TOO slowly – we are renovating the entire house. The kitchen was a total gut job, and apparently, a year or so of doing dishes in the tub upstairs was losing its charm. Finally, though, the kitchen is functional again, with new flooring, lighting, cabinets, and even a sink! However, after a month (or so) of prying and otherwise finagling drawers and doors to get them open, my wife “suggested” it might be time to install kitchen cabinet hardware. Having excellent self-preservation instincts, I was inclined to agree, and naturally I got right on it. Join me as I walk you through how to install kitchen cabinet hardware (easily and accurately)!
If you’ve decided to install kitchen cabinet hardware yourself, you may be feeling a bit intimidated. New kitchen cabinets are EXPENSIVE, and you don’t want to screw up your beautiful new investment by putting on a crooked or off-center knob or handle. Or even worse – ending up with an extra hole, or a gouge in the wood. Relax – if you take your time, and follow some simple guidelines, your cabinets will come out looking great, and probably in less time than you’d think.
Get A Handle On It
Step One in your quest to install kitchen cabinet hardware is to PROCURE kitchen cabinet hardware. There are numerous sources for it; your local hardware store or home improvement center probably carries a pretty good assortment. If there’s a kitchen and bath specialty store nearby, your options just grew exponentially; they should have samples of several styles, and catalogs with a whole lot more.
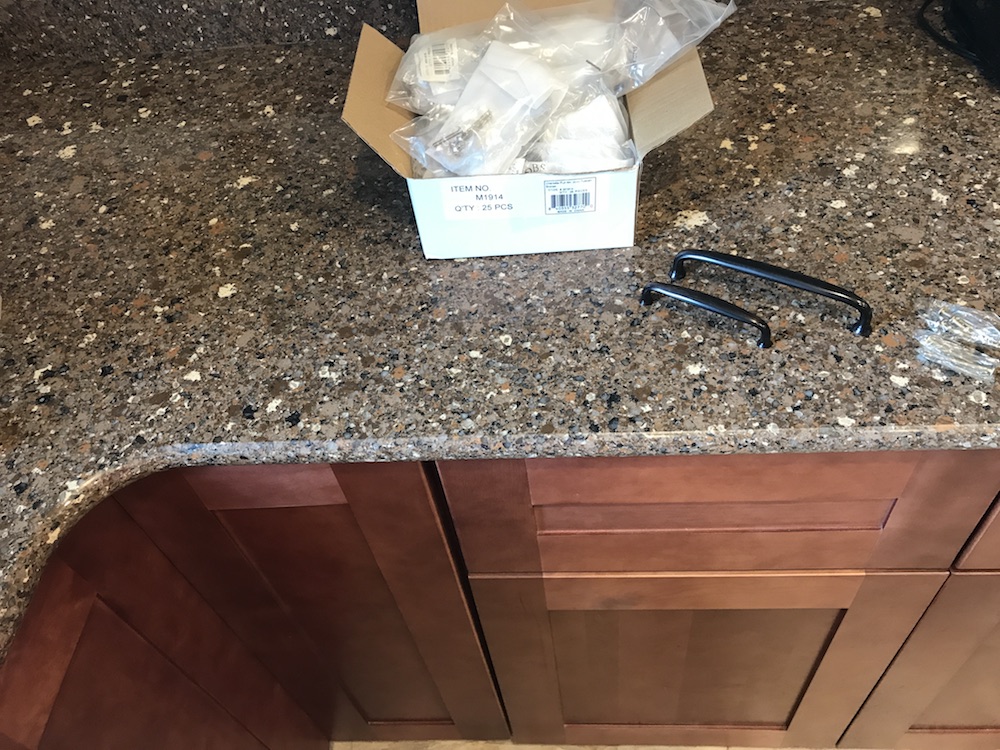
Then, of course, there’s the Internet. A Google search for “kitchen cabinet hardware” brought up 1,710,000 results. You probably won’t have time to check them all, but you’ll be able to browse the collections at as many online hardware suppliers as you can stand. That’s what we (we meaning my wife) did, and eventually found a style we (she) liked. Many suppliers offer free or discounted samples; this one did, and after receiving the sample and confirming it was suitable, we ordered up a batch.
How To Install Kitchen Cabinet Hardware? You Need A Template!
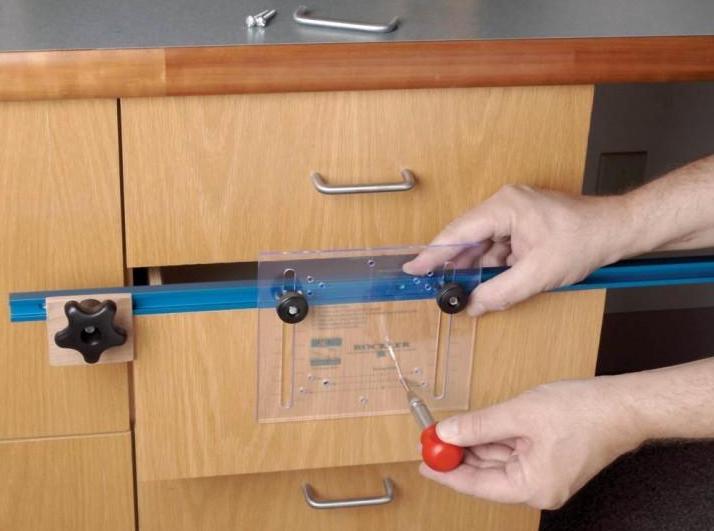
To paraphrase Yogi Berra, installing kitchen cabinet hardware is 90% preparation, and the other half is installation. The easiest and most foolproof way to get consistent spacing as you install kitchen cabinet hardware is to use a template. If you’re moderately handy – and you must be, or you wouldn’t be trying to install your own hardware, right?! – you can make your own, it’s pretty straightforward. Want some guidance? A quick google search for “homemade kitchen cabinet hardware template” yielded 5,840,000 results; that should get you started. Here’s a sample of a pretty slick homemade jig from our friends at Fine Homebuilding:
If you’re not in the mood to fabricate your own, there are plenty of ready-made options available. Rockler makes a nice handle installation template. The Rockler deluxe drawer pull jig works on both doors and drawers. Unfortunately, eight of my handles had screw holes spaced 8” apart, and the template can only handle spacing up to 4”, so I was forced to broaden my search.
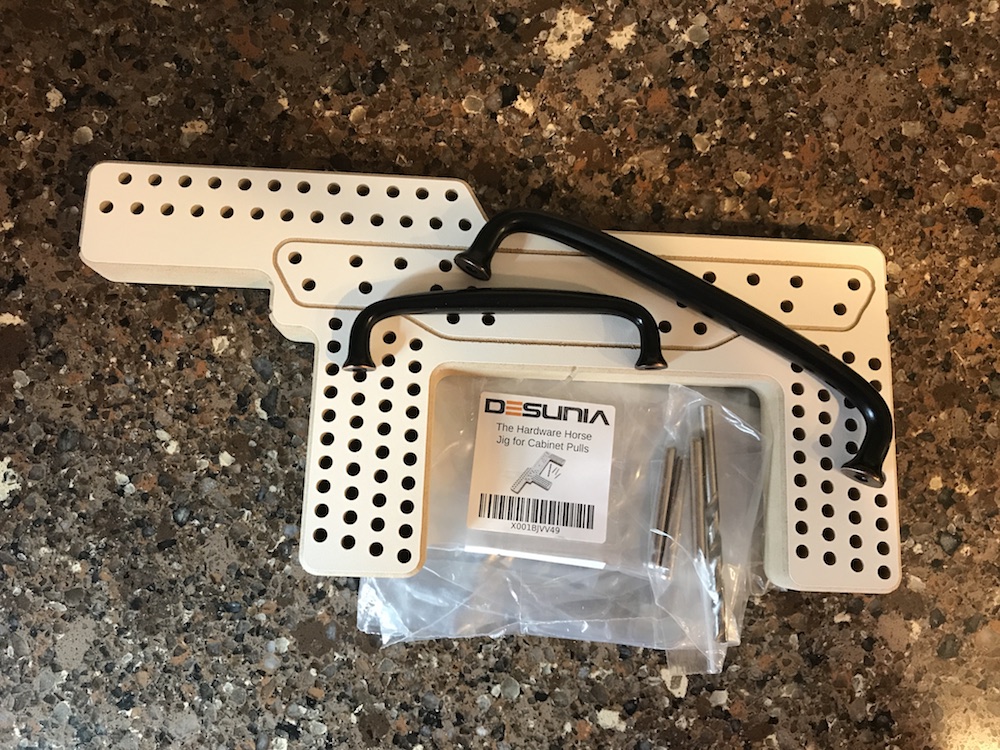
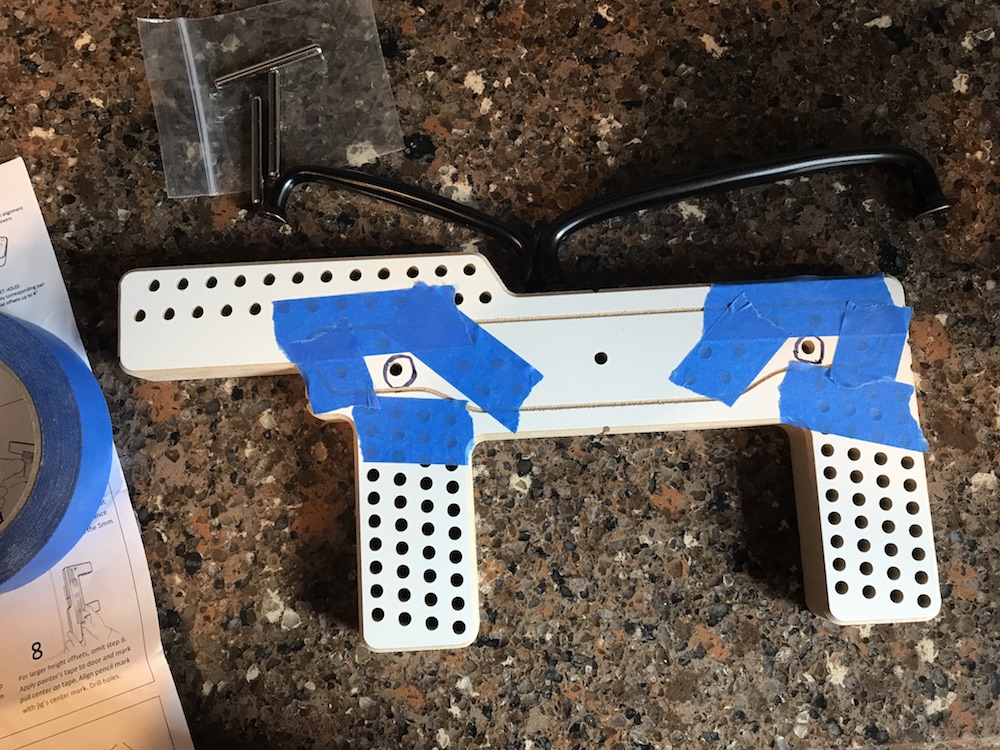
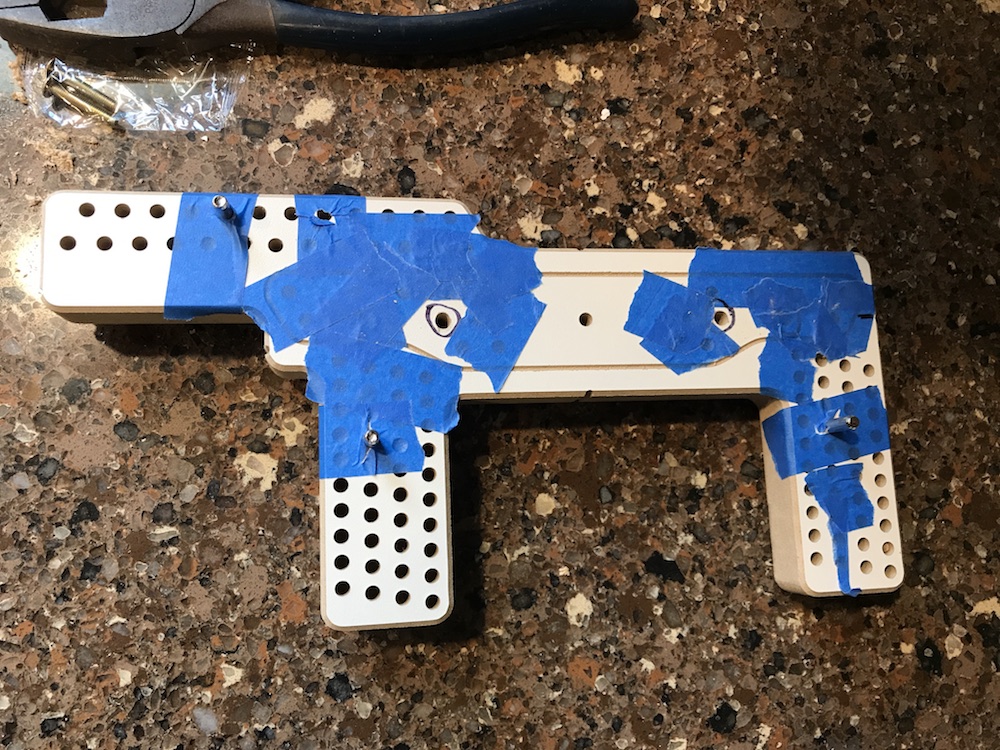
I ended up ordering a template from –where else – Amazon. The Hardware Horse comes with holes pre-drilled in 11 of the most common widths, from 2-1/2” to the 8” width I needed. It came with a drill bit, and good, clear instructions. And it’s even (gasp!) made in the USA!
Let’s Drill Some Holes!
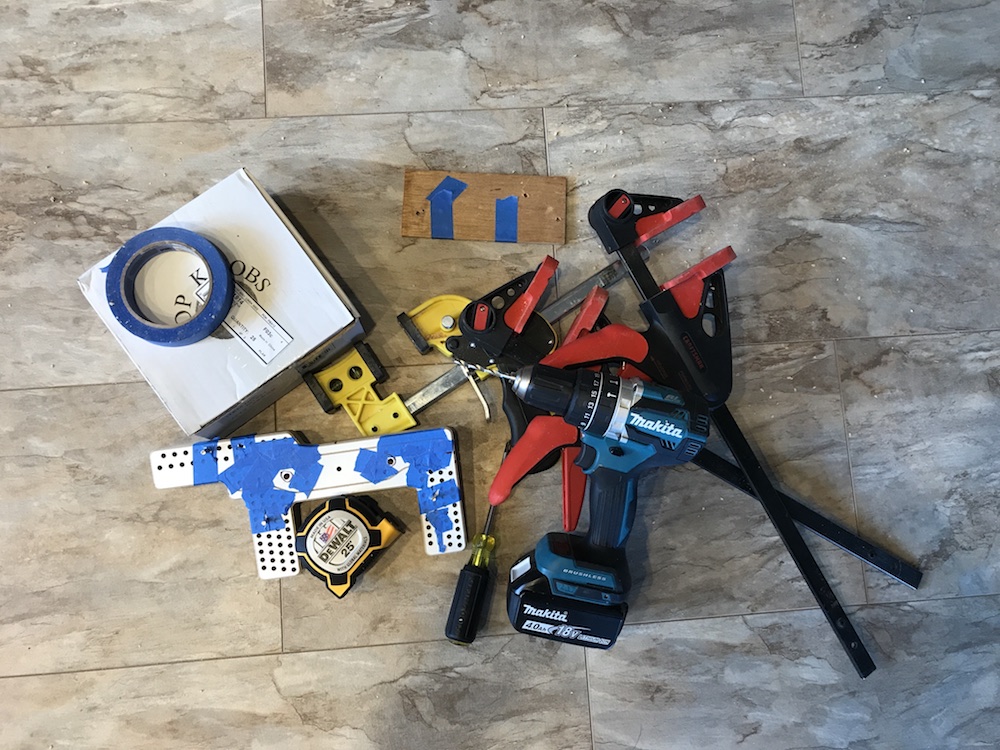
Aside from a template, the tools you need to install kitchen cabinet hardware are pretty simple. You’ll need some masking or painter’s tape, a pen, a tape measure, a drill, a couple of clamps, and a screwdriver. You may also need a pair of electrician’s pliers or a hacksaw. A pot of coffee is recommended, but not mandatory.
When you install kitchen cabinet hardware, the goal of your project is symmetry. Normally, the knobs or handles on drawers are centered, or placed at equal distances from the ends on larger drawers. Cabinet doors normally have the handle near the lower corner (on upper cabinets) or upper corner (on lower cabinets) of the side that opens out. They’re your doors, though, and you can put them wherever looks good to you. Just make sure when you choose a location that you’re consistent on all the rest of the doors and drawers.
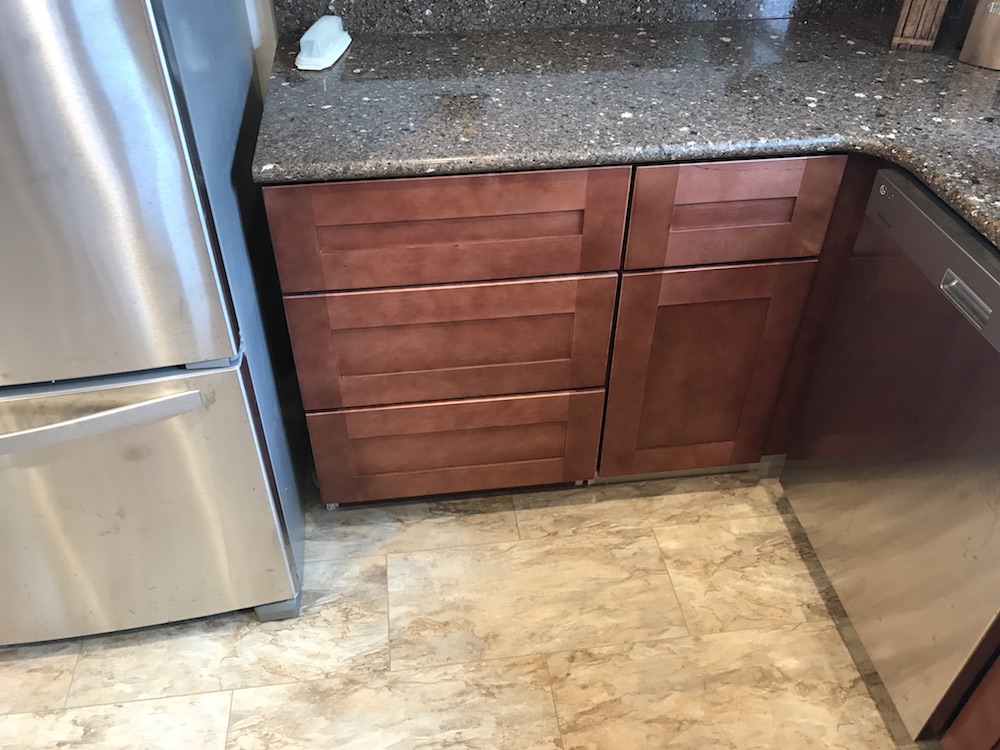
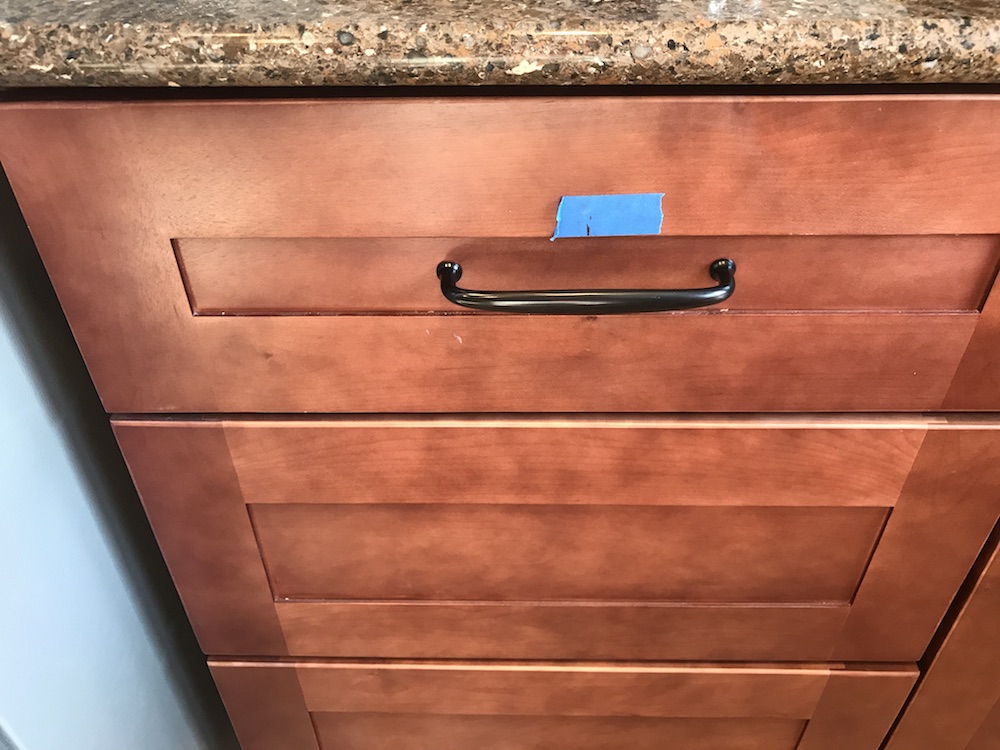
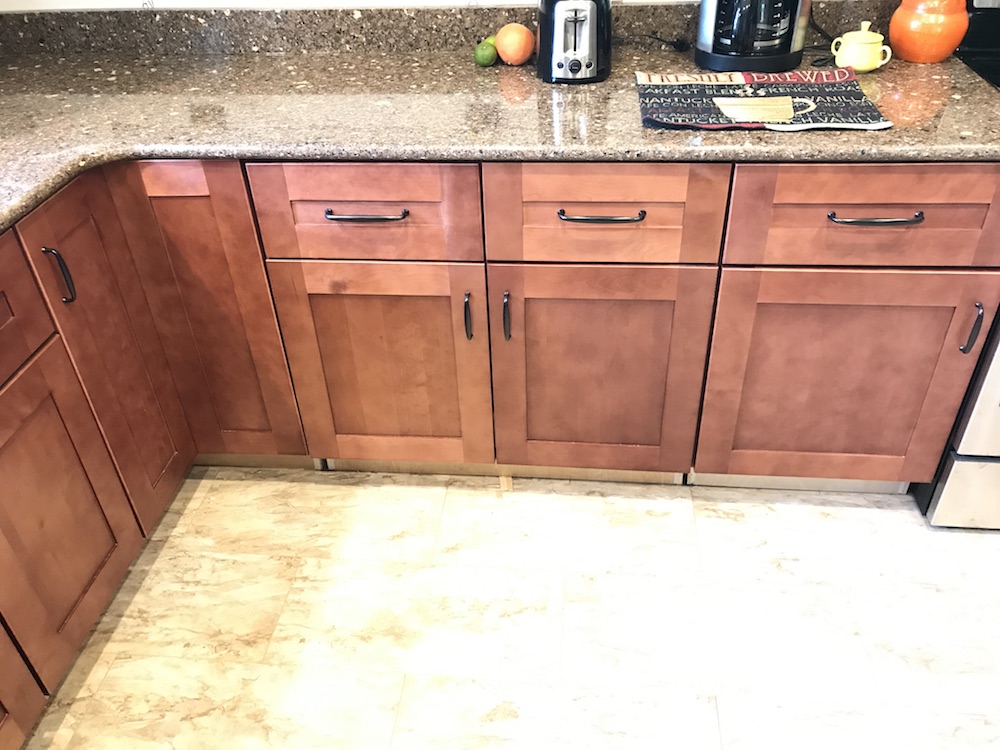
When you install kitchen cabinet hardware, it doesn’t really matter whether you do doors or drawers first. Since we had drawers in more than one size, with Shaker-style fronts that make them a little more challenging to deal with, I decided to do the drawers first, to get them out of the way.
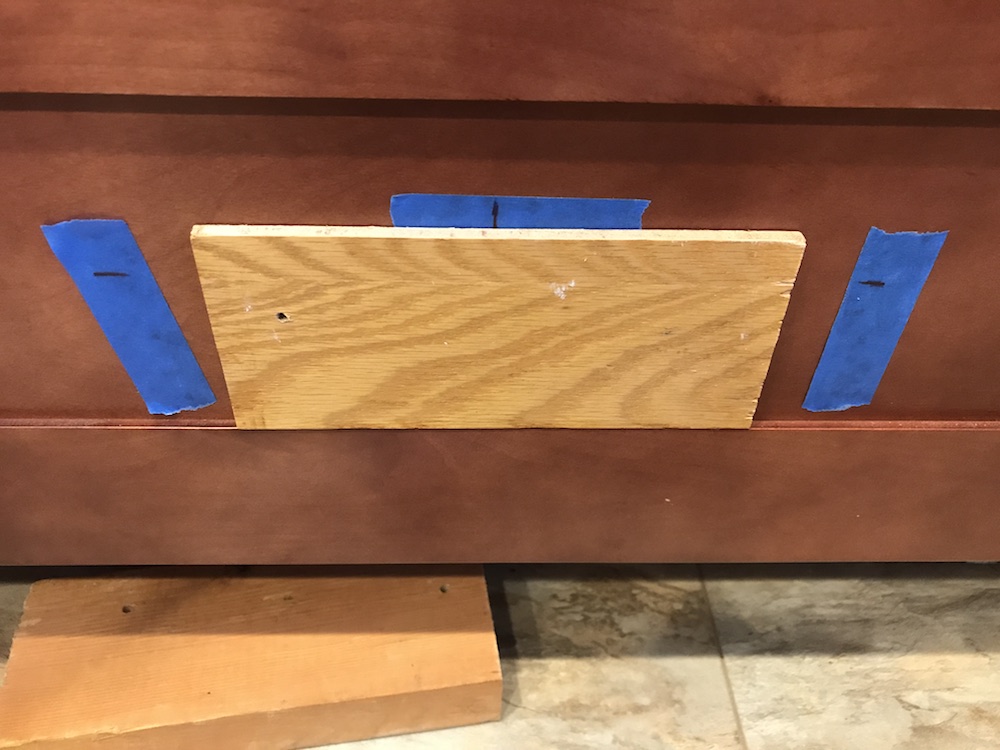
Again, drawer pulls are normally centered on the front of the drawer, and that’s where we decided to put ours. Using your tape measure, find the center of the drawer from side to side, and mark it on a piece of tape. Then find the center point of the drawer’s height, and mark it on tape on both sides, so the handle will be level when it’s installed.

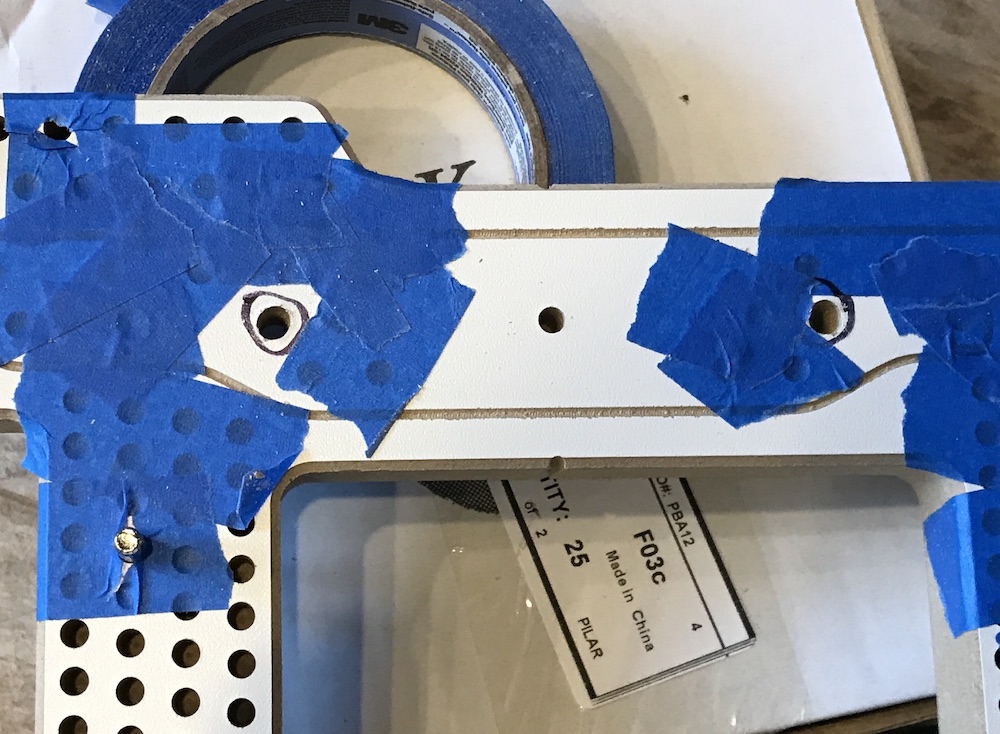
Locate the holes on the template that match the size of your handle. To help avoid unnecessary overuse of expletives during installation, the instructions for the Hardware Horse recommend taping over the holes you aren’t using, and circling the holes you want. Sound advice.
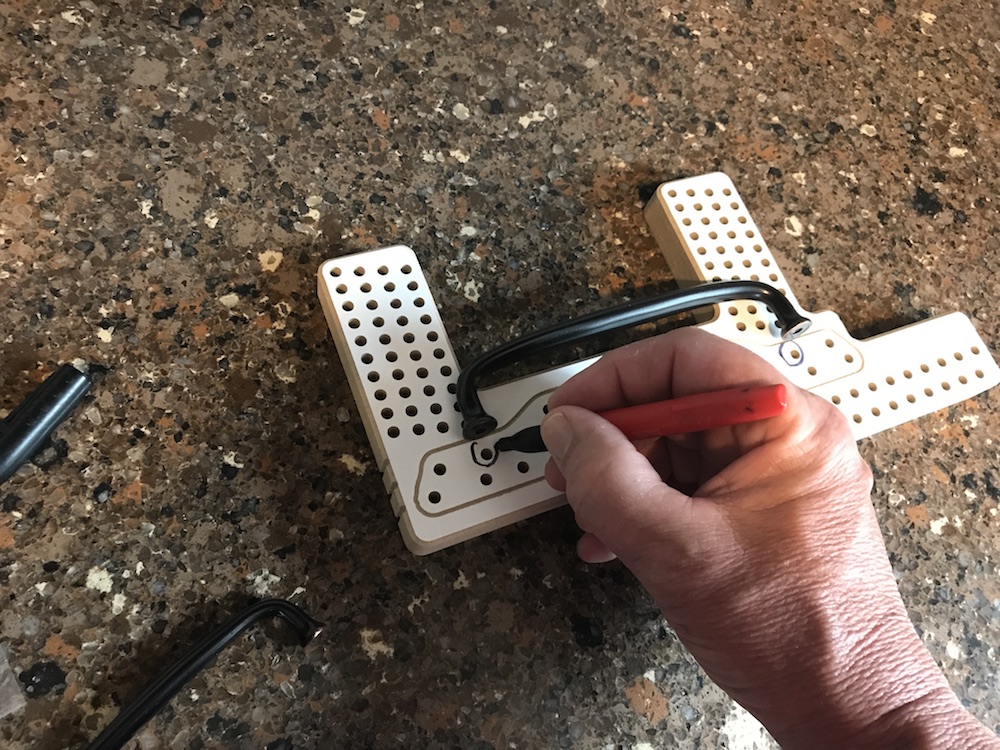
Now just locate the vertical center point of your template, and line it up with the mark you made. Most templates will have a set of adjustable pins, which will provide the perfect spacing to line up with your horizontal centering marks. If not, just line up your marks on each end with the template holes you’ll be drilling through.

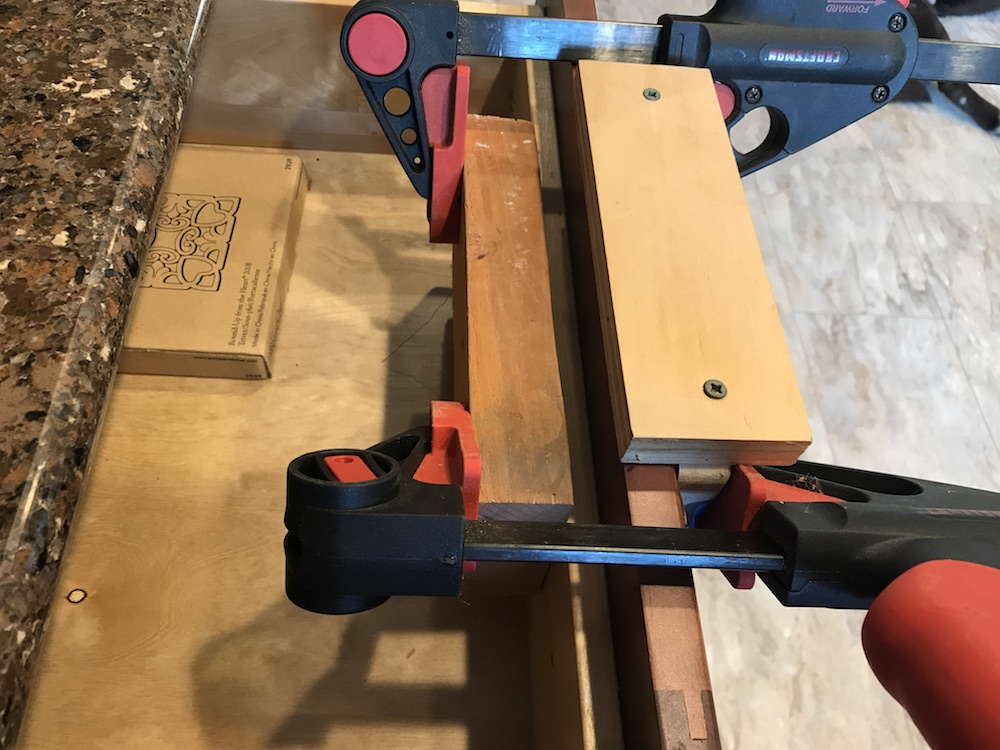
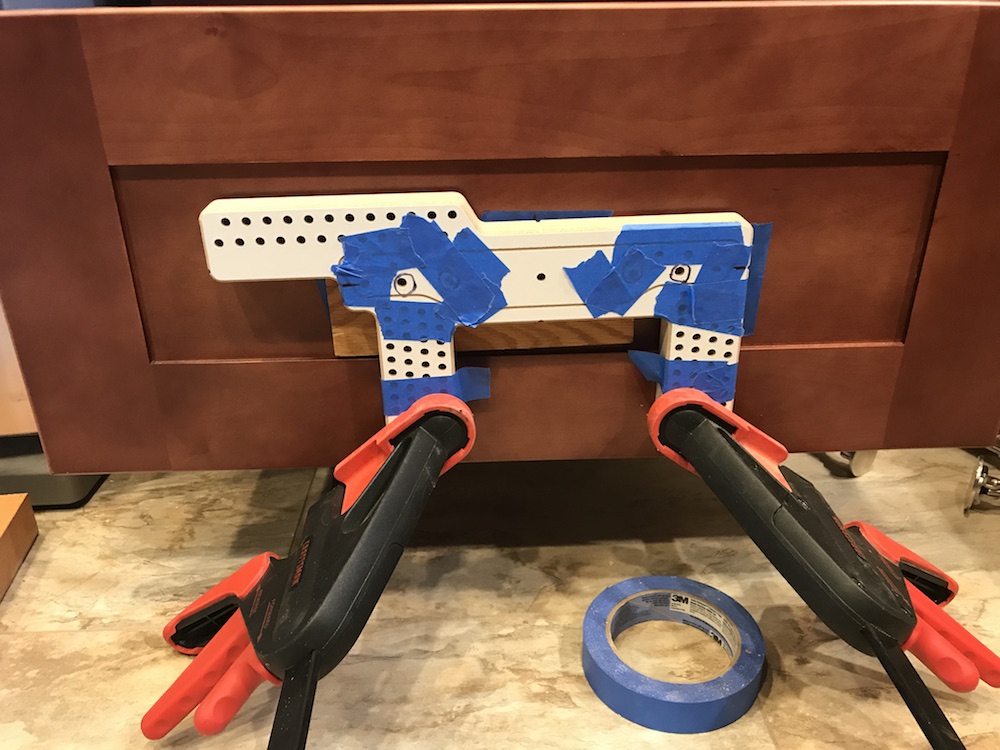
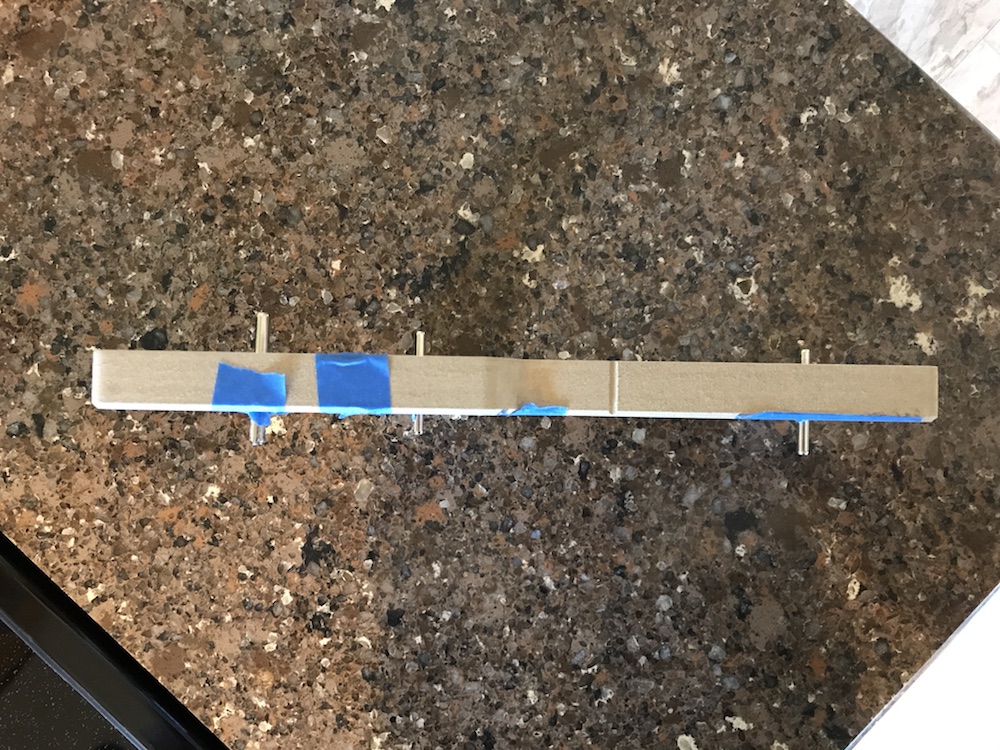
The Hardware Horse didn’t have enough of a drop to reach the center of our drawers, and still enable it to use the pre-drilled holes. I cut a piece of scrap 3/4” plywood, and screwed it into the top of the jig, and by setting the overhang on the top of the drawer front, it lined up perfectly.
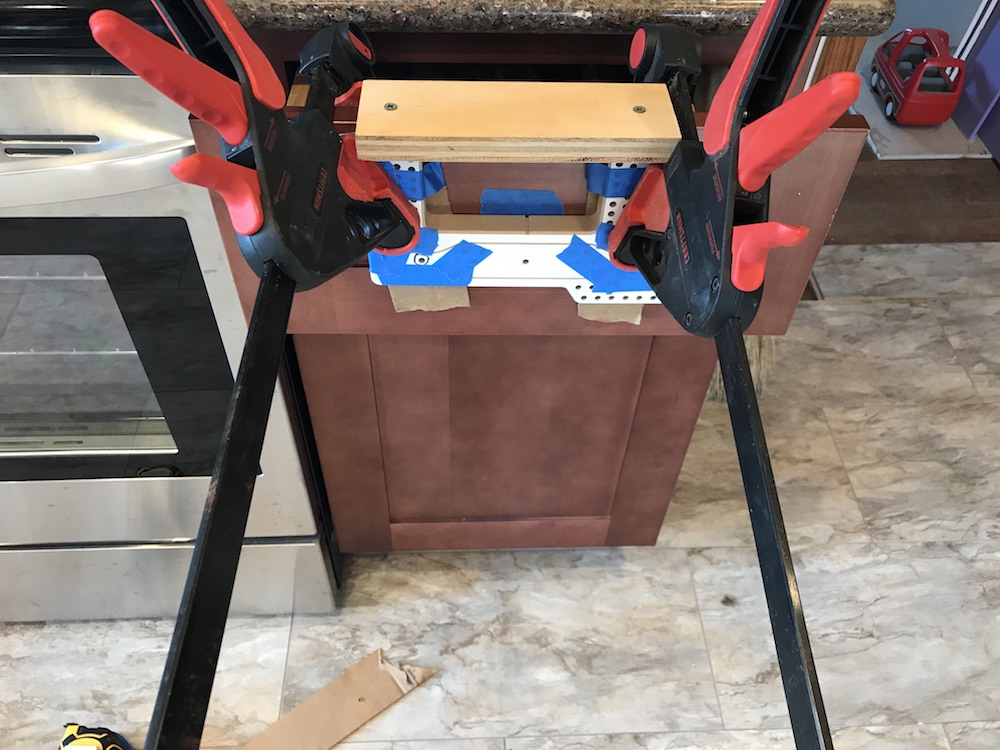
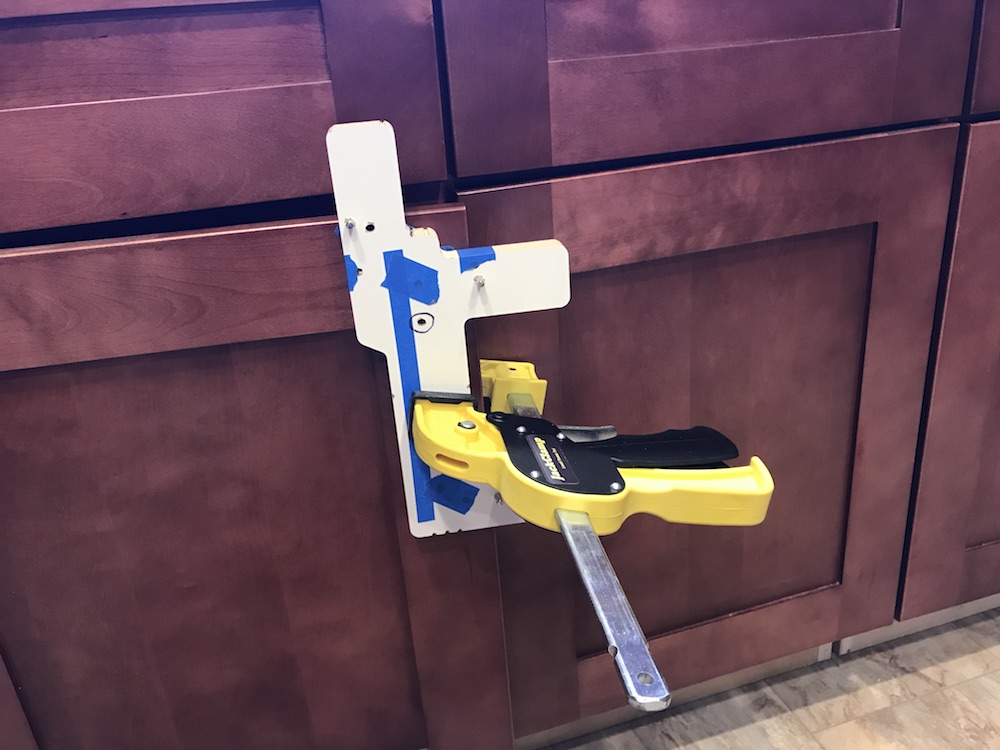
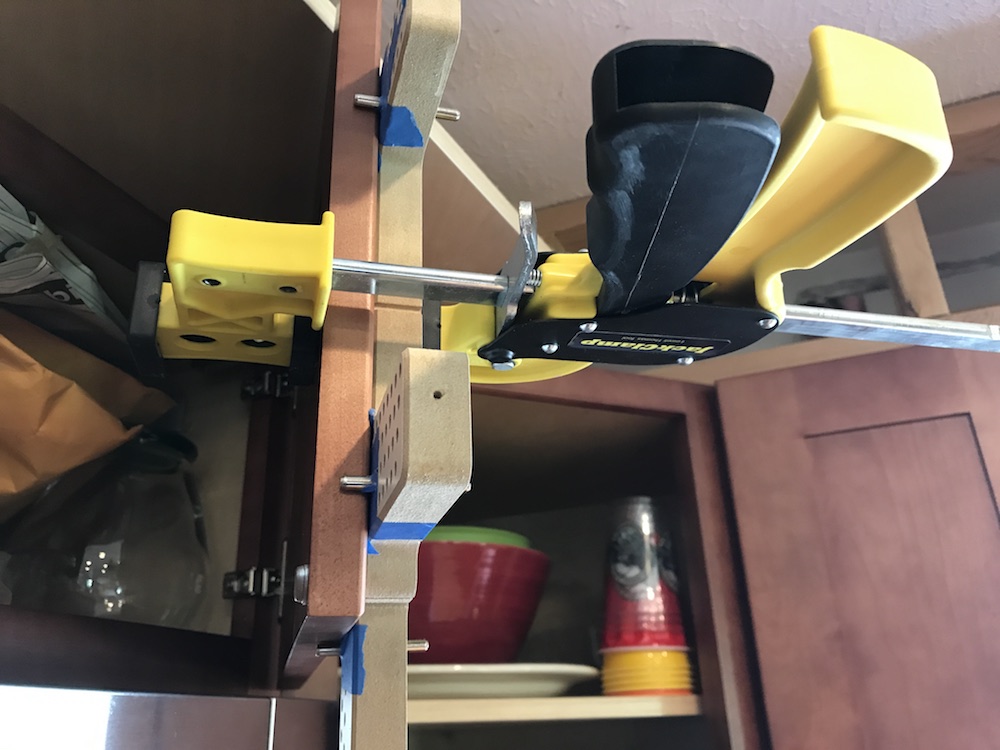
In any case, it’s a good idea to clamp the template to the drawer front before drilling; even a little movement in the template will prevent your holes from lining up with those in the handles. To prevent damage to the drawer’s surface, it’s a good idea to stick a piece of cardboard between the drawer and the template. To prevent splintering when the drill bit pops through, place a piece of scrap lumber against the back of the drawer front, where the drill bit will exit.
On our smaller drawers, the template spanned the recessed area on the front of the drawer. On the larger drawers, I took a piece of 1/4” plywood, to hold the template out flush with the edges around the recessed area.
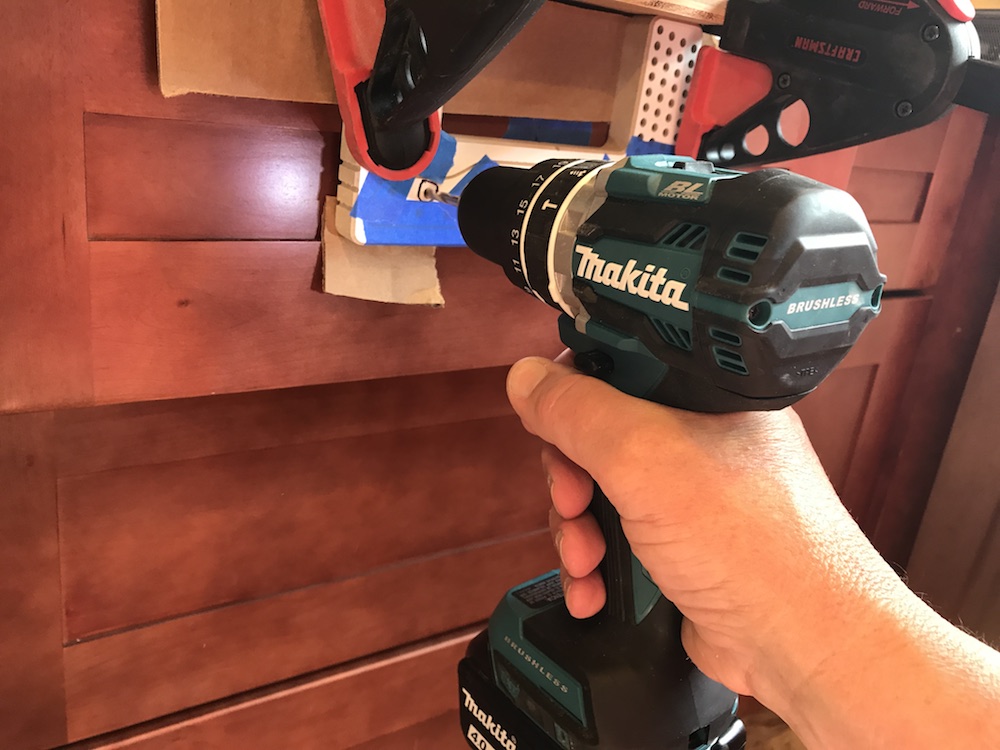
Now it’s time to pull the trigger! When drilling your holes, try to keep the drill as perpendicular as possible to the front of the drawer or door. Don’t force it; let the drill work its way smoothly through the wood. After the first holes are drilled, it’s a good idea to make sure everything is as it should be, before proceeding and drilling lots more holes. Clean off the sawdust and any little splinters of wood, and grab your handle and screws.

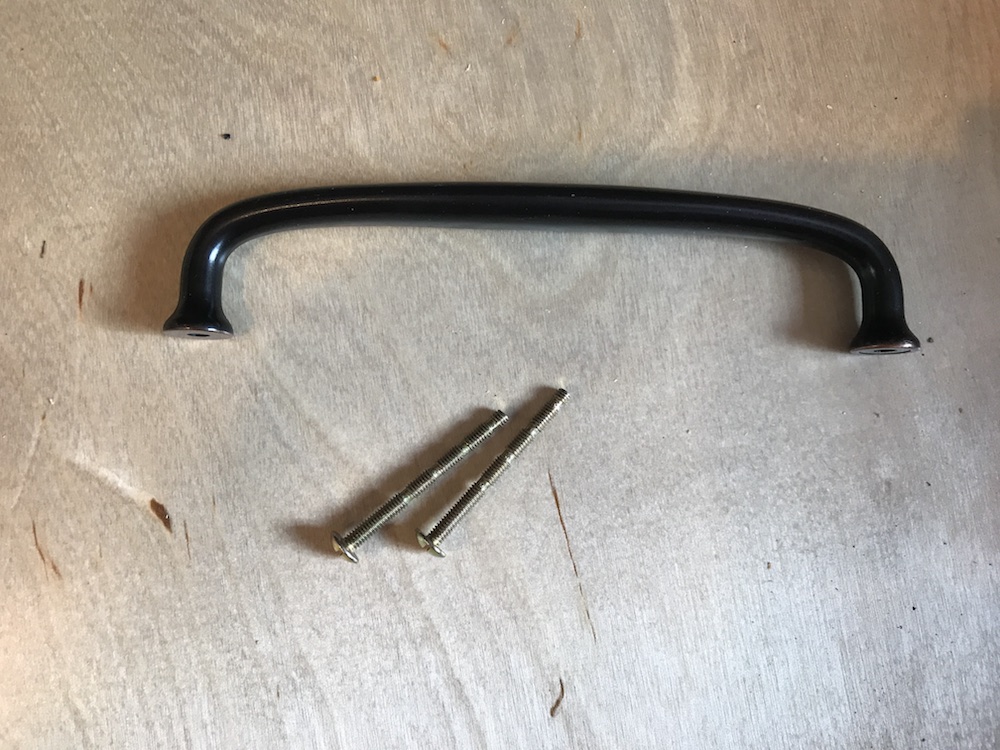
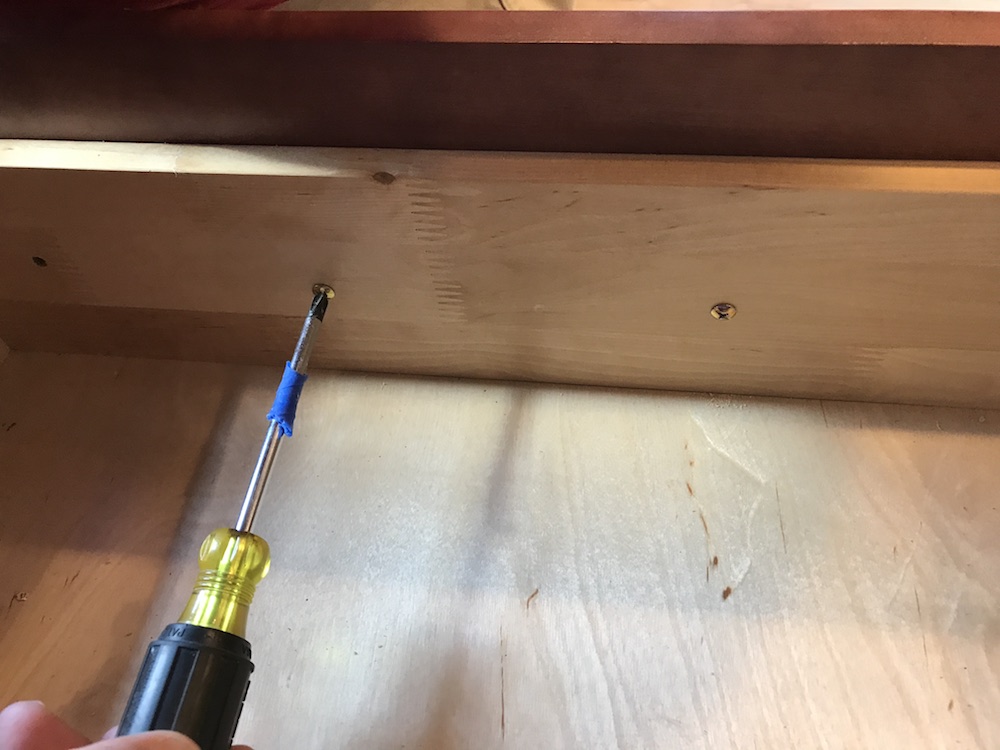
Since doors and drawers come in varying thicknesses, most hardware comes with several screws. To make it easier to install kitchen cabinet hardware, long screws are generally included, with preset points where they can be cut or snapped off.
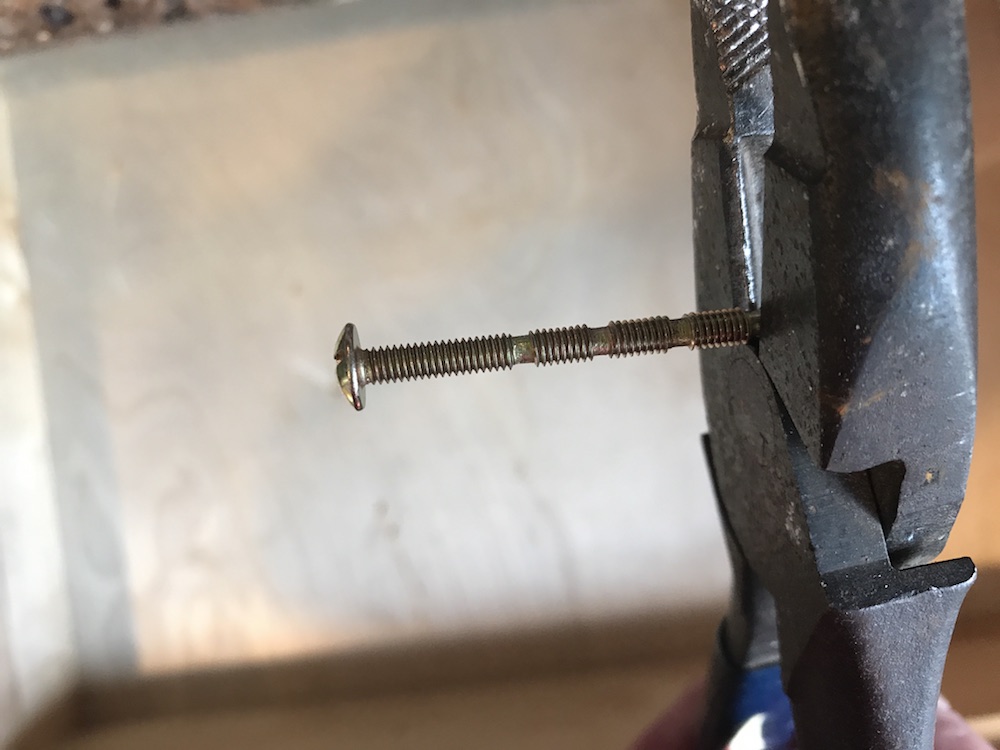
Insert a screw through the drawer front, and if it’s sticking out a quarter-inch or so, you’re set – just put the handle on and snug it up! If not, make a note of the closest cut-off point, and use a pair of electrician’s pliers or a hacksaw to cut off the extra.

Note: You may be tempted to speed up the screw installation by using a drill driver. This is not a great idea. If the drill slips and gouges the wood, you (or someone) won’t be happy. You may also end up with a stripped screw head or threads. It only takes a few seconds to do it by hand; relax and savor the moment.
How To Install Kitchen Cabinet Hardware, Part Two: The Doors
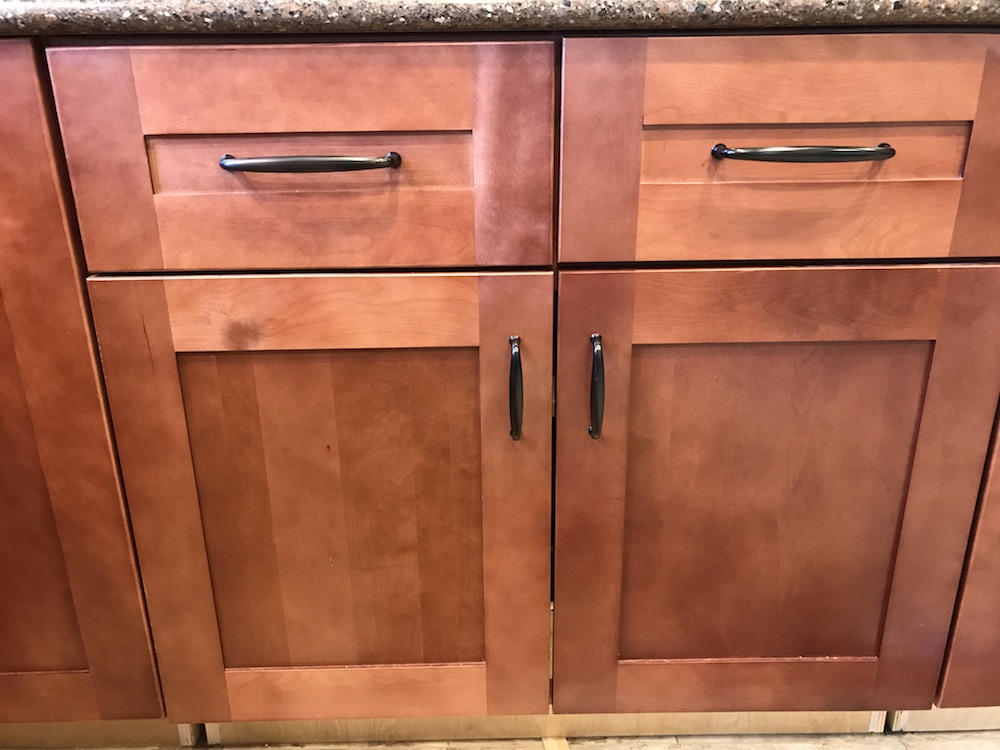
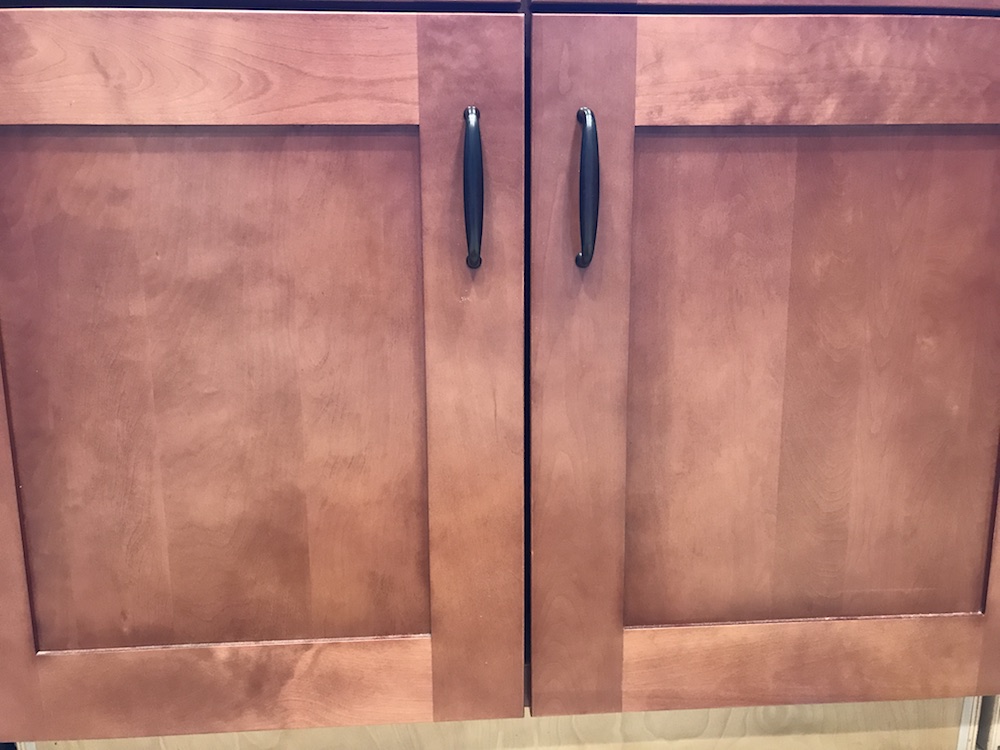
Installing the hardware on the doors is comparatively easy peasy. If you did the drawers first, the rest of your quest to install kitchen cabinet hardware should go very quickly. Again, the important part is setup. If the door has stiles, the handles are normally centered on them. They’re your doors, though, so do whatever you (or your resident “suggester”) wants. Just make sure you’ll be happy with where the handles will reside; once the holes are drilled, you’re pretty well committed.
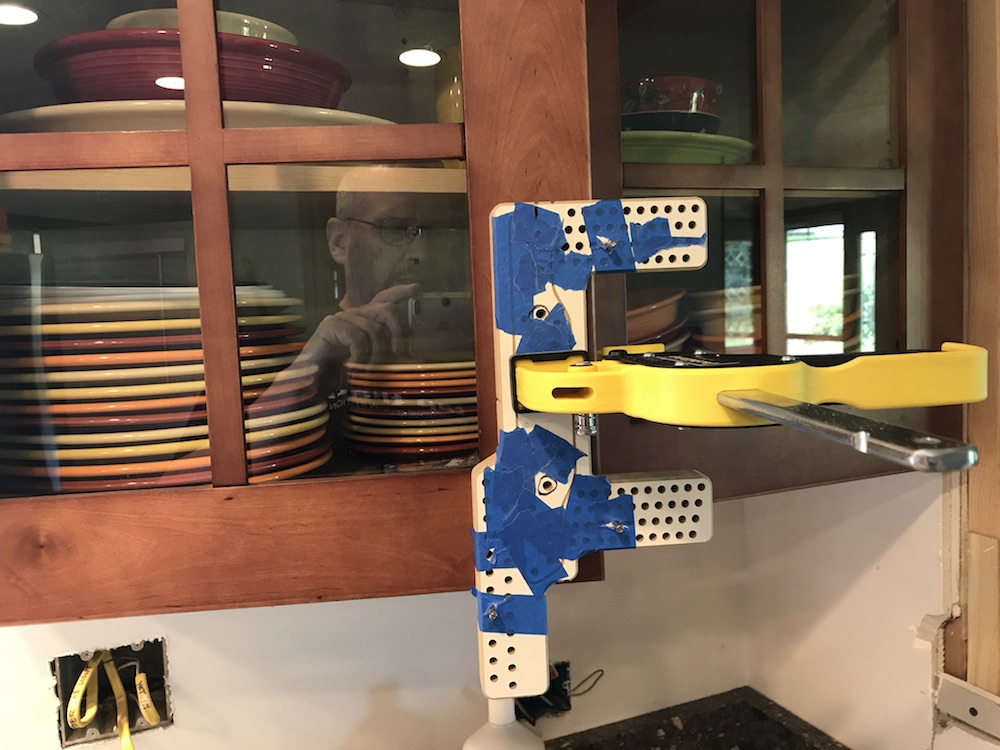
If your handles are a different size from the drawer handles, like ours were, don’t forget to set up the new spacing. And tape over the old holes!
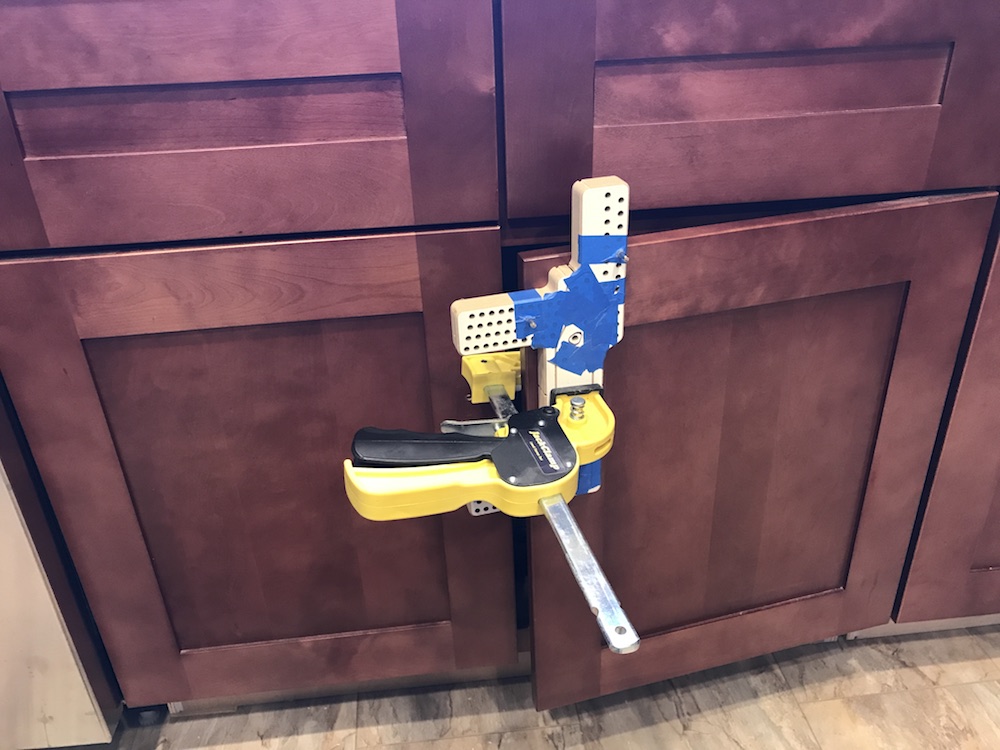
Most templates, including the Hardware Horse I used, have a set of pins or pegs to consistently locate the template. And it’s easy to switch between left and right-hand doors; just flip the template 180 degrees. Once again, clamping the jig in place will ensure your holes are right where you want ‘em.
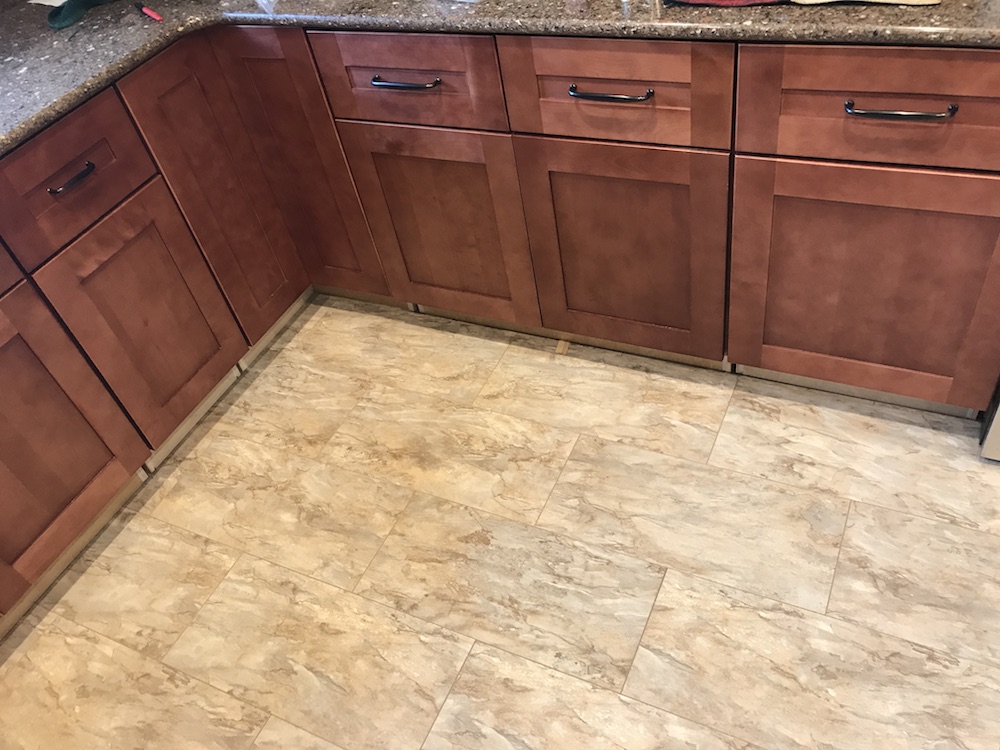
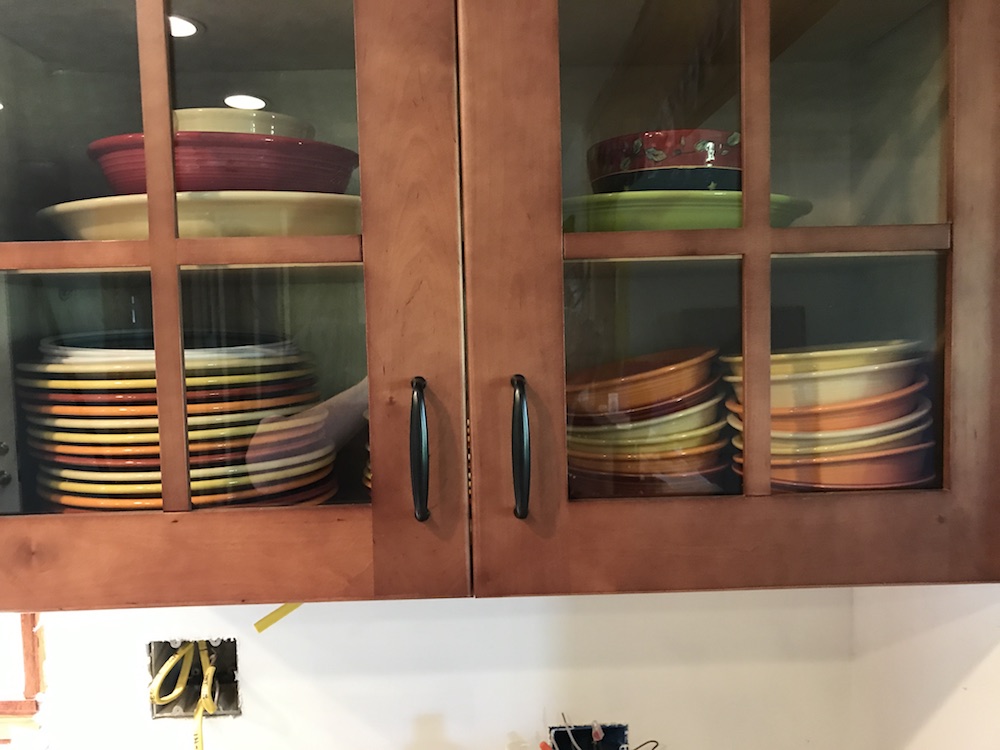
Once the holes are drilled, the handles should go on pretty quickly. Most doors are a standard thickness, and the short set of screws that come with the hardware should be just the right length to get them installed. All that’s left to do now is to tidy up, and that’s it – your “Install kitchen cabinet hardware” project is complete! Now all that’s left (in our case) is to tile the backsplash, install under-counter lights, trim the windows, install the toe-kick under the cabinets, close in the bulkhead, and paint. But that’s tomorrow’s project.
Final Thoughts As You Prepare To Install Kitchen Cabinet Hardware
Although it’s possible to install kitchen cabinet hardware without a template, you are MUCH more likely to be happy with the results if you use one. Using a jig helps ensure your holes will be spaced exactly where they need to be, and that everything will be symmetrical.
The jig I used was well designed, and fairly easy to set up and use. Having a 3/4” thick piece to drill through did a very good job of keeping the bit at a right angle to the doors and drawers, and all the holes I drilled lined up perfectly with the holes in the handles.
The template I used is made of MDF, and after repeated use will eventually get too much slop. I installed over 30 handles, and by the time I had screwed the last one in, you could see a slight rounding out of the guide holes. It still put the holes in exactly the right spot, though, and kept them at a right angle.
Pros, or anyone doing this type of work on a regular basis, will want something beefier (and and more expensive), with case hardened drill bushings. For the homeowner or DIYer who only occasionally has a batch to install, the Hardware Horse or a similar purchased or homemade jig should easily get the job done. If you have to install kitchen cabinet hardware, having a jig will most definitely boost your speed and accuracy, while cutting down on the number of special four-letter DIY words needed to complete the job. However you do it, planning your layout in advance, and taking your time when you install kitchen cabinet hardware, will ensure a great-looking set of cabinets!
There are MANY online suppliers for cabinet hardware. We bought ours from Top Knobs
You can find our sponsor Rockler’s Deluxe Drawer Pull Jig It online, or in Rockler stores, for around $40:
The Hardware Horse jig I used is around $20: