

The term “game changer” is often thrown around when new tools come out. It’s a grandiose way of saying it does something (in this case, makes drawers and other open boxes) easier, faster or better in some fundamental way. Plain and simple, the Miter Fold Dado Set Plus is a game changer. We’ve been looking forward to this unique new table saw dado blade set since it was in development. And now, thanks to Rockler, we can try it out for ourselves. We are not disappointed!
What Is The Rockler Miter Fold Dado Set Plus?
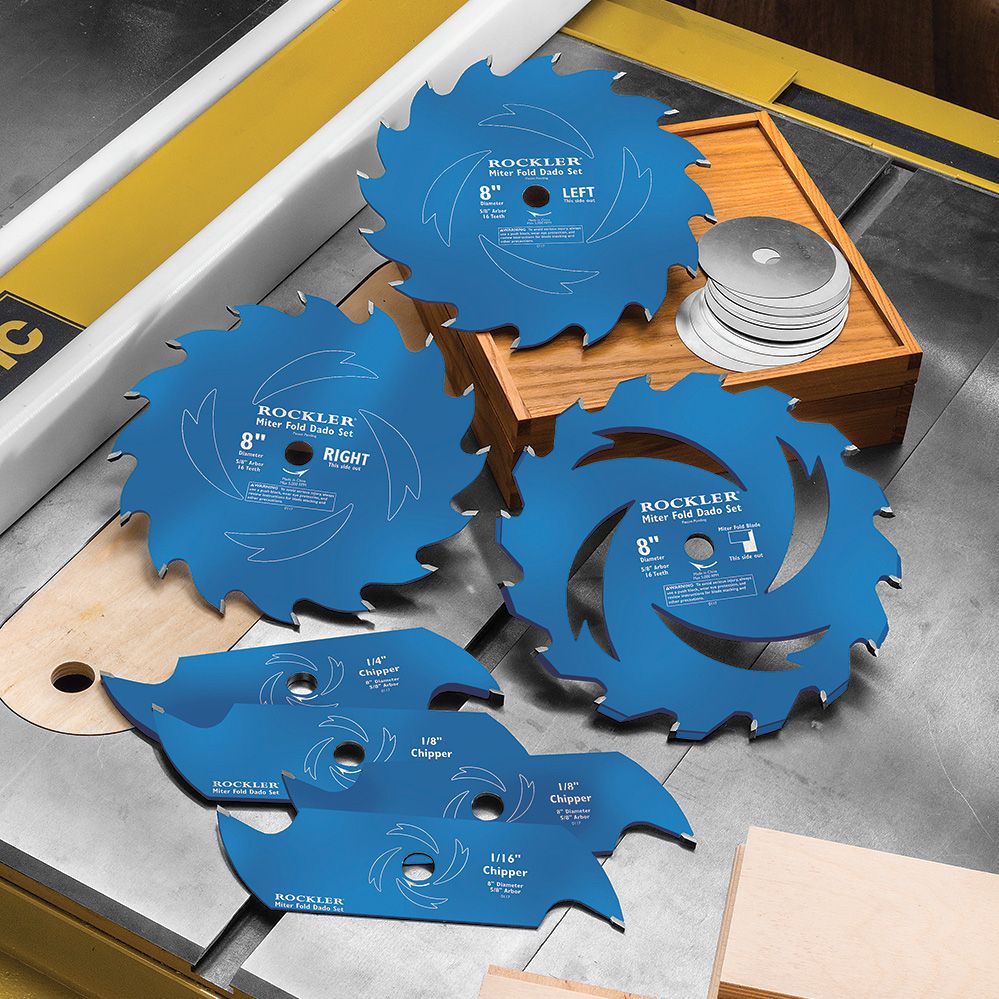
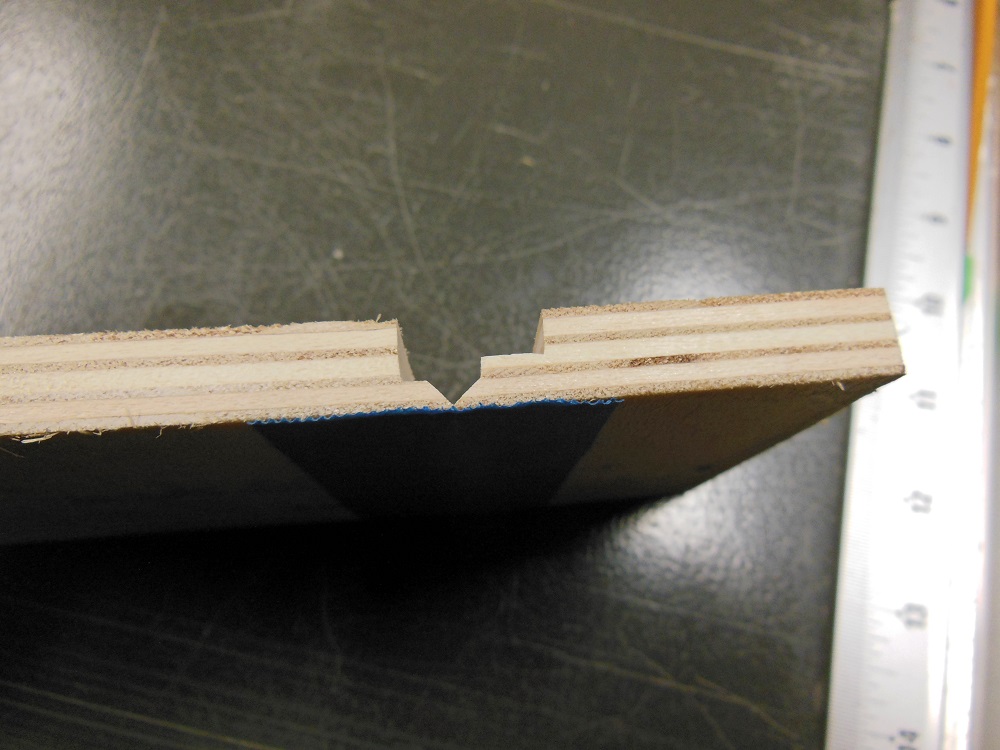
The Miter Fold Dado Set Plus is a specialized carbide toothed dado stack that simplifies the joinery process when building drawer boxes. With it, you can make a drawer box from a single workpiece; you just dado, glue, fold and clamp.

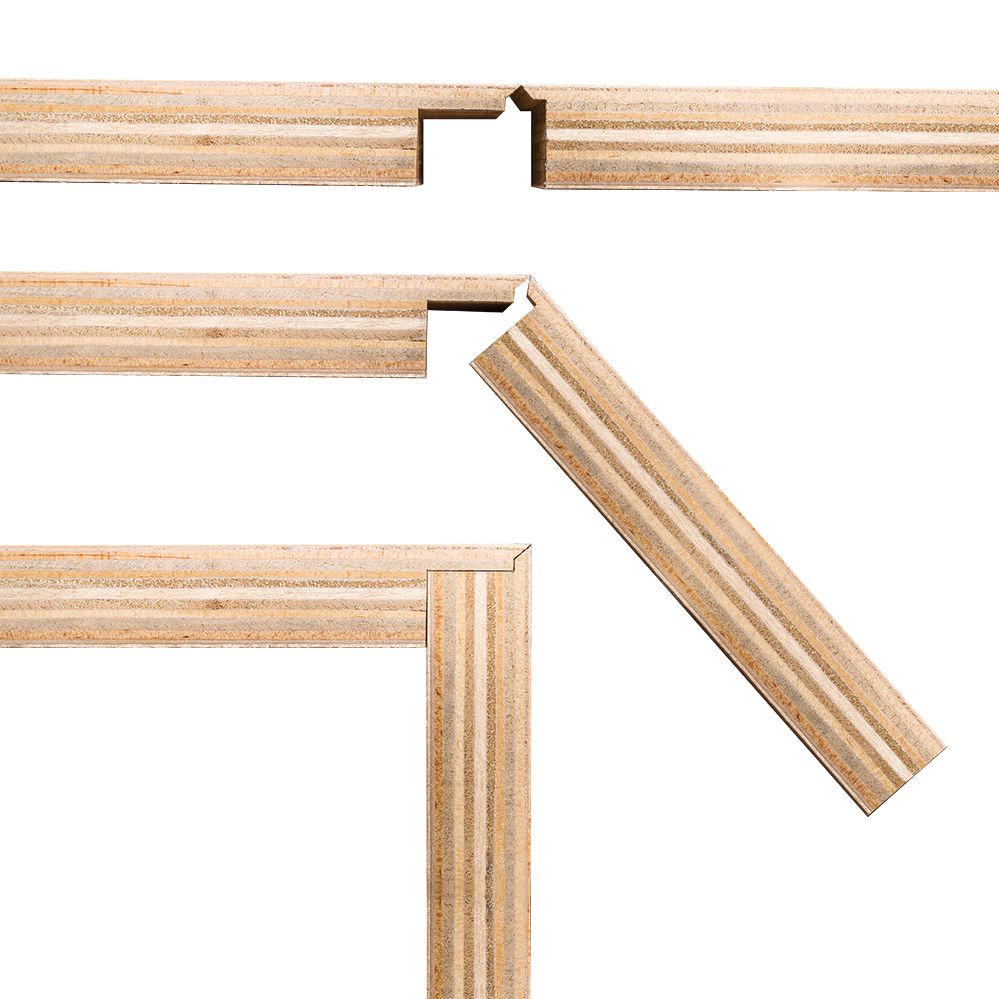
To build a drawer box, you’d typically make five separate parts: four sides and a bottom. With a Miter Fold Dado Set, you essentially reduce that number to one and end up with the “same” box in the end. And since the joints are self aligning, there’s no slipping, sliding or fiddling around during glue-up.
Some Things You Miters Well Know Before Buying
We’ll dive into the miter folding magic in a moment. But first, let’s knock out some of the common questions and important details you should know before buying your own Miter Fold Dado Set Plus.
* Arbor and motor requirements – You will need a cabinet or contractor grade table saw with a 5/8” arbor and 1-1/2 HP or larger motor. DO NOT attempt to use it with a radial arm saw, miter saw, circular saw or portable jobsite table saw!
* The Miter Fold Dado Set can be used with plywood and solid hardwood from just under 1/4” up to 7/8” in thickness. However, the actual length of your saw’s arbor may limit the maximum to less than 7/8”. For example, the arbor on my Ridgid R4512 (a popular home workshop table saw) is only long enough to miter fold material up to 5/8” in thickness, which is plenty for most drawers.
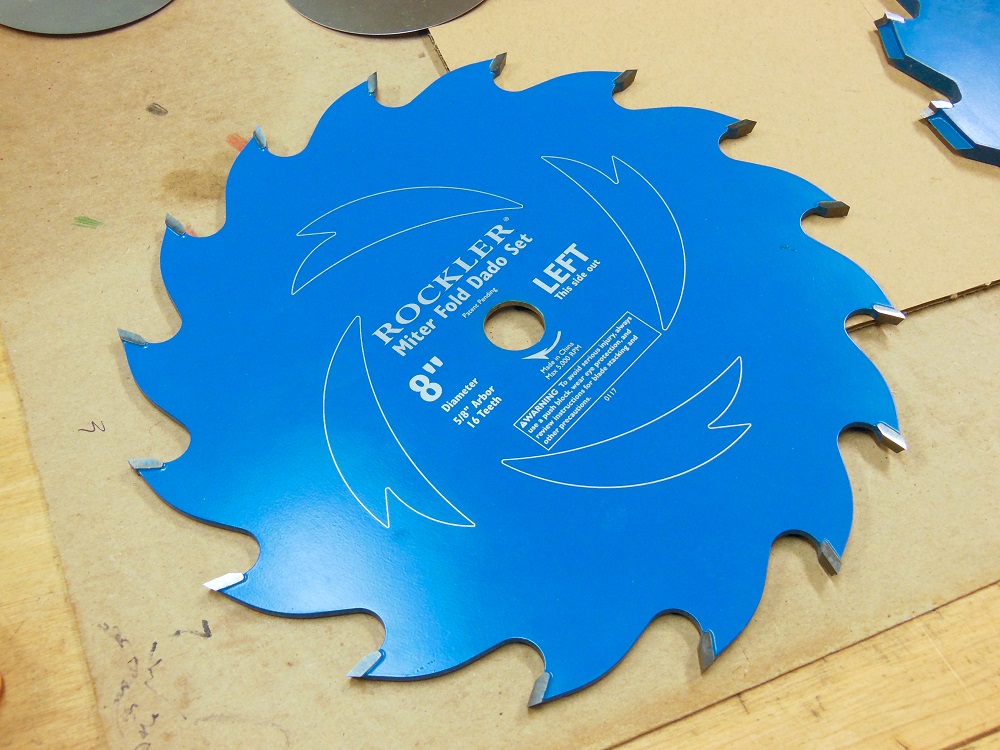
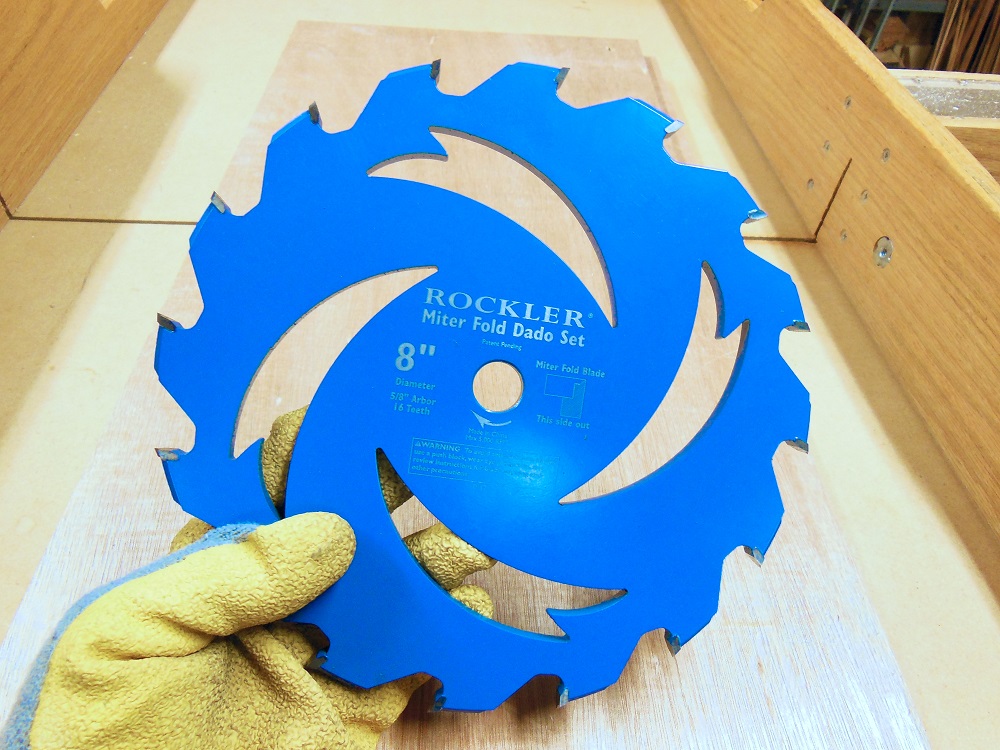
* Nominal size – This is an 8” dado stack, but the beveled teeth on the two outer blades protrude slightly beyond 8”. And the points of the specialty Miter Fold blade span nearly 8-1/2” at the widest.
* Unfortunately, the Miter Fold Dado Set is not compatible with SawStop or other flesh sensing table saws. The diameter of the specialty blade is too large to clear an 8” dado brake cartridge.
* Yes, the blades can be resharpened. Rockler recommends sending them to an authorized sharpening service, but they do have a downloadable guide for those inclined to do so themselves. The secret? It’s done exactly the same way you’d sharpen any other table saw blade (by honing only the face of each tooth).
* The Miter Fold Dado Set can also be used as a regular dado stack to cut traditional dadoes, grooves and rabbets ranging from 1/4” – 7/8” wide. (When using the set in this mode, the Ridgid R4512’s arbor allows for a maximum cut width of 13/16”.)
* It’s recommended you make boxes no taller than 6” (outside dimension) with the Miter Fold Dado Set.
* Miter Fold Dado Set “Plus”? Plus what? Plus you get to brag to your friends that your dado stack is cooler than theirs; that’s what! Actually, the “plus” refers to the fact that Rockler upgraded the product shortly after launch. The original release set was bare, silvery steel. But then they pulled a +1 by adding a non-stick coating (and their signature blue) to reduce pitch build-up and burn. I looks a lot nicer now too.
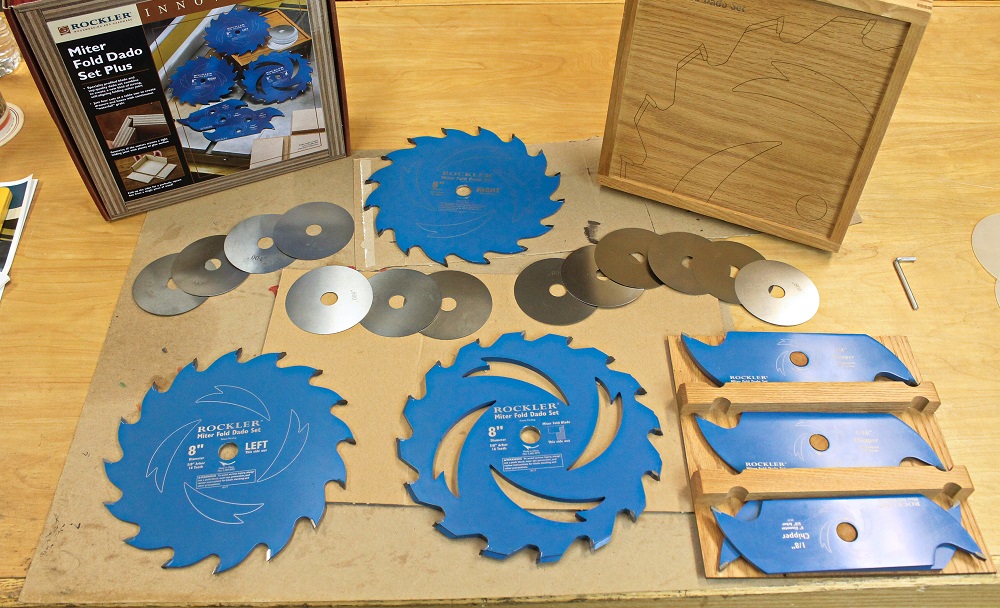
Unboxing The Miter Fold Dado Set Plus
So let’s dig into this thing!

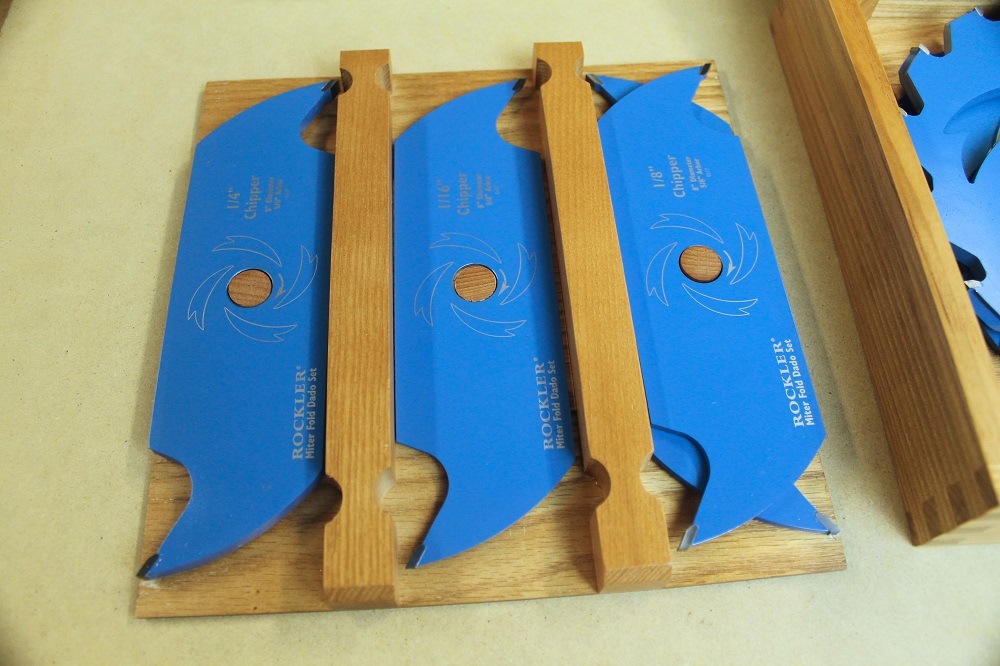
Right out of the box, the blades were incredibly sharp. So sharp, in fact, that they were initially hard to handle without gloves. The three full plate blades have sixteen teeth; the chippers have two.
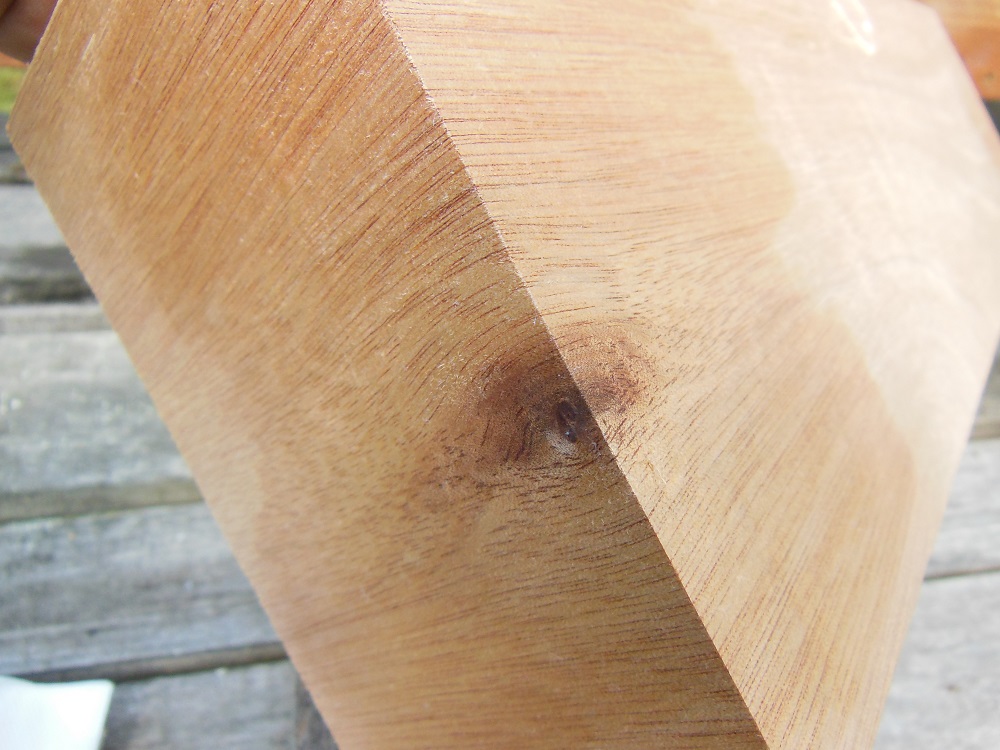
I made utility drawer boxes out of some low grade plywood salvaged from shipping pallets and had a little cross-grain tearout on the exits of a few cuts. But that would be the case with any dado stack (unless you use a backer piece). I made some test cuts in better quality plywood and they were much cleaner.
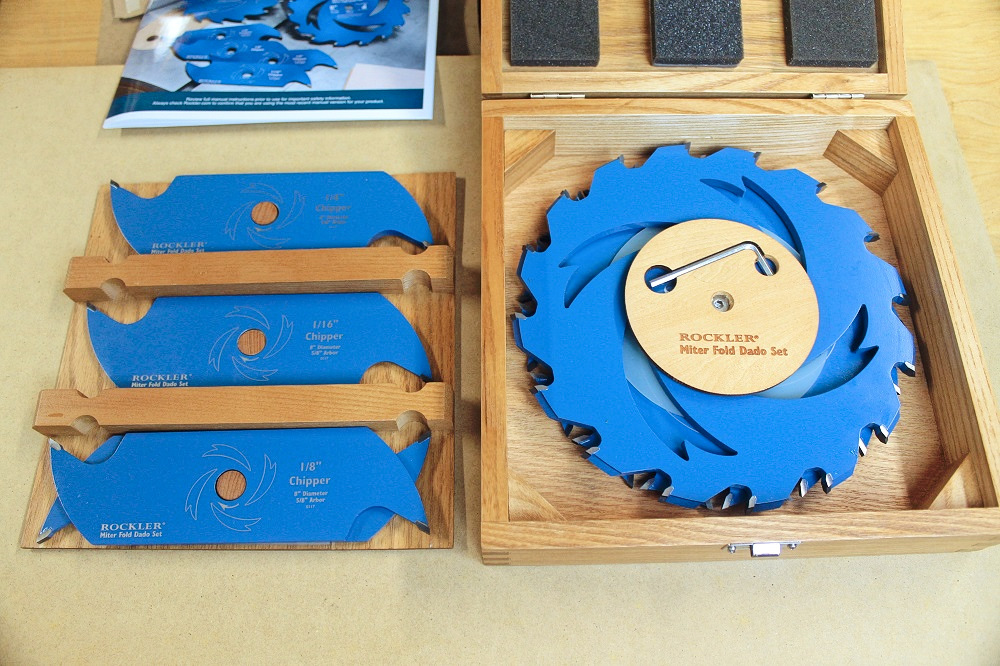
Aside from the fact that some of the internal box parts had to be re-glued upon opening (and I’m not the only one who’s had to do so), the overall box is quite sturdy and cradles the parts nicely.

Insert Zero Clearance Pun Here
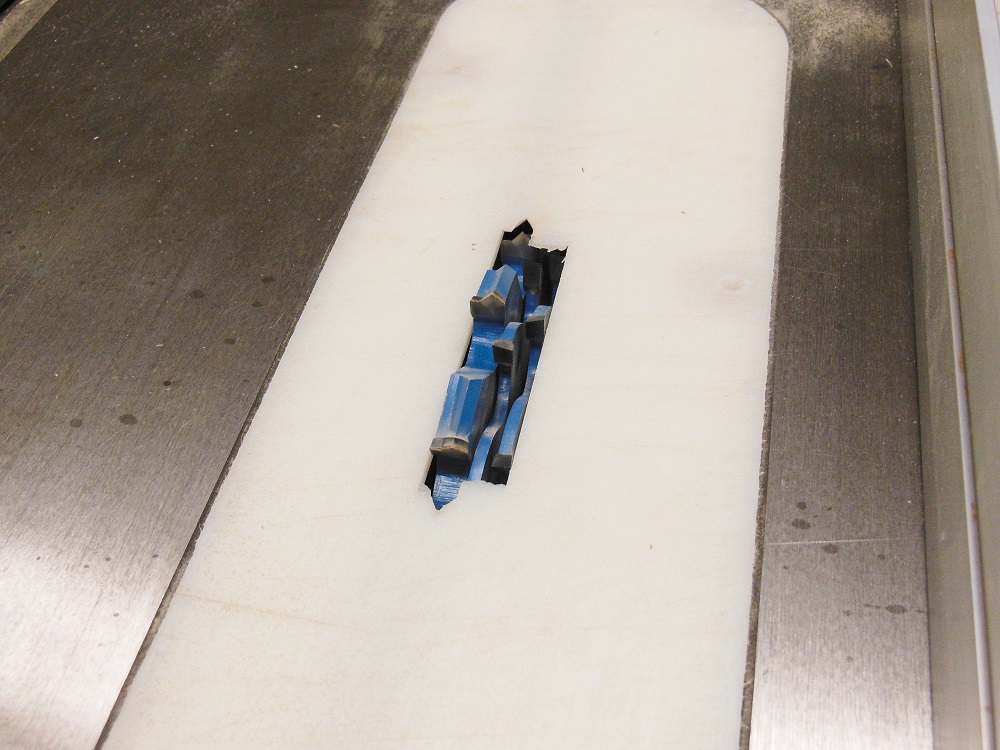
It’s common practice to use a zero clearance throat plate with a dado stack. Rockler urges you to do so with your Miter Fold Dado Set as well. You can find blank inserts for most table saws online. Or make your own by following the step-by-step procedure beginning on page 8 of the Miter Fold Dado Set Plus instruction manual.
Settin’ ‘Em Up And Knockin’ ‘Em Out With Miter Fold Dado Set Plus
You will have had to already cut your workpieces to the correct overall dimensions before installing the Miter Fold Dado Set. If you have more than one table saw – as do many production shops – even better. Once your Miter Fold is set up, you can knock out lots of boxes in no time.
Setup is a little more finicky than with a regular dado stack, setting the proper depth of cut is just as important as dialing in the exact width. Measure the thickness of your workpiece to the nearest 1/64″ then refer to the setup chart in the manual (or Rockler’s online setup calculator) to determine the required combination of blades, chippers and shims. Make a test cut and tweak if necessary.

The chart (and careful measurement) got me dead on my first attempt. Next, I tried some slightly thinner plywood, again following the chart. This time I zeroed in on the exact width by shimming. Same with a third thickness.
Let’s Put This Thing To The Test! – Miter Fold Dado Set Plus
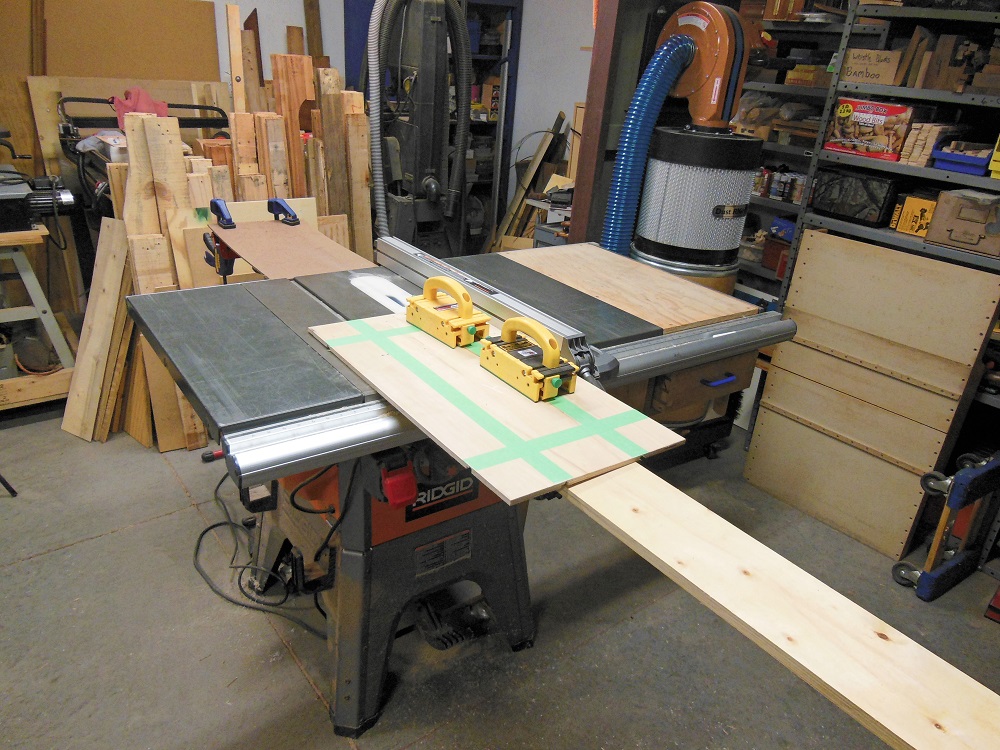
You need sufficient workpiece support on the infeed, outfeed and any table overhang. For larger drawers and boxes, you may need to enlist a helper.
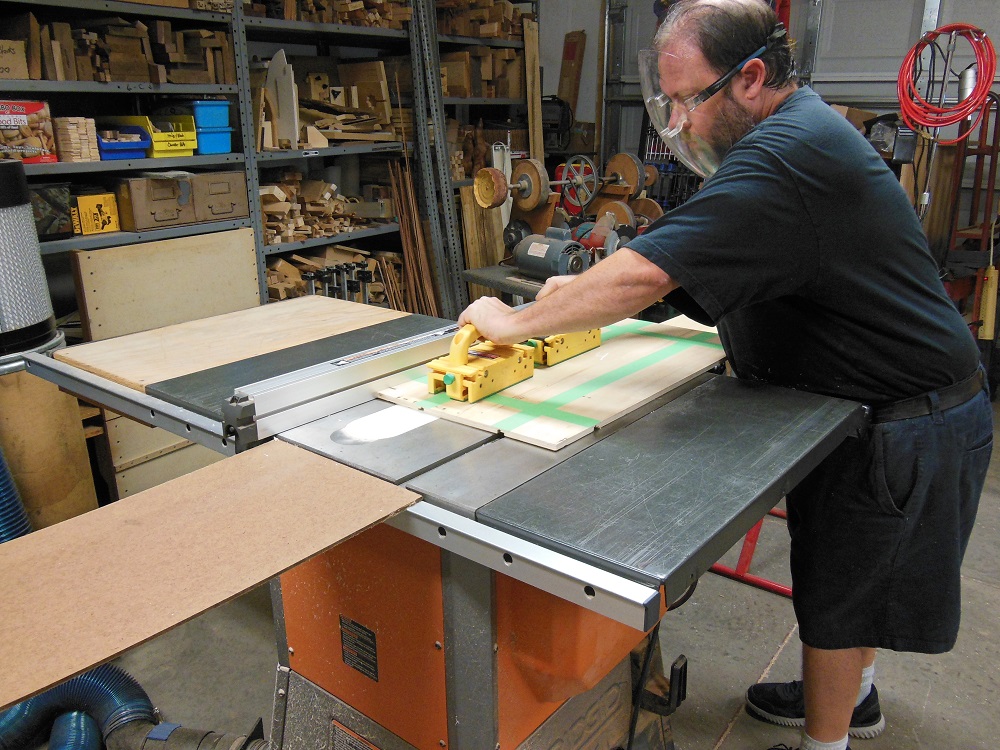
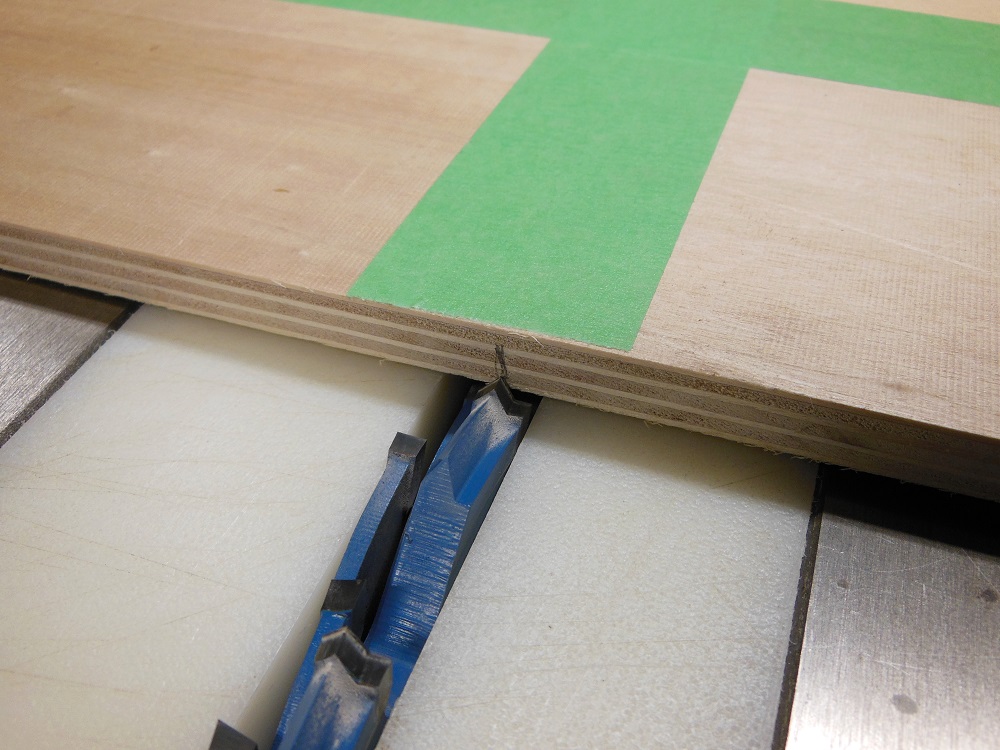
It’s crucial that the entire length of your cuts be within 1/32” of breaking through. So you should make a second, clean-up pass to get any areas that might not have been pressed sufficiently flat the first time. It sounds like extra work, but it adds very little time to the process.
You Gotta Know When To Fold Them – When The Cutting’s Done
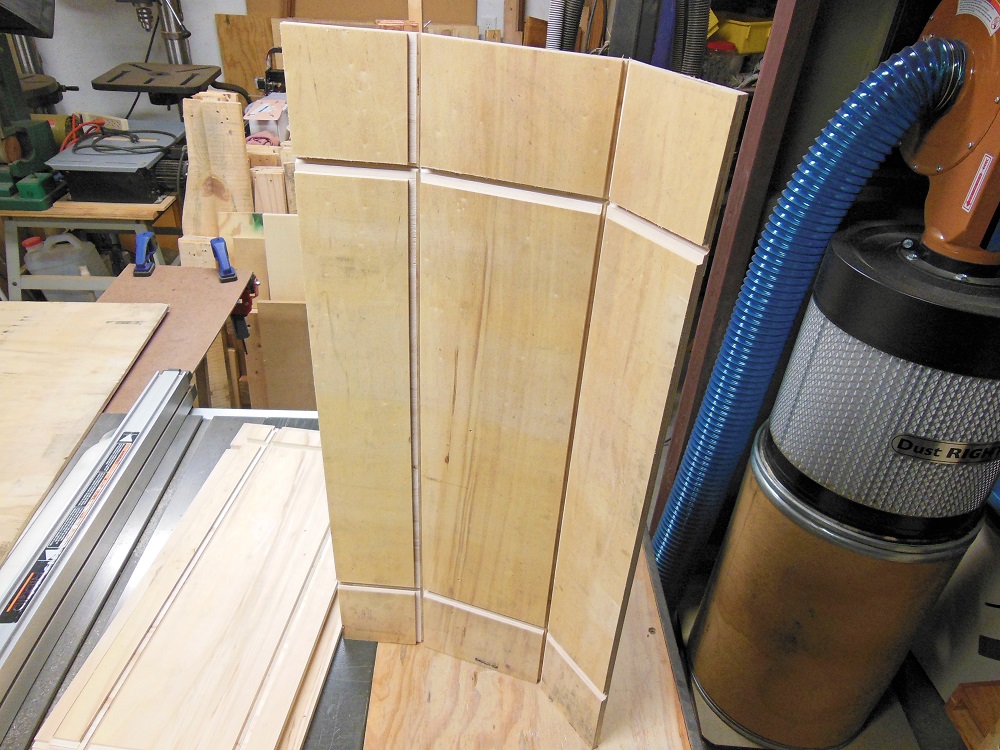
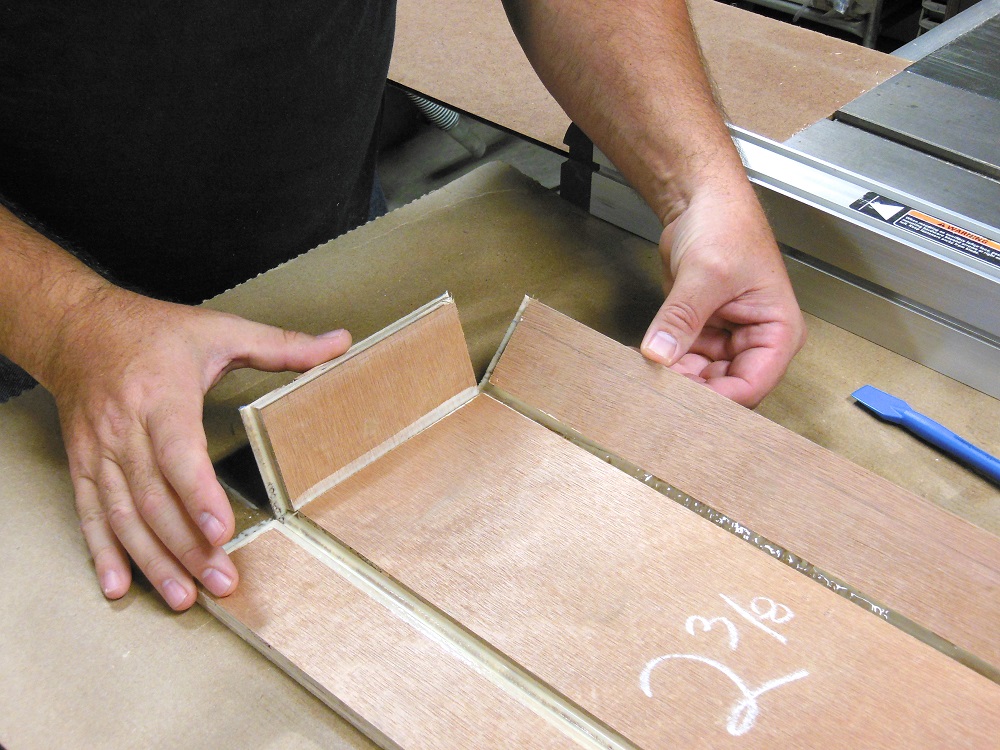
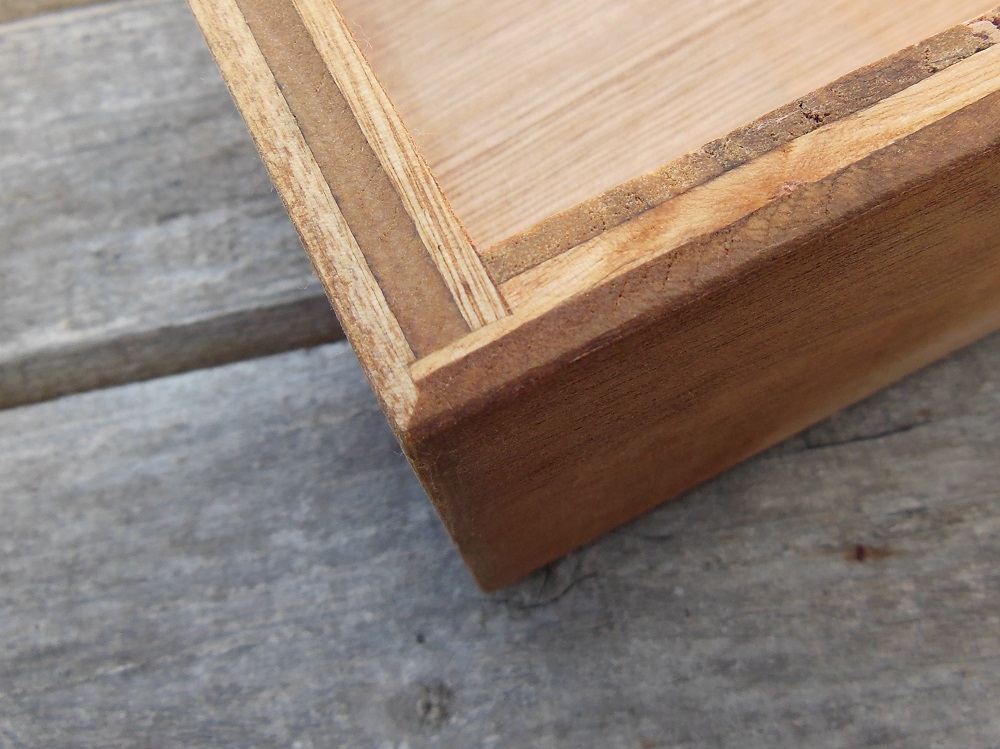
After dadoing, you have to trim away and discard the four corners. A razor knife naturally follows the cut, making this step quick and painless.

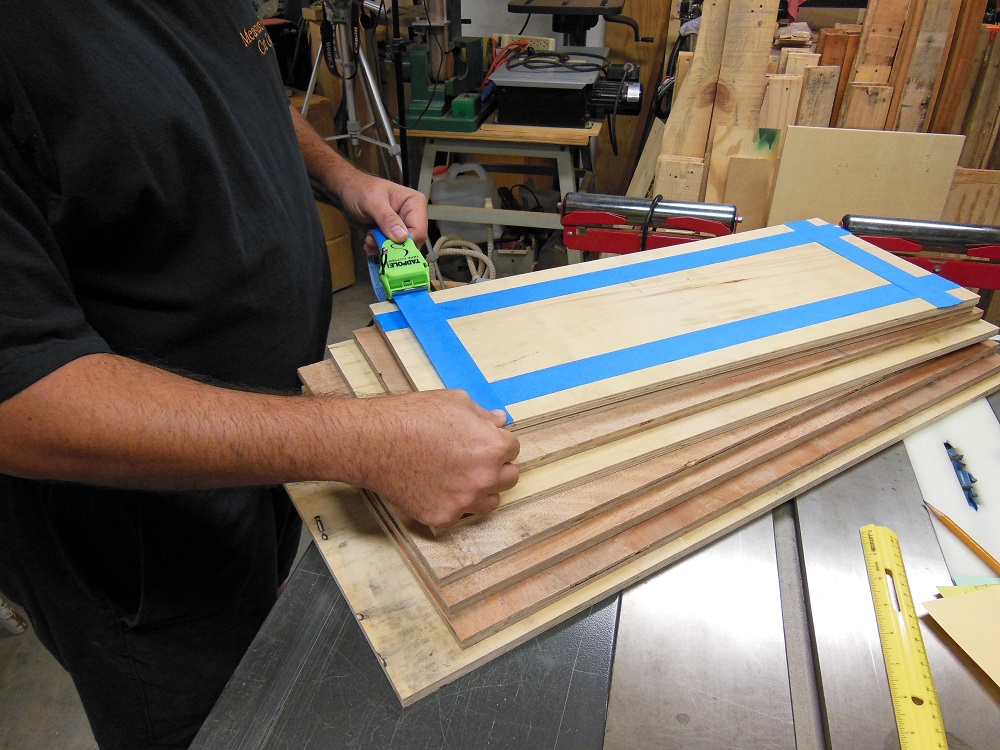
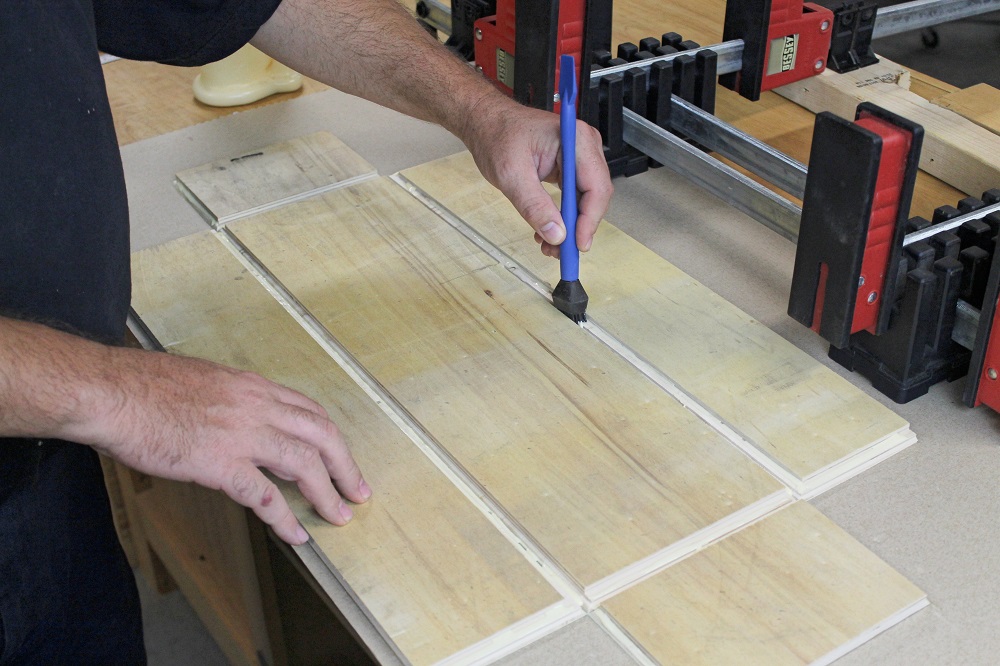
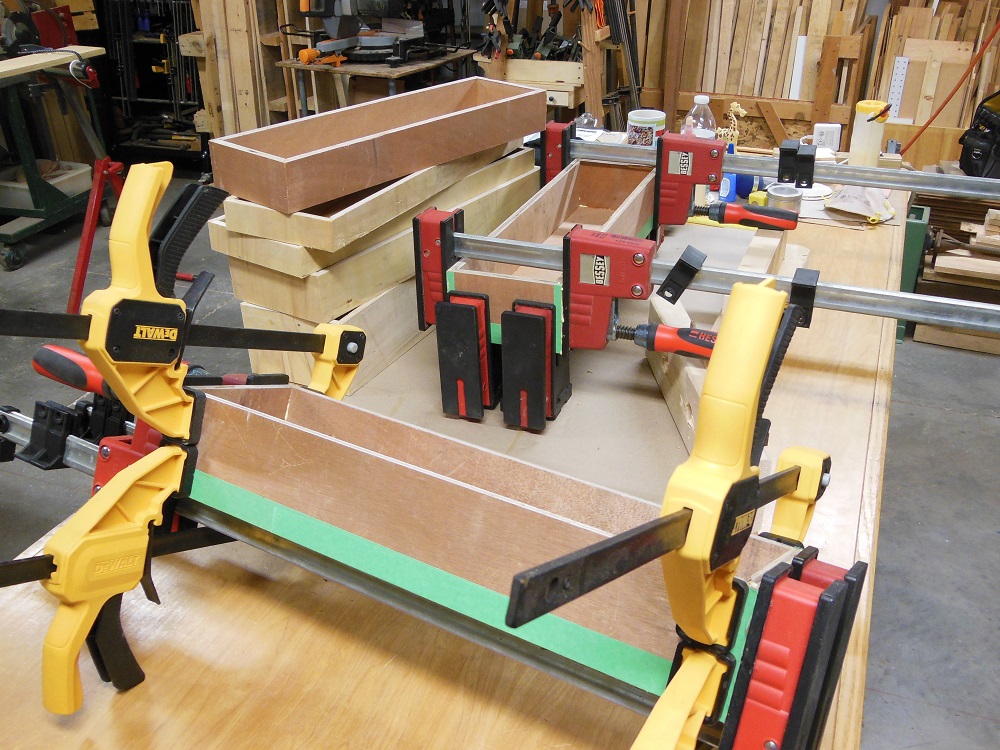
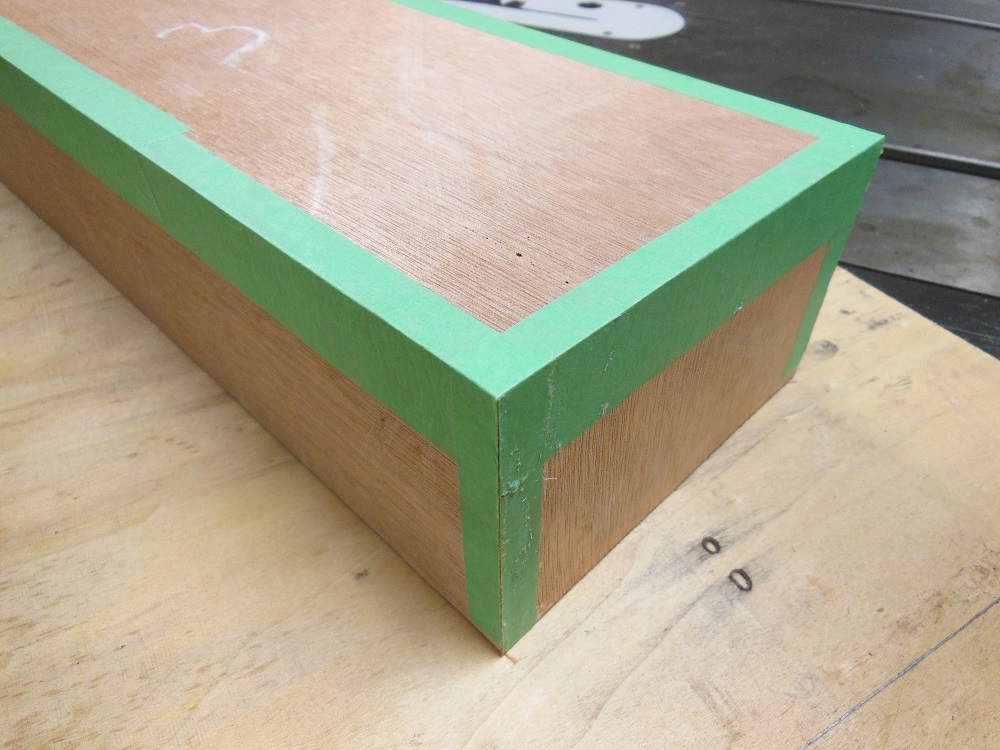
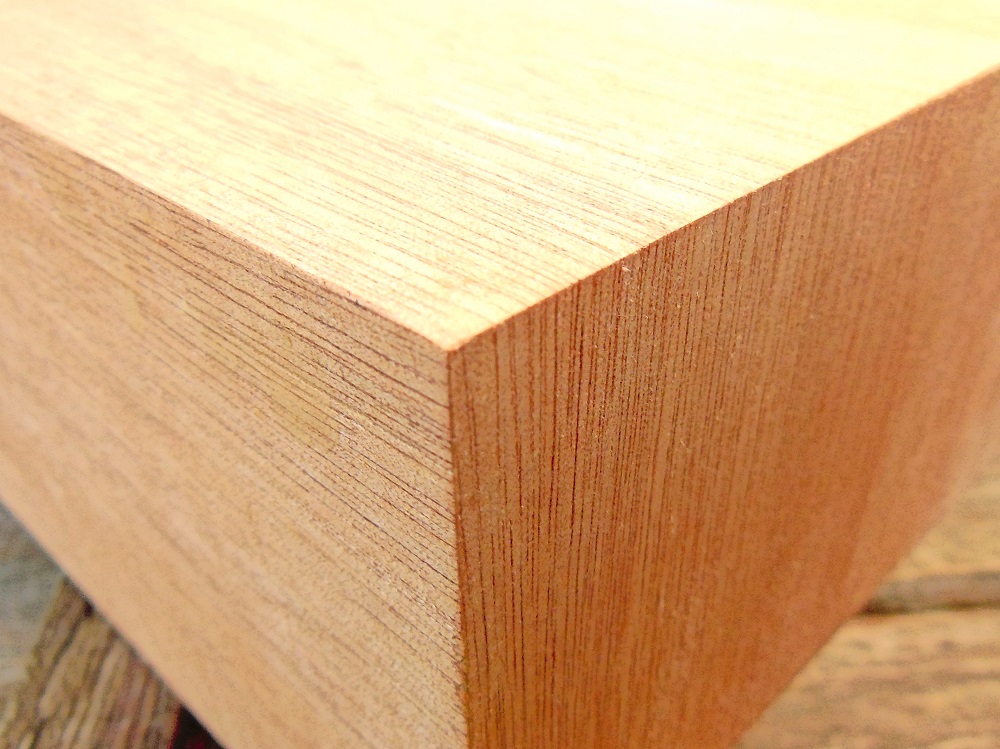
Glue-ups are incredibly simple: smear a little stickum into the dadoes, then fold and clamp. The bottom and four sides all come together at once.
A Delightful Dadoing Doodad
https://www.instagram.com/p/ByNjtf2A-Lr/
It might look intimidating at first, but using the Miter Fold Dado Set Plus ends up being pretty easy once you wrap your head around it. However, it is a niche product that might exceed the blade budget of your average DIYer needing a couple drawers. But in a production shop – where time is money – it can be a valuable time (and money) saving tool.
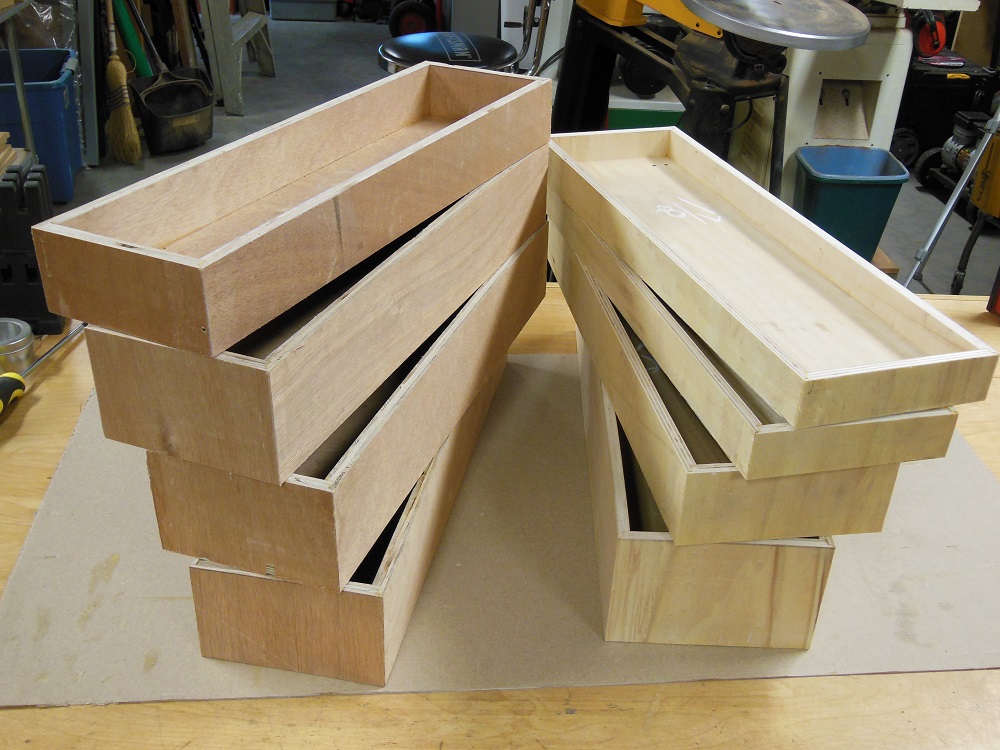
I’ve heard and read comments by some who think that having the bottom of a drawer the same thickness as the sides is overkill or wasteful. But is a 3/8” drawer bottom really overkill? Or wasteful? It’s unlikely to sag; that’s for sure. Admittedly, while 3/8” plywood was suitable for the drawers I needed, that’s not always the case. Many are made with sides up to twice that thickness.
Large drawers with 3/4” bottoms will definitely be heavier and increase your plywood bill. But I suspect the target user would find that the man-hours saved will often more than make up for the cost of the extra plywood (and painter’s tape). And their drawers will be way more durable.
In case you’re wondering, you actually can use the Miter Fold Dado Set to build boxes that are more similar to traditional drawers, with a captured hardboard or thin plywood bottom. Doing so limits you to smaller boxes (because the workpiece ends up being so long and narrow), but it can be done. And if you’re clever, you can overcome that hurdle by using shorter pieces that make only two sides at a time, taping two end to end, then gluing up as normal.
Andrew Klein – woodworker and inventor of the Miter Fold Dado Set and some other cool woodworking tools and devices (and with whom I’ve had the pleasure of hanging out on several occasions in 2014 during Woodworking In America in Winston-Salem, N.C.) – demonstrates his technique and more in this video:
Rolling Folding Up This Joint – Miter Fold Dado Set Plus
Depending on your workload, the Miter Fold Dado Set Plus can be a luxury item or a must-have addition to your shop.
Rockler emphasizes this so we will too: Be sure to read and understand all of the instructions before using this tool. If you are uncomfortable with the use of a table saw, this isn’t the product for you. There is a lot of spinning metal and you have to cut on both sides of the fence, so rehearse the motions before even plugging in your saw.

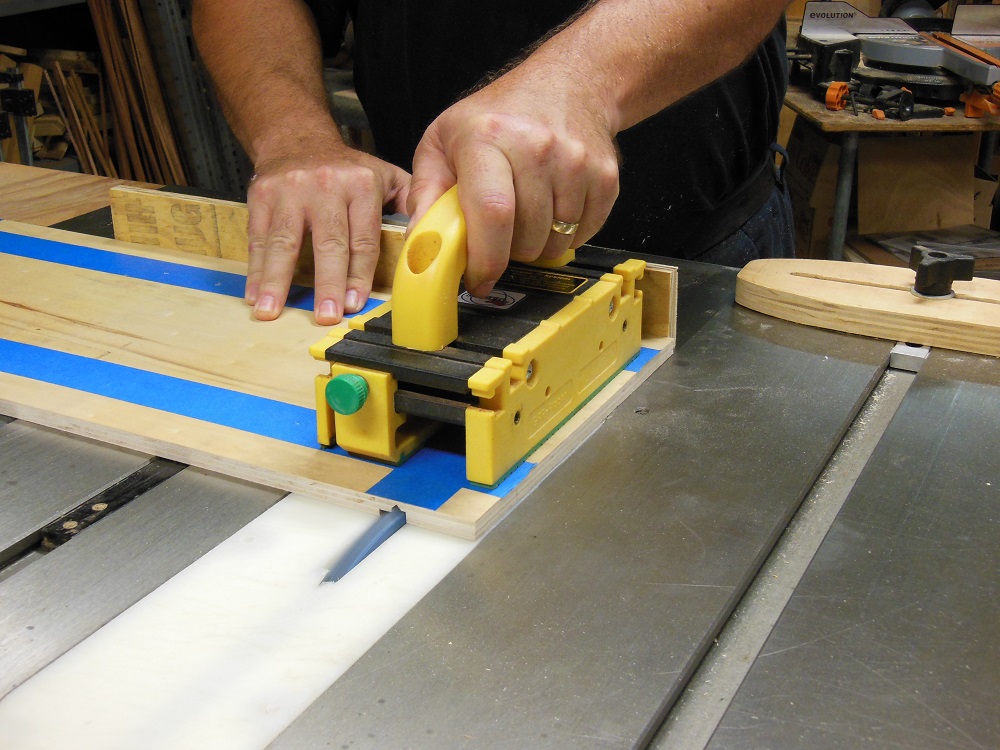
And lastly, you must use push blocks with the Miter Fold Dado Set; this is not optional. You’ve got to apply downward pressure directly above the blade while moving your workpiece forward, and the point can peek through unexpectedly. If you don’t already have some good push blocks, consider investing in a pair of Micro Jig GRR-Rippers.
Spoil yourself with your own Miter Fold Dado Set Plus for around $350.