
 A few Saturdays ago I was enticed by the promise of beer and steaks to help a fellow carpenter with an “easy” project. Why I listen to this guy anymore is beyond me. At last count I’ve helped him: Build a deck, move (twice), help his friend move, build a playground, and I delivered his twins in a mini-van on the way to the hospital. I made that up–but I might as well have. The amount of back-breaking work and misery this “friend” has bestowed upon me defies reason. The upside is: we usually end the day a little a lot more tipsy than when we started it.
A quick Google search for “playground plans” will give you plenty of options for plans to be purchased for a project like this. Overall, the project was fun and rewarding–but it definitely took more tools than might be in your average armory. We utilized the table saw, router, palm and belt sanders, circular saws, cordless drills, socket sets, compound miter saw, and the rudimentary hand tools. I would estimate at the very least–you would want a cordless drill, circular saw, belt sander and router to build a playground like this.
Reasoning for the sander and router is that you are going to be taking dimensional lumber, and making it a safe? place for your kids to play. About .32 seconds of watching Little C play on this thing after we installed the slide–I was convinced that I will be the dad that outfits his kid in a Mythbuster’s like Redman suit. To sleep in. Somehow, she surmised that the ladder we had painstakingly crafted was not fun enough in itself, so she used a combination of the ladder and slide to climb up to the top, and her dog Huckleberry had to come up as well to slide with her. He did not find this entertaining.
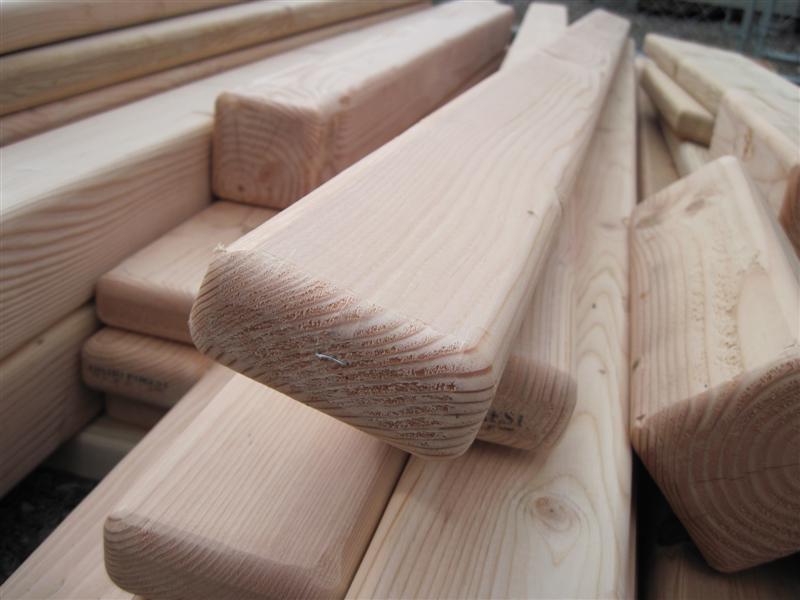
 The plans for the playground we used were pretty good overall. The author laid the steps out pretty basically, and we had a master materials list that we made into a master cut list, allowing us to measure, and cut all of the lumber for the playground before hand. Then everything needed to be routed and sanded. The router takes the edge off of the dimensional lumber with a round over bit, and the sander prevents any splinters from finding their way into little hands.
An observation about little hands: They will get everywhere. All parents seem to know this–but it is amazing to me what they will pick up, and they are extremely adept at finding “on” switches for everything. Saws, cars, rocket launchers–if we left it out: Little C wanted to know what it did, how it worked, and how she could maim herself or Huck with it immediately. I recommend leaving the Little Help to jobs like carrying cut-offs to the backyard chimnea. I don’t have to pick it up–and she was content with “helping”. Good times. Good non-maiming little kids or canine times.
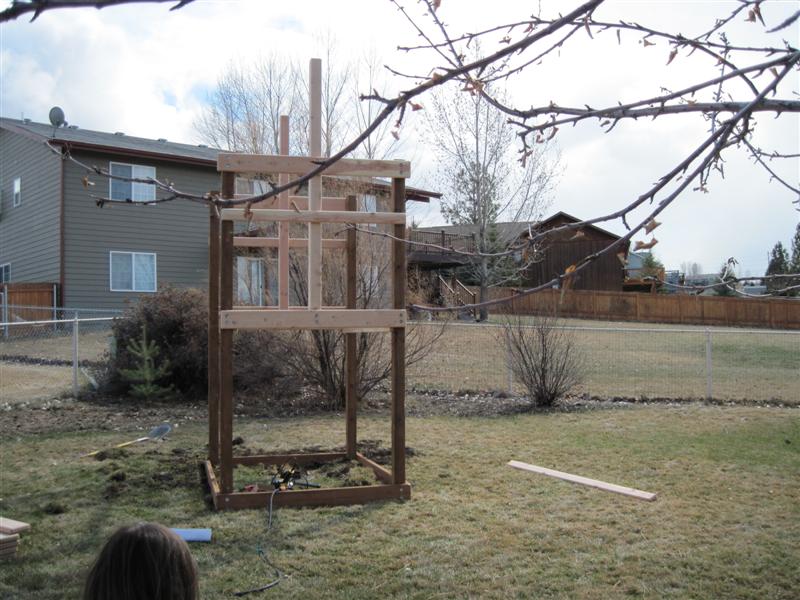
Back to the project: This isn’t for the faint-walleted. Some quick checks of other kit type swing sets show that you can get comparable ones for around the same cost of the lumber that it took to build this monster. The upside of this? It is stout. Once the swings were installed off of the fort–we gave it a test swing, and we weren’t able to get so much as a wiggle out of this thing. Good marks for longevity. Als0–there is something highly satisfying about building something from what amounts to a big pile of sticks. Overall cost was about a thousand bucks–but that is taking into account the lumber, hardware, slide, telescope, and swings. I have to say–when it was all put together it was a pretty kick-arse set up.
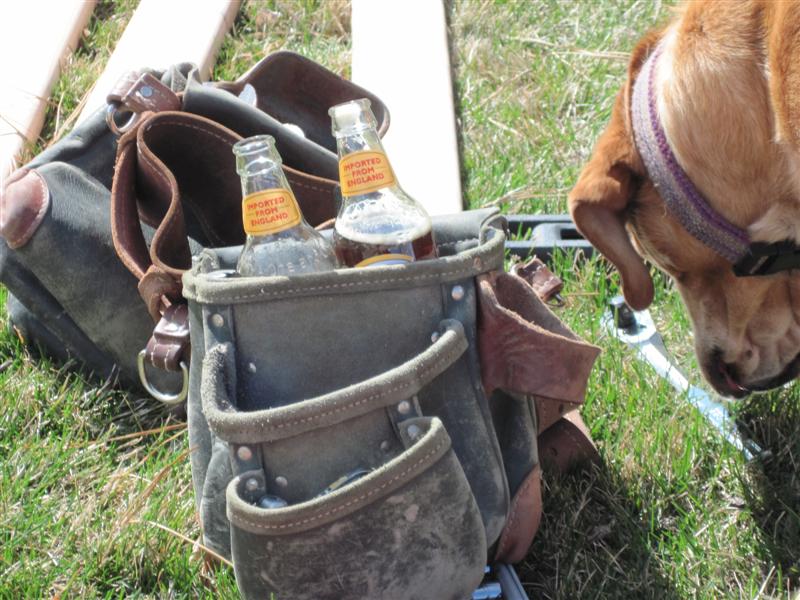
Despite our prep work of cutting everything before hand according to the plans–this project took two real live professional carpenters about 12 hours to build. Granted–what we carried in our bags (see left) wasn’t exactly OSHA approved–it most likely isn’t something you’re going to tackle by yourself in a day. Some of the lumber used is too heavy to safely lift on your own, and getting the fort panels screwed together will be impossible without competent help. For those of you with real jobs–I would block out a good couple weekends for everything. Two days of cutting, routing, sanding, and two fairly full days of actual building of the playground.
In the end? It was a highly satisfying build. No Little Helpers were maimed, all dogs survived, and I had a burnt steak and a cold beer in my hand to listen to Little C’s shrieks of delights as she played on her new fort. Not bad for a couple of hacker carpenters.
Heh. I meant to comment on your fence article that the first thing to buy was a case of beer. Just as appropriate here. Nothing like food & alcohol for bribing your friends.