

I was fortunate enough to receive one of the new Milwaukee 12” M18 Fuel dual bevel sliding Compound Miter Saws a while back for testing and review. The intent was to highlight it in action while adding a large lean to onto the shop at our sheep farm. Unfortunately the pandemic hit us with a bit of a double shot, help with the project was hard to come by, and the price of building materials skyrocketed as said materials became almost impossible to find. Ultimately, I decided to take on a project much smaller in scale and to enlist the aid of the (very) senior writer here at Home-Fixated, who also happens to be my brother. Join us as we walk you through how to build a rustic woodshed – cordlessly!

Milwaukee M18 Fuel 12” Dual Bevel Sliding Compound Miter Saw
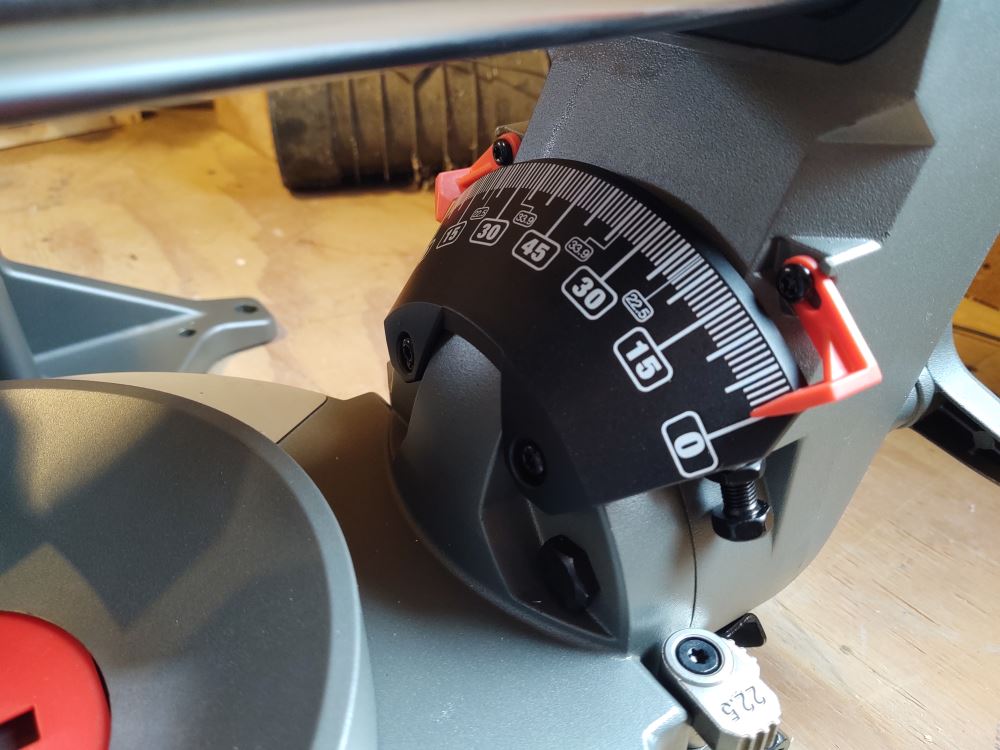
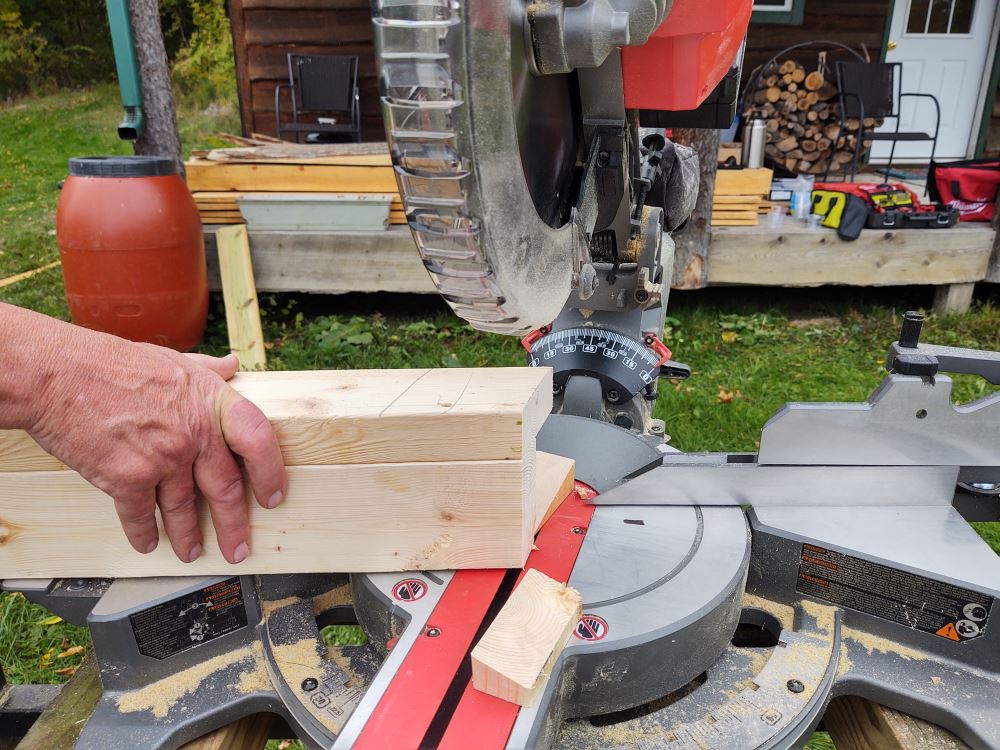
I’ve had the saw for a while now and have used it in the shop on a number of smaller projects. The saw really got a chance to shine when we took it out back where there were no other options. I never even came close to utilizing all the features on this saw. There are stops on the bevel feature as well as the miter table that permit consistent angle cuts with a minimum amount of setup. The quality of the Milwaukee M18 Fuel 12” dual bevel sliding compound miter saw is obvious, and fit and finish is flawless.
Chances are good that I will never tap into all the potential this saw has, but I’m delighted to have so much capacity and power available. The saw generates the power of 15amp corded saws and is designed for the professional carpenter, remodeler, and general contractor. Other features include a Shadow Cut Line LED light, an adjustable stainless steel detent plate, cam locking miter system and easy carry side handles. It was light enough that I could carry it comfortably by myself.
The Rustic Woodshed Project Details
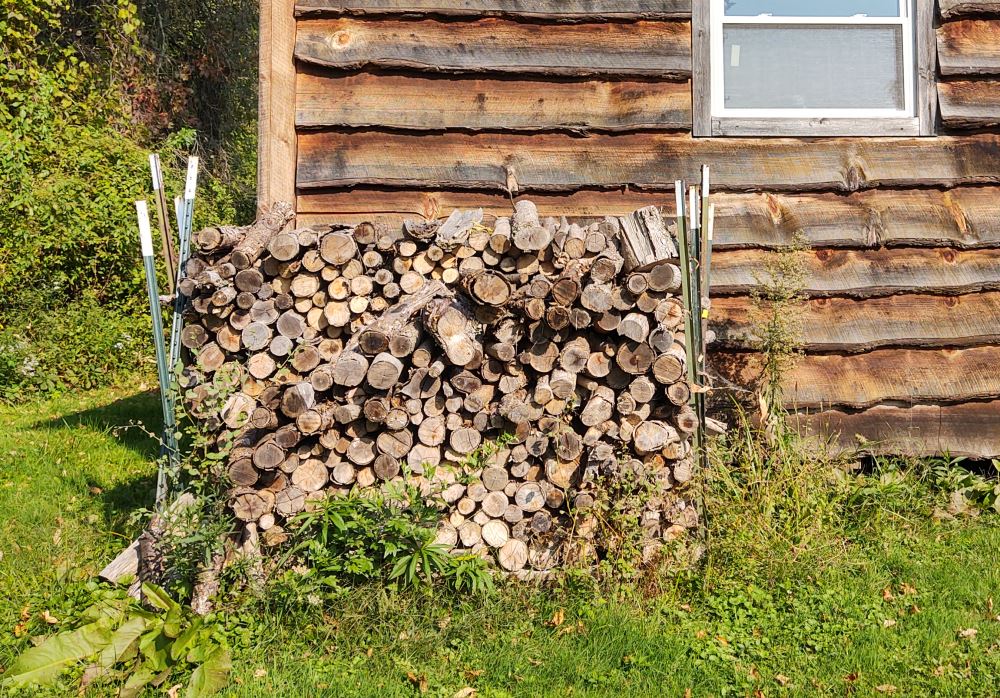
There is a small cabin back at the edge of the wooded portion of our property that we use during hunting season and to accommodate company at times. The cabin is rustic but comfortable, and is heated with a small wood stove. I was able to keep a small supply of wood dry on the porch, but the main supply as exposed to the elements, and it seemed we were always clearing snow from the pile when we needed dry wood the most. I saw a video online of a small wood shed project and used it as an inspiration for this how to build a rustic woodshed project.
I sourced most of the materials from a couple of local Amish craftsman who milled lumber for their own endeavors but were willing to sell me some of their excess rough cut boards. The only items I purchased commercially were some 2×4 for the framing and the roof components. The total cost for this project was just slightly over $200 for materials, though feeding my brother for a few days wasn’t exactly cheap.

Getting Started – How to Build a Rustic Woodshed
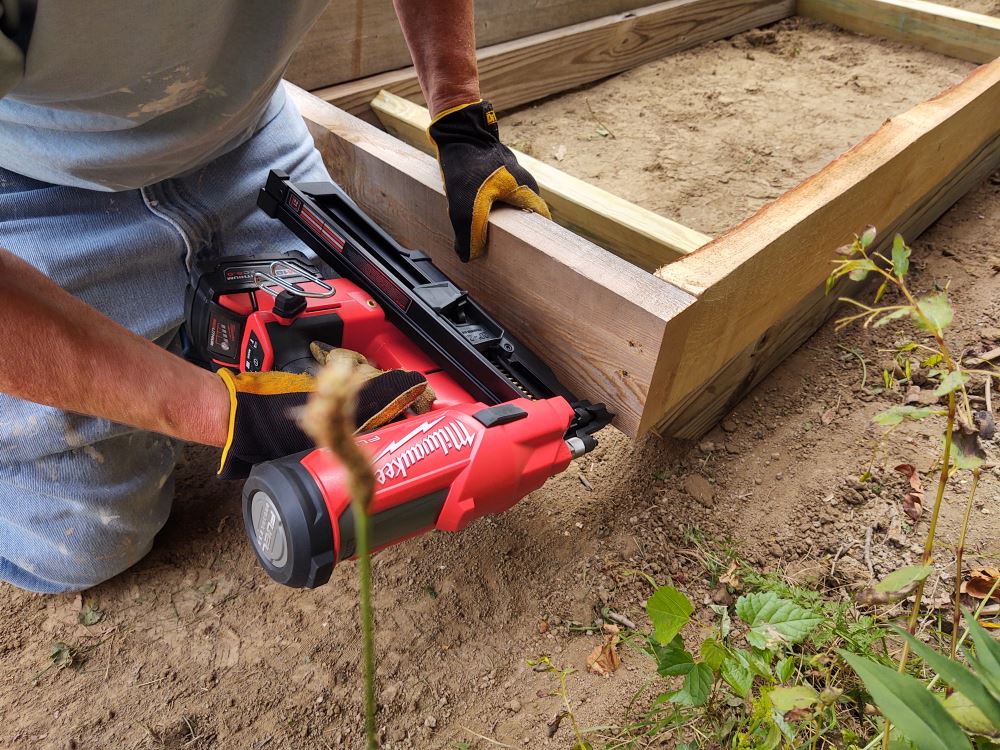
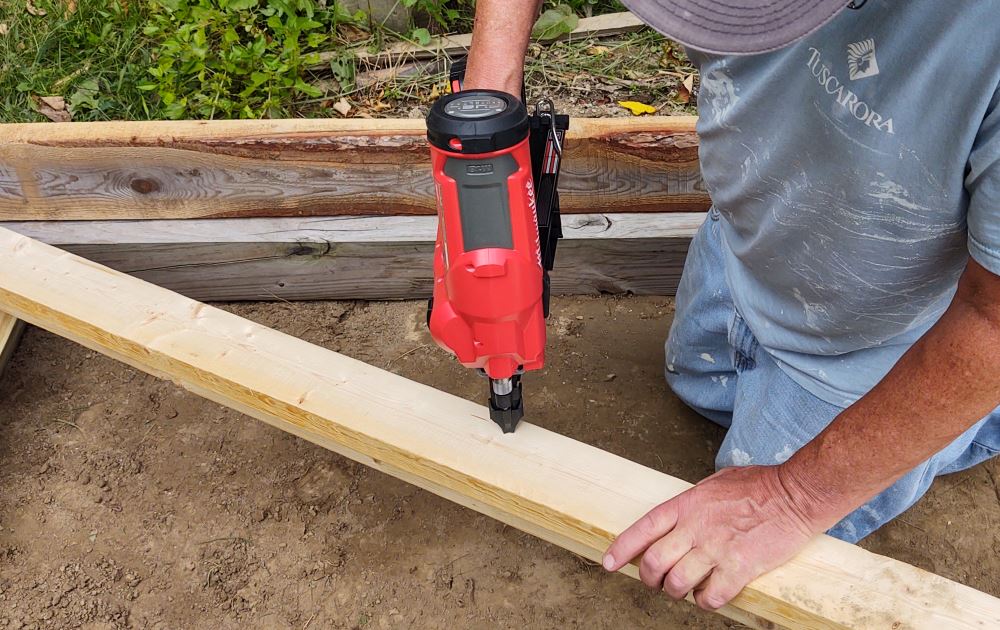
Since there is no electricity out at the cabin we needed to complete the project using all cordless tools. My brother supplied the cordless Milwaukee framing nailer, being covered in a separate review on Home Fixated soon. We also utilized the Milwaukee M18 Fuel cordless circular saw as well as their impact driver.
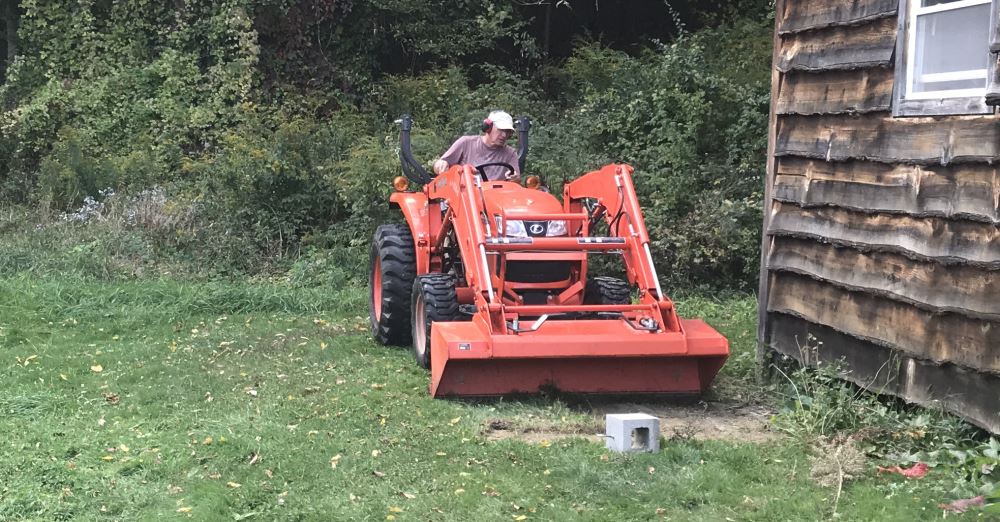
I decided early on that I wasn’t going to utilize a foundation or set posts in the ground, I was going to build the shed on skids. I had a couple of long pressure treated 4 x 6’s that I had scavenged from my brother’s farm that had supported the front porch for a couple of years. I selected a site on the south side of the cabin that was already somewhat level and used the bucket on the tractor to level the site. We were admiring the site work when my wife pointed out that we would be building the shed right in front of the kitchen window and that wasn’t acceptable, so it was back on the tractor and a slight adjustment to keep everyone happy.

Skids For the Rustic Woodshed Foundation
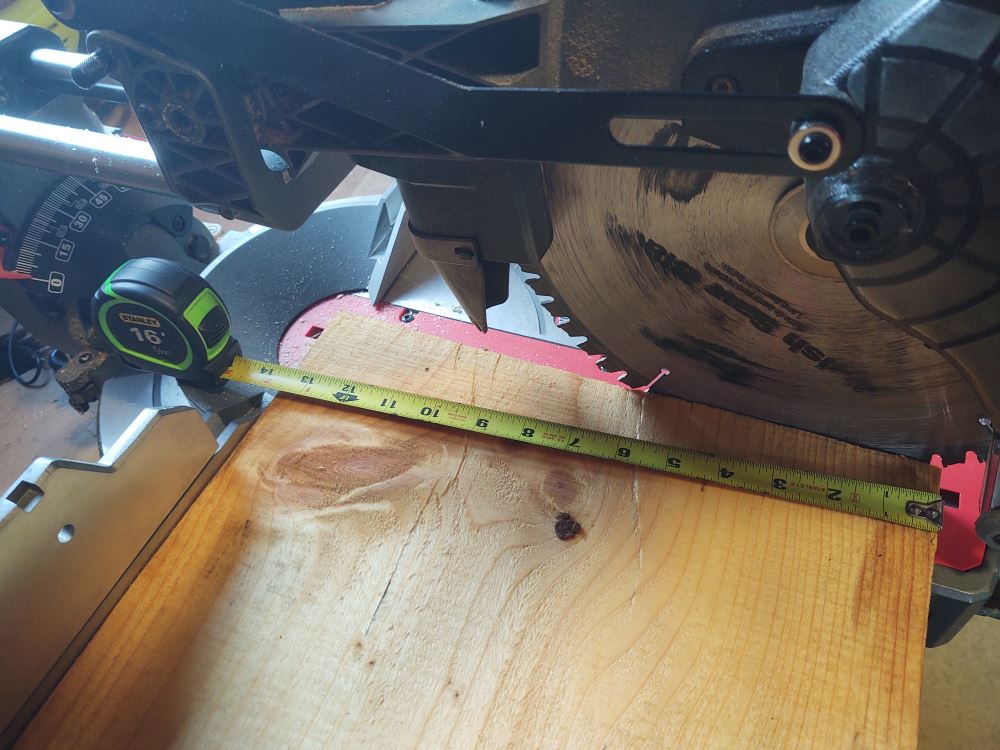
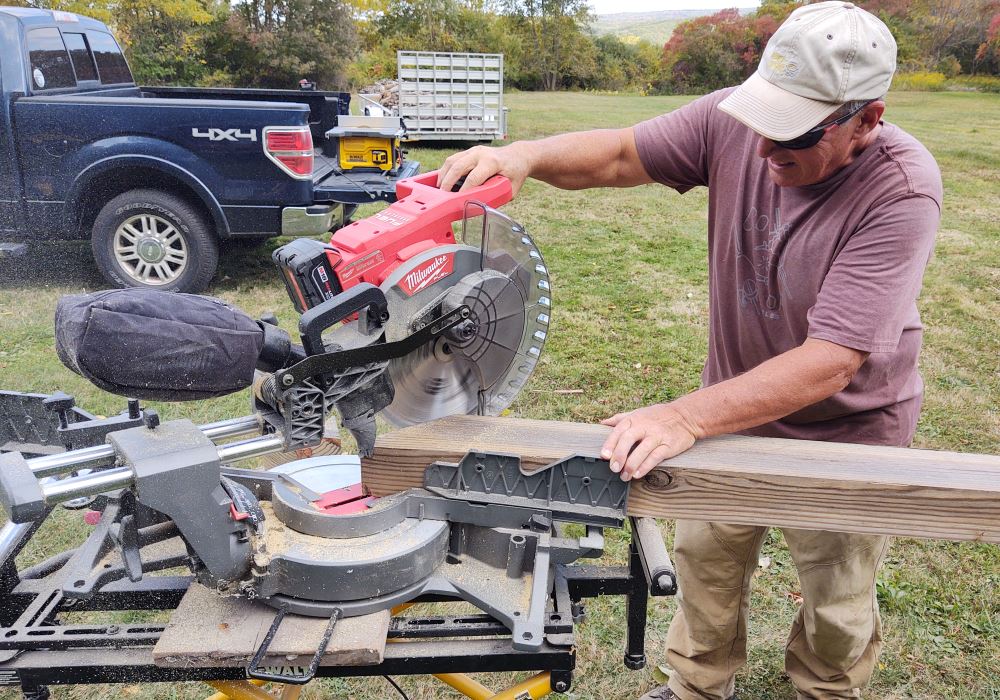
We can’t talk about how to build a rustic woodshed without starting with the foundation. The skids that we planned to build the shed on from my brother’s farmhouse project had been notched on one end and squared on the other as they had been used to support the front porch roof until we got around to building a mud room there. In order to have them function as skids I needed to round the ends on both of them at one end.
We placed the 4×6 on the saw and cut multiple cuts at increasing angles until we had a decent curve cut into them that would allow for dragging the shed to a new location if ever needed. The 12” blade and the M18 battery had no issue cutting through the material. The saw functioned throughout the entire project as if it were plugged into an outlet, the supplied 12 amp hour battery never needed recharging throughout the project despite making numerous cuts over the 3 days of the construction.
Framing the Woodshed Floor
I decided the overall dimensions of the shed needed to be roughly 38” deep, to accommodate two rows of standard sized firewood, and roughly 8’ long, the measure of a face cord of wood, 8’ long x 4’ high. Given we were working with non standard materials and no real formal plan, roughly became the operative word for most of the project.
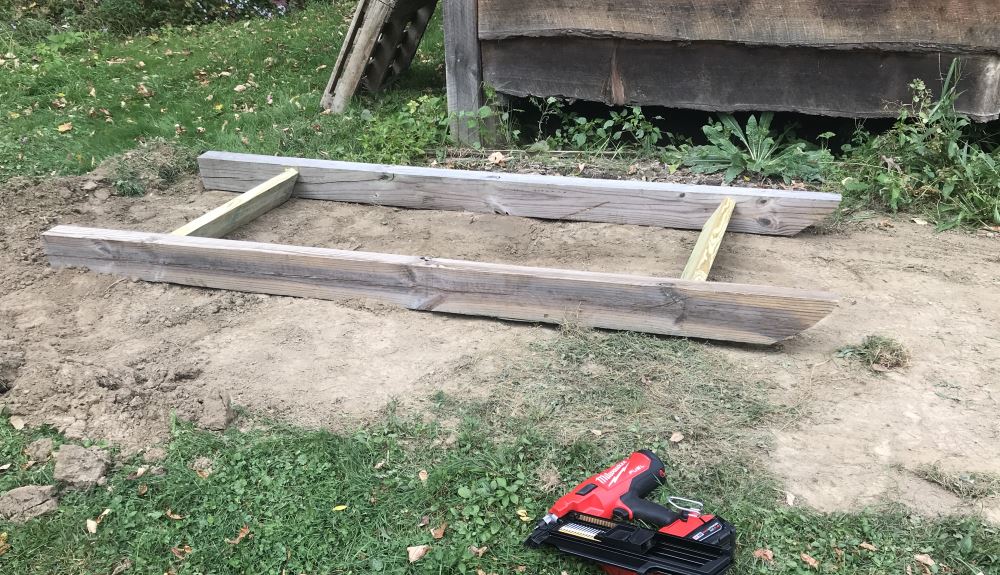
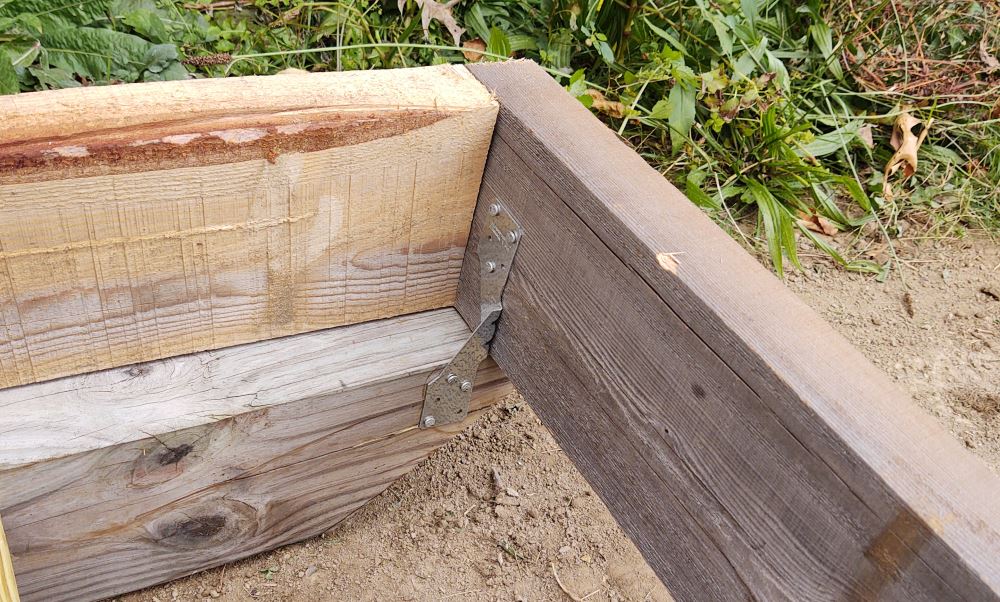
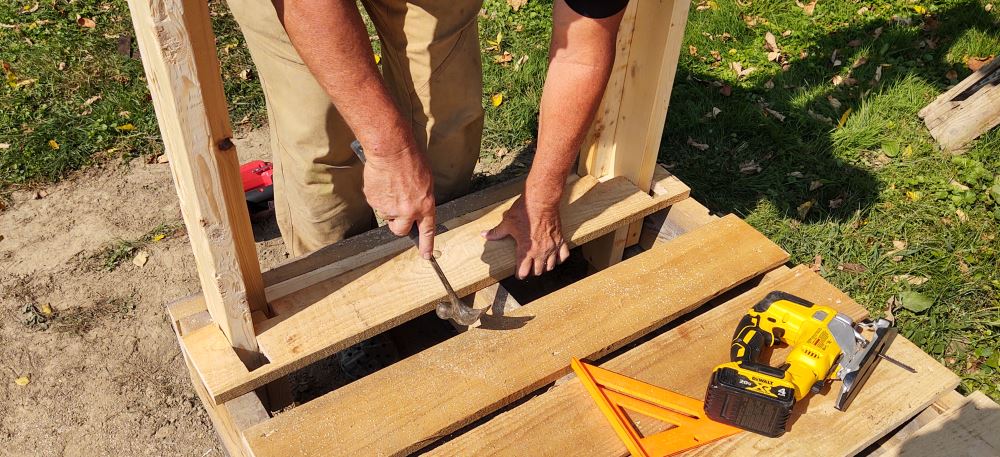
We nailed in a couple of scraps of pressure treated 2×6 between the skids to stabilize the base. We then cut the full dimension rough cut hemlock 2×6’s to two 8’ lengths and 38” for the end caps, and nailed them together to form a rectangle that we then fastened to the base with a rafter tie at each corner. We added a center 2 x 6 floor joist later in the process to strengthen the floor.

How to Build a Rustic Woodshed – Framing the Walls
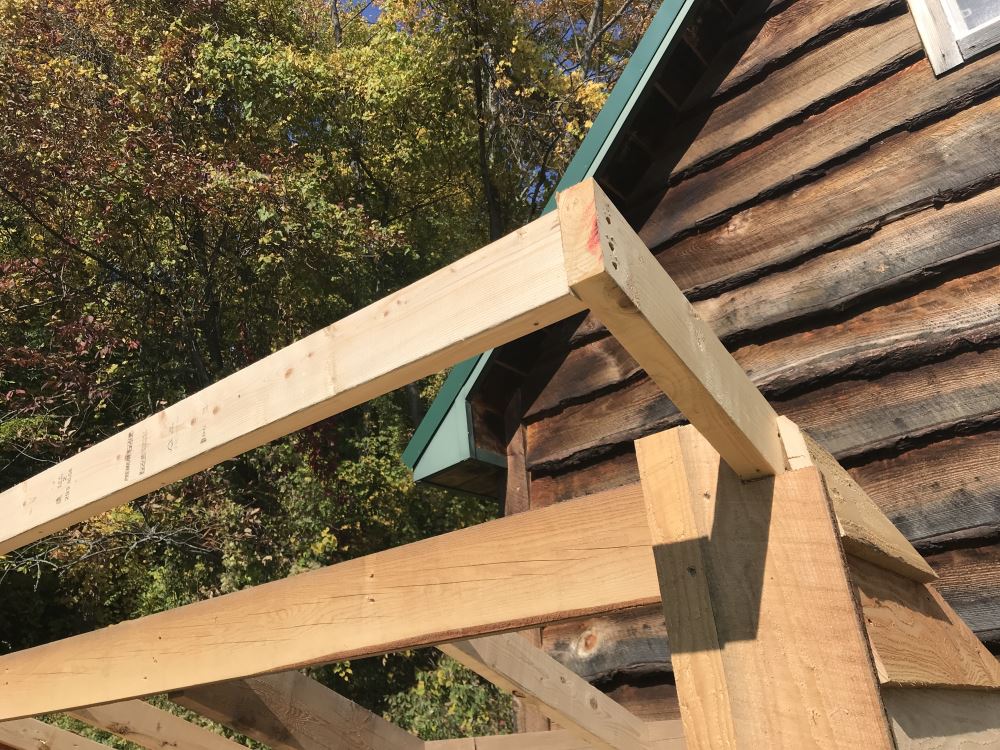
I adopted the technique outlined in the video for framing the walls. We made the four corners by nailing two 2 x 4’s at right angles and then cutting them at a 25 degree angle to provide the roof angle angle. We made the front 6 and a half feet high and the back 5 feet high, providing enough slope to shed rain and snow and to create a high enough opening in the front to provide easy access. We then attached the corners to the inside of the frame using the Milwaukee M18 Fuel framing nailer. The next step was to nail the roof end rafter into to place.

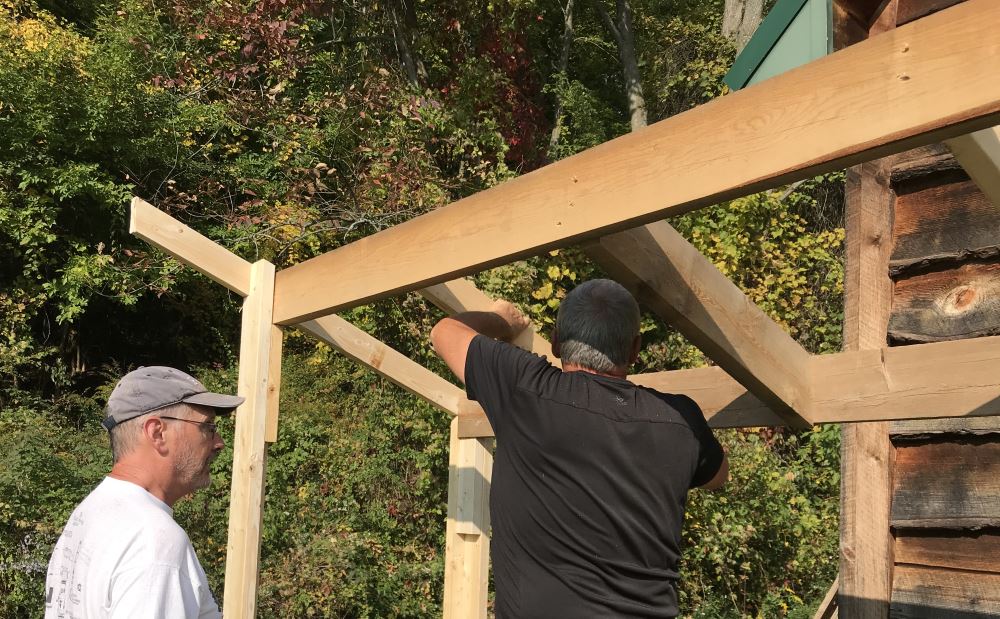
Finishing the Woodshed Framing
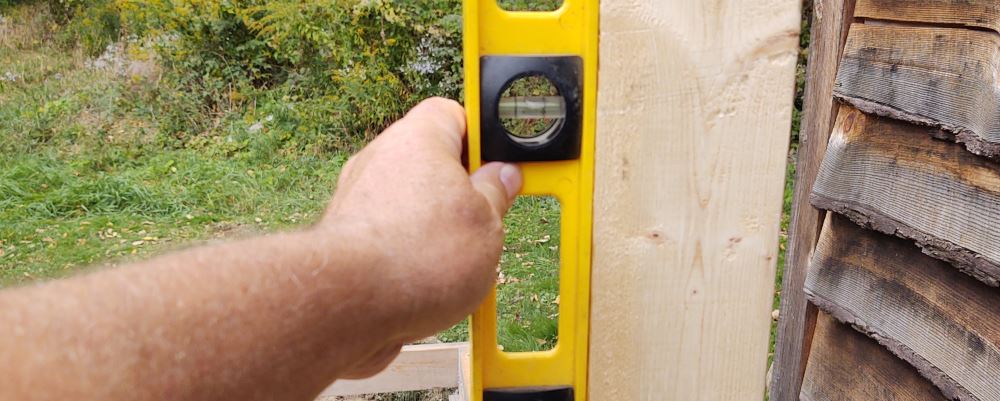
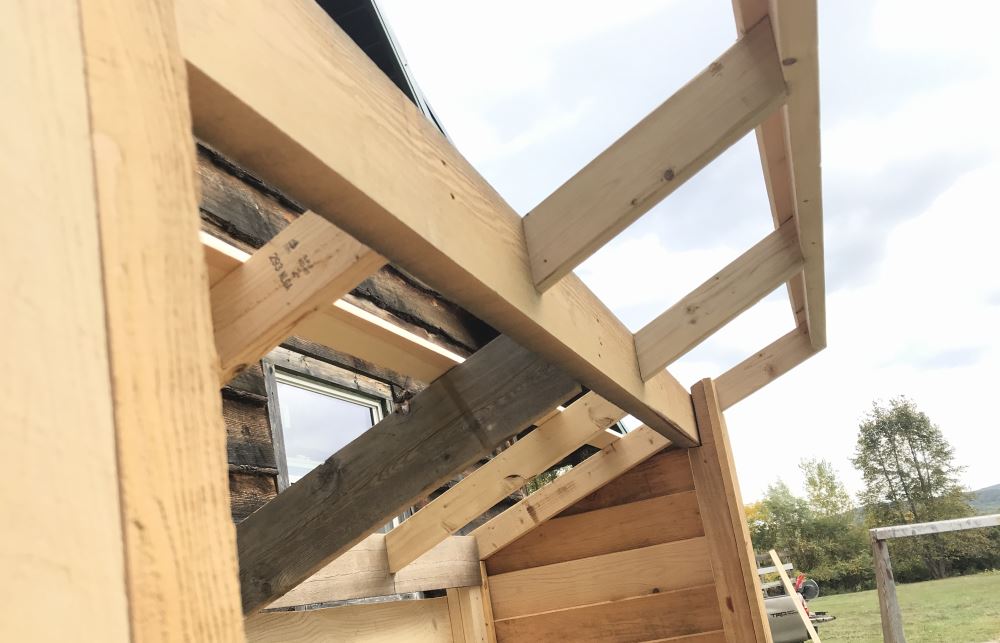
Once we had the end walls with the roof rafters in place we added jack studs to the inside of the corners and nailed the front and rear headers into place. We again used the rough cut 2 x 6 for the headers and scraps from the 2 x 4 for the jack studs. We were able to get the walls plumb, with the bubble within the lines on a level. We then used the Milwaukee M18 Fuel 12” dual bevel sliding compound miter saw to cut the proper angles for the supporting roof rafters. We spaced the rafters at 24″ on center as the roof pitch should easily shed snow.

Rustic Woodshed Flooring and Walls
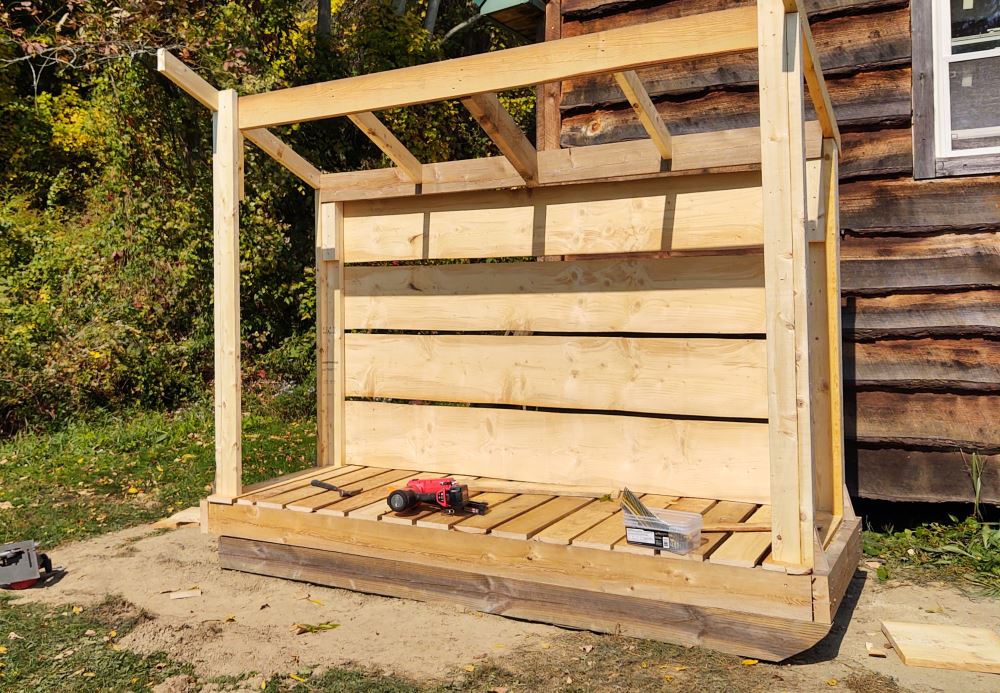
One key component in how to build a rustic woodshed is making sure you have the rustic wood to accompany the project. I was able to procure a quantity of rough cut 1 x 6 full dimension hemlock, which I intended to use for the floor and the sides. I felt it was plenty sturdy and would give the wood shed a rustic look consistent with the cabin. I also had some rough cut 1 x 13” boards my neighbor had given me, which proved to be perfect for the back wall of the shed.
We spaced the floor boards 1″ apart to allow air circulation. We did the same for the back wall as it was covered by the roof. We lapped the sides at ½” to allow the boards to shed rain and snow and to provide a nicer overall look. Once again we used the Milwaukee M18 Fuel 12” dual bevel sliding compound miter saw to make all the cuts sans power cord.

The Rustic Woodshed Roof
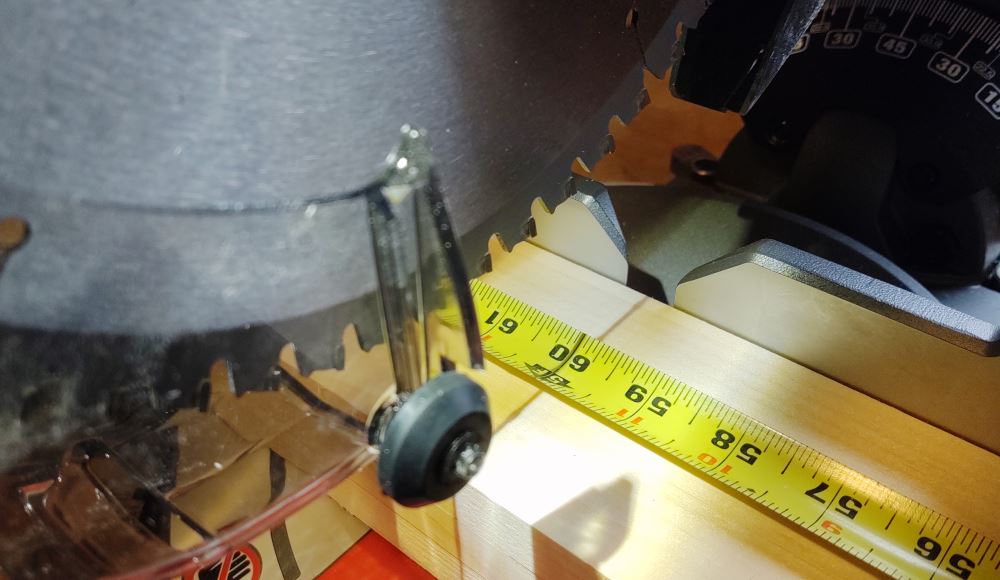
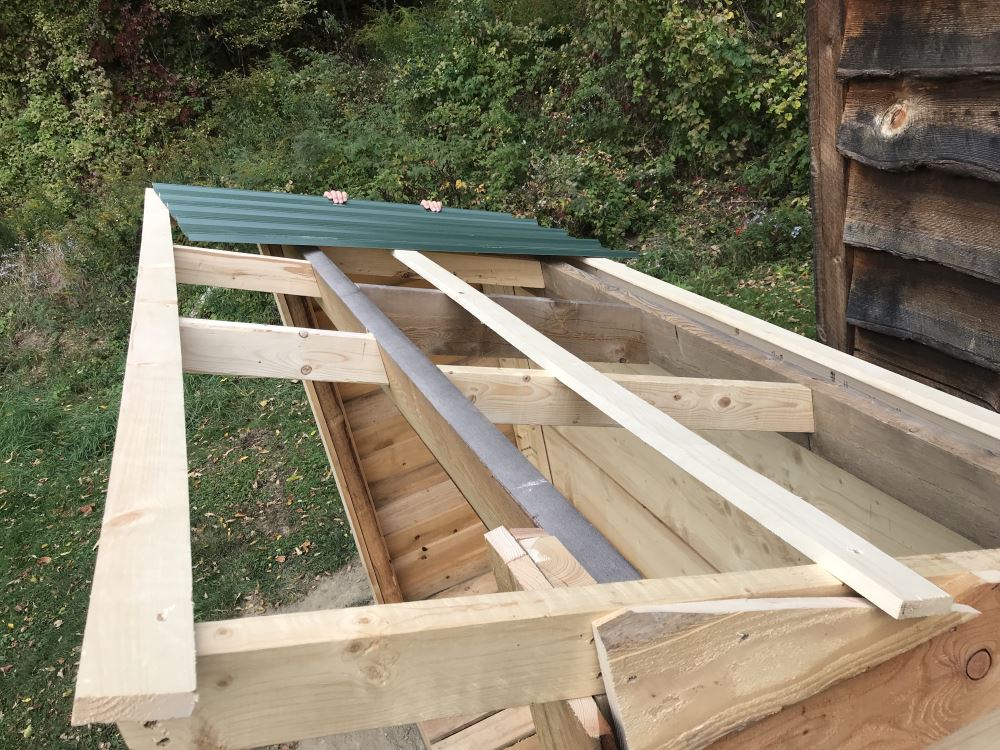
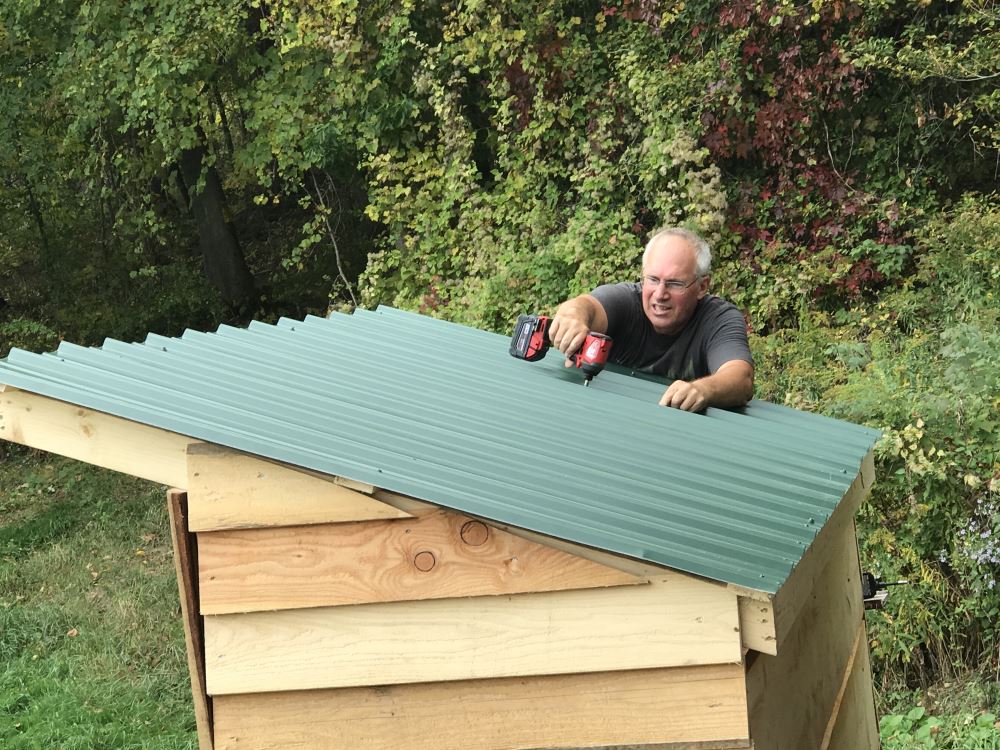
How to build a rustic woodshed has to cover the roofing, or else we’d be not far off from the unprotected wood pile we started off with. The last major phase of the project was to get a roof on the woodshed. I opted for a steel roof for several reasons. First, it was a cost effective option. Given the roof was only 56” front to rear I was able to get a 14’ sheet of metal roofing that would cover the entire span when cut into 3 pieces. Bonus points to the lumber yard for using their shear to cut it into 3 56” pieces for an additional dollar. Total cost was about $38.
Second, it was a quick, easy install. We just needed to finish the framing on the overhang, put the purlins in place and screw the sheeting down.
Third, it matches the roof on the cabin, and finally, it will last well past my lifetime.
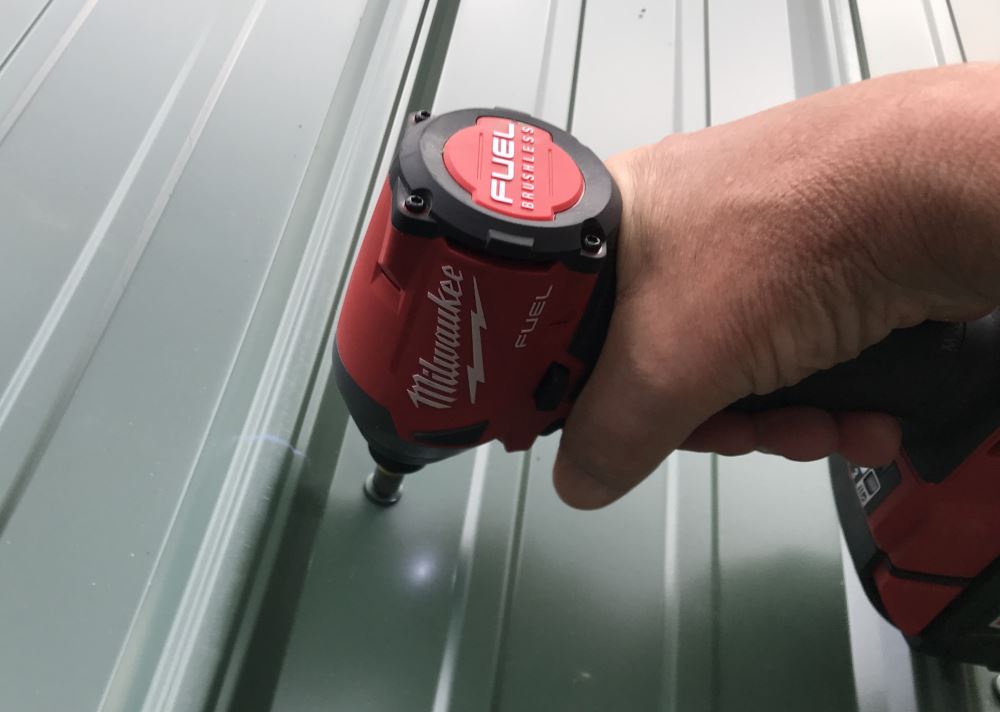
We cut a 2×4 to fit across the front of the roof end rafters, then cut additional rafters out of 2×4 scrap using the Milwaukee M18 Fuel 12” dual bevel sliding compound miter saw to get the correct angles. We cut purlins out of a couple 1×6’s and set them on the rafters at 25” centers. We put the 3 panels up on the rafters, centered them and snapped a chalk line where the purlins ran. We then used the rubber grommeted roofing screws to secure it in place.

Finishing Touches on How to Make a Rustic Woodshed
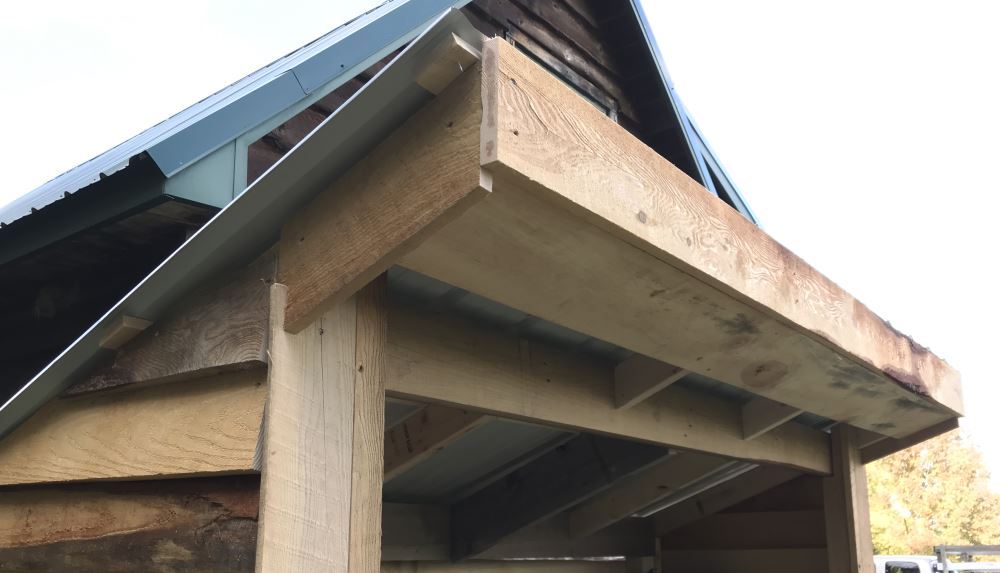
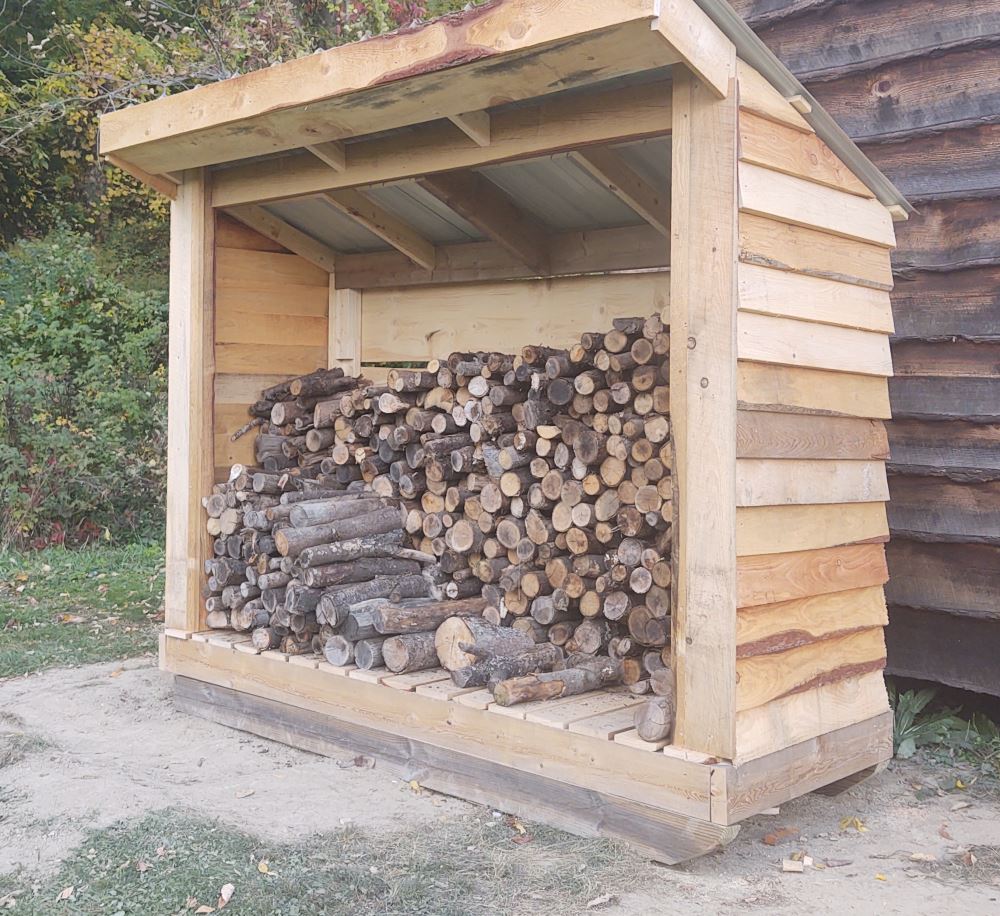
In order to keep with the rustic theme of the project, we wrapped any exposed finished framing in rough cut fascia where ever practical. The effect was to give the woodshed an authentic rustic appearance, and it worked. We also started to close up the soffit, and I will decide at some point whether to seal it up completely. I guess it depends on how many critters decide to make a home in there. The last job was to place the firewood into the shed so I could use my trailer again.
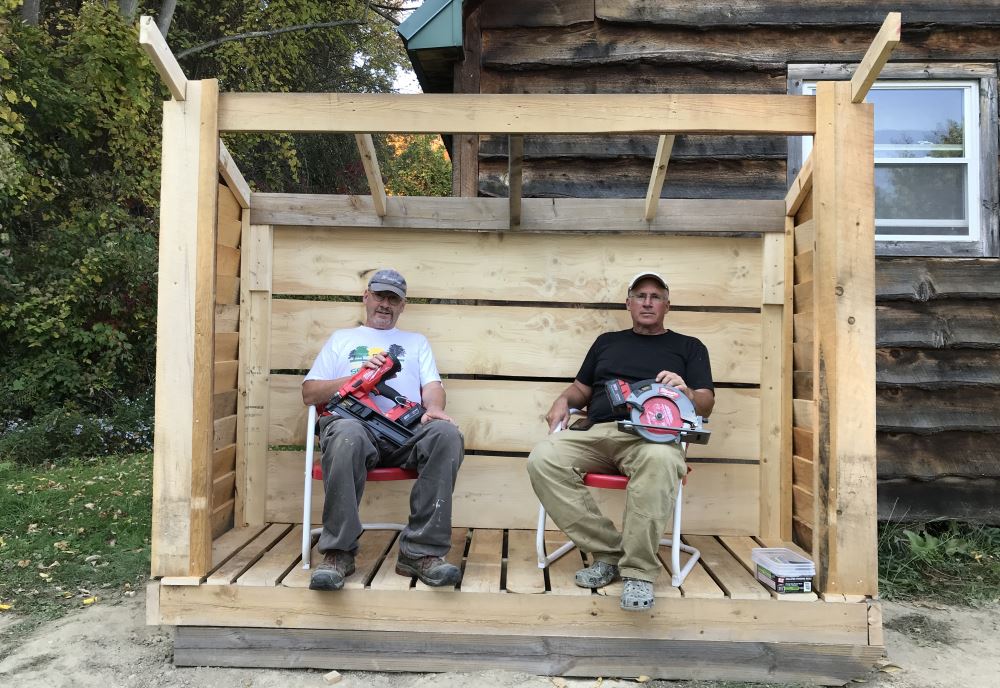
We were delighted how this Rustic Woodshed project turned out. The real star throughout this project was the Milwaukee M18 Fuel 12” dual bevel sliding compound miter saw. It provided numerous cuts on some pretty big pieces of wood, never faltered, and the battery still had plenty left after we were done. Being able to work remotely where there was no power source with a tool like this facilitated the entire process. Kudos to the M18 Fuel framing nailer as well (stay tuned for that review), it was the other key tool in this project.
Looks great! Nice project!